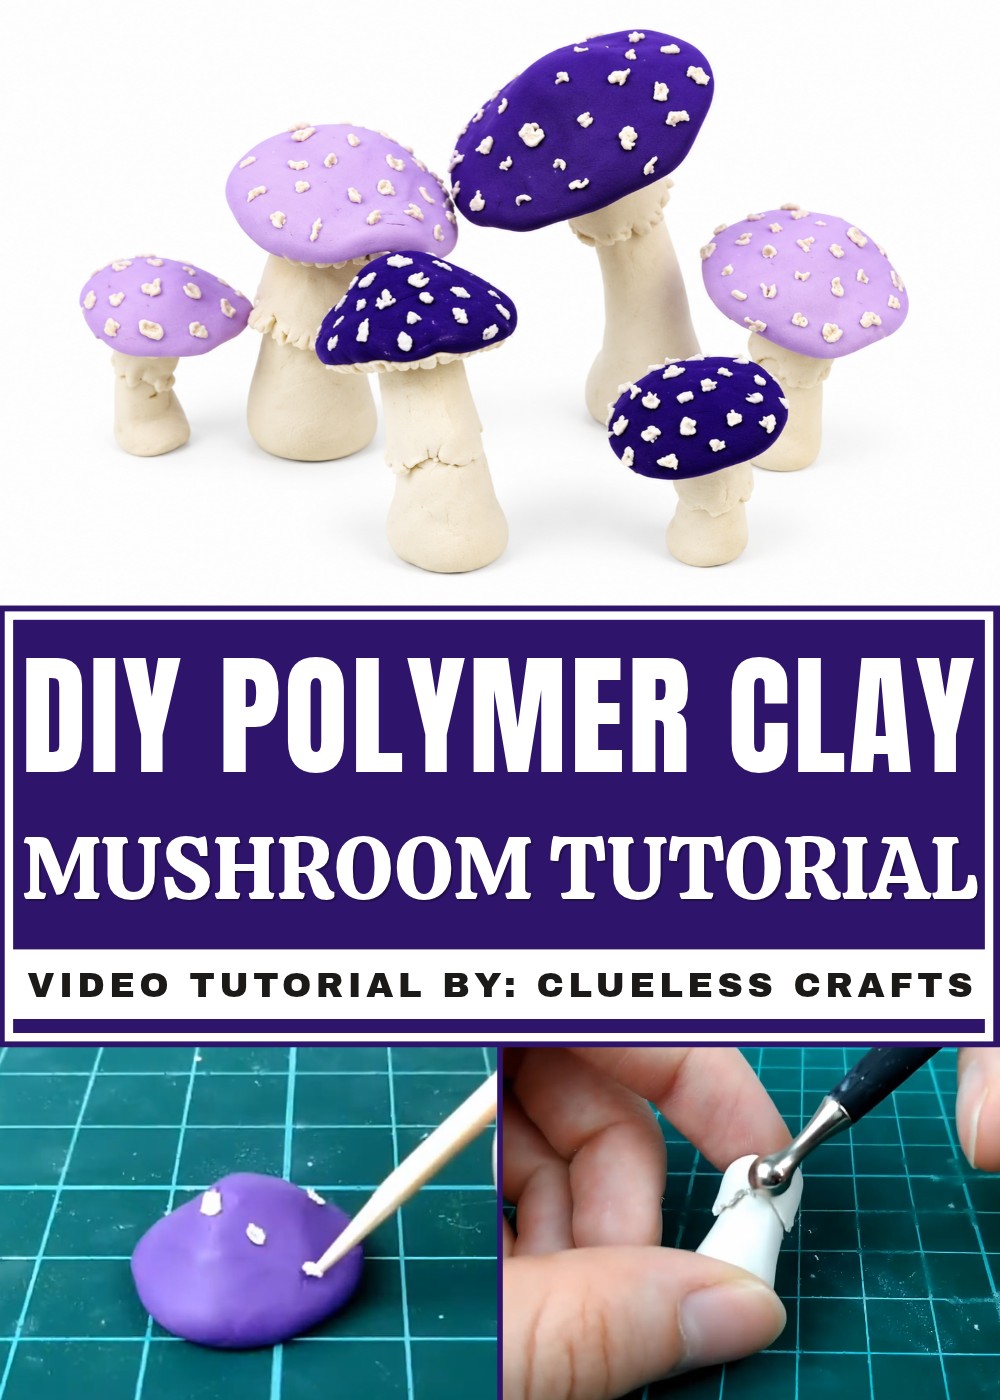
Learn how to make cute DIY Polymer Clay Mushrooms with this simple tutorial perfect for fairy gardens home decor and gifts.
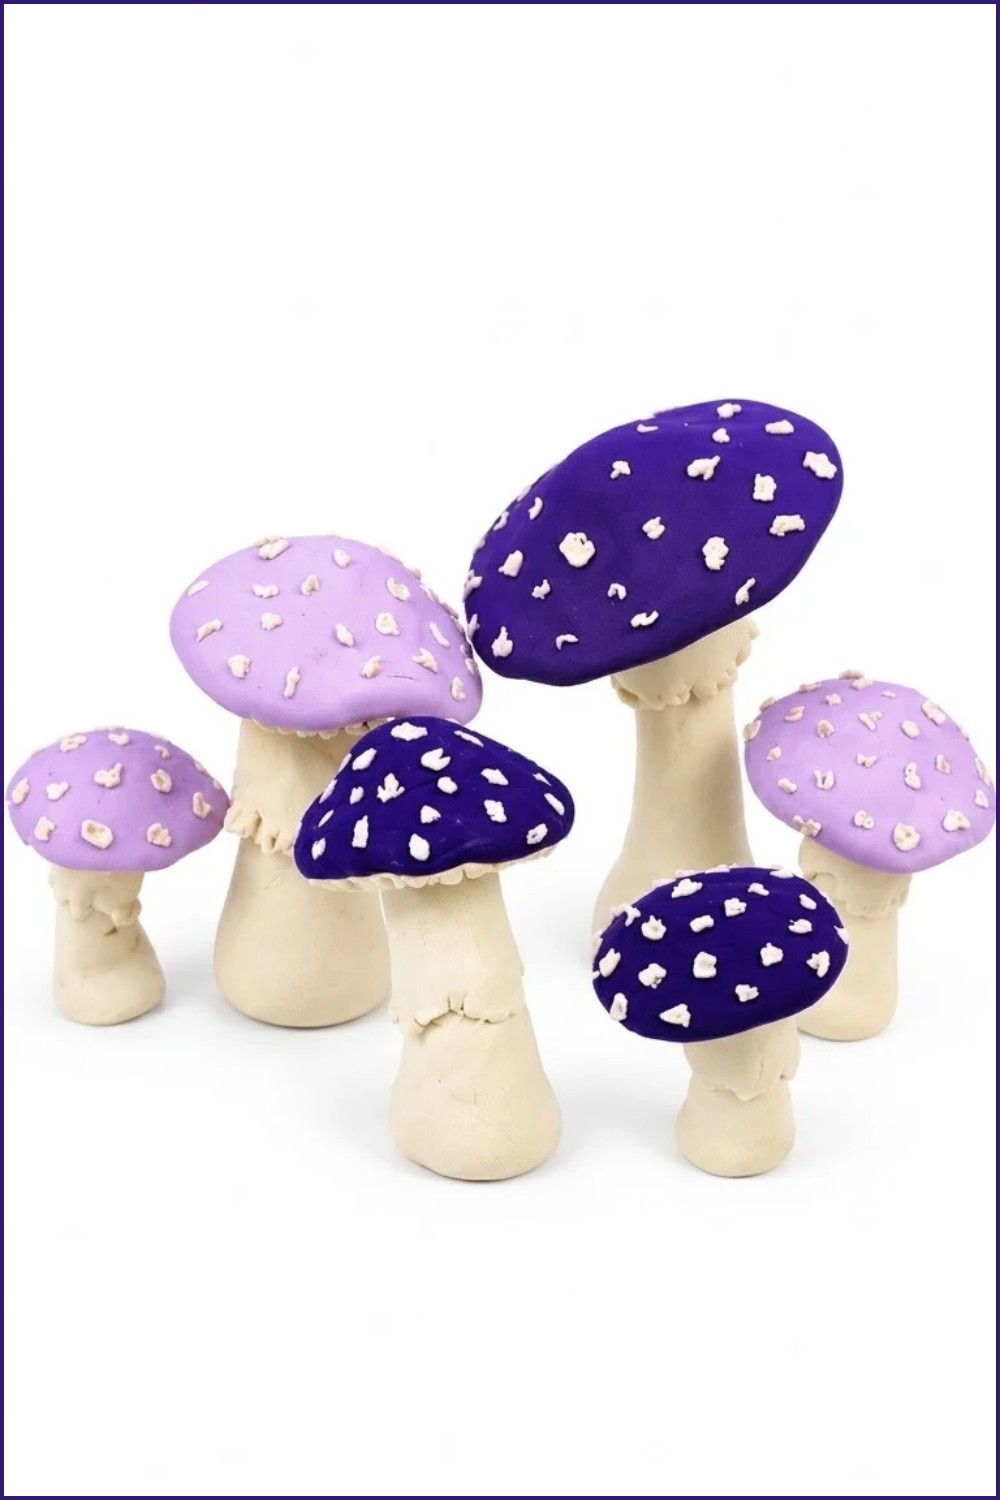
Small handmade decorations can turn an empty shelf or plain desk into a lovely little space filled with color and charm. DIY Polymer Clay Mushrooms are cute miniature decorations that look like tiny mushrooms from a peaceful garden. Full credit for the original tutorial and design goes to the YouTube channel Clueless Crafts. Their rounded tops, short stems, and cheerful colors give them a sweet appearance. Some can have bright red caps with white dots, while others can feature soft brown, yellow, or pink shades. Different shapes and heights give each mushroom its own special look.
Simple & Easy DIY Polymer Clay Mushrooms Tutorial
Working with polymer clay is a pleasant way to spend free time while shaping something lovely by hand. Small pieces of clay can be gently rolled and pressed to form the mushroom caps and stems. Tiny white dots or other simple details can give the tops a playful finish. Each part is carefully joined before the clay is baked according to the package directions. Once finished, the mushrooms become firm and can stand together as a colorful little group. Their smooth surfaces and small sizes give them a neat and natural appearance.
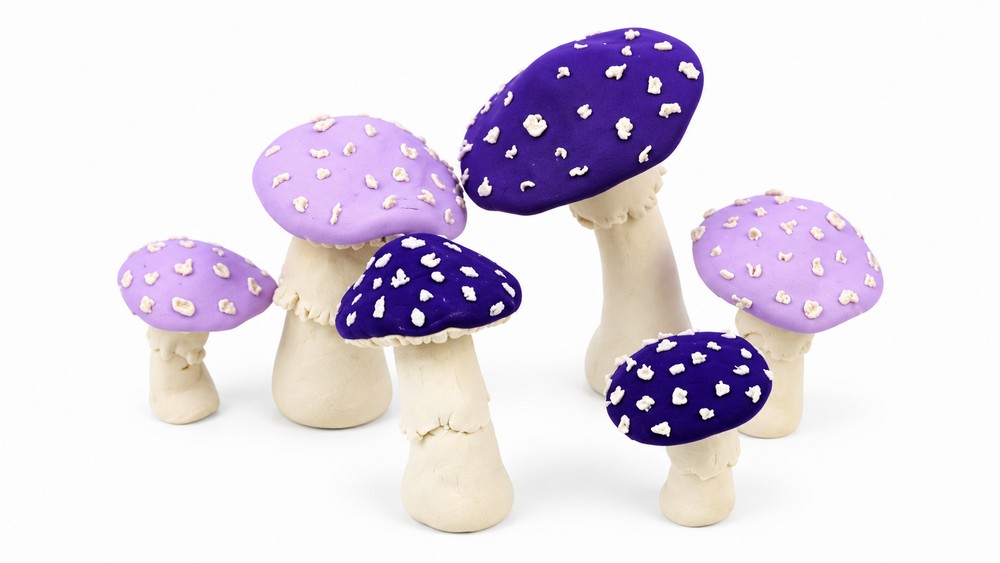
These adorable mushrooms can sit beside small plants, brighten a study table, or become part of a miniature garden scene. They are also sweet birthday presents for friends who love tiny handmade items. Their charming shapes and happy colors can turn an ordinary corner into a pretty little display. This simple clay project offers a relaxing activity with a lovely result that can be enjoyed throughout the year.
Miniature Magic: DIY Polymer Clay Mushrooms Project
Polymer clay mushrooms are a delightful craft project, perfect for beginners and anyone who loves whimsical décor or fairy garden accessories. With just a few basic materials and some patience, you can make your own charming mushroom sculptures in any color or size you like. This tutorial will walk you through each step in simple, easy-to-follow instructions, so you can create a detailed mushroom with a textured cap, white spots, a realistic stem, and a flared decorative ring. No prior experience is needed—just a willingness to have fun and experiment with clay. Let's get started and discover your creative side.
What You’ll Need
Polymer Clay
- Purple (or any color you like) for the cap
- White for the gills (underside), spots, and stem
Glue for Clay
- Liquid Sculpey (or similar liquid clay glue)
Tools
- Toothpick
- Small flat tool (like a butter knife or the edge of a card)
- Rolling pin or smooth marker (for flattening)
- Cotton swab (Q-tip)
- Baking tray or ceramic plate
Extras
- 100% pure acetone (to clean fingerprints, optional)
- A little piece of tin foil (to help the mushroom stand up while baking)
Step-by-Step Instructions
Make the Mushroom Cap
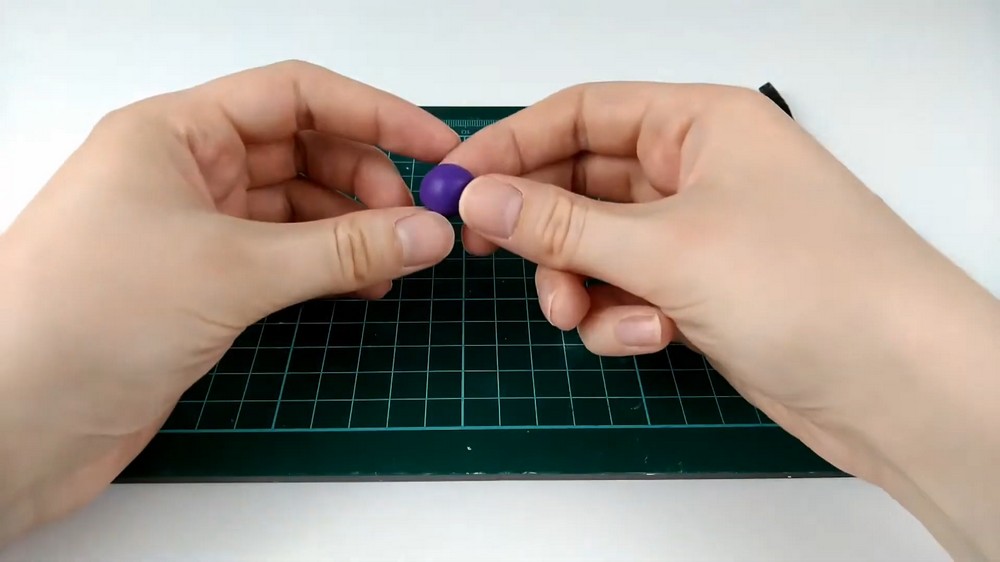
- Roll a Ball:
Take a small piece of purple clay and roll it into a ball. Try to get it as smooth as you can.
- Shape into a Dome:
Use your fingers to pinch around the bottom edge of the ball. Gently press the bottom on your table until it looks like a mushroom top—round on top, flat underneath. - Add the White Underside:
Roll a little ball of white clay, then flatten it like a pancake. Press this onto the flat bottom of your cap. Blend the edge with your finger so it looks smooth. - Draw Gills:
Use your toothpick to gently draw lines from the edge of the white underside to the center. It’s okay if they’re not perfect—real mushrooms are all different! - Clean the Cap (Optional):
Dip your Q-tip in a tiny bit of acetone and wipe the purple cap. This removes fingerprints. (If you don’t have acetone, you can skip this.) - Add White Spots:
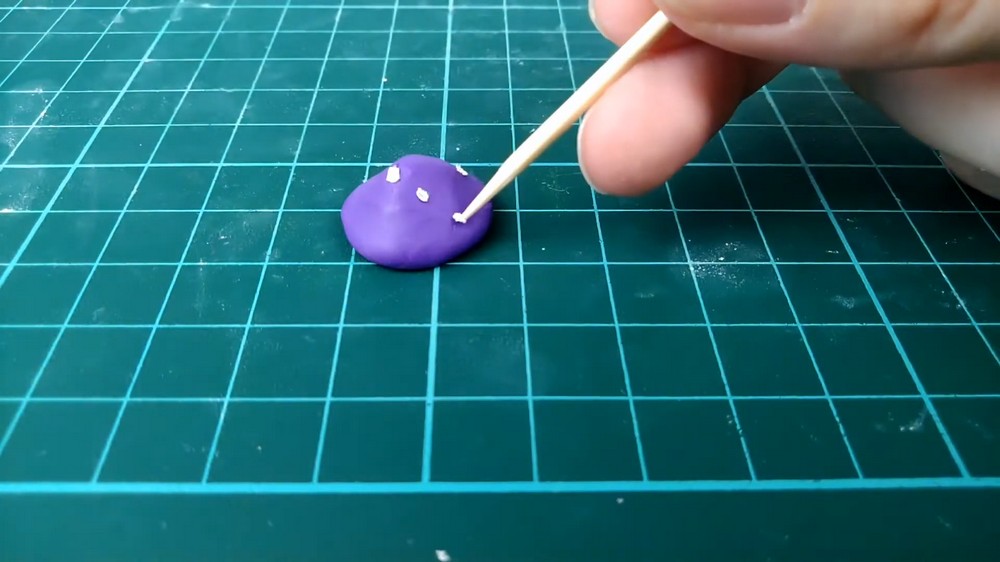
Make tiny balls of white clay for the spots. Flatten them a little, then use your toothpick to place them on top of the cap. Gently press so they stick.
Make the Stem and Ring
- Make the Stem:
Roll a piece of white clay into a log (like a short worm). Make one end thicker for the base and a little thinner at the top. Give it a slight curve so it looks cute and natural.
- Make the Ring:
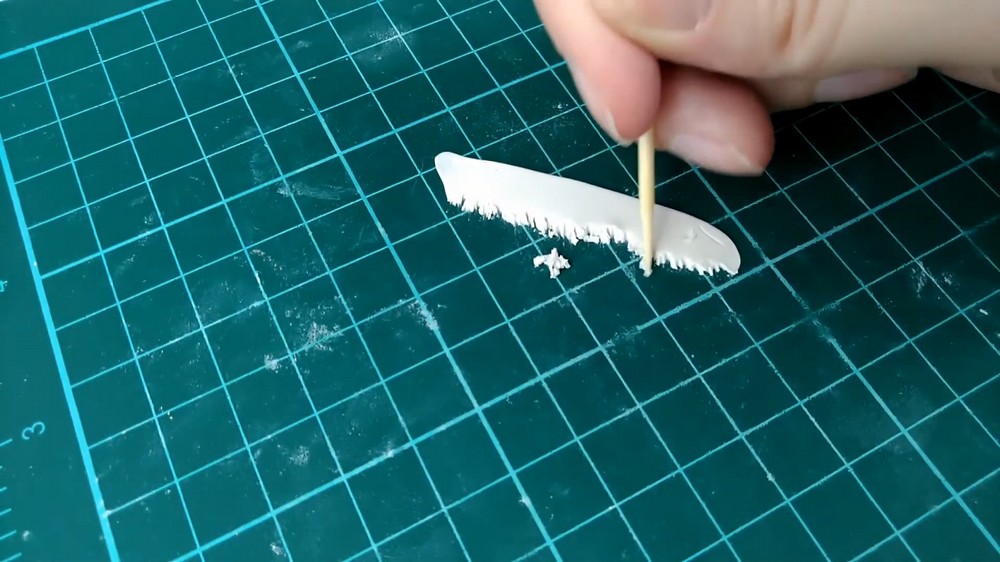
Roll another small snake of white clay. Flatten it with your rolling pin or marker. Use your toothpick or knife to trim the edges so it’s a neat strip. - Add Texture to the Ring:
Carefully poke or scratch one long side of the strip with your toothpick to make a ruffly edge. This will look like the frilly “skirt” or ring often seen on mushrooms.
- Attach the Ring:
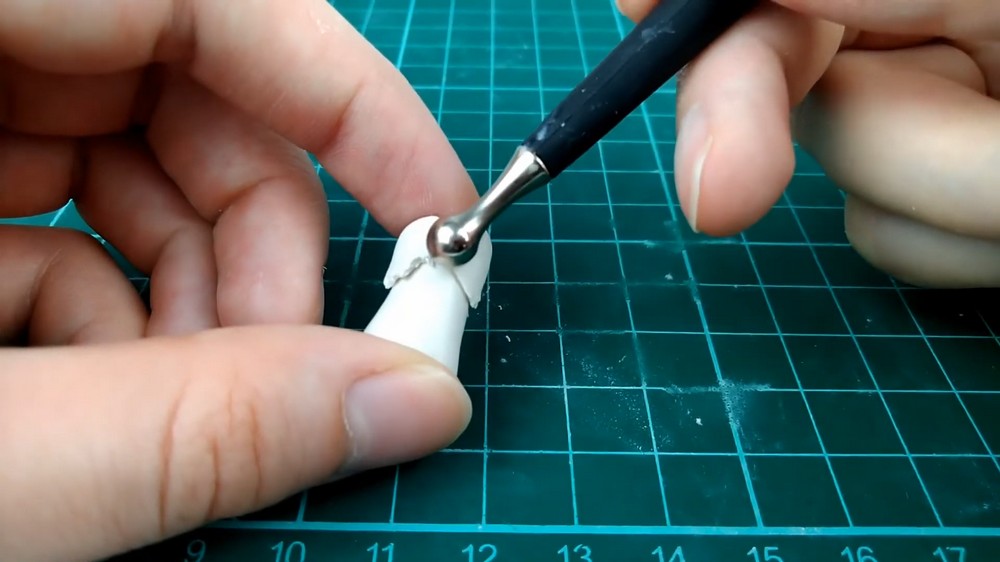
Wrap the strip around the top part of your stem. Use your fingers to gently blend the top edge of the ring into the stem, so it looks neat. Flick the ruffly edge outward a bit so it flares.
Put It All Together
- Glue the Pieces:
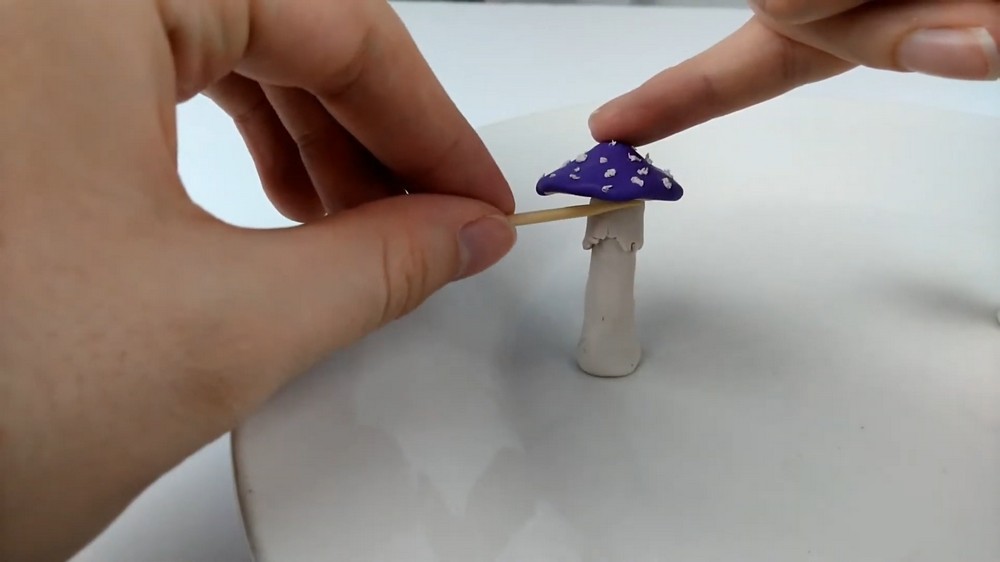
Dab a little Liquid Sculpey (or polymer clay glue) on the top of the stem. - Attach the Cap to the Stem:
Press the cap’s underside onto the top of the stem. Hold gently to let them stick. You can use your toothpick to smooth the join and make sure they’re connected well.
- Get Your Mushroom Ready to Bake:
Stand your mushroom on a plate or baking tray. If it wobbles or doesn’t stand straight, put a rolled-up ball of tin foil next to it to keep it upright. - Repeat the abpve process for making other pieces.
Bake Your Mushroom
- Bake:
Put your mushroom (and the plate or tray) in the oven. Bake at the temperature and time your clay package says—usually 260–275°F (130°C) for 15–30 minutes. (Ask an adult for help if you need it.) - Cool:
Let your mushroom cool all the way. Don’t touch it until it’s fully cool so it keeps its shape.
Tips for Beginners
- Don’t worry if your mushroom isn’t perfect—real mushrooms are wonky and unique!
- If you mess up, you can squash the clay and start again before baking.
- Toothpicks are great for details, picking up small pieces, and blending.
- Try different colors or make tiny mushrooms for practice.