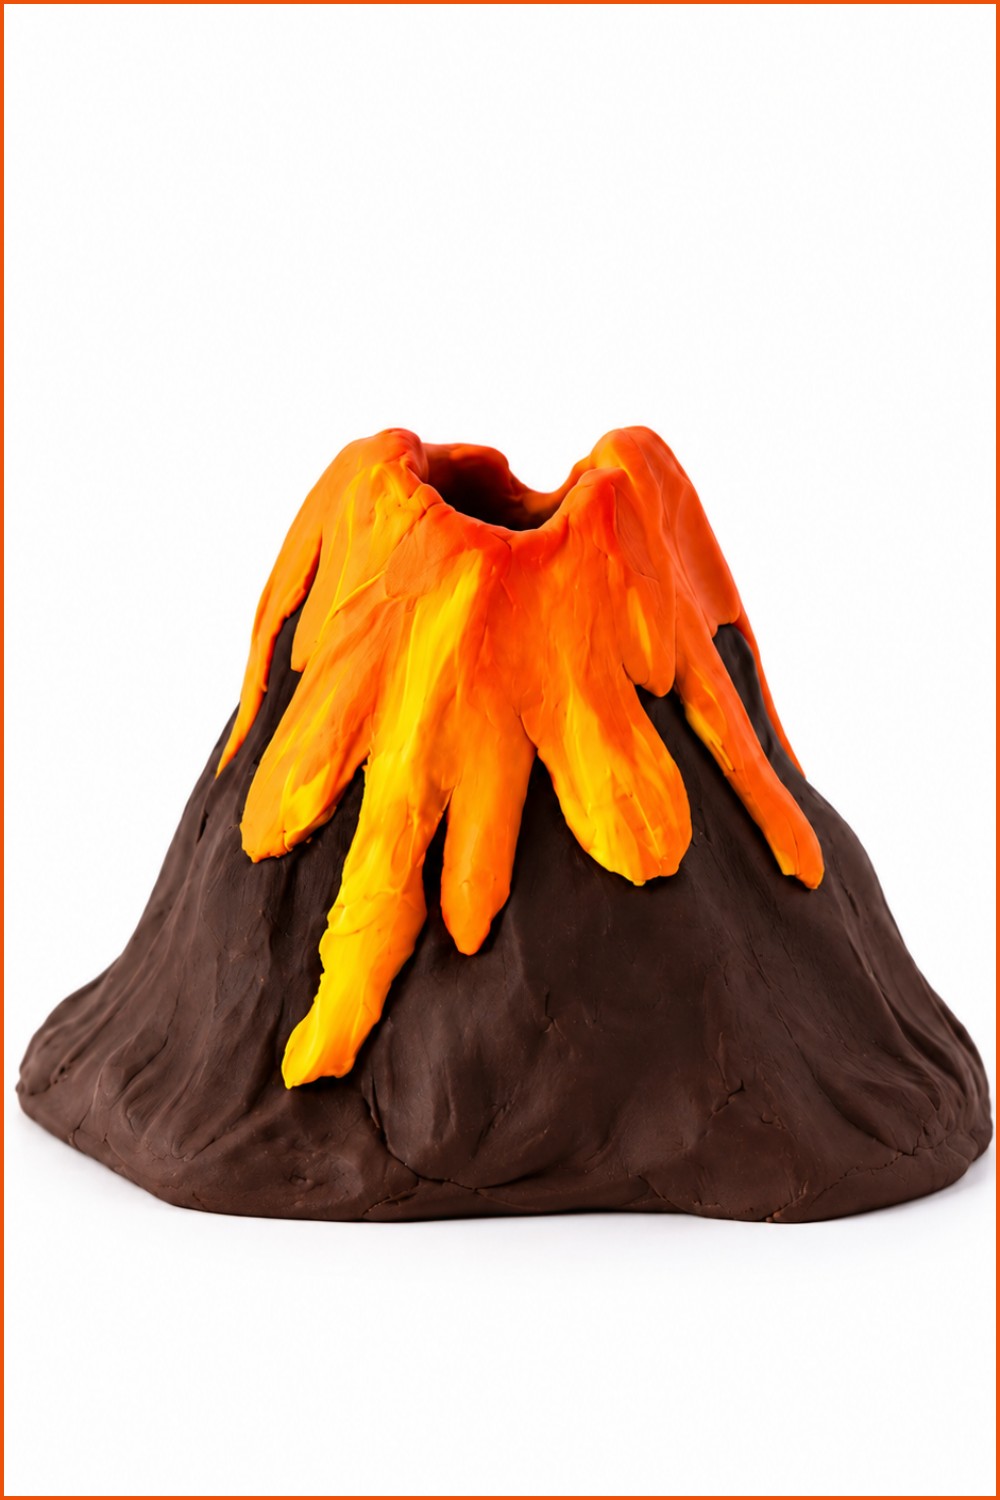
Watch your DIY Polymer Clay Glowing Volcano shine with fiery colors and realistic mountain details while adding a dramatic touch to any room.
A small volcano can turn an ordinary table into an exciting display with its rocky shape, bright lava, and glowing effect. DIY Polymer Clay Glowing Volcano is a fun project that shows the beauty of a tiny mountain with hot lava flowing down its sides. The rough surface, dark colors, and bright orange details give it a bold and realistic appearance. The creative idea and original tutorial come from Clueless Crafts, who deserves full credit for this wonderful design. This little volcano is interesting because it looks like a real mountain during an eruption, but in a much smaller size.
Handmade DIY Polymer Clay Glowing Volcano For Table Decoration
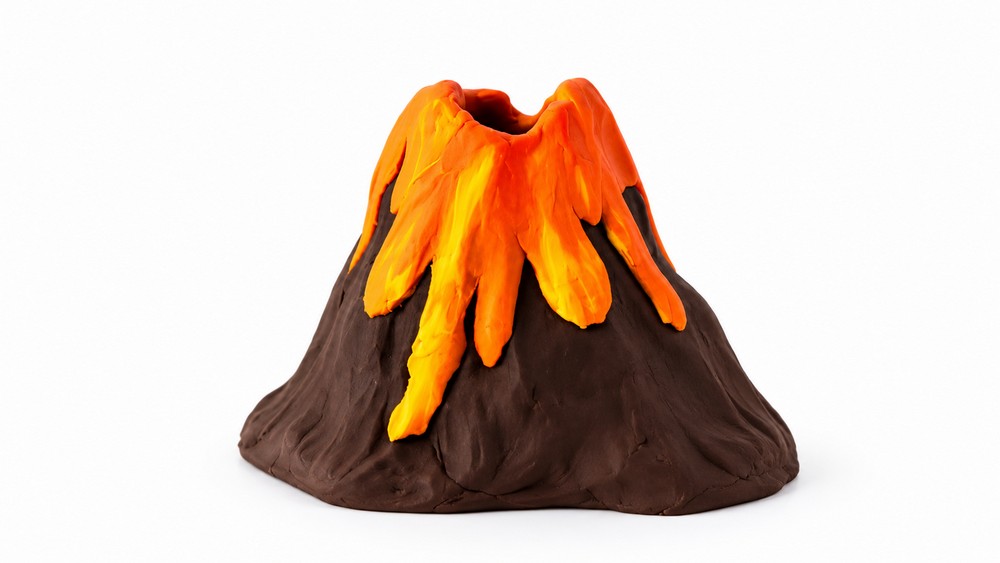
The most attractive part of this project is its glowing lava effect. The bright areas stand out against the darker mountain, giving the volcano a fiery appearance. Its uneven edges, raised surface, and flowing lava lines add more natural details. Polymer clay helps form the mountain shape and its small rocky features.
The colors work together to show the difference between the solid outer surface and the hot lava inside. Every little detail adds something special to the finished piece.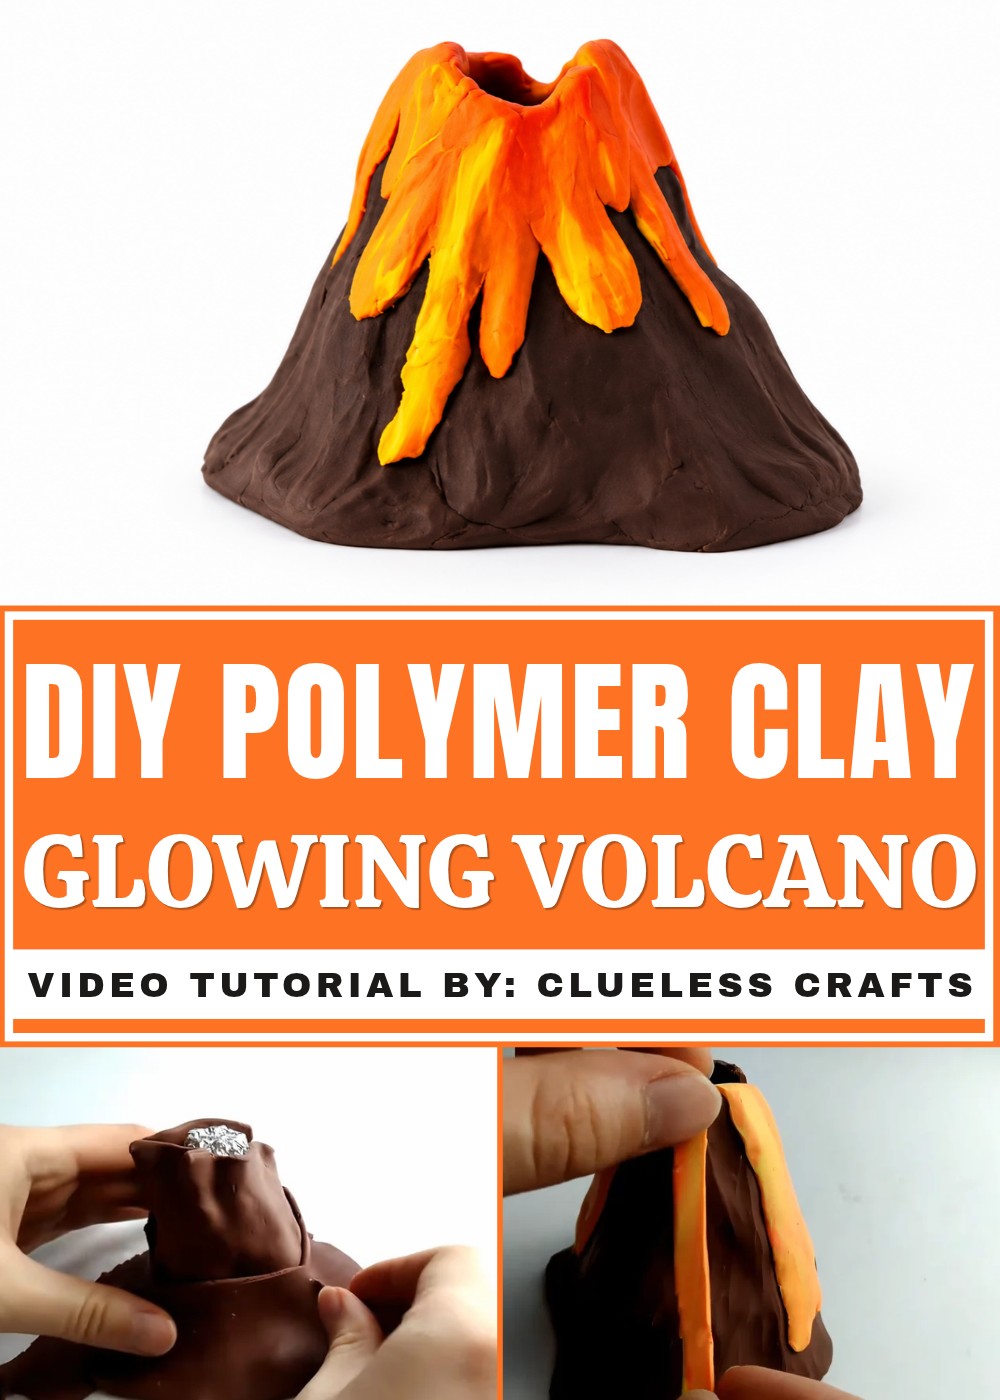
This tiny mountain can sit on a study desk, bedroom shelf, or display table as an unusual decoration. It is also a nice idea for people who love science, nature, and miniature models. The glowing effect gives it extra beauty, especially in a darker room. With its strong mountain shape and bright lava details, this small project offers a playful way to show the amazing power of a volcano through simple handmade art.
How to Make a Glowing Volcano with Polymer Clay
Create a stunning miniature volcano that glows from the inside! This easy project uses polymer clay and a tealight candle or battery-operated light to make a fiery volcano that lights up. Follow these simple steps for a fun and eye-catching craft
Project Details
This glowing volcano project is a creative and fun craft that combines polymer clay sculpting with basic lighting effects. Designed for beginners, it involves shaping aluminum foil as a core, covering it with textured brown clay to mimic volcanic rock, and adding vibrant lava details using orange and yellow clay. The hollow volcanic shape houses a tealight candle—either battery-operated or real—that illuminates the inside, making the lava “glow” through strategically placed slits. The project requires simple tools and materials, encourages patience during foil removal, and offers hands-on experience in clay modeling, blending, and layering. The final result is an eye-catching miniature volcano perfect for decoration or gifts.
Materials and Tools
- Aluminum foil
- Polymer clay in the following colors:
- Dark brown
- Light brown
- Orange
- Yellow
- Tealight candle (battery-operated or real)
- Liquid clay (polymer clay adhesive)
- Knife or cutting tool
- Finger or blending tool for smoothing clay
- Oven for baking polymer clay
Step-by-Step Instructions
1. Making the Volcano Shape
- Tear off a sheet of aluminum foil and shape it into a condensed cone.
- Make sure the base of the cone is slightly wider than your tealight candle because the candle will fit inside the volcano later.
- Mix dark brown and light brown clay together by rolling and kneading until combined.
- Roll out the mixed brown clay until flat enough to drape over your aluminum cone.
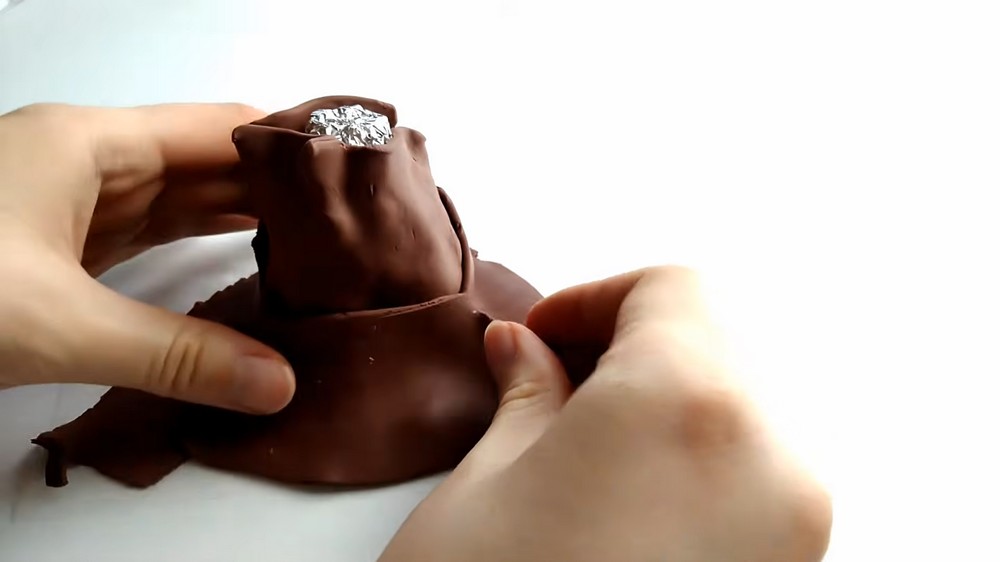
- Carefully wrap the clay around the foil cone, trimming off any excess clay at the bottom to form a triangle-shaped base.
- Continue draping and trimming so the base is neat and stable.
2. Adding Texture and Detailing the Volcano
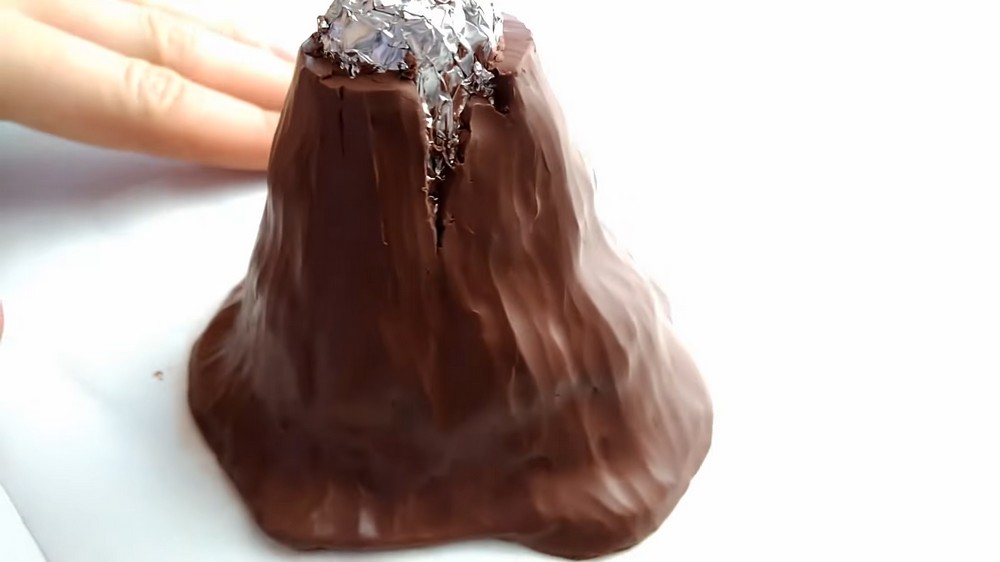
- Blend the edges and surface of the clay with your finger or a clay tool to smooth joins but keep a naturally rough texture.
- Rough up the surface by pinching and moving the clay with your fingers until it looks like rocky volcanic terrain.
- Optionally, you can slice off the top layer of clay neatly to create a clean opening, but this is not required because you'll add more clay later.
- Cut small slits at the top of the volcano to allow light to shine through.
- Trim the bottom edges cleanly in one long cut.
- Blend the bottom edges smoothly with your finger or tool to finish the base.
3. Baking the Volcano Base
- Place your volcano on a baking tray.
- Bake it according to the instructions for your brand of polymer clay. (Typically, bake at 265°F / 130°C for 15-30 minutes.)
- Let your volcano cool completely before moving on to the next step.
4. Removing the Aluminum Foil Core
- Carefully rip out the aluminum foil from inside the volcano.
- This can be a bit tedious; take your time removing enough foil to loosen the shape.
- Once loosened, most of the foil will come out easily in one go.
- The inside will now have a shiny aluminum texture, adding a nice effect.
5. Creating the Lava
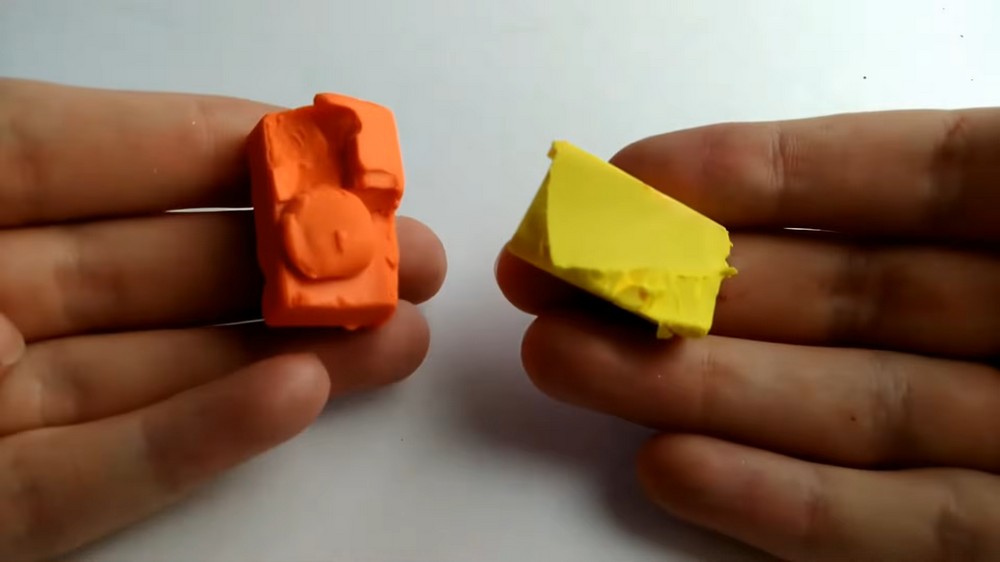
- Take orange and yellow polymer clay and fold them together repeatedly to create a mixed marbled effect but avoid overmixing — patches of both colors should remain visible.
- Cut small sections of this orange-yellow clay mixture.
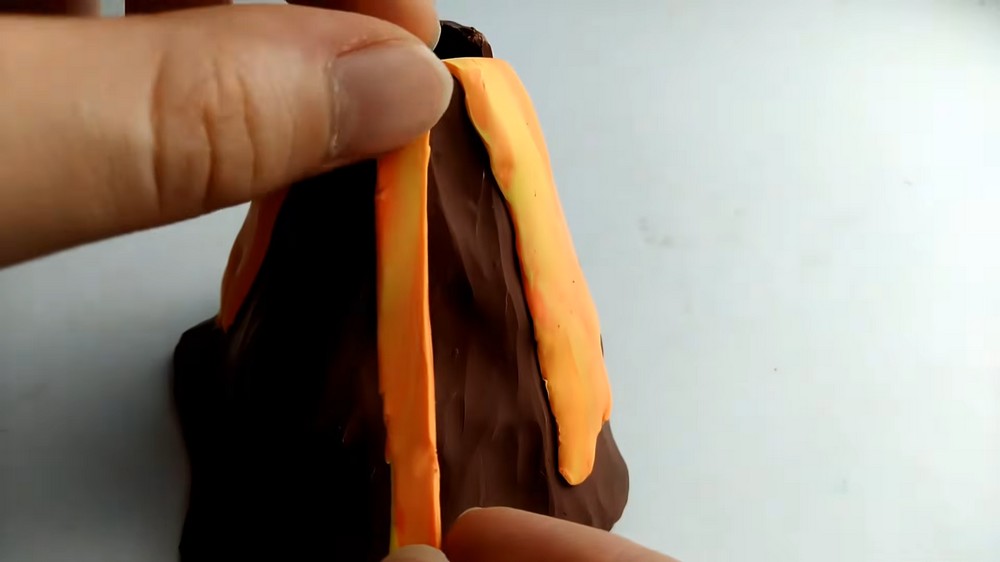
- Drape these small pieces around the top edge of the volcano to simulate flowing lava.
- You can add as much or as little lava as you like, covering the volcano’s rim evenly or with gaps.
6. Securing and Blending the Lava
- Use a small amount of liquid clay to glue all the lava pieces onto the volcano.
- If you know your lava placement in advance, apply liquid clay before placing; otherwise, apply it afterward to secure pieces.
- Once all lava pieces are placed, the volcano may look messy; gently blend all the edges of the lava clay into the volcano base using your finger or a tool for a smooth transition.
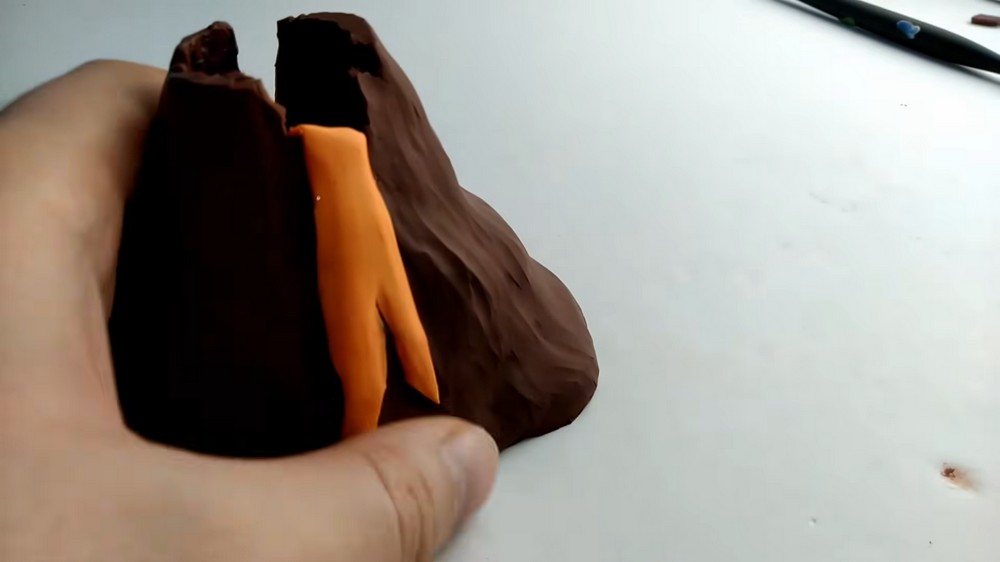
- Add extra orange clay inside the volcano’s opening to enhance the glowing lava illusion.
- Blend this clay smoothly inside the top for depth.
7. Final Baking
- Bake the volcano again per polymer clay instructions to harden the added lava clay.
- Allow to cool completely before the next step.
8. Adding the Glow
- Place your battery-operated or real tealight candle inside the hollow volcano.
- Turn on the battery tealight or light the tealight candle.
- Watch as your volcano glows from the inside through the slits and opening, creating a realistic lava effect.
Important Tips
- Be careful with a real candle, as the volcano can get hot when the candle is lit.
- Make sure the clay is completely cool before inserting the candle to avoid burns.
- Keep your cuts smooth and neat, but texture on the volcano should look natural and rough.
- Use fingers for blending lava edges; this helps soften hard lines for a natural melted look.
- Be patient when removing the foil — it can take some time but the shiny interior is worth the effort!