Shape a cute DIY Polymer Clay Santa Claus with simple steps and colorful clay, a fun Christmas decoration for your home, holiday displays, or handmade gifts.
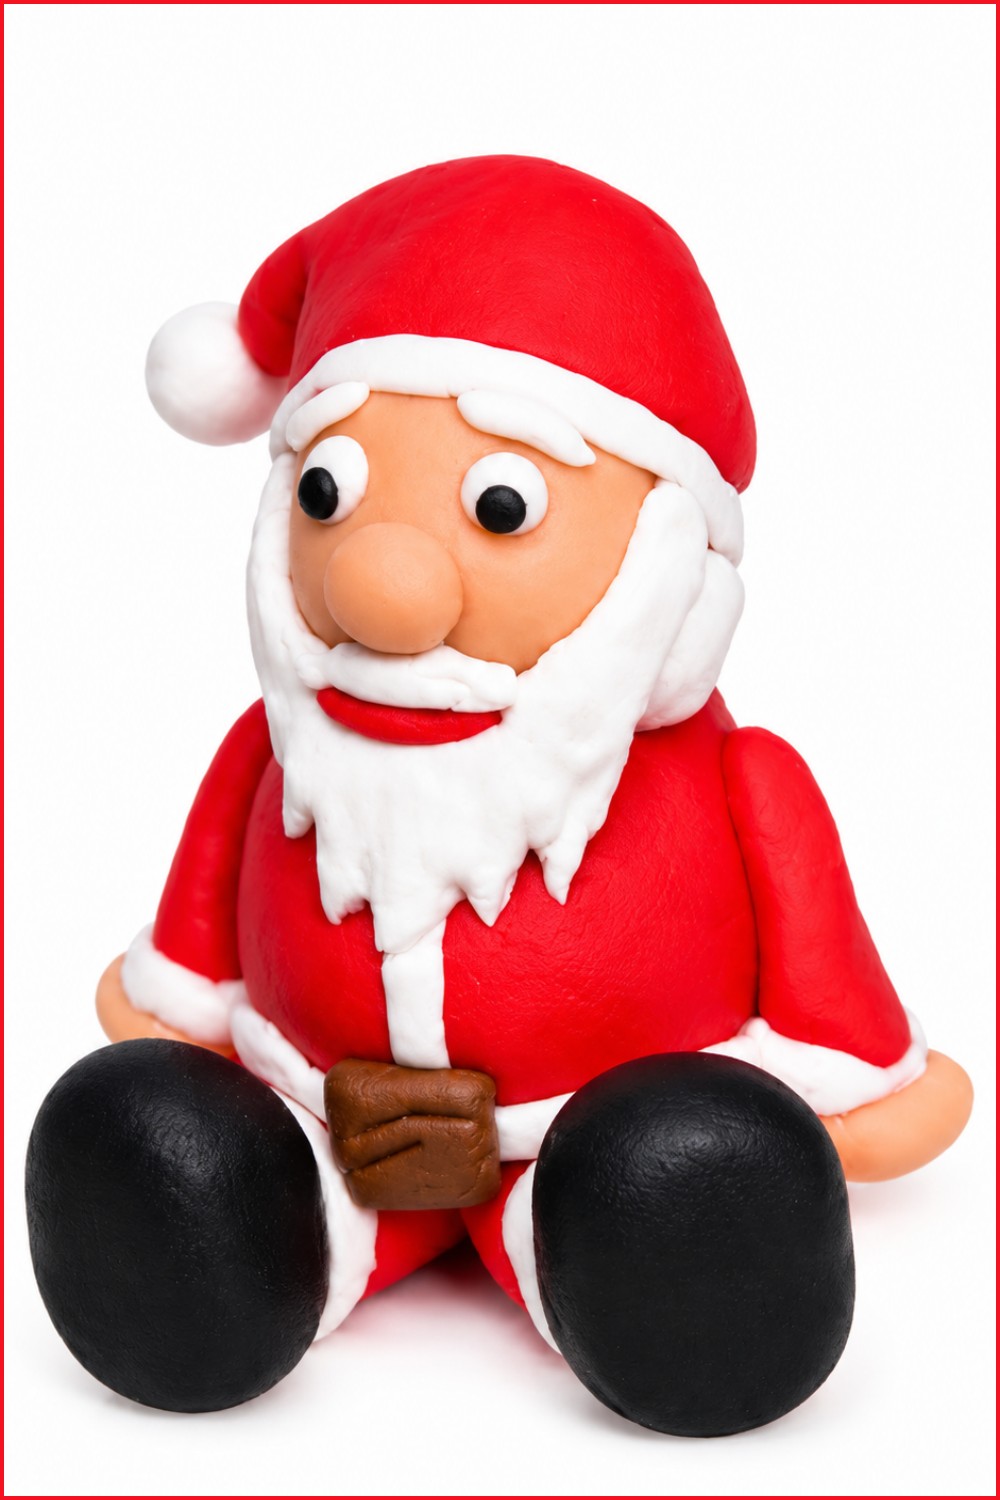
Build it like Billy shares a lovely holiday project that shows how a few small pieces of clay can turn into a cute Santa figure for Christmas. DIY Polymer Clay Santa Claus is a simple Christmas idea with a traditional look and lovely little details. Santa has a bright red outfit, a long white beard, a pointed hat, and a small round nose. His tiny size and cheerful face give him a friendly appearance that is easy to recognize.
Handmade DIY Polymer Clay Santa Claus For Holiday Decor
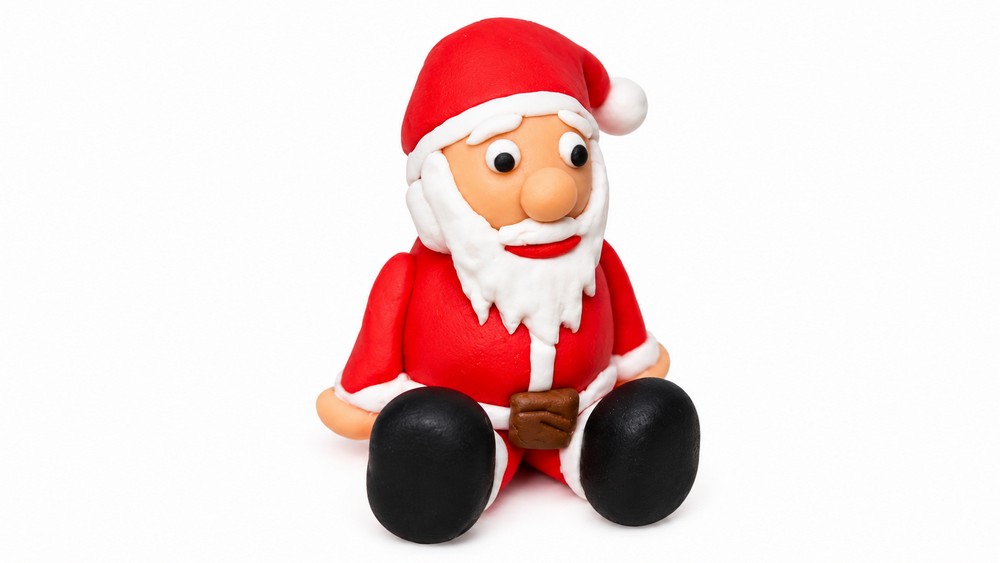
The most interesting part of this figure is how the different shapes fit together. His large hat sits neatly above his face, while the white beard covers the lower part of his head. A little black belt gives his clothes a familiar Santa look. His short arms and small feet complete the figure without adding too many details.
The process begins by shaping colored polymer clay into the main body, head, and clothing pieces. Smaller amounts of clay are then used for his beard, nose, and other details. Each part is gently attached to keep the figure balanced and neat.
This little Santa is a nice choice for decorating a Christmas table, living room, or shelf. You can also place it near a small Christmas tree or give it to someone as a holiday gift.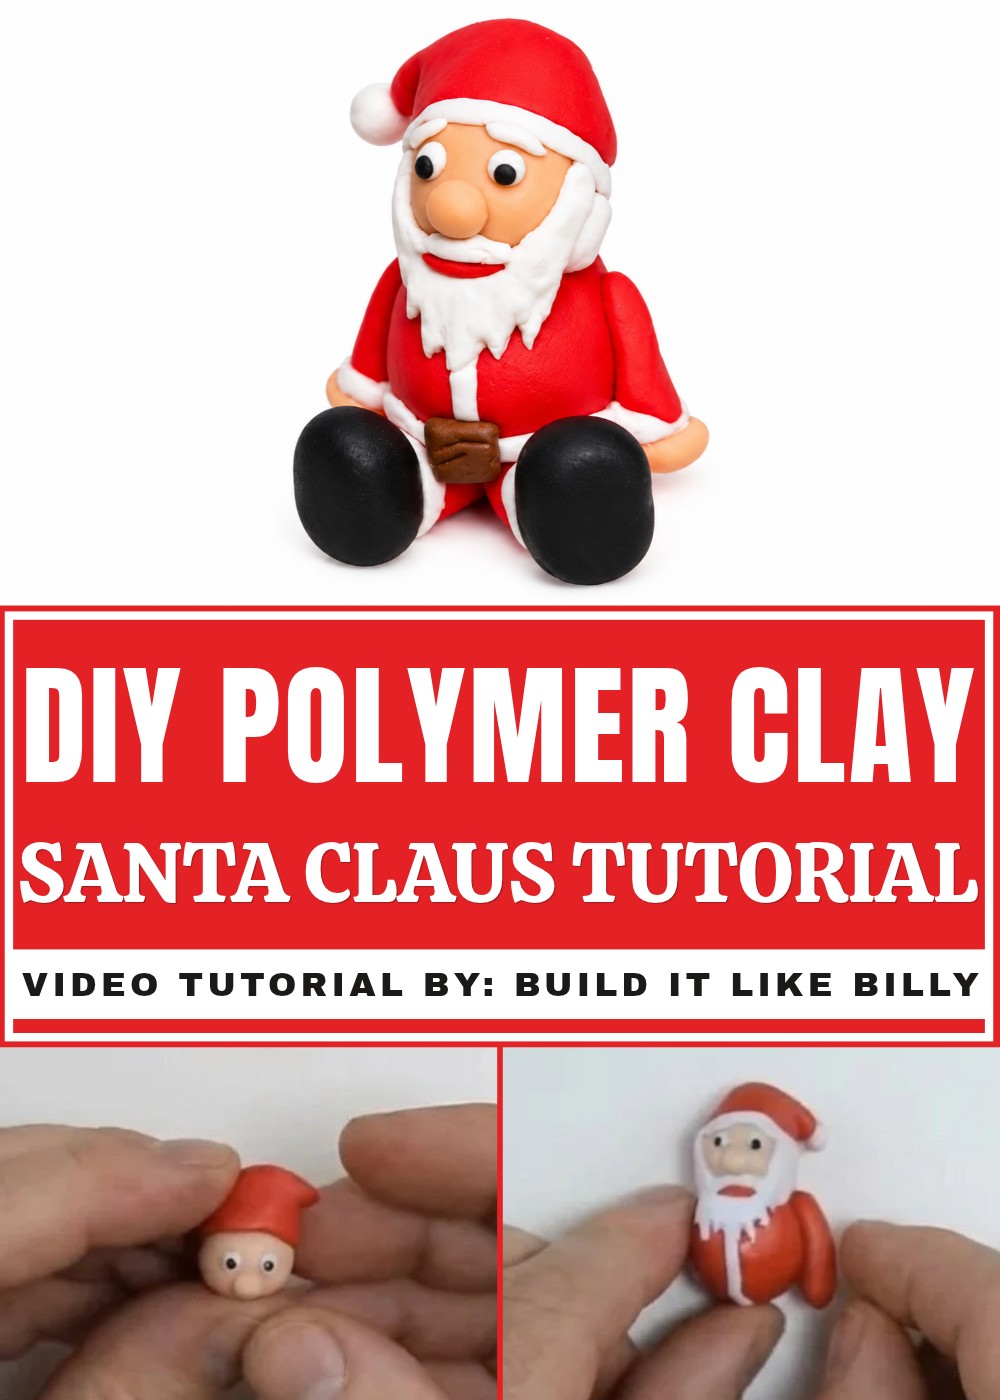
The finished Santa adds a happy touch to Christmas decorations without needing much space. Its familiar red clothes, simple shape, and handmade appearance give it a special feel that suits the holiday season.
How to Make a Sitting Santa Figurine with Polymer Clay
Celebrate the holiday season by creating your own charming sitting Santa figure using polymer clay! This tutorial will guide you step-by-step on sculpting and assembling your Santa, perfect to bake and keep as a festive decoration year after year. If you don’t have polymer clay, you can also use plasticine or play-doh to craft your Santa.
Materials and Tools
- Polymer clay in these colors:
- Skin tone (for head and face)
- White (for beard, trims, hair, eyebrows)
- Red (for Santa’s jacket, legs, mouth)
- Black (for boots, eyes, belt)
- Brown (for hat)
- Clay modeling tools (e.g., doodling tool, scissors)
- Rolling pin or smooth surface for flattening clay
- Baking oven (for polymer clay)
- Toothpick or small brush for attaching small details
Step-by-Step Instructions
1. Start with Santa’s Head
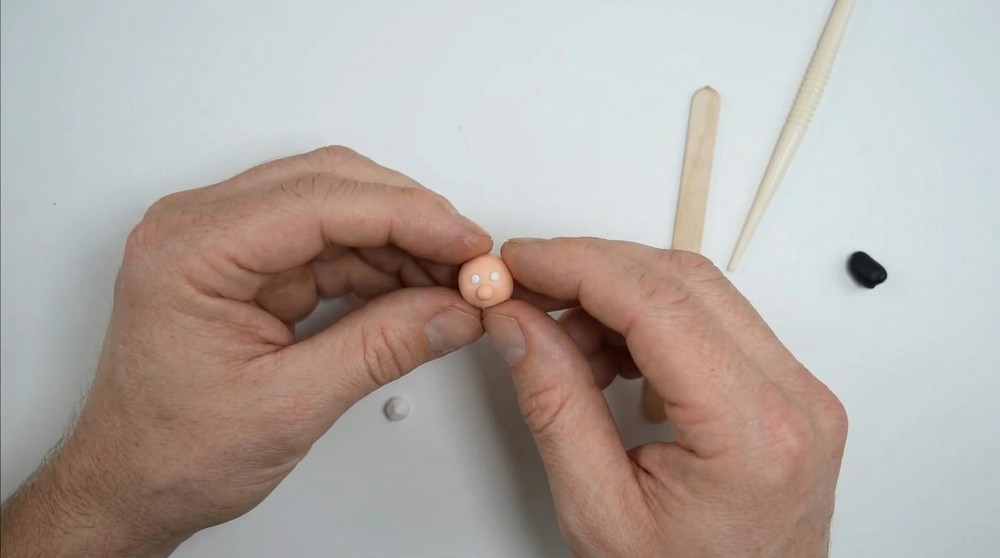
- Take a portion of skin-colored clay and roll it into a smooth ball for the head.
- Form a small nose by adding a tiny piece of clay and gently pressing it onto the face.
- Create two indentations where Santa’s cheeks or eye areas will be using your fingers or a tool.
- Add eyes using white clay: place tiny white balls into the indentations and flatten slightly.
- Add pupils by placing tiny black clay pieces on top of the white parts. Flatten gently so they stick well.
2. Make Santa’s Hat
- Use brown clay to shape the hat. Roll and form it so it fits snugly on top of the head.
- Roll out a small length of white clay for the trim of the hat. Flatten it and place it around the base of the hat.
- Attach the hat to the head securely.
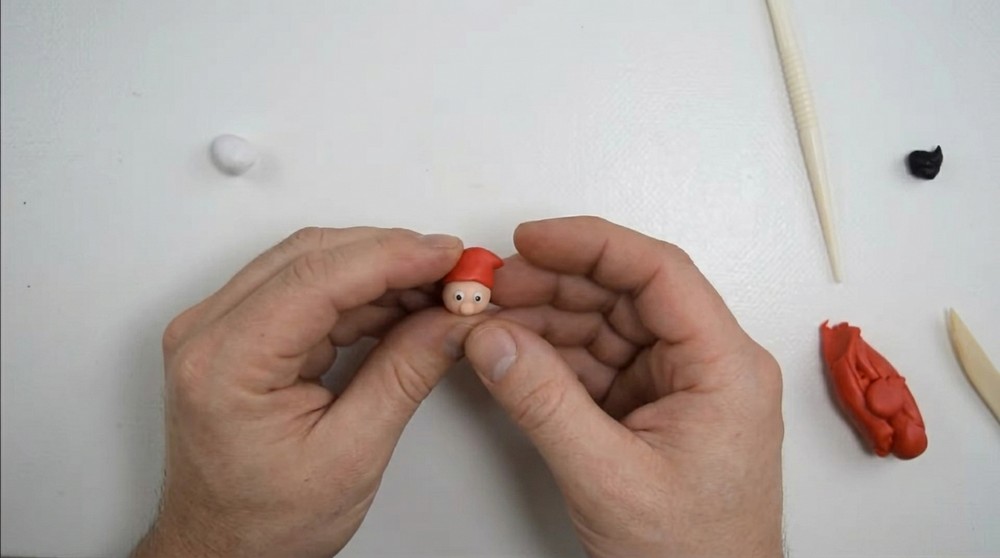
3. Sculpt the Body
- Shape red clay into a small, rounded body to connect with the head.
- Join the head to the body by gently pressing them together.
- Roll out a length of white clay and flatten it to create the jacket trim. Wrap it gently around Santa’s neck and down the front of his jacket.
- For his beard, cut a white clay shape and place it below the nose, attaching it carefully.
4. Add Hair and Facial Details
- Make some white clay hair strands for the back of the head. Attach them smoothly for a natural look.
- Use white clay to make eyebrows; place them above the eyes.
- Create a small red mouth with red clay, shaping it to give Santa expression.
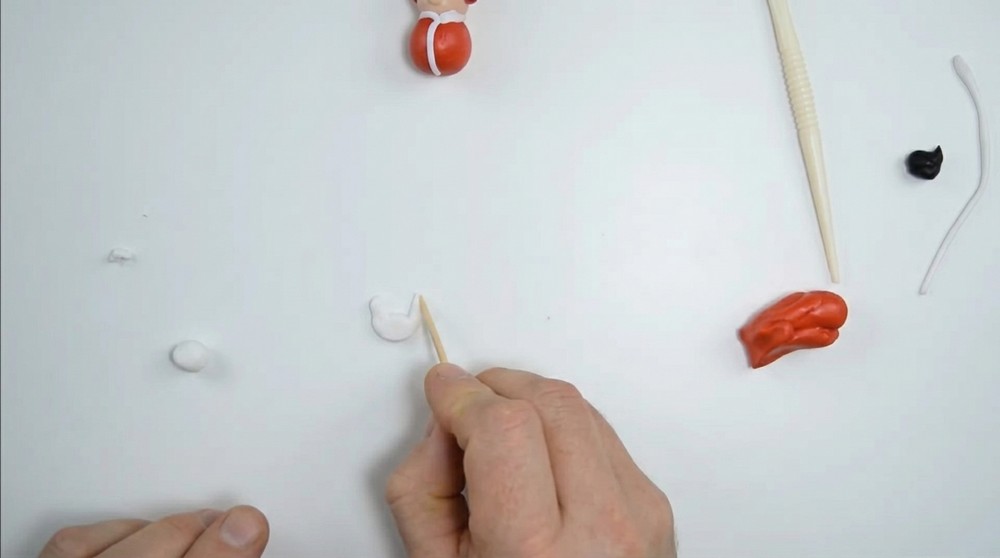
5. Create and Attach Arms
- Roll two arms from red clay. Trim one if it’s bigger than the other, and even them out with scissors.
- At the bottom of each arm, flatten two small white clay balls for sleeve trims and attach securely.
- Sculpt hands from skin-colored clay and attach them to the arms.
- Attach the arms on each side of the body.
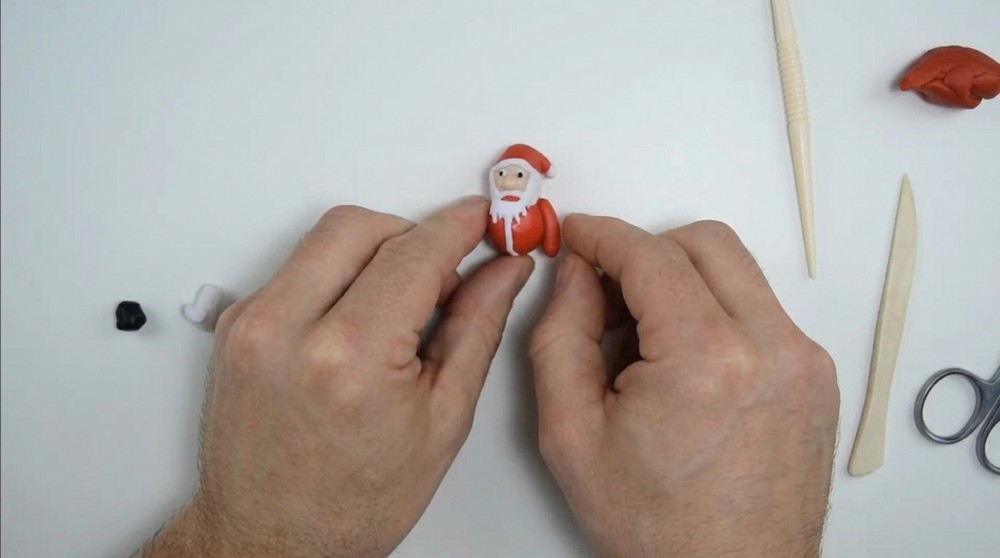
6. Finish Jacket and Boots
- Add a white trim around the bottom edge of the jacket by flattening white clay and attaching it neatly.
- For boots, form two black clay balls and shape them into boots. Attach the boots at the base of the legs.
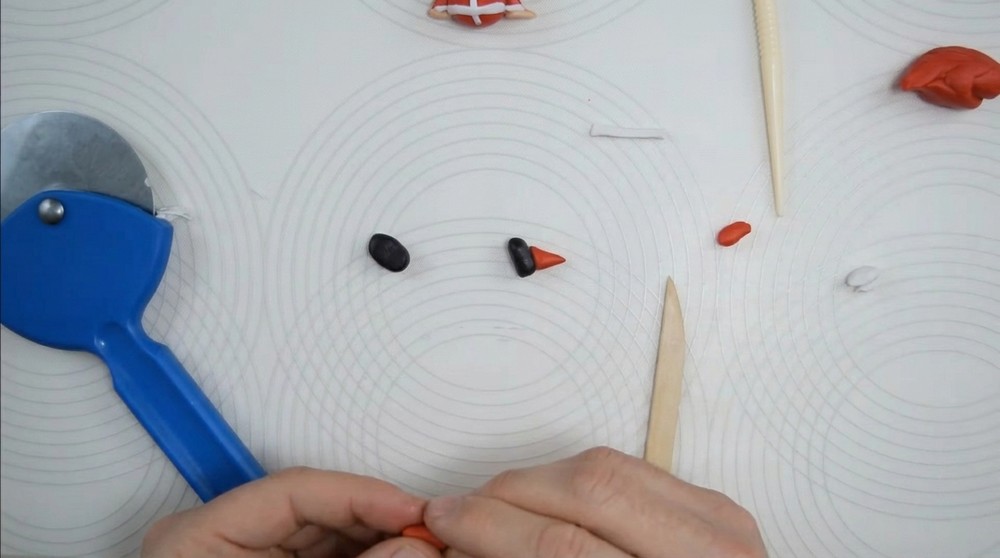
7. Make Legs and Add Trousers Trim
- Roll out red clay for the legs, flatten lightly to form the shape, and attach beneath the body.
- Add a small white clay trim around the bottom of each trouser leg for detail.
8. Create the Belt and Buckle
- Roll a thin strip of black clay as the belt and wrap it around Santa’s waist.
- For the belt buckle, flatten a small piece of clay and attach it centered on the belt. You may add detail by shaping the buckle slightly.
9. Final Adjustments
- Tidy up any uneven or rough areas, especially the beard and facial features.
- Give Santa a gentle smile by adjusting the mouth shape if needed.
Baking Your Santa
- Once your sculpture is complete and you are happy with the details, bake it according to your polymer clay manufacturer's instructions (typically at around 110°C or 230°F for 20-30 minutes).
- Allow the figure to cool completely after baking before handling.
You now have a delightful sitting Santa decorated with classic details like a fluffy beard, a cozy hat, and festive clothing trims. This charming figure will brighten up your holiday decorations or make a perfect handmade gift.