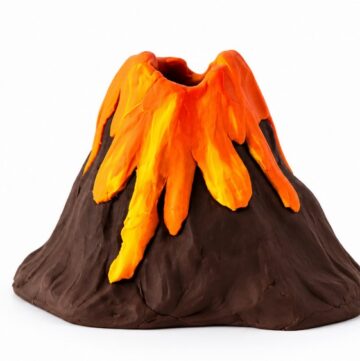
Decorate your gaming shelf with DIY Polymer Clay Santa Elf Goomba, a charming holiday character with tiny details and a cheerful Christmas look.
Try this festive characters they are always fun to see, but a familiar video game character wearing holiday clothes can feel even more exciting. The DIY Polymer Clay Santa Elf Goomba is a playful clay project inspired by the famous Goomba from the Mario games. Dressed in a festive elf outfit, this little character has a funny appearance that combines gaming fun with Christmas spirit.
Cedric PF shares this creative DIY tutorial, showing an interesting way to give a well-known game character a holiday makeover.
Holiday DIY Polymer Clay Santa Elf Goomba With Cute Details
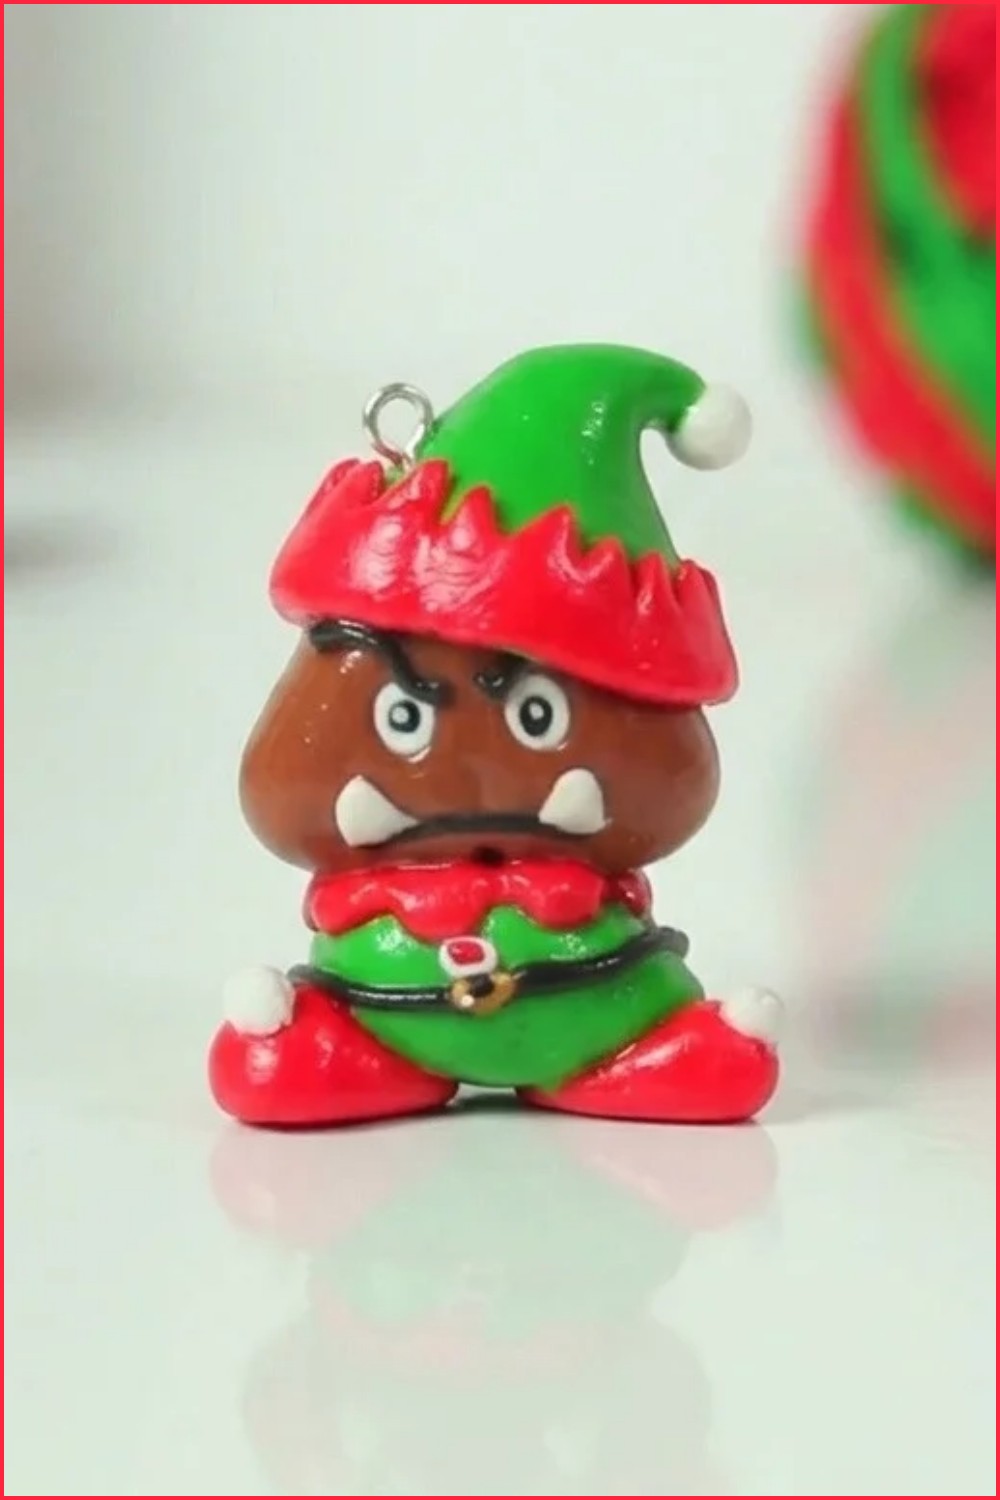
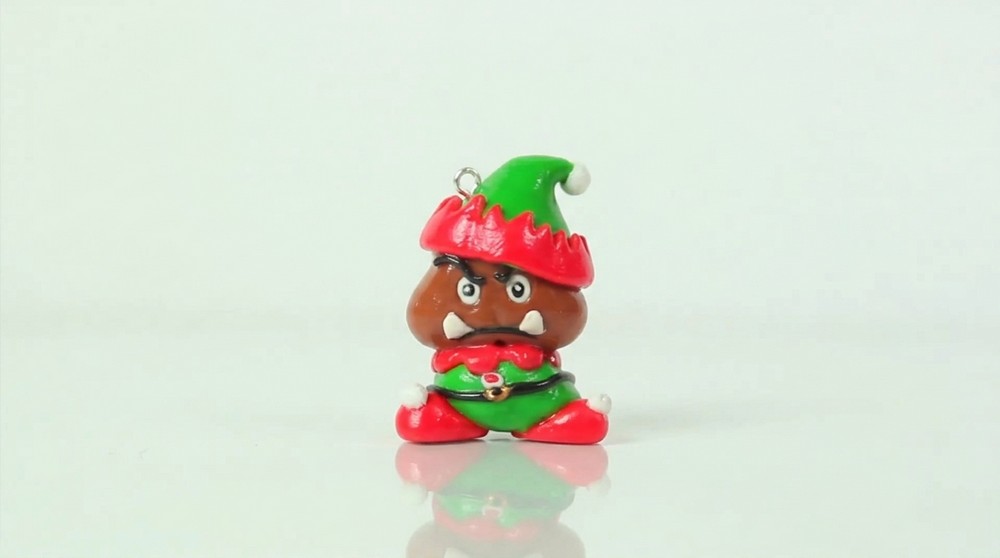
The Goomba has its familiar mushroom-shaped head, thick eyebrows, and wide eyes that give it a slightly grumpy expression. Its little feet support the round body, while the Santa elf clothing adds a festive touch. A pointed hat, bright colors, and small outfit details help give the character a Christmas look without losing its original identity.
Polymer clay allows you to shape the character's features using your fingers and simple modeling tools. The head, feet, and clothing details can be formed from separate pieces before being carefully joined. Small amounts of clay help shape the eyes, eyebrows, and other facial details. Once assembled, the figure can be baked according to the clay manufacturer's instructions.
This Goomba can decorate a gaming desk, sit beside a computer monitor, or become part of a Mario-themed Christmas collection. It is also a fun holiday present for a friend who loves Nintendo games.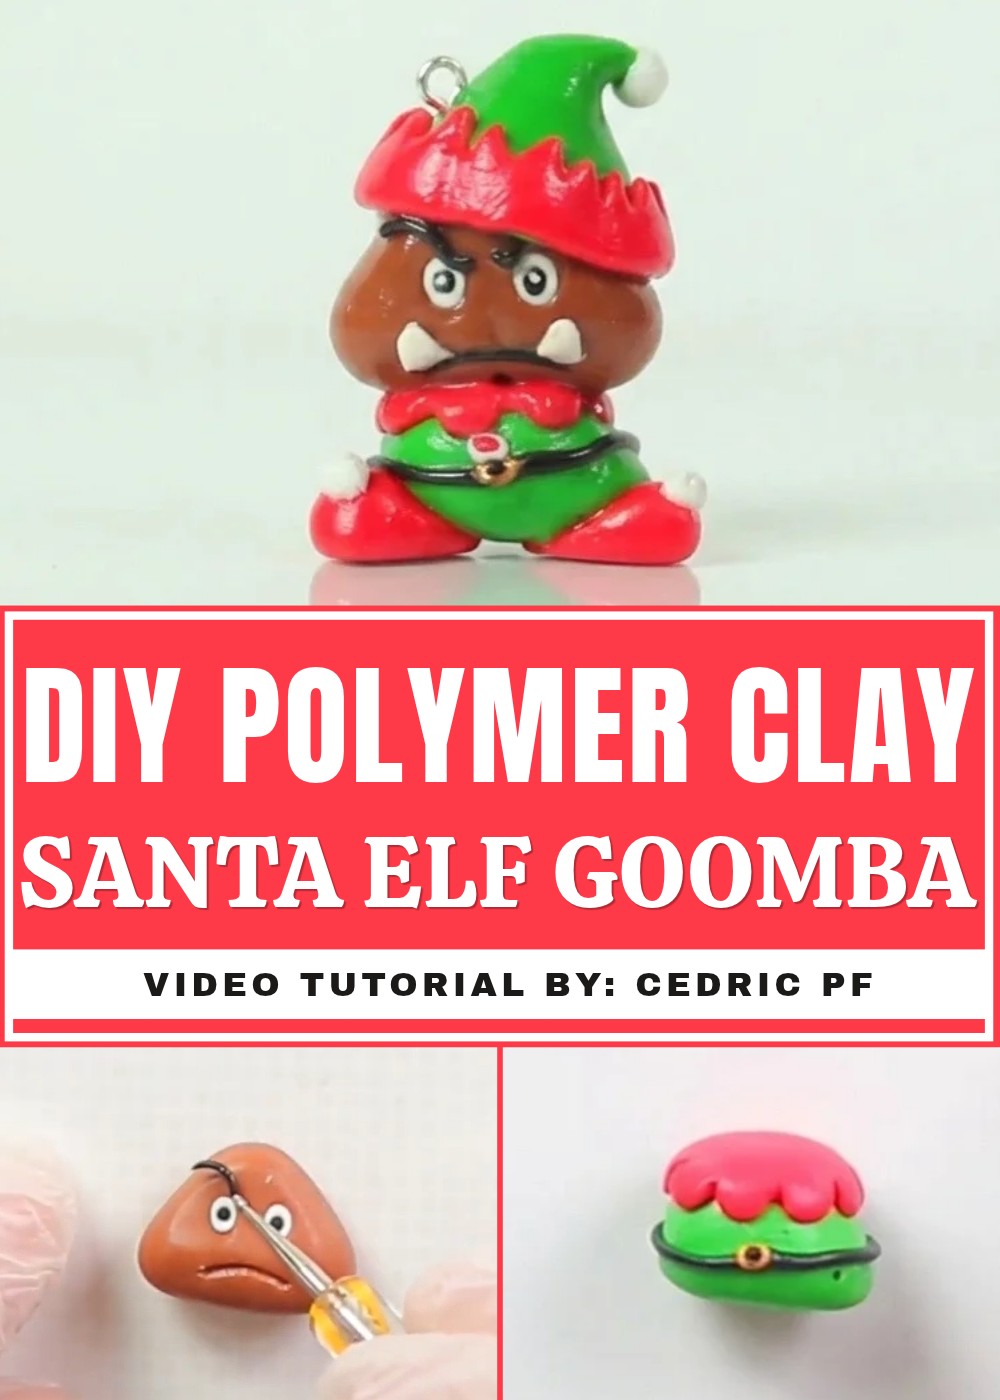
The mix of a grumpy game character and cheerful Christmas clothing gives this miniature figure its funny personality. It is a lovely DIY idea for anyone who likes clay art and video game characters.
How to Make a Santa’s Goomba Elf – A Festive Clay Tutorial
Get ready for Christmas with this fun and unique craft! In this tutorial, you will transform a classic Mario Goomba character into one of Santa’s elves using polymer clay. Follow the easy steps to sculpt the head, facial features, outfit, and accessories, then bake your creation for a festive decoration that glows with holiday spirit.
Materials and Tools
- Polymer clay in these colors:
- Caramel (for the Goomba head)
- Green (for elf clothes and hat)
- Red
- White
- Black
- Gold
- Clay modeling tools (doodling tool, scalpel, silicone brush)
- Rolling pin or smooth surface to flatten clay
- Toothpick or small brush for applying liquid clay (adhesive)
- Oven for baking polymer clay
- Liquid clay or superglue (to attach pieces)
Step-by-Step Instructions
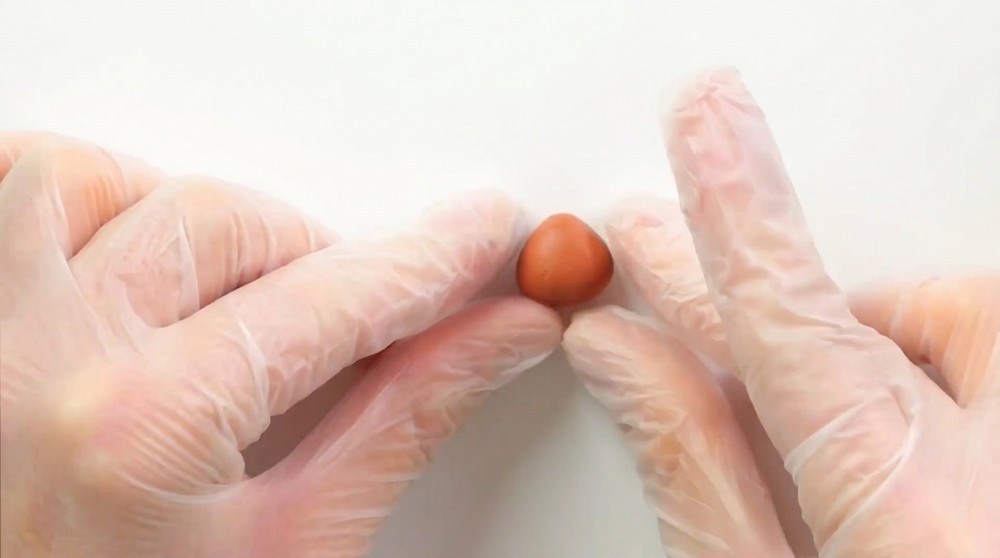
1. Sculpting the Goomba Head
- Start with a caramel-colored ball of clay.
- Shape it into a convex triangle shape to match the Goomba head. Use a doodling tool to help form this shape.
- Carve out the eye sockets carefully with a flat doodling tool.
- Roll two tiny balls of white clay and place them into the eye hollows. Slightly flatten them to fit perfectly.
- Take two very small balls of black clay for the pupils and place them in the center of the white eyes. Flatten slightly so they stick well and don’t fall off.
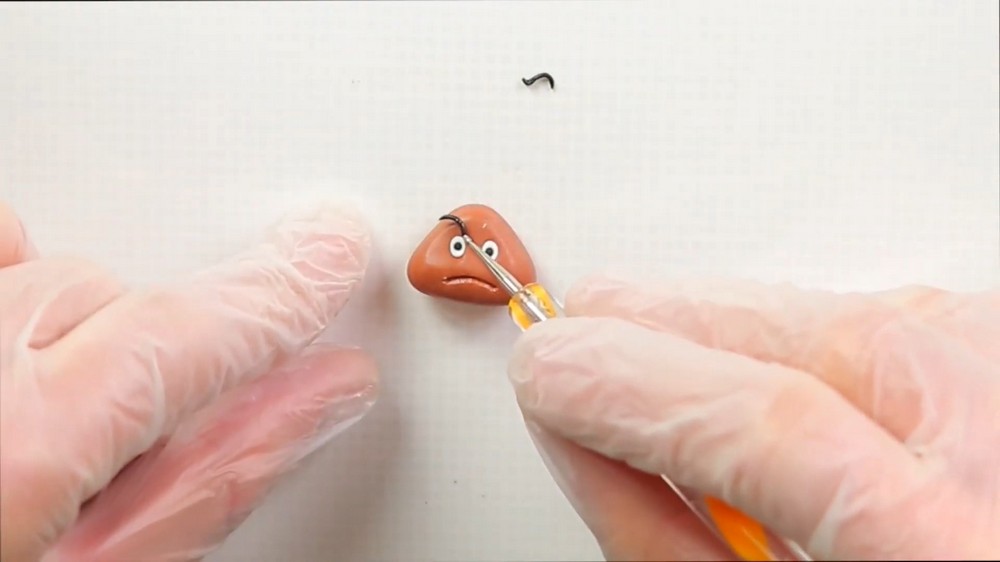
- After baking, create eyebrows: roll two thin sausages of black clay of the same size.
- Use a small tool to shape the eyebrows with a nice rounded curve and position them close to the eyes. The eyebrows form almost a “unibrow” shape but do not touch in the middle.
- Sculpt the mouth by hollowing out a small curve. Roll a thin black clay bead and place it inside the mouth hollow for definition.
- Create the teeth by taking a small white ball, flattening it, and cutting it in half. Position the teeth inside the mouth.
- Use tiny pieces of white clay cut with a scalpel to make eye highlights; place these over the pupils for a shiny, lively look.
2. Making the Elf Outfit
- For the body, take green (called “tropical” in the source) clay and shape it as shown in your reference or picture (usually a rounded triangular shape).
- Compare the body size with the head to trim it to the right height. Cut off any excess carefully.
- To make the collar, roll a ball of red clay, flatten it, and then cut it into many small triangles.
- Round the corners of these triangles with a doodling tool so they look like petals.
- Flatten the petals until thin; thick pieces won’t look as nice.
- Position the collar around the top of the outfit.
3. Adding the Belt and Details
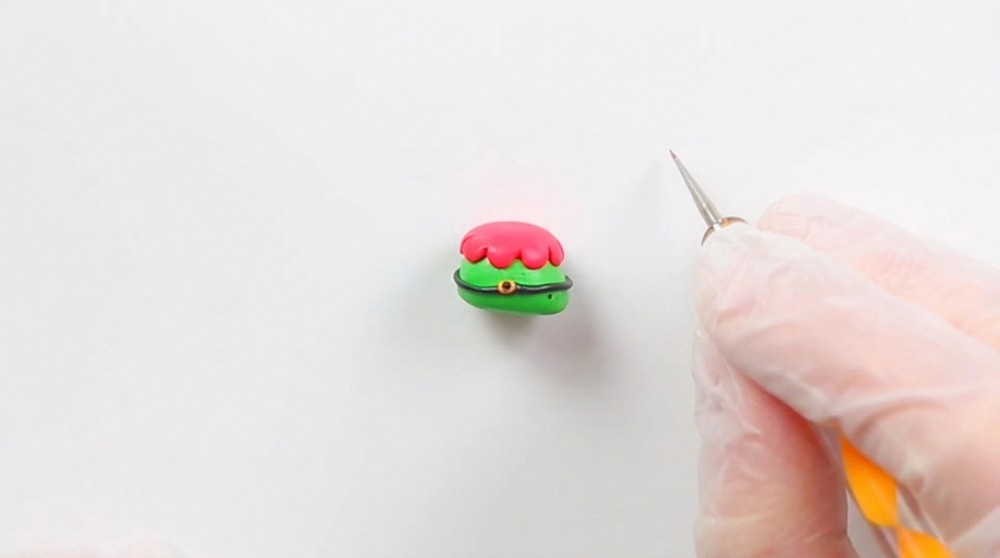
- Roll a thin black clay strip into a small roll and wrap it around the bottom center of the outfit for the belt.
- For the belt buckle, take a small gold ball, flatten it, and add a tiny black ball in the center.
- Attach the buckle in the middle of the belt, making sure the cut in the belt strip is aligned with it.
- Roll a small white ball and flatten it slightly for a button. Add a small red piece of clay in the center of the button.
- Position the button between the collar and belt buckle.
4. Creating Shoes and Pom-Poms
- Make two red oval balls of clay for the shoes.
- Apply a little liquid clay on top of the shoes to prepare for attaching the body.
- Position the body on the shoes, adjusting how you want your elf to stand.
- Roll three small equal pieces of white clay into balls and texture them with a needle tool to create pom-poms:
- Two pom-poms go on the toes of each shoe.
- The third pom-pom will later decorate the hat.
5. Making and Decorating the Hat
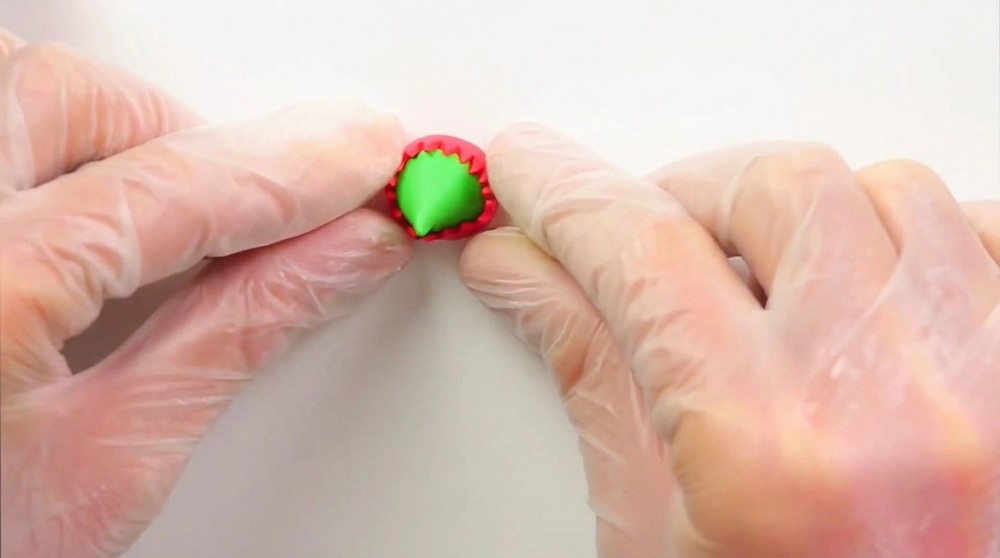
- Roll a ball of green clay and shape it into a cone for the elf’s hat.
- Use bowl-shaped tools of increasing size to hollow out the inside of the hat so it fits snugly on the head. Be gentle and test the fit often.
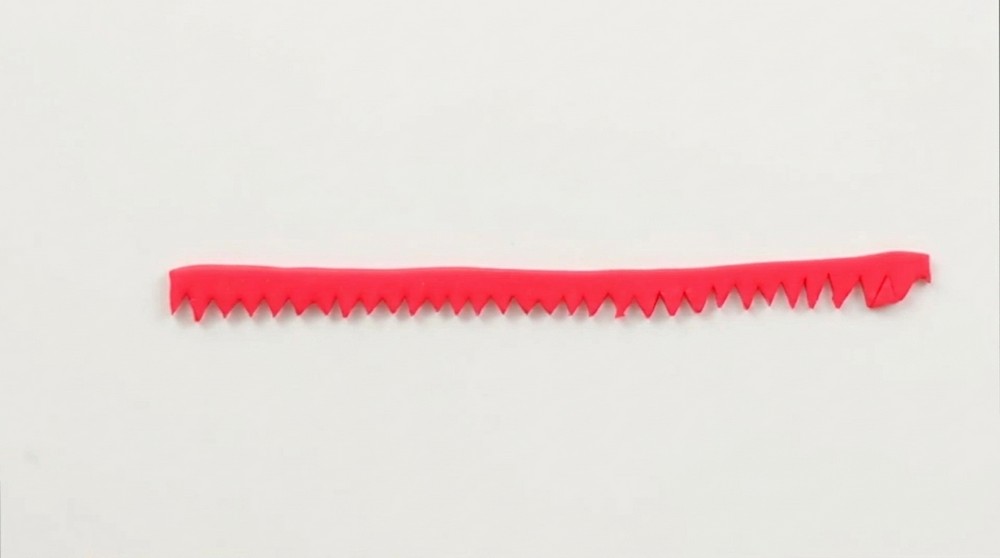
- Roll a strip of red clay and flatten it.
- Cut out many small “D” shaped triangles from the strip with a scalpel.
- Arrange these red clay triangles around the base of the hat, trimming the excess clay to fit.
- Use a silicone brush with liquid clay to gently weld the triangles onto the hat.
- Add the white pom-pom to the tip of the hat using liquid clay to secure it.
- Place a dab of liquid clay on the head to attach the hat securely.
- Add a small circular stud to help keep the hat in place permanently.
6. Baking the Finished Goomba Elf
- Bake your entire creation at 110°C (230°F) for 20 minutes according to polymer clay instructions and thickness.
- Once baked and cooled, your Santa’s Goomba Elf is ready for display!
Final Notes
- Take your time shaping each piece for the best results.
- Use references or pictures to help with details like eyebrow shape and collar petals.
- Liquid clay is essential for securely attaching small or delicate parts.
- Keep checking size relationships between head and body for balance.
- Let the piece cool completely after baking to avoid fingerprints or damage.