Create a charming DIY Polymer Clay Christmas Elf with this easy guide and add a handcrafted festive touch to your holiday decorations.
The holiday season is a beautiful time to stay cozy inside and try a new activity. If you enjoy making cute things, creating a DIY Polymer Clay Christmas Elf is a wonderful project to start. Full credit for this amazing tutorial and beautiful design goes to the original YouTube channel, Build it like Billy. This happy project shows you how to shape soft dough into a cheerful holiday helper. You do not need to be an expert to enjoy this activity, as the steps are very easy. With simple supplies, you can bring a smiling friend to life right at your kitchen table.
Festive Holiday Crafts: DIY Polymer Clay Elf
Reading about this joyful activity is exciting because it shows how to turn plain blocks of dough into something magical. You will learn the simple steps of rolling soft pieces to form tiny clothes, pointy ears, and a sweet smiling face. Doing this relaxing activity brings out a playful feeling in everyone. Once you bake it in your home oven, the little character becomes hard and strong so it will last. You will love discovering creative ways to add your own special touches, like a pointy hat or striped socks, to make him completely unique.
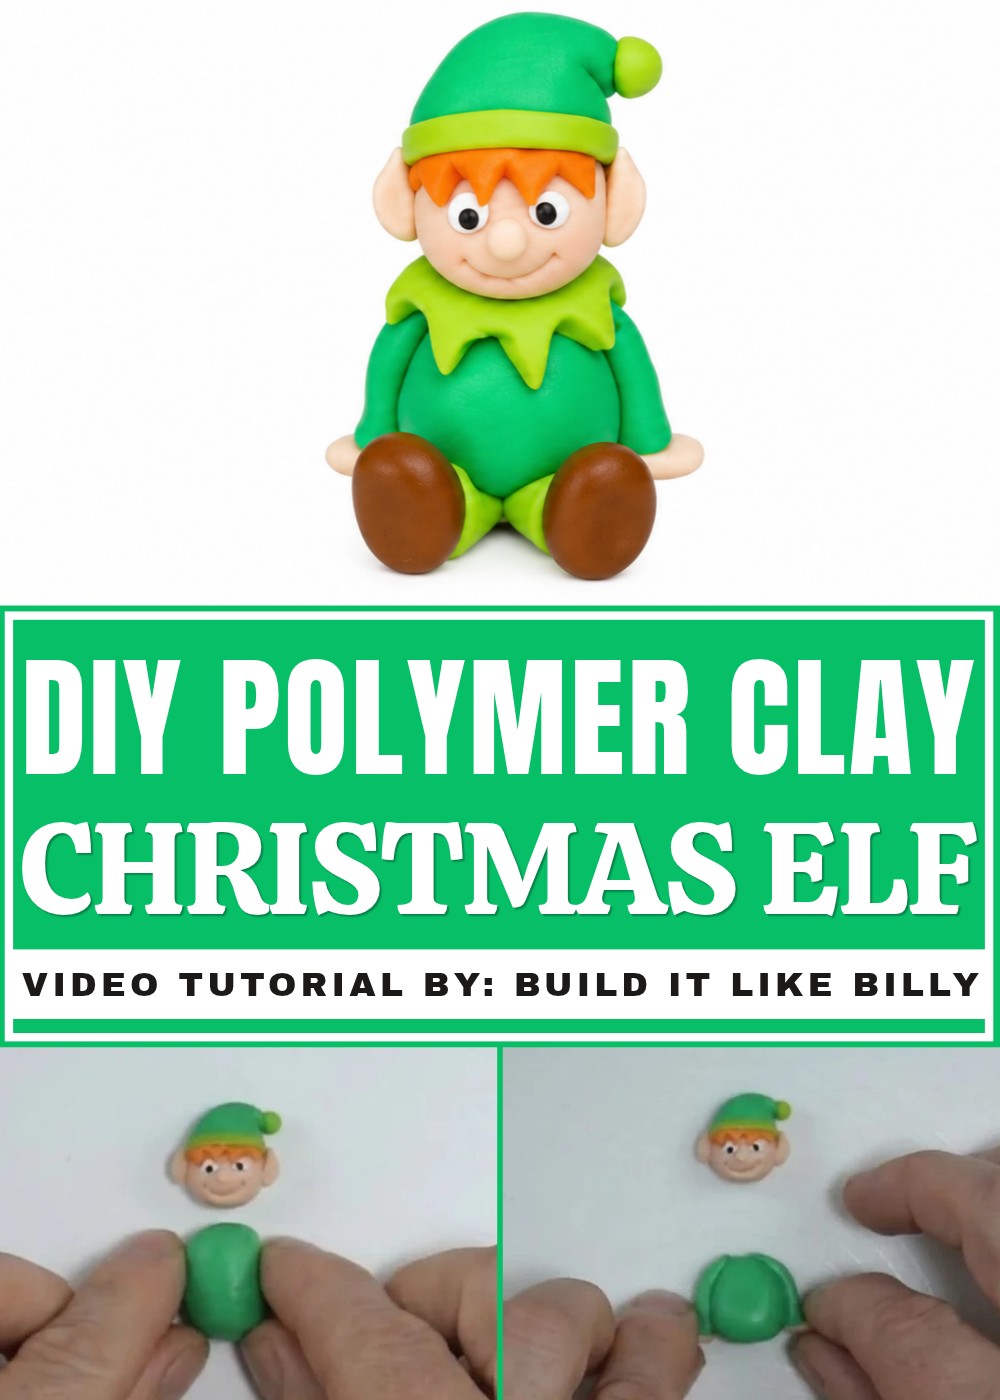
This charming little figure is not just enjoyable to form, but he also serves as a fantastic homemade gift for friends and family. You can attach a small string to hang him on your tree, sit him on a shelf to spread cheer, or give him to a neighbor. Building him is a happy experience that fills your room with festive memories. Learning about this beautiful handmade project will surely inspire you to grab some colorful dough and start shaping your very own festive buddy today.
How To Make A DIY Polymer Clay Elf Decoration
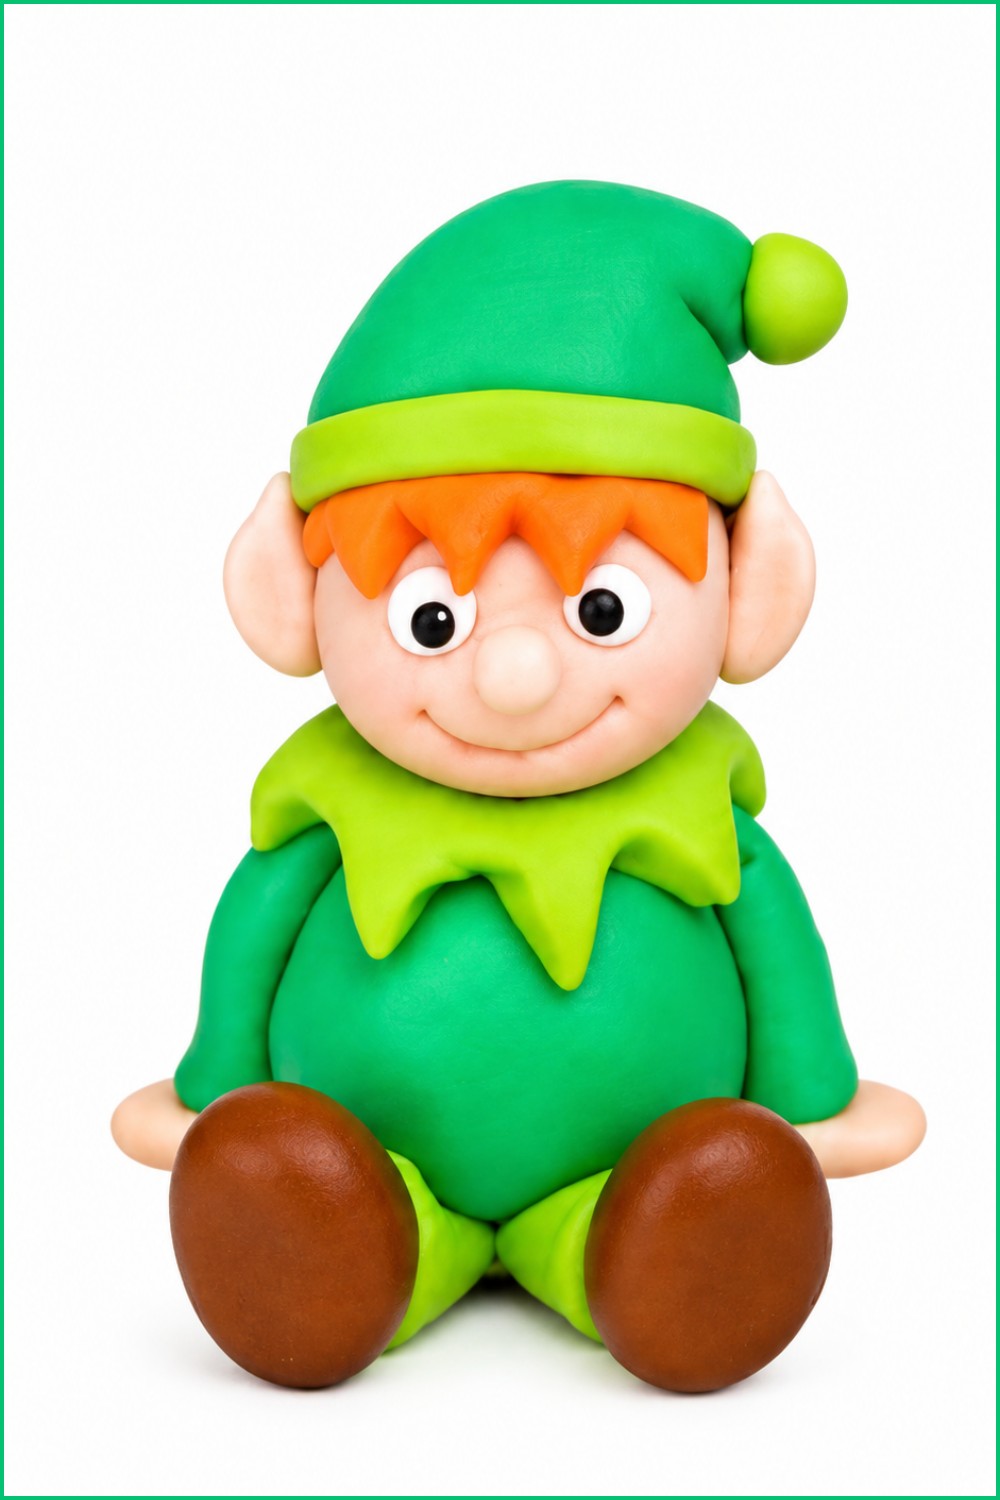
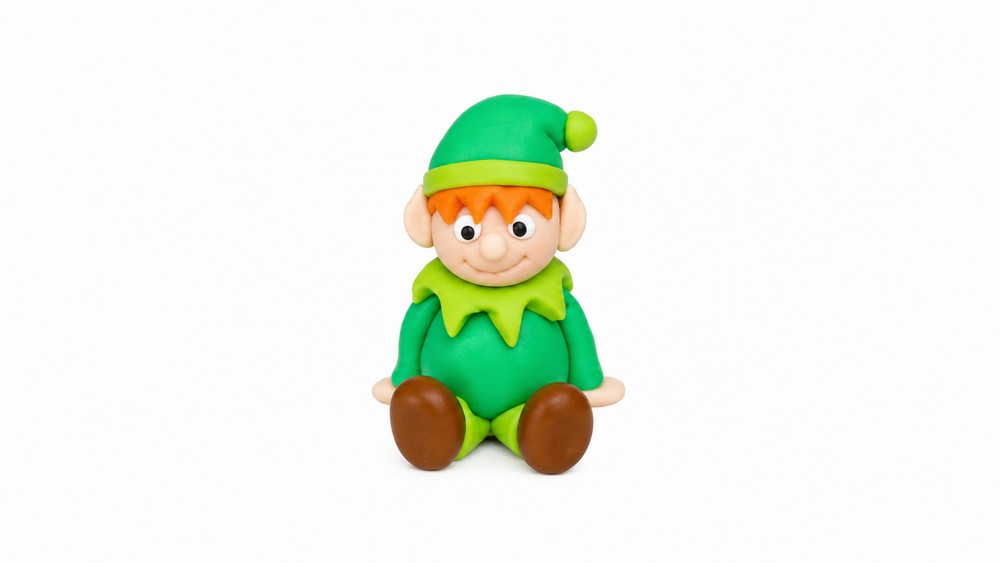
This festive polymer clay elf is a whimsical and fun addition to your holiday decorations. With its cheerful expression, playful hat, and colorful design, it’s perfect for Christmas ornaments, table decor, or simply adding a unique handmade touch to your seasonal celebrations. This step-by-step tutorial is beginner-friendly, clearly detailed, and easy to follow. By using polymer clay, the final product can be set and hardened in the oven, giving it a durable finish. Let’s dive into crafting this adorable elf!
Materials and Tools
Materials
- Skin-colored clay (for the face and ears)
- White clay (for the eyes)
- Black clay (for the pupils)
- Dark green clay (for the body, arms, and hat)
- Light green clay (for the hat trim, bobble, and legs)
- Orange clay (for the elf’s fringe)
Tools
- Modelling tools (for shaping, detailing, and smoothing)
- Pizza cutter (or another cutting tool for trimming)
- Scissors (for precise cutting)
- Oven (for hardening polymer clay)
Crafting the Elf’s Head
Shape the Head
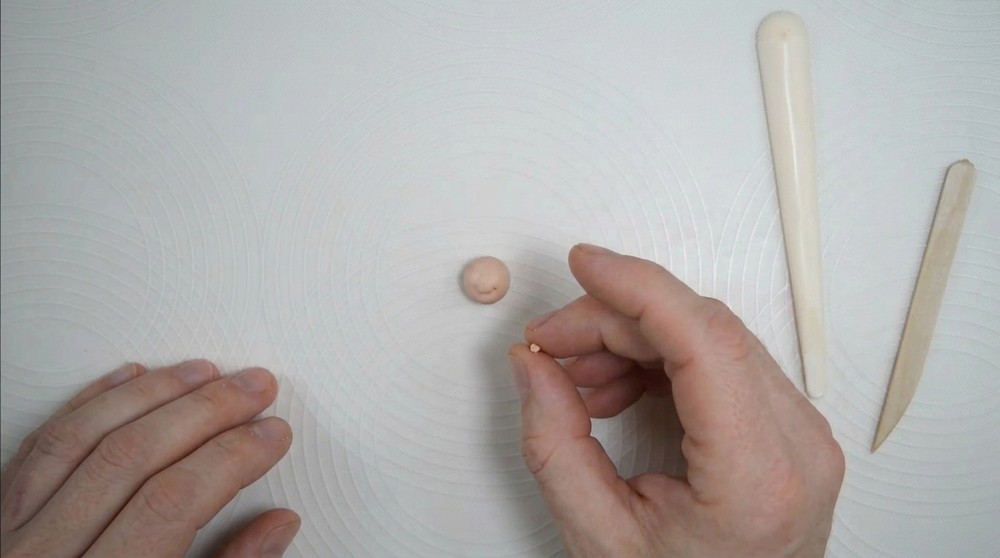
- Roll a small piece of skin-colored clay into a smooth ball. This will be the elf's head.
Add a Mouth
- Use one of your modelling tools to make a small, curved line. This will form the elf’s mouth.
Create the Nose
- Roll a tiny piece of skin-colored clay into a small ball and attach it to the face to form the nose.
Make the Eyes
- Take two small pieces of white clay, roll them into balls, and flatten them slightly to form the eyes.
- Use your modelling tool to make two small dents on the face where the eyes will be positioned. Place the white clay into these dents and gently press to secure them.
Add the Pupils
- Roll two tiny pieces of black clay into balls for the pupils. Attach them to the center of the white eyes and press lightly to secure.
Designing the Hat and Hair
Create the Hat
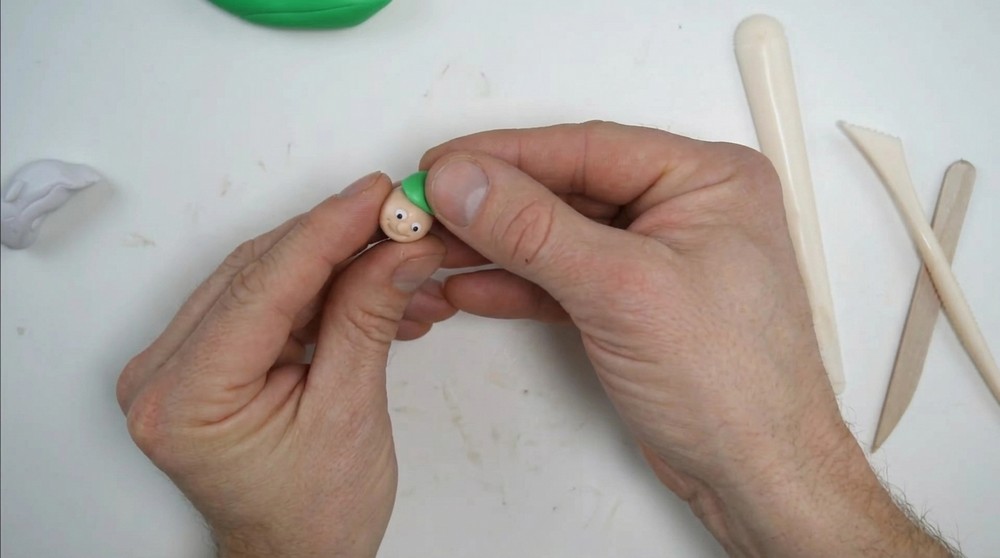
- Roll a piece of dark green clay into a cone or rounded triangle shape for the main part of the hat. Adjust the edges to ensure it fits snugly on the head.
Add the Fringe
- Roll a small piece of orange clay and shape it into tiny strands to form the elf’s fringe.
- Attach the fringe to the front of the head just below the hat. Adjust and tidy it as needed using your modelling tools.
Attach Hat Trim
- Roll a thin strip of light green clay and wrap it around the base of the hat to create decorative trim. Use a pizza cutter to trim off any excess clay to ensure a snug and neat fit.
Add a Bobble
- Roll a small ball of light green clay and attach it to the tip of the hat to form the bobble.
Creating the Elf’s Body
Shape the Body
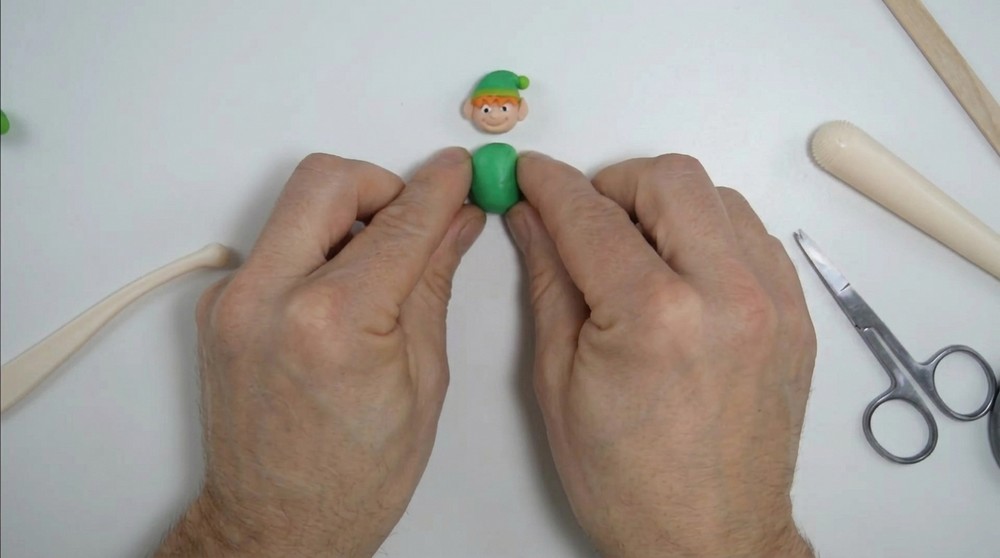
- Roll a larger piece of dark green clay into a rounded pear shape. This will form the elf’s body. Set it aside once shaped.
Adding Arms, Ears, and Hands
Make the Arms
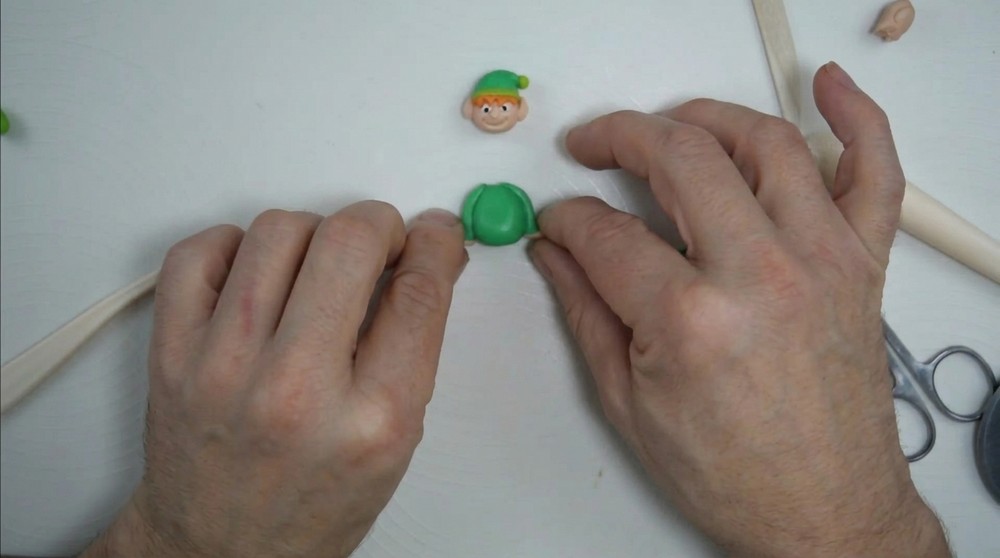
- Roll two small pieces of dark green clay into long sausage shapes.
- Fold each sausage in half and trim the bottom ends to create clean edges. These will form the elf’s arms.
Create the Hands
- Roll two very small pieces of skin-colored clay into balls, then shape them into tiny ovals to form the elf’s hands. Attach a hand to the end of each arm using gentle pressure.
Attach the Arms
- Position the arms along the sides of the body and attach them securely. If the arms appear too short, stretch them slightly downward for a better fit.
Add the Ears
- Roll two small pieces of skin-colored clay into oval shapes for the ears. Flatten them slightly and attach one to each side of the head. Use your modelling tools to shape and adjust the ears as desired.
Crafting the Legs and Feet
Make the Feet
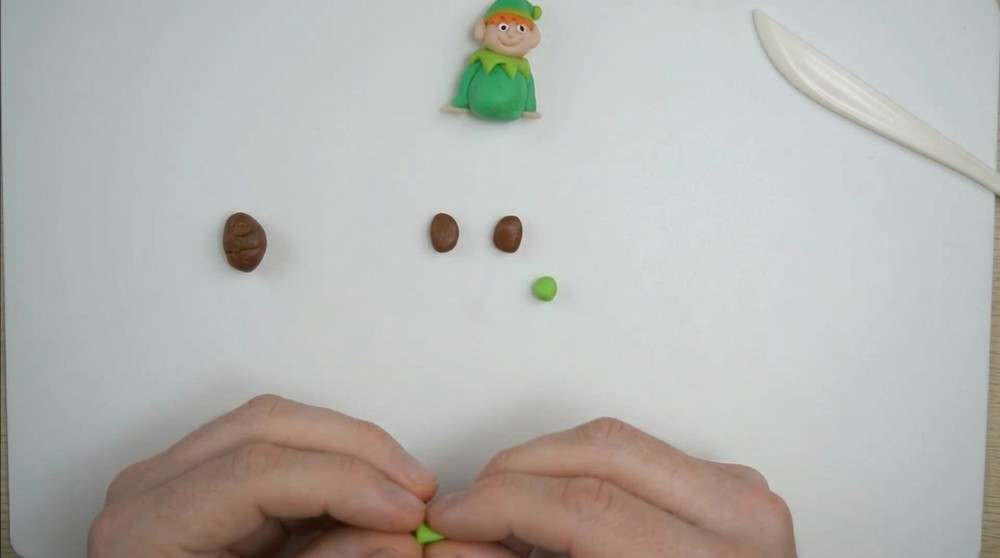
- Roll two small pieces of dark green clay into rounded oval shapes for the feet. Set them aside for now.
Create the Legs
- Roll two small pieces of light green clay into sausage shapes and gently flatten them into cone-like shapes. Flatten the larger base of each cone slightly to help them sit securely under the body when attached.
Attach the Legs and Feet
- Position the legs under the body and press them firmly but gently to secure them in place.
- Attach the feet to the wider ends of the legs, making sure they align properly.
Adding Final Touches
Make a Collar
- Roll a thin strip of light green clay and wrap it around the base of the elf’s neck to create a decorative collar. Trim any excess clay neatly using scissors or a pizza cutter.
Tidy Up the Details
- Use your modelling tools to smooth any rough edges, adjust the positioning of features, and add small decorative details as desired.
Bake Your Elf
- If using polymer clay, follow the manufacturer’s instructions to bake your elf in the oven.
- Most polymer clays require baking at 275°F (135°C) for 15–30 minutes, depending on the size of your project.
- Allow the elf to cool completely before handling or displaying.
Finished Elf
Your polymer clay elf is complete! With its charming smile, playful hat, and vibrant colors, it’s a perfect addition to your holiday decorations or a unique handmade gift. Display it on a shelf, include it in a table centerpiece, or hang it as an ornament to bring festive cheer to your space. This durable decoration, made with polymer clay and set in the oven, is designed to last for many holiday seasons. Creating this elf involved shaping, assembling, and customizing each detail, showcasing your craftsmanship and creativity. Enjoy sharing your handmade creation and brightening your festivities with this cheerful elf.