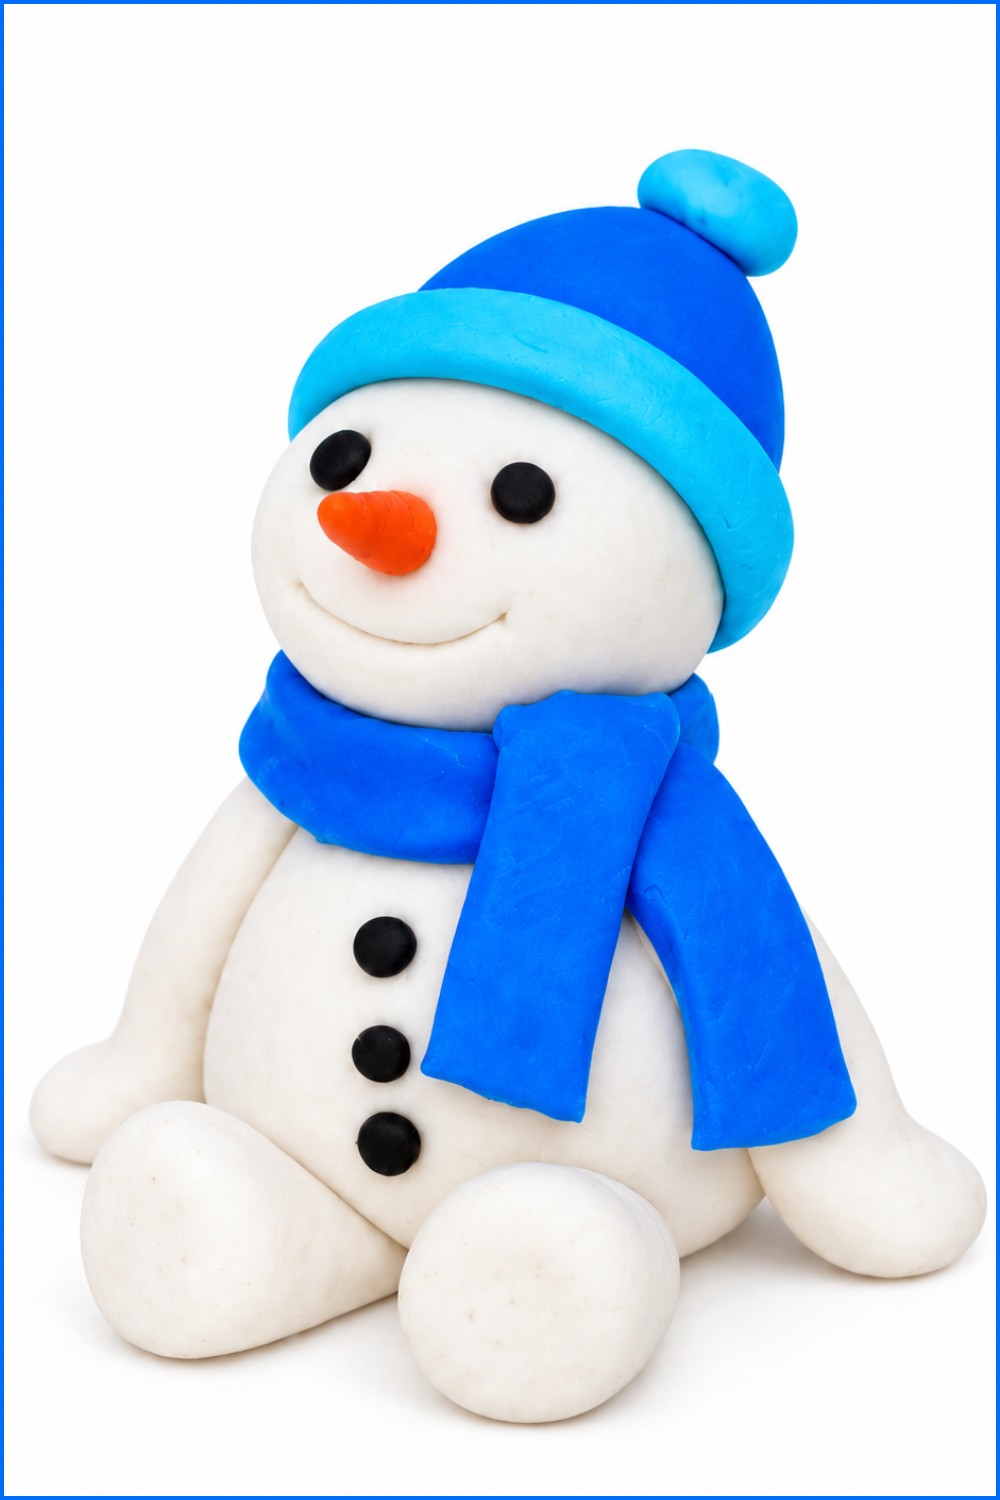
Design a stunning Polymer Clay Snowman in just a few steps with this detailed DIY tutorial, perfect for creating decorations with ease.
Winter is the perfect time to stay indoors and start a fun new hobby. If you love creating cute things, making a Polymer Clay Snowman is a wonderful activity to try. Full credit for this excellent tutorial and beautiful design goes to the original YouTube channel, Build it like Billy. This simple project involves shaping soft clay into a cheerful character that will never melt away. You do not need to be an expert artist to enjoy this activity. With just a few basic supplies, you can bring a smiling winter buddy to life right at your kitchen table.
How to DIY A Polymer Clay Snowman (Step-by-Step Tutorial)
Reading about this project is exciting because it shows you how to turn plain blocks of dough into something magical. You will learn the easy process of rolling soft white balls for the body and adding tiny details like a warm red scarf, a little black hat, and an orange carrot nose. Doing this activity is incredibly relaxing and brings out the playful child in everyone. Once you bake it in your home oven, it becomes hard and durable. You will love discovering creative ways to personalize your frosty friend with different colors and shapes.
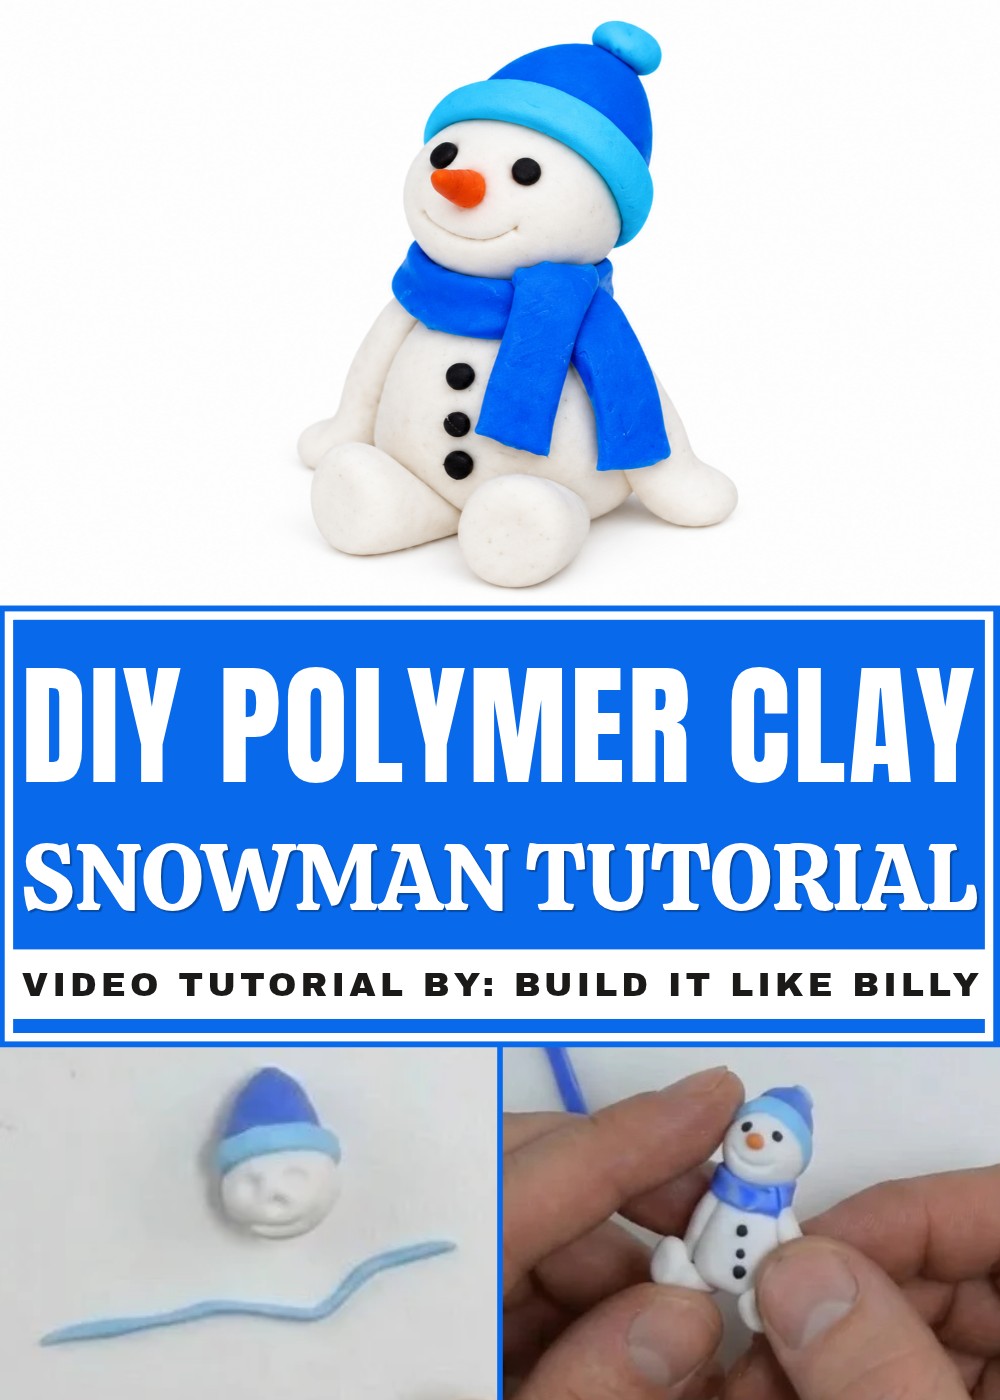
This charming little figure is not just enjoyable to make, but it also serves as a fantastic homemade gift for friends during the holiday season. You can attach a string to hang it on your Christmas tree, sit it on your desk to bring a smile to your workday, or give it to someone special. Creating it is a joyful experience that fills your home with happy memories. Learning about this beautiful DIY activity will surely inspire you to grab some dough and start crafting your very own winter buddy today.
DIY Tutorial: How to Make a Clay Snowman Decoration
Turn a simple piece of clay into a whimsical snowman that’s perfect for adding holiday cheer to your home or gifting to loved ones. This beginner-friendly project is a fun and relaxing activity that offers endless possibilities for customization. Experiment with colors for the hat, scarf, and buttons to give your snowman a unique personality. Using white, blue, black, and orange clay, you’ll craft this adorable figure step by step, following detailed and easy-to-understand instructions.
Whether you use polymer clay, air-drying clay, plasticine, or play-doh, this snowman can be crafted with tools you probably already have at home. Once completed, your handmade creation will brighten up your seasonal decor as a charming centerpiece, mantel display, or heartfelt gift for someone special. Let’s dive into the process and bring your festive snowman to life.
Materials and Tools
Before you begin, gather the following materials and tools:
Materials
- White clay (polymer clay, air-drying clay, plasticine, or play-doh)
- Black clay (for the eyes and buttons)
- Orange clay (for the carrot nose)
- Blue clay (for the hat)
- Light blue clay (for the hat trim and bobble)
- Red clay (or any color for the scarf)
Tools
- Pizza cutter (or similar cutting tool, like a knife)
- Scissors
- Can or rolling pin (to flatten clay for the scarf)
- Oven (if using polymer clay—for baking and setting your finished snowman)
Step-by-Step Instructions
Follow these clear steps to create your snowman decoration:
Make the Snowman’s Head
- Roll a piece of white clay into a smooth ball. This will serve as the snowman’s head.
- Add a cheerful smile to the snowman’s face by lightly shaping or indenting the clay where you want the smile to appear.
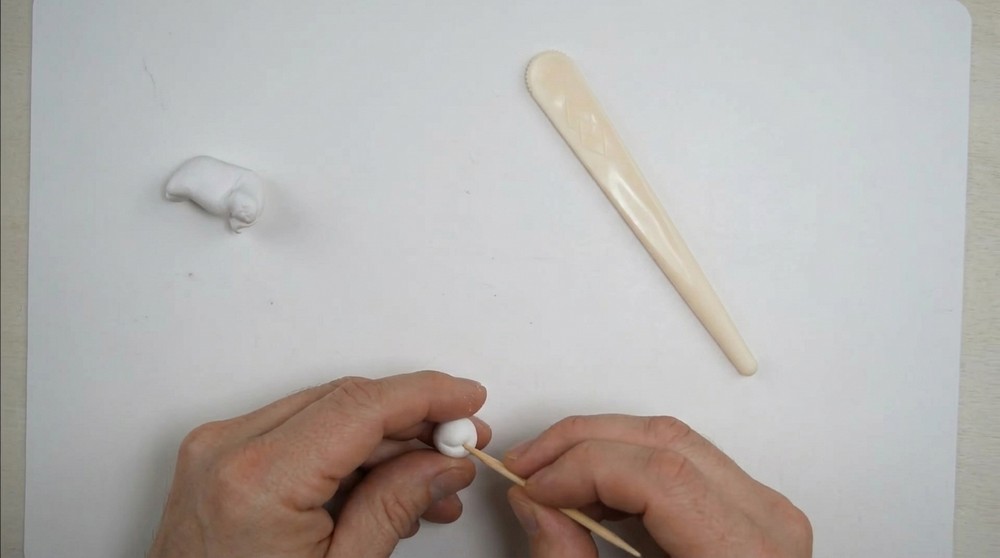
- Use your finger or a tool to create small dents where the eyes and nose will be placed later. These indentations help position the facial features securely.
Create the Snowman’s Hat
- Take a piece of blue clay and roll it into a small ball. Flatten this slightly to form the main part of the hat.
- Roll a thin strip of light blue clay and carefully wrap it around the base of the hat as a decorative trim. Smooth the edges to ensure it sits snugly.
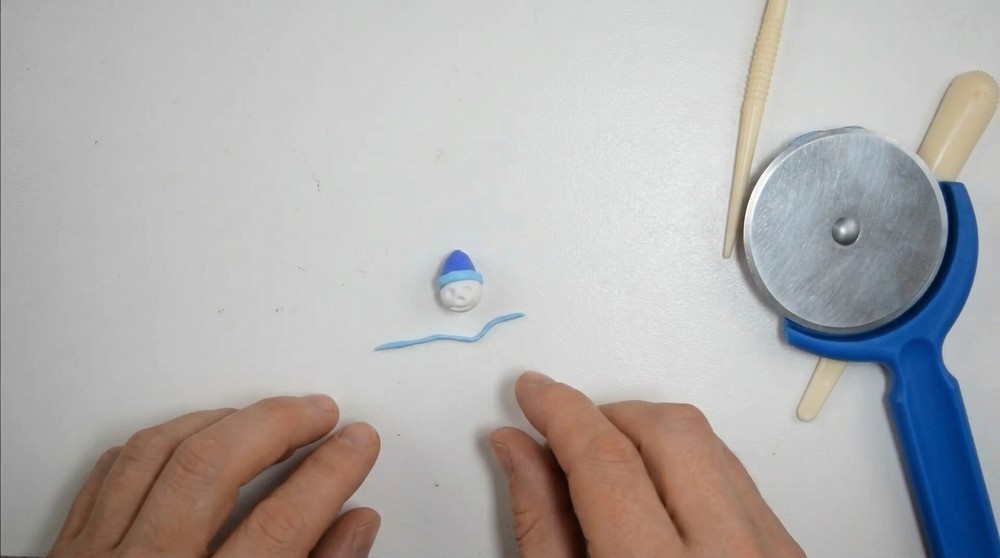
- For the hat’s bobble, roll a small piece of light blue clay into a ball. Press the bobble onto the top of the hat to complete the look.
- Use a pizza cutter (or any similar cutting tool) to trim the edges of the hat neatly for a polished finish.
Add the Snowman’s Facial Features
- Roll two tiny pieces of black clay into small balls. These will serve as the eyes.
- Place the eyes into the dents on the face created earlier, gently pressing to secure them.
- Roll a small orange clay ball and shape it into a pointed cone to create the carrot nose. Position the carrot in the designated dent and press lightly to attach it.
Make the Snowman’s Body
- Roll a larger piece of white clay into a smooth ball. This will be the snowman’s body.
- Carefully attach the head to the body, pressing the two balls together gently but firmly to keep them securely joined.
Make the Snowman’s Arms
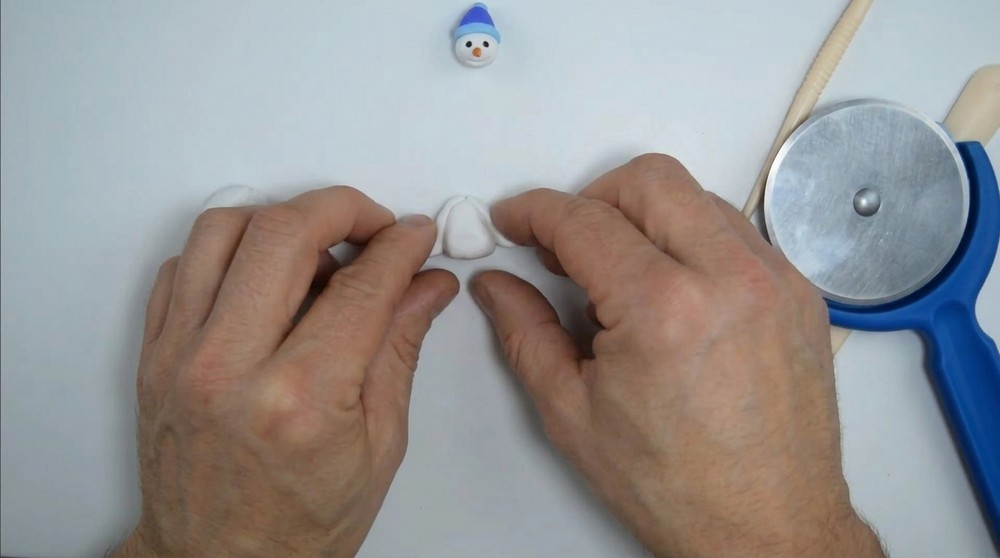
- Roll two small pieces of white clay into sausage-like shapes for the snowman’s arms.
- Flatten one end of each sausage slightly to make it easier to attach to the body later.
- On the opposite end of each arm, shape a small, rounded hand to give the arms a finished look.
- Repeat the process for the second arm. Once completed, attach both arms to the snowman’s body, positioning them along its sides for a balanced appearance.
Add Buttons to the Snowman’s Body
- Roll three tiny pieces of black clay into balls to create the snowman’s buttons.
- Press the buttons onto the snowman’s body in a vertical line down the front. Adjust their positioning to ensure they look evenly spaced.
Create the Snowman’s Scarf
- Take a piece of blue clay (or your preferred scarf color) and flatten it using a can or rolling pin. This will create a thin strip for the scarf.
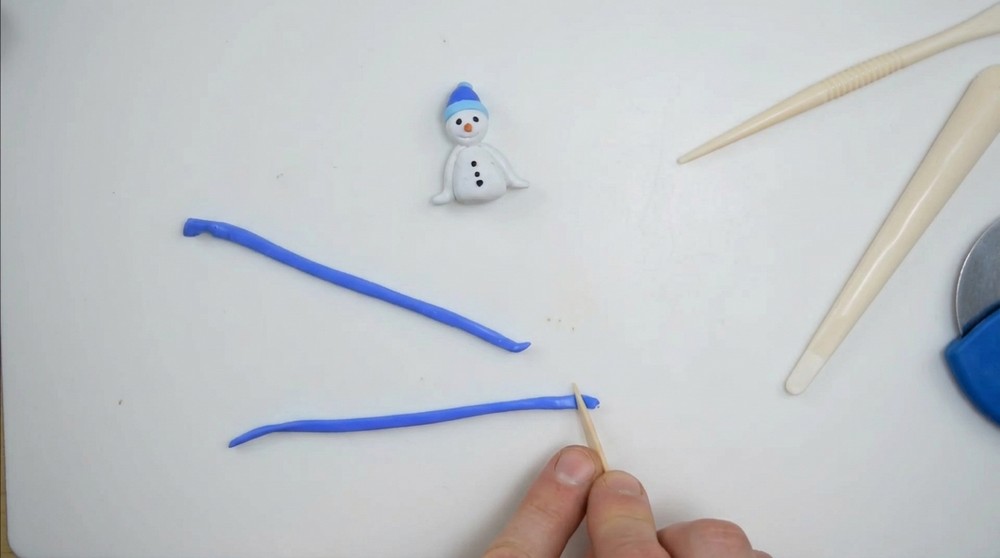
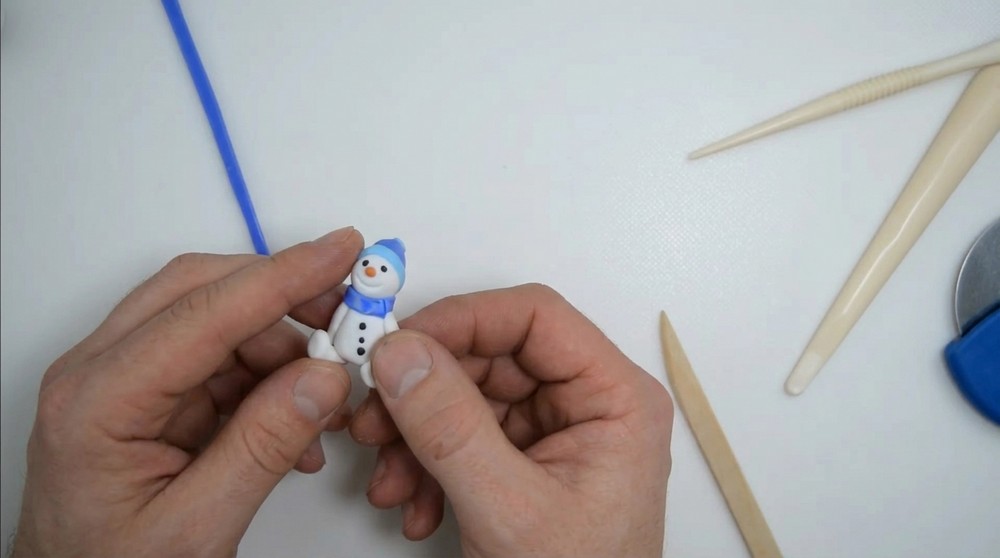
- Wrap the scarf around the snowman’s neck to cover the joint where the head meets the body.
- Press the scarf gently in place, and let the ends drape naturally or adjust them to your liking.
- If needed, use scissors to trim the ends of the scarf so it fits neatly around the snowman’s neck.
Add the Snowman’s Legs
- Roll two small pieces of white clay into elongated sausage shapes for the legs.
- Flatten one end of each sausage slightly to make it easier to attach to the body.
- Shape the opposite end of each leg into a rounded foot. This helps the snowman look grounded and complete.
- Attach both legs to the base of the snowman’s body. Adjust their position until they look balanced and visually appealing.
Finish the Scarf
- Return to the scarf and adjust its position to ensure it looks natural and fits snugly around the neck.
- You can add extra decorative touches, such as small textured lines or fringe to the ends of the scarf, using a tool or your fingers.
Optional—Bake Your Snowman
- If you used polymer clay, follow the manufacturer’s instructions to bake and set your snowman.
- Most polymer clay projects can be baked in an oven at 275°F (135°C) for 15–30 minutes, depending on the size and thickness of the clay pieces.
- Always check your clay’s packaging for exact guidelines.
- Allow the snowman to cool completely before handling it or displaying it as part of your holiday decor.
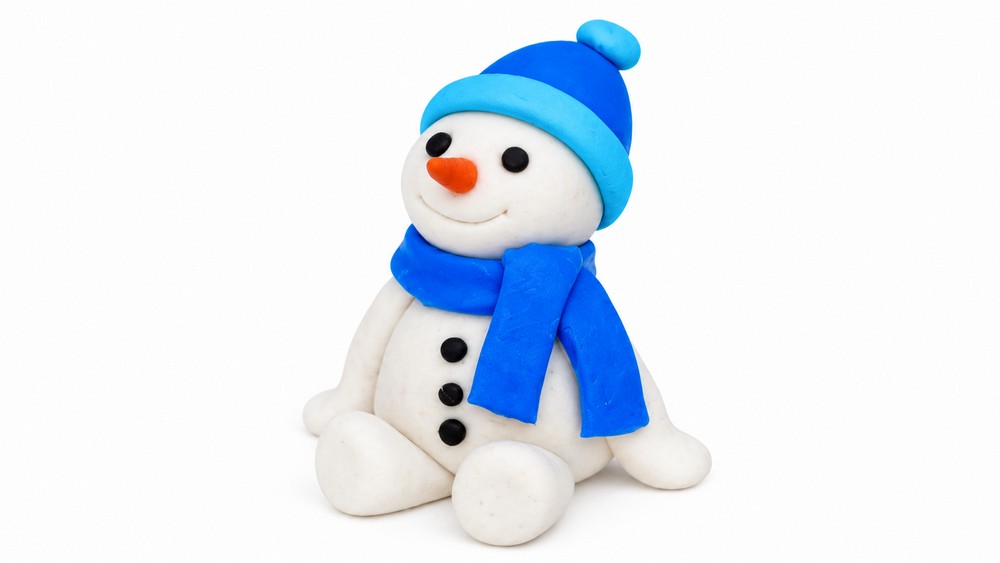
Finished Snowman
Your snowman is now complete! It features a cheerful face, a cozy scarf, a colorful hat, and adorable buttons and arms. This DIY project is ideal for anyone looking to add a handmade touch to their holiday season, and it can easily be customized to match your personal style. Display your snowman proudly on a mantel, as a centerpiece, or give it as a gift to someone special. This crafting process not only creates a beautiful decoration but also brings joy in making something with your own hands. Let your playful snowman brighten your holiday celebrations.