Design a festive DIY Polymer Clay Gingerbread House full of charm and this easy guide helps you craft a polished look for your holiday décor.
Creating something festive and fun is always a joy, especially when it’s a cute gingerbread house made from polymer clay. This project lets you craft a tiny version of a holiday favorite that lasts forever, unlike real gingerbread that crumbles away. It’s a perfect activity for anyone who loves crafting or wants to add a handmade decoration to their home. You can design it however you like, adding candy details, snowy rooftops, or colorful gumdrops—all without leaving the kitchen messy.
Simple DIY Polymer Clay Gingerbread House Tutorial for Beginners
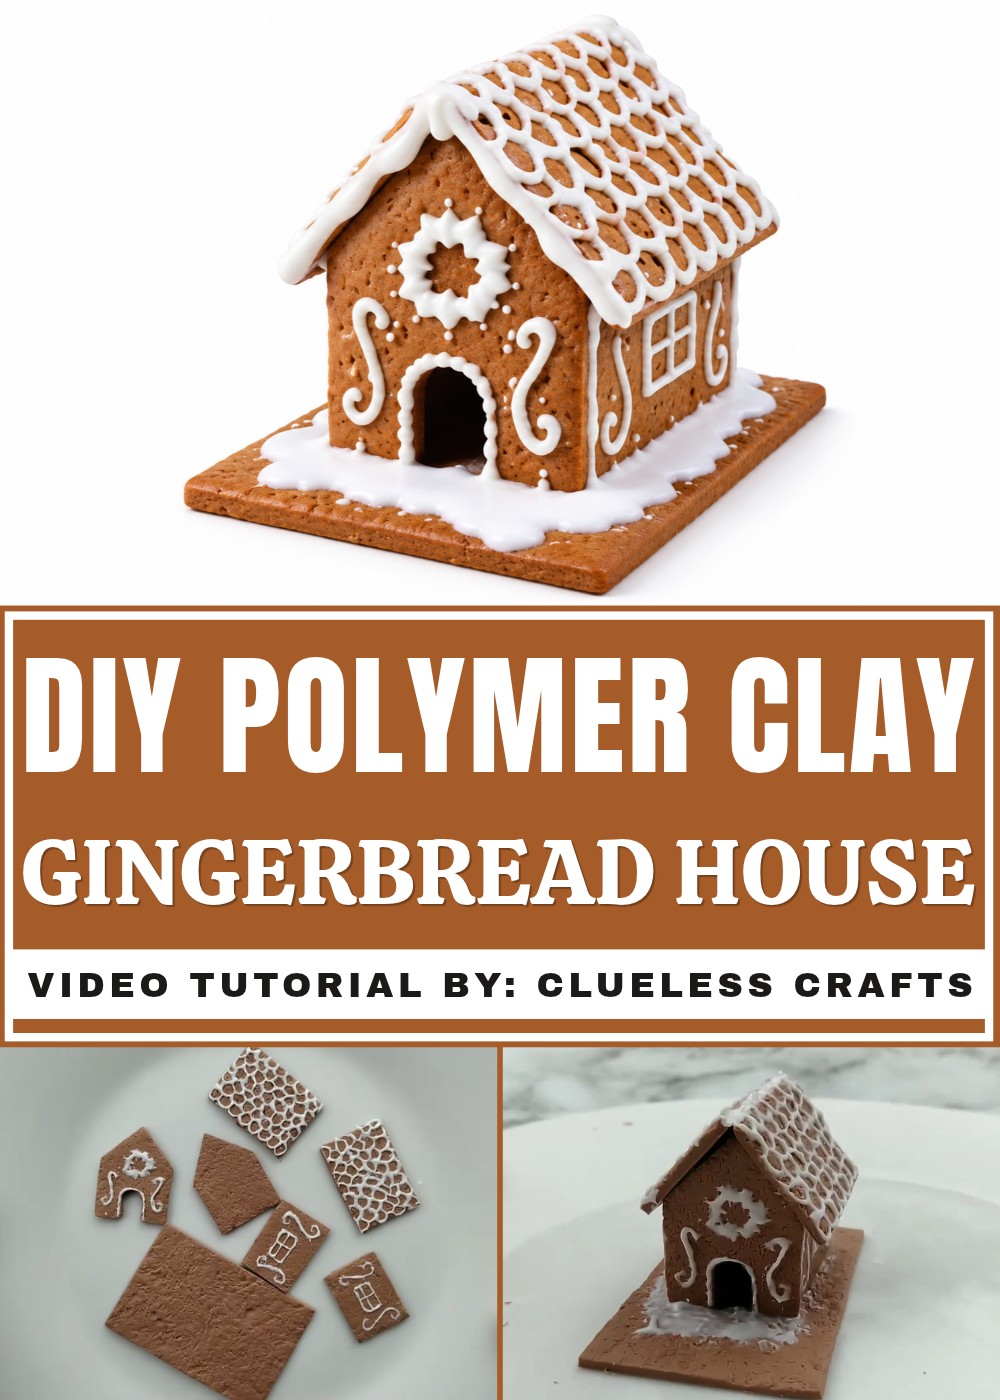
Using polymer clay to design your gingerbread house is simple and exciting. You’ll shape the walls, roof, and tiny decorations like candy canes or icing swirls, making it look sweet and cheerful. Pronounced charm comes from the creativity you bring to your gingerbread house—whether it’s adding little windows, sparkly details, or even a snowy base to tie it all together. Polymer clay is easy to handle, and once baked in the oven, your house becomes sturdy and ready to display for years to come.
This DIY project not only sparks holiday spirit but also brings a sense of accomplishment as you craft something unique with your own hands. You don’t need fancy tools; just polymer clay, some basic shaping skills, and a sprinkle of imagination. It’s a wonderful way to enjoy the holiday season while creating a decoration that makes everyone smile.
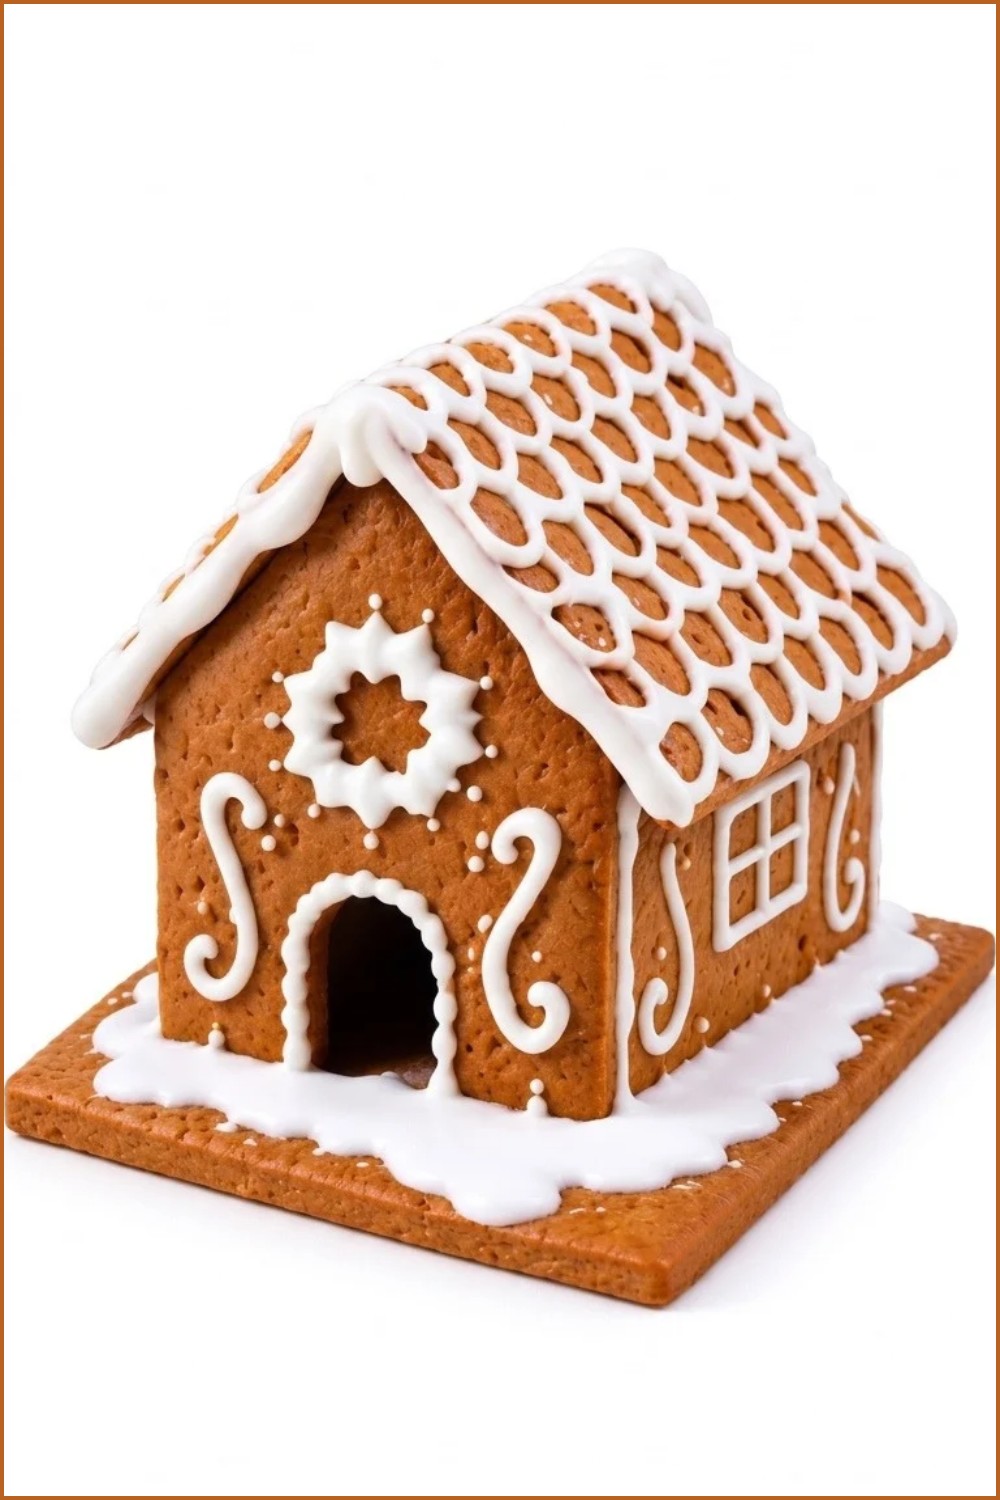
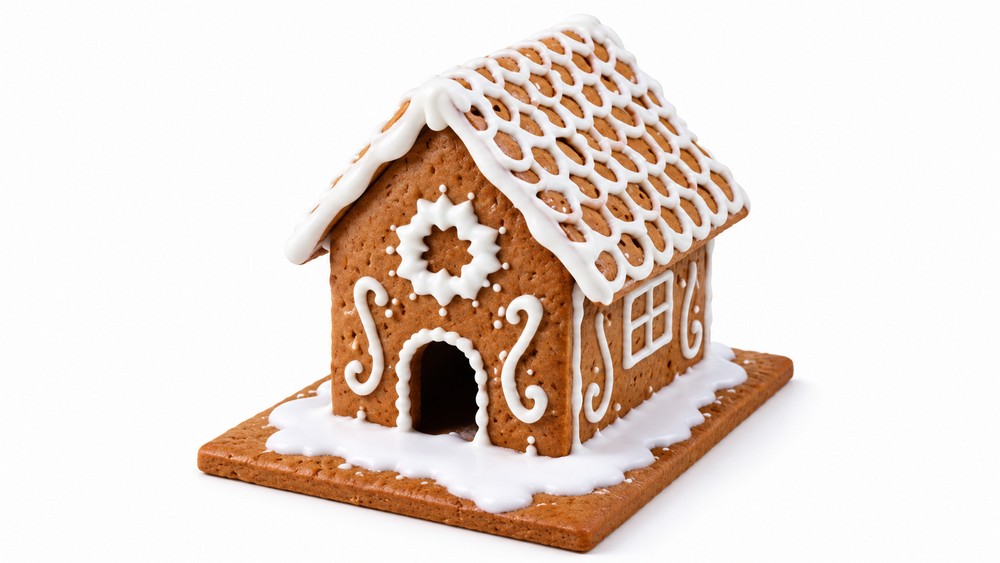
DIY Polymer Clay Gingerbread House
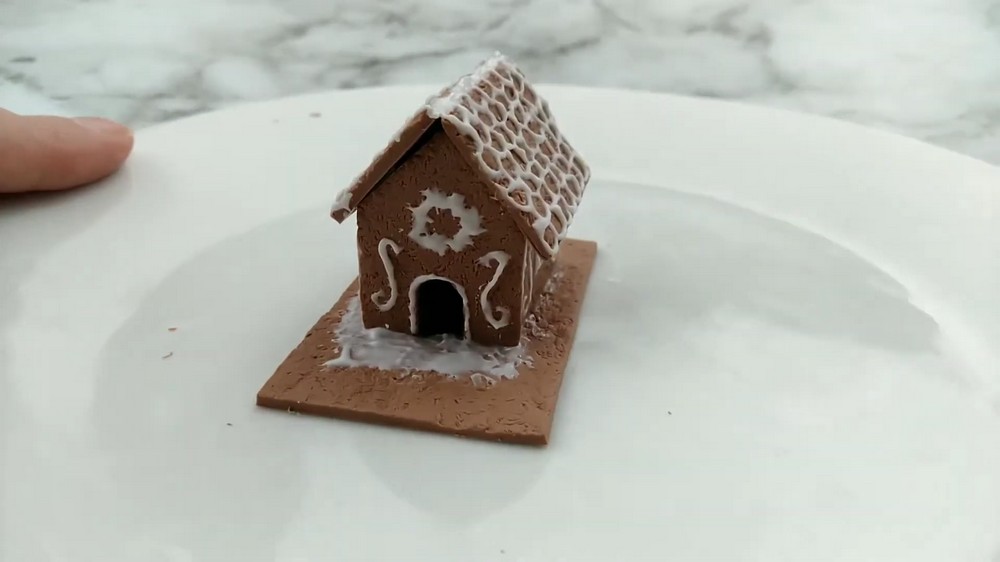
This tutorial shows how to make a tiny gingerbread house from polymer clay. The finished project is a small textured brown house with a peaked roof, icing details (door, wreath, squiggles, windows), a textured yard, and lots of decorative "frosting" made from a white clay + liquid Sculpey paste.
Materials and tools
- Brown polymer clay
- White polymer clay
- Liquid Sculpey
- A paper or cardboard template for the house (make sure sides are equal and leave roof overhang)
- Cutting board
- Blade or cutter
- Tin foil
- Toothbrush
- Plate (to place clay pieces on for baking)
- Oven
Make the template
Create a house template
- Cut out a paper or cardboard template for the gingerbread house.
- Make sure the sides are equal.
- Include overhang for the roof on both the side and the front.
Cut the clay panels
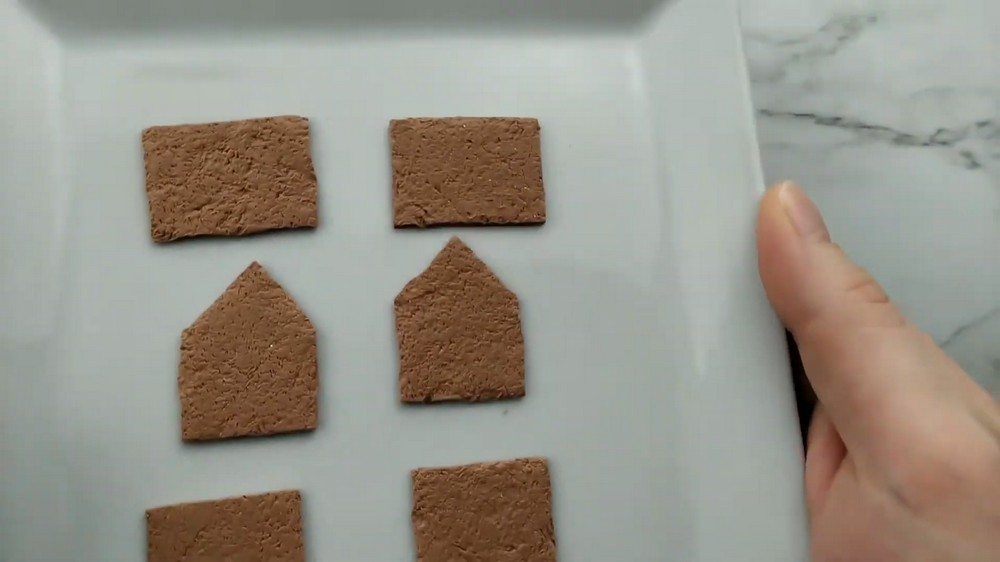
Roll and cut brown clay pieces
- Roll a sheet of brown clay flat on your cutting board.
- Place the paper template on the clay and cut out the shape with your blade.
- For each template piece you need two identical pieces (the video cuts an extra for the front and for the roof).
- Transfer the cut clay pieces onto a plate that will go into the oven later.
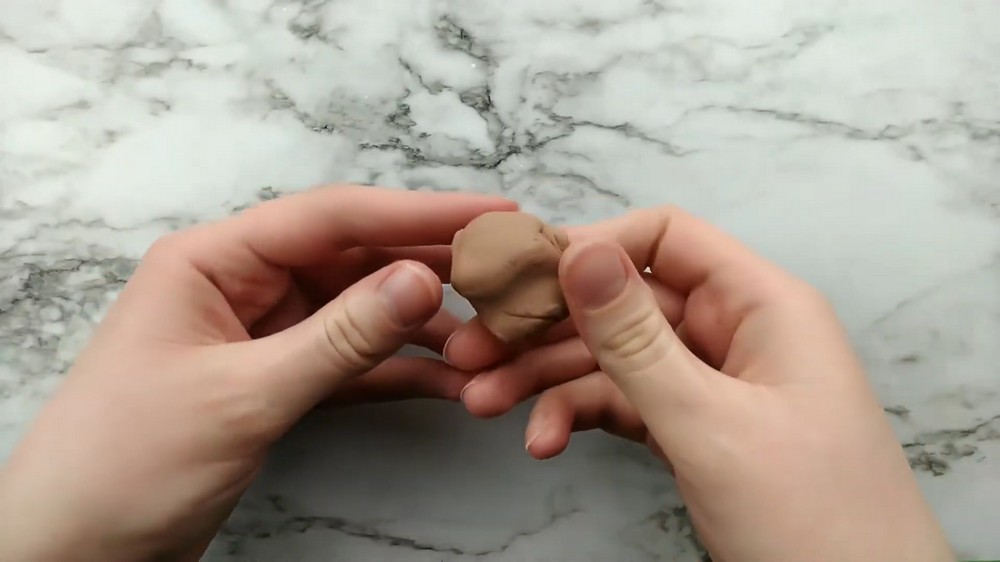
Add texture to the clay panels
Texture with foil and toothbrush
- Crumple a small piece of tin foil and press it lightly over the clay surface to create a textured pattern.
- Use a toothbrush to add or refine the texture as desired.
- After texturing, place the template back on each panel and cut off any excess clay that spread during texturing so edges match the template shape.
Make the frosting (icing) paste
Mix white clay and liquid Sculpey
- Take a bit of white clay and mix in liquid Sculpey until the mixture becomes a paste consistency.
- Test the ratio and adjust by adding more white clay or liquid Sculpey until the paste is easy to work with.
- Important: the exact ratio is not specified—work slowly and test until you find a workable paste.
Decorate the panels with icing
Add door, wreath, and icing details
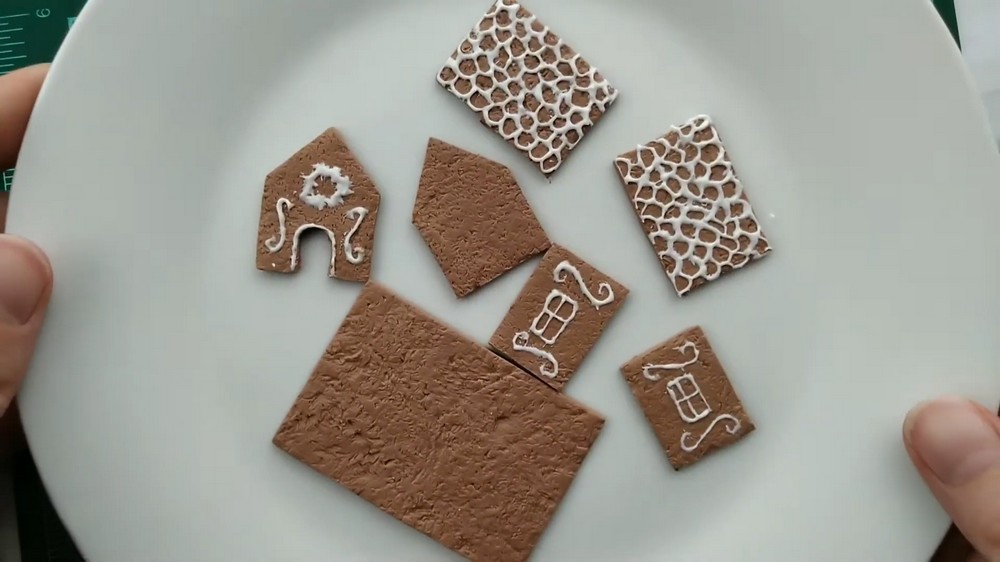
- For the front: cut out a door shape from the template area instead of trying to draw it freehand.
- Trace around the door cutout with the white paste to create the icing border.
- Use the paste to form a small wreath above the door; refine it until you like the look.
- Add small squiggle icing designs on either side of the door.
Add windows and side decorations
- On each side panel: cut or mark a simple window in the middle.
- Add the same squiggle icing designs on either side of each window so both sides match.
Prepare the yard (base)
Roll and cut a textured base
- Roll out another sheet of brown clay and apply the same texture as the house panels.
- Cut the textured brown sheet into a rectangle to serve as the yard where the house will sit.
First bake
Bake panels and yard briefly
- Place the decorated panels and the yard on a plate and bake in the oven for 10 minutes.
- Let the pieces cool completely before handling—they will be firmer after cooling.
Assemble the house
Use the paste to glue panels together
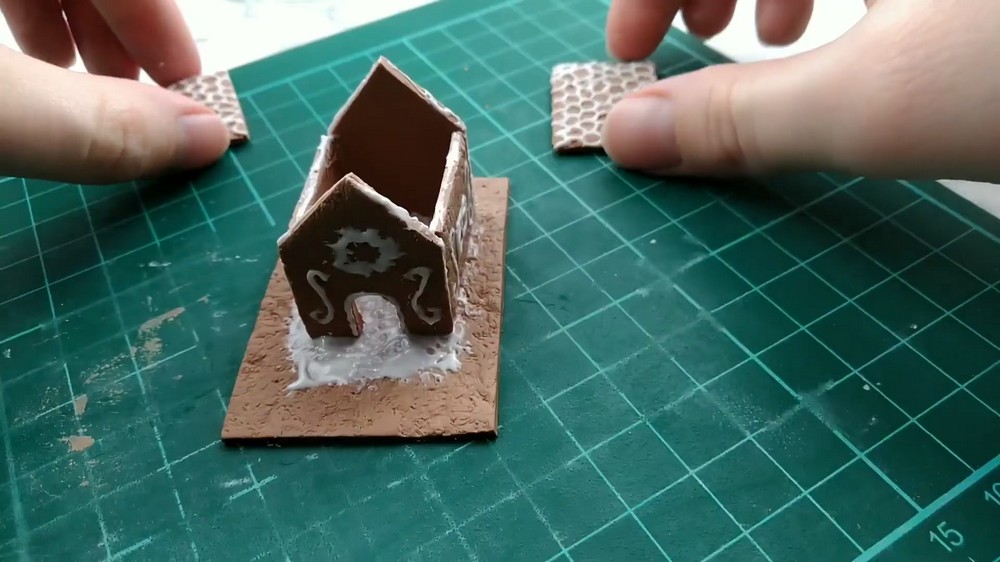
- Use the white paste as a glue to join the side panels together, building the house like a gingerbread-house kit.
- Press seams gently so parts meet cleanly.
Attach the roof and troubleshoot
- Add each roof piece on top, using paste to adhere.
- If a roof or panel falls or shifts (the video had a case where the roof fell), reposition and reattach the pieces—nothing must be broken to fix it.
- If you find the house is too short for the roof and a gap appears when the roof is on correctly, reposition the walls so the house is slightly longer, and trim the yard as needed for balance.
Add extra support at the peak
- Add a bit more icing paste along the peak of the roof to give extra support before the next bake.
Additional bakes and finishing icing
Stabilize and cover seams
- Bake the assembled house with added peak support for another 10 minutes.
- After that bake, apply more paste:
- Cover seams and joints with icing.
- Pipe icing into the arches under the roof and along the sides and back to hide mistakes and strengthen joins.
- Spread extra icing on the ground/yard where you want more snow/decoration.
- Trim any front or back edges of the yard that look too long for the house.
Final bake
- Bake the house again for another 10 minutes after applying the final layer(s) of paste.
Final result and notes
Cooling and final checks
- Let the house cool after the final bake.
- Inspect seams and icing; the extra paste should hide imperfections and add a finished "frosted" look.
Important details and tips
- Cut two pieces for each panel shape (extra pieces are needed for front and roof).
- Let baked pieces cool before handling so they are sturdy enough to assemble.
- Test the white-clay + liquid Sculpey paste until you find a workable consistency; it may take a few tries.
- If panels shift or fall during assembly, reassemble and press seams with paste—small accidents can be fixed.