Learn how to craft a realistic DIY Polymer Clay Minecraft Desert Village Biome that showcases your creativity and love for Minecraft designs.
Building something from a game you love can be so much fun, especially when you recreate it with your own hands. Bringing a Minecraft desert village to life using polymer clay! This project lets you shape and design your favorite parts of the iconic desert biome, like tiny houses, cacti, wells, or even villagers. It's a perfect way to combine your creativity with your love for Minecraft and create a mini version of the game world for your shelf or desk.
Creative DIY Polymer Clay Minecraft Desert Village Biome Project
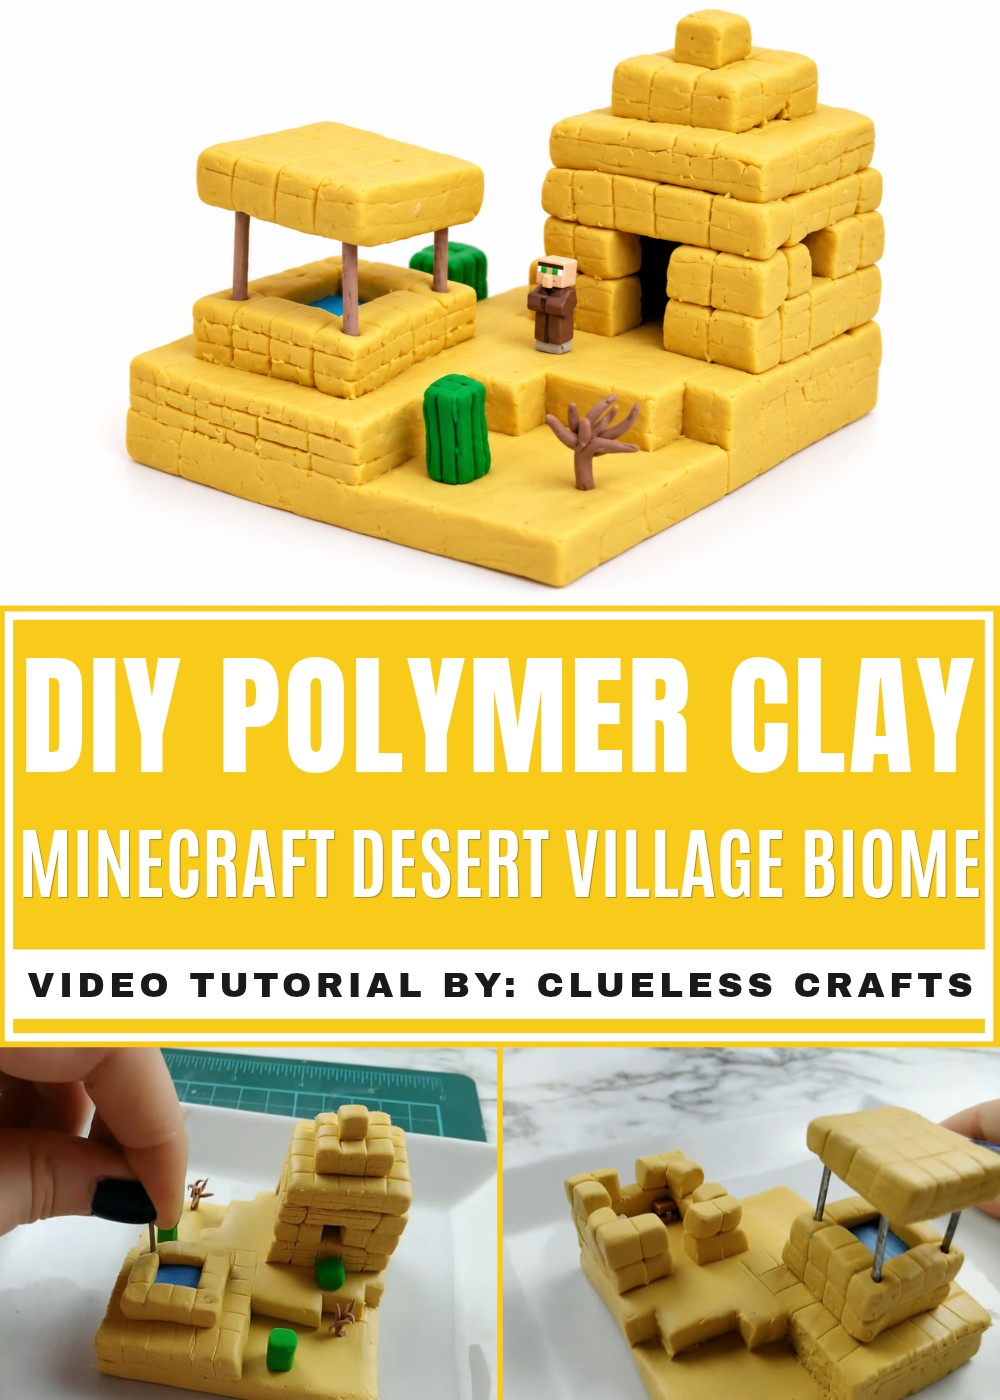
Using polymer clay for this project is exciting because you can mold every piece just the way you want. From the simple blocky houses to the sandy textures of the desert, it’s all about adding small details and pops of color to make your tiny biome come alive. Pronounced uniqueness is in how you design your version of the desert village—maybe your village has more villagers, extra cacti, or even tiny animals. Polymer clay is easy to use, and once baked, your creations become solid, lasting reminders of your crafting adventure.
This is a fun activity for both Minecraft fans and crafters of all ages. It’s an awesome way to spend your time creating something you love and adding your own twist to it. You don't need fancy tools or tons of materials—just some polymer clay and a bit of imagination. When it’s finished, your mini desert village will be a great decoration or a thoughtful gift for another fan.
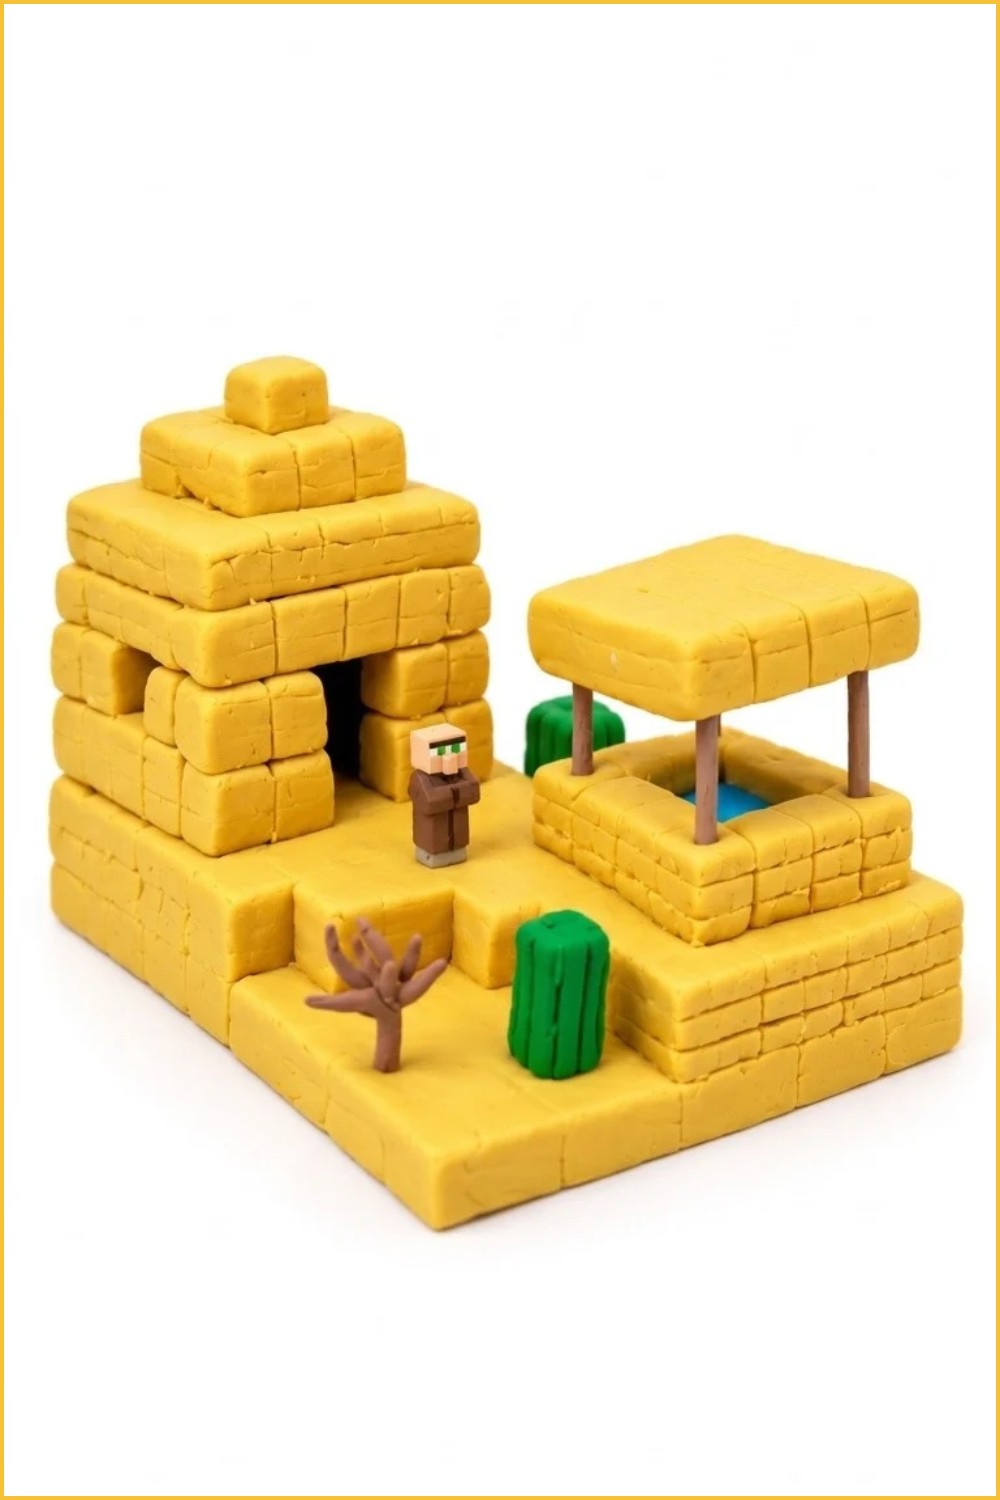
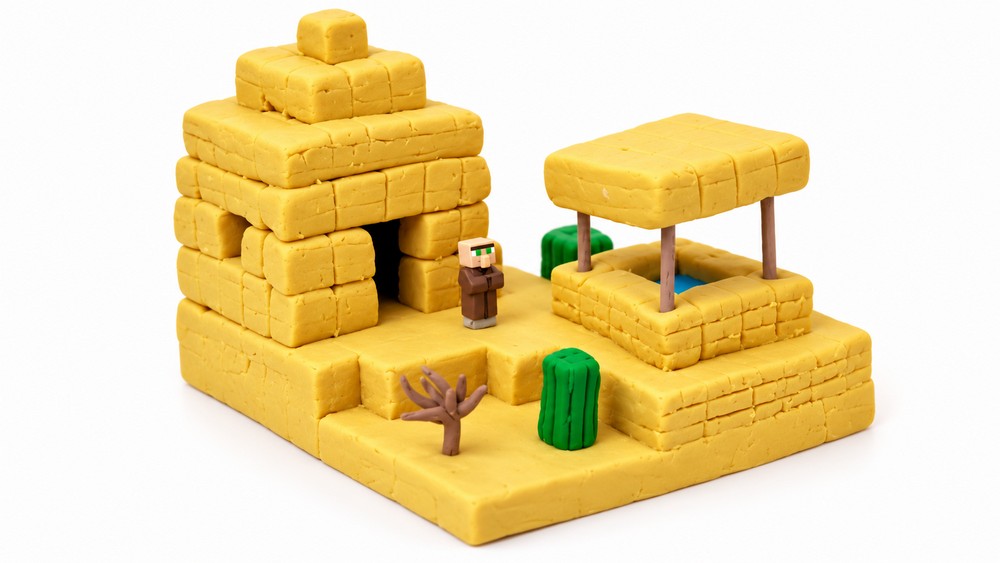
DIY Polymer Clay Minecraft Desert Village Biome
This project builds a small Minecraft-style scene from polymer clay: a square well (fountain), a villager cabin with interior furniture, some plants/cacti, and a villager figure. You will mix and layer clay, add texture, insert short wires for corner posts, bake, paint small details, and glue finished pieces to a base.
Materials and tools
- Polymer clay colors: light mustard, dark mustard, white, blue, purple, brown, dark brown, green, peach, gray
- Extra brown clay (for chest/logs, cube logs)
- Wire (short pieces for well corners)
- Blade (for cutting and adding brick texture)
- Square-shaped object or templates (a mini square object; a 4x4 template and a 5x5 template)
- Glue (used between clay layers)
- Oven (for baking polymer clay)
- Paint (for cacti details and painting wires)
- Superglue (to attach finished pieces to the base)
Making the well (fountain)
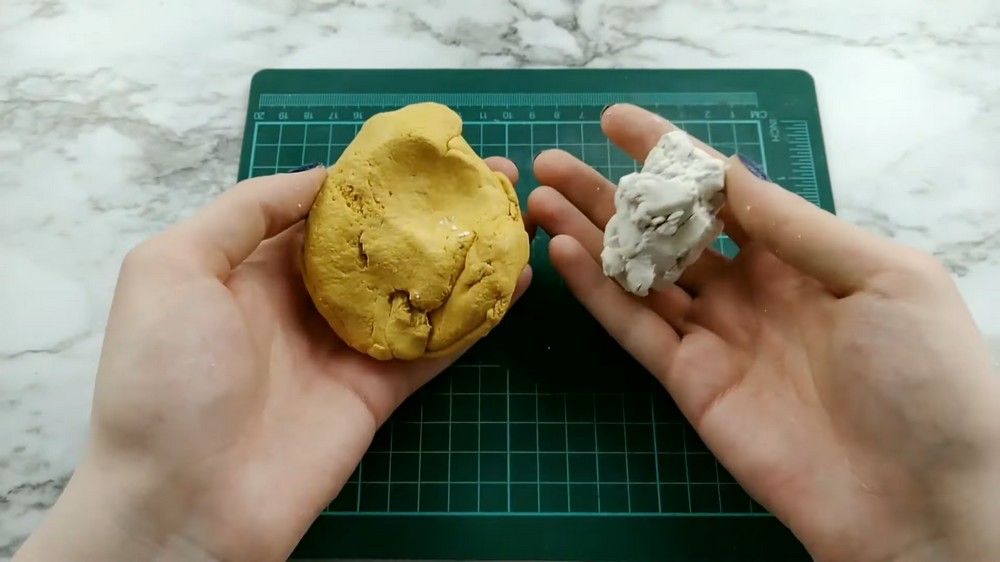
Mix clay color and reserve
- Mix the light mustard and dark mustard clay together.
- If the mix is too dark, add some white clay and mix until you like the color.
- Cut half of the mixed clay away and set that portion aside for later.
Make the first square base
- Find a square object or template and trace it onto the rolled clay.
- Cut out the traced square with your blade.
- If the cut piece is uneven or too thick, re-roll to a thinner, even thickness and cut the square again until it is just right.
Add the second layer
- Create or use a small template for the second layer and trace it onto clay.
- Cut out the second-layer shape.
- Glue the second-layer piece onto the first square.
- Trim excess edges and blend the two pieces together on the sides so the seam is smooth.
Build the top layer with water opening
- Use the 4x4 template to trace the top layer; cut as many shapes as needed.
- Mark a grid pattern on the top and cut out the middle square—this opening will hold the water piece.
- Roll a piece of blue clay to match the height of the opening and place it into the cut-out middle square to represent water.
- Surround the blue piece with clay walls to form the well’s inner walls; adjust until you find the right height.
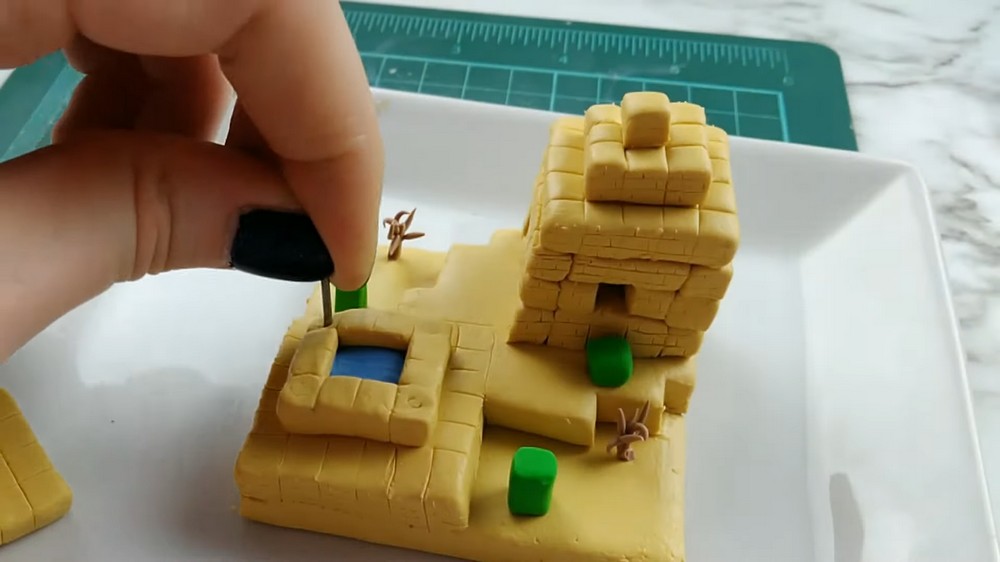
Add brick texture and corner wires
- Use your blade to add a brick texture to the sides of the well.
- Cut four short pieces of wire and insert them into the four corners of the well base.
- Create a roof piece and add the same brick texture to its sides.
- Place the roof on top and glue it onto the base.
Correct wall height if needed
- If the well wall looks too high, remove the roof and any unnecessary layers, lower the wall height, and reassemble.
- Reinsert the wires into the base and put the roof back on so the well proportions are correct.
Bake and paint well details
- Once the well is assembled and correct, bake it in the oven for 20 minutes.
- After baking and cooling, paint details on the cacti (if present) and paint the wires brown.
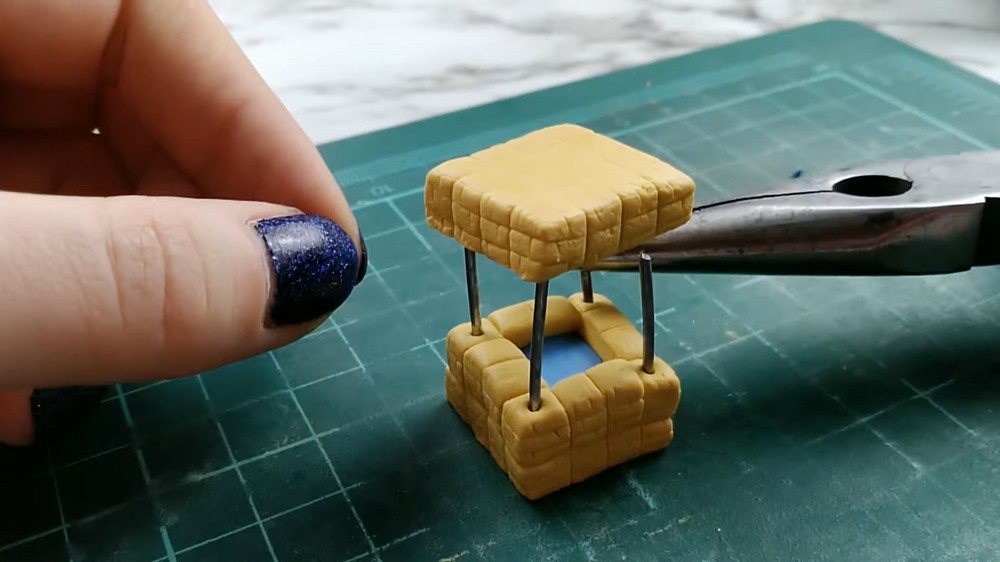
Making the villager cabin (5x5)
Prepare the hollow cabin shell
- Use the 5x5 template and mark a grid on the top.
- Cut off the cabin's sides as needed so the structure becomes hollow and can hold interior pieces.
Make the bed and chest
- For the bed: roll out purple and brown clay, layer the purple on top of the brown, add a little white, then cut into a rectangle to form the bed.
- For the chest: shape a small brown square cube to represent a chest.
Build up walls and roof
- Add the second layer of walls around the hollow cabin.
- Add a third layer of walls where needed, using glue to hold layers together.
- Form a pyramid roof from clay and place it on top of the cabin.
- Flatten the roof and wall sides as much as possible to clean edges.
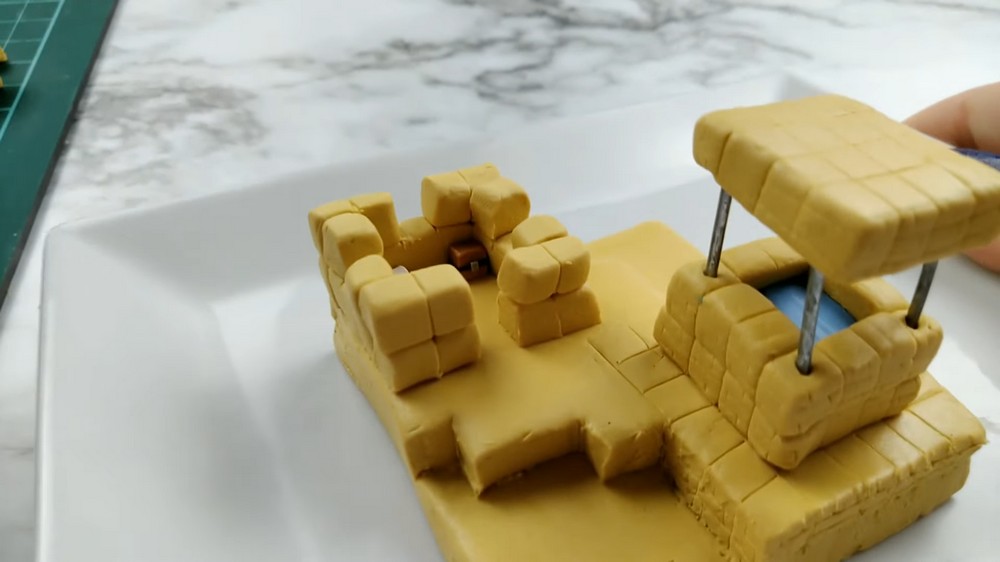
Add texture, plants, and details
- Use the blade to add brick texture to the cabin sides for a Minecraft look.
- Add plant life around the cabin: small dead plants and cube logs to represent cacti.
- Add any remaining surface details and textures.
Making the villager figure
Shape the head and face
- Take peach clay and form it into a cube for the head.
- Add a smaller cube of peach clay to the front for the nose.
- Make a strip of white clay, place a thin strip of green clay on it, then cut it in half to make the eyes.
- Add a unibrow on the forehead.
Make the body and clothing
- Form a brown coat for the body.
- Add a dark brown zipper detail down the front of the coat.
- Add matching sleeves and gray shoes.
Assemble and bake the villager
- Attach the head to the body.
- Place the assembled villager in the oven to bake (the video indicates the villager is baked as well).
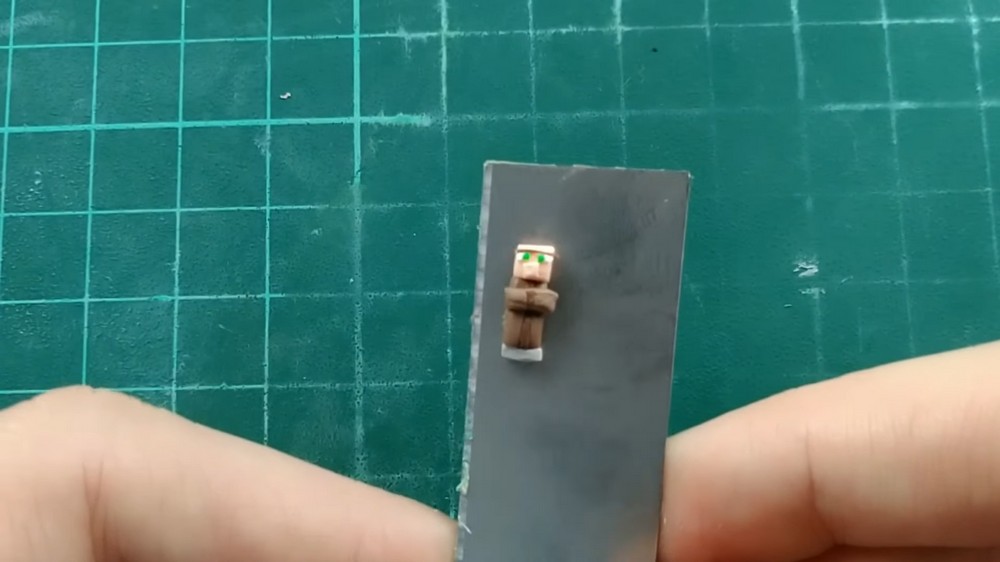
Final assembly and finishing
Attach baked pieces to the base
- After all pieces are baked and painted, use superglue to attach the well, cabin, plants, and the villager to your display base.
Final touch-ups
- Paint any final details (for example, cacti accents and the brown color on wires).
- Inspect joins and textures; press and blend any softened edges before baking if needed, or correct with paint after baking.
Important details and tips
- Use the 4x4 template for the well’s top layer and the 5x5 template for the cabin as shown.
- Blend edges carefully between clay layers so seams look smooth.
- Use the blade to create a consistent brick texture on both well and cabin sides.
- Insert wire pieces into the well corners before baking and paint them brown after baking.
- The well is baked for 20 minutes as demonstrated.