Create a stunning and colorful DIY Polymer Clay Peacock with easy steps, perfect for adding an artistic touch to your crafts or home decor.
Peacocks are known for their dazzling colors and graceful beauty, making them a fascinating subject for any creative project. Crafting a peacock using polymer clay is a fun and hands-on activity that lets you design your own mini masterpiece. Whether you're an experienced crafter or just starting out, this project is enjoyable, easy to follow, and perfect for expressing your imagination. Once completed, your clay peacock can be displayed proudly or given as a thoughtful, handmade gift.
Create Your Own DIY Polymer Clay Peacock in Easy Steps
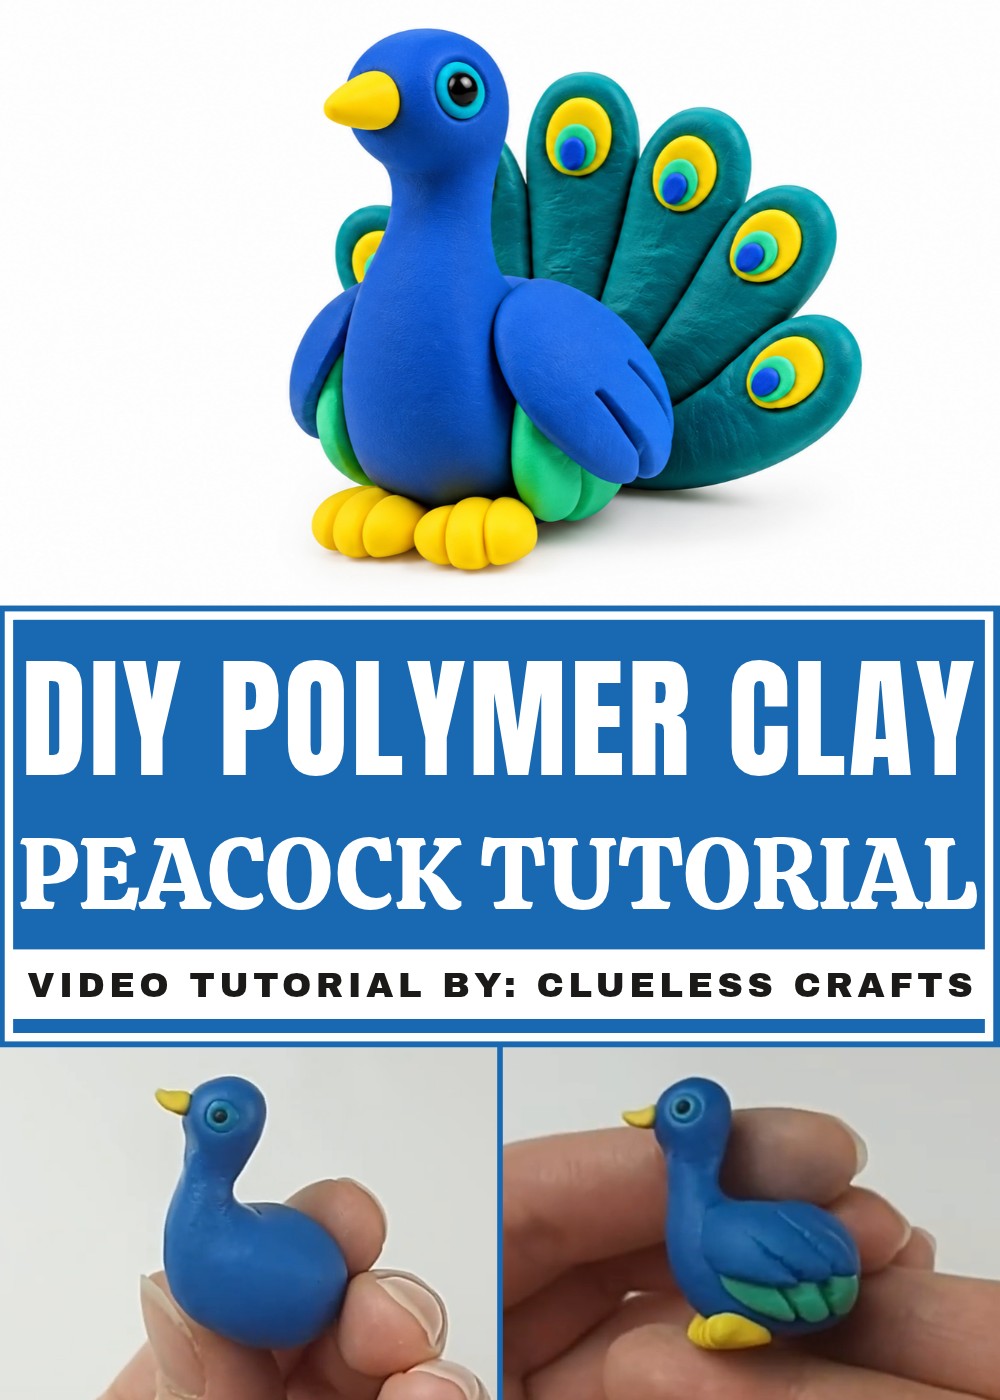
This project gives you the chance to create a bird bursting with personality and charm. You can shape its body, add detailed feathers, and play with vibrant colors like deep blues, greens, and golds. The feathers, often the highlight of a peacock, allow for endless creativity, you can layer them in exciting ways or add tiny patterns and designs for extra flair. It’s a wonderful project for anyone who loves colorful designs and detailed work.
Working with polymer clay lets you take your time as you mold and shape each part of the peacock. It’s simple to use and great for creating smooth, detailed pieces, making the process both fun and relaxing. By the end of this project, you’ll have a stunning decorative figure that showcases your creative skills and adds a touch of elegance wherever you display it.
Project Overview
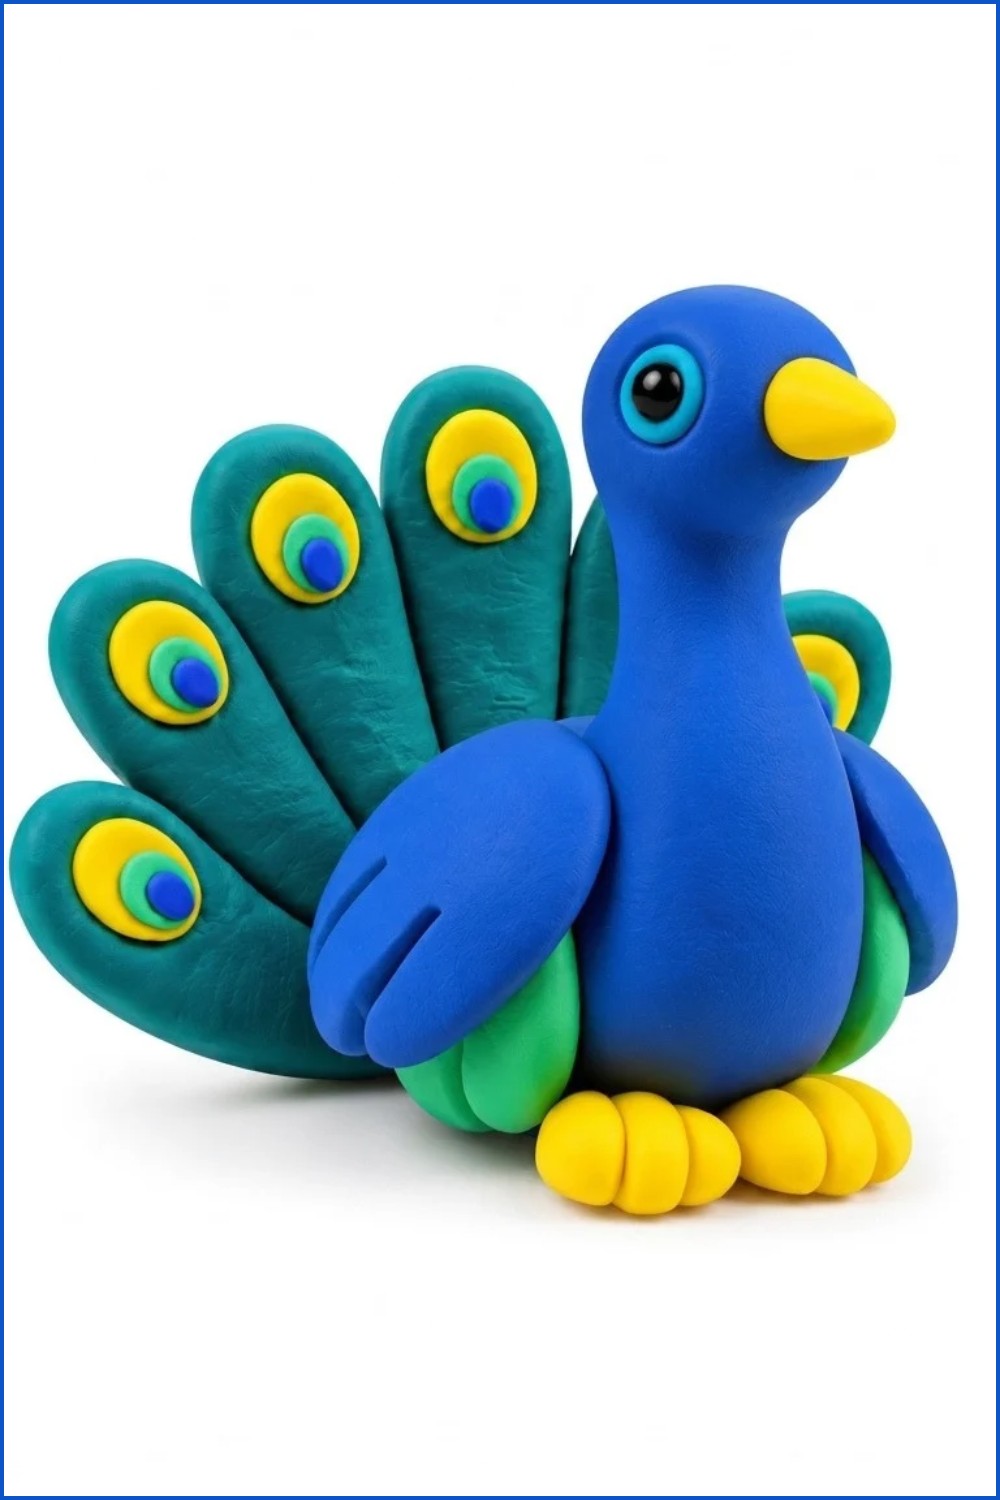
Create a detailed miniature polymer-clay peacock with layered wings and a decorative back tail. This tutorial follows the original step-by-step process: forming a bowling-pin body, sculpting head features, building layered wings, adding feet, creating a multi-piece back tail with inset color details, and baking the assembled peacock standing up. Follow manufacturer baking guidelines for safety.
Materials & Supplies
- Polymer clay: teal (body), dark teal, blue (body accents), yellow (beak/feet), black (eye centers), additional colors for details.
- Parchment paper or nonstick tile for working and baking.
- Optional: Liquid Sculpey for extra adhesion (not required for attaching tail per transcript).
Tools & Equipment
- Ball-point sculpting tool (medium and small)
- Flat-edge tool / blade for indents and shaping
- Needle tool or pin for fine detail
- Small work tile or smooth surface (for forming/peeling tail)
- Oven (set to manufacturer clay temp; transcript used 275°F for 1 hour)
- Fine detail smoothing tools or fingers for blending
Project Details
- Finished size: small tabletop figurine (scale determined by initial clay amounts).
- Complexity: beginner–intermediate (requires careful layering and color insets).
- Key features: bowling-pin body shape, L-shaped neck/head, dual-layer wings (teal under blue), yellow beak and feet, decorative teardrop back tail with inset color pattern.
Preparation
- Precondition clay by warming and kneading until pliable.
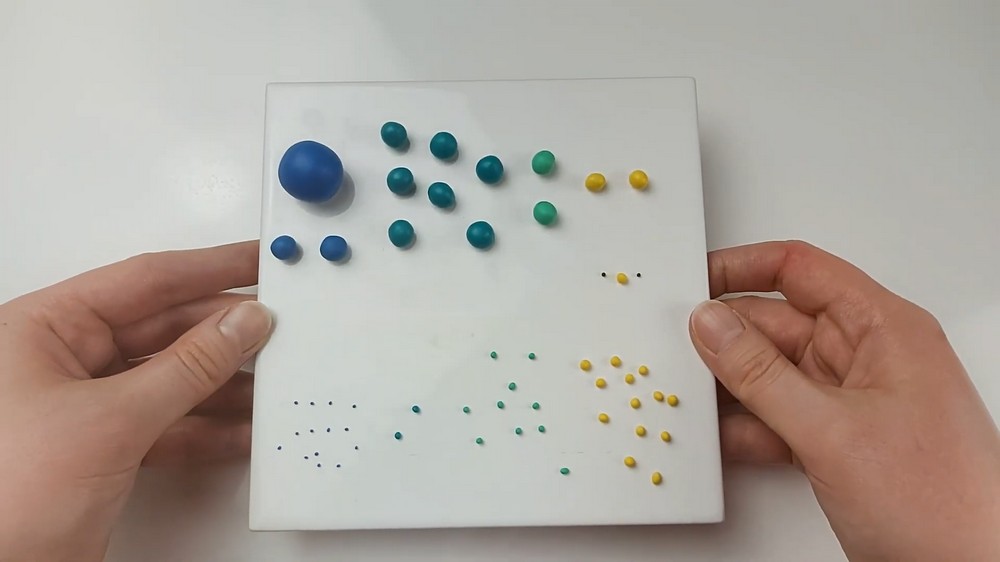
- Pre-cut approximate amounts for body, wings, tail sections, beak, and feet so you can work efficiently.
- Lay out your tools and parchment/tile.
- Decide final pose and approximate scale to size your clay pieces accordingly.
Step-by-Step Detailed
Body
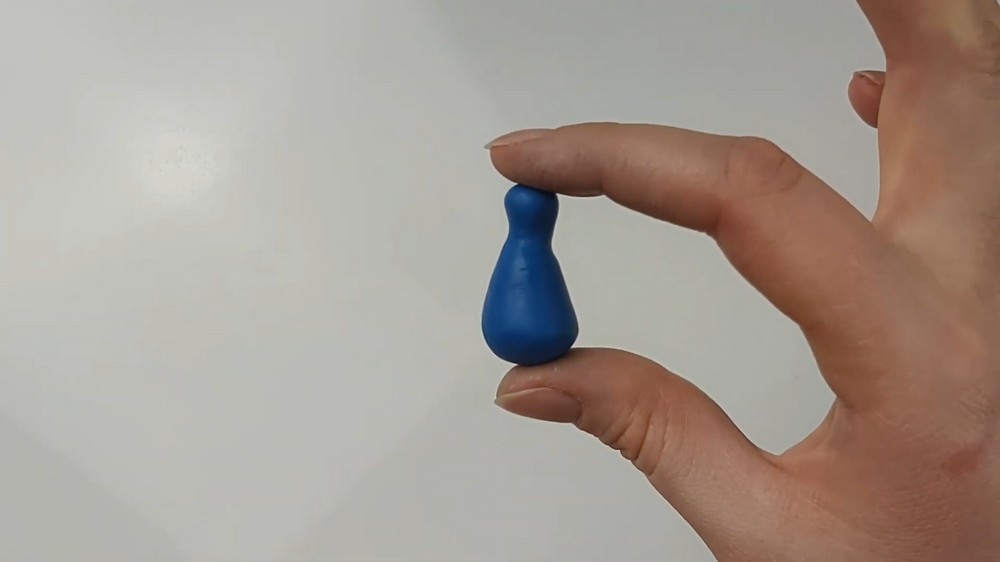
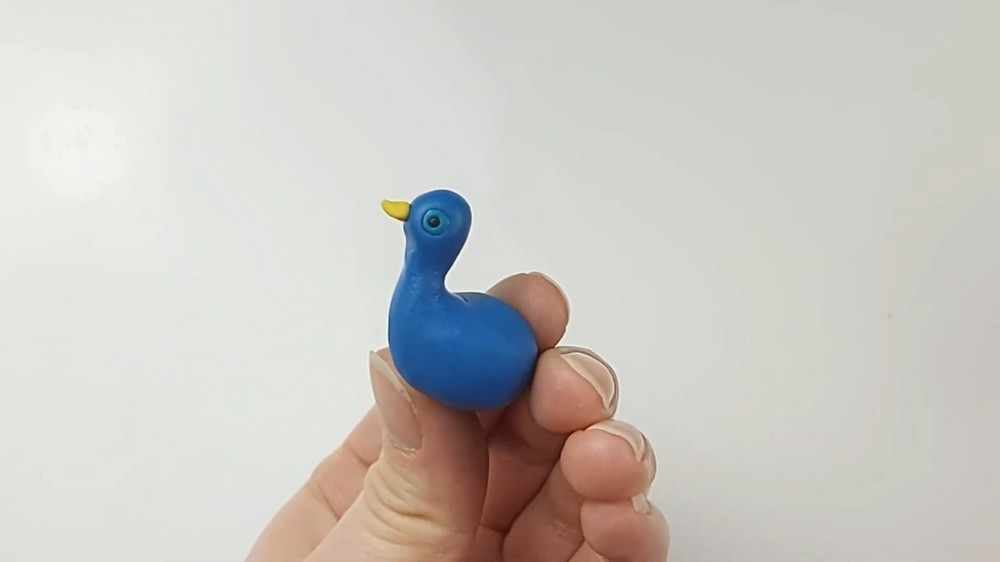
- Form a bowling-pin shape from the main teal clay: roll a rounded top tapering to a heavier base.
- Use a finger to roll one side only, leaving clay at the top end for the head.
- Pinch the head area to define a neck; push the head back toward the body to create an L-shaped neck-to-body angle.
- Adjust neck length as desired — you should end up with a distinct L silhouette.
- Create eye indents using a medium ball-point tool; press small balls of teal into the eye sockets for the iris, then make smaller indents and insert black balls for pupils.
- Make a beak: roll a small yellow ball and taper one end into a cone; push the cone into the center of the face to form the beak.
Wings
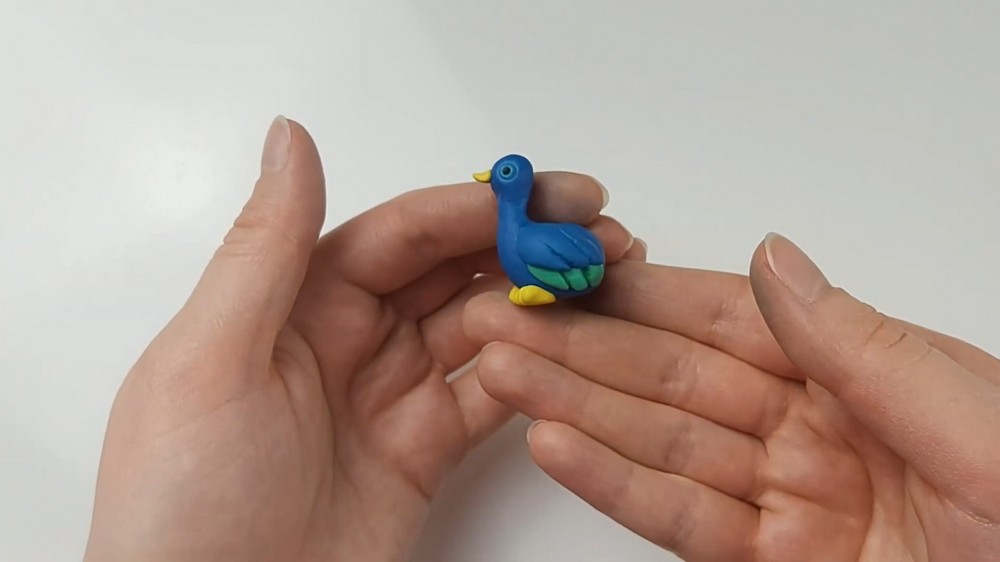
- Make the lower (teal) wing set first: flatten a teal ball, pinch one end into a triangle, and use a flat-edge tool to make two indents along the bottom to define feathers.
- Attach the two teal wings to either side of the body in a lower position.
- Make the upper (blue) wing set: flatten and more carefully define feather shapes (this layer will be most visible).
- Place the blue wings slightly overlapping the teal wings so teal shows through at the bottom but not on top.
- Ensure alignment so the layered appearance resembles feathered overlap.
Feet
- Form feet from yellow clay: take a ball and squash into a triangular three-sided shape.
- Use a flat-edge tool to indent toes along the triangle’s edges.
- Make two feet and position them underneath the body, side-by-side for stable placement.
Back Tail (Feathers)
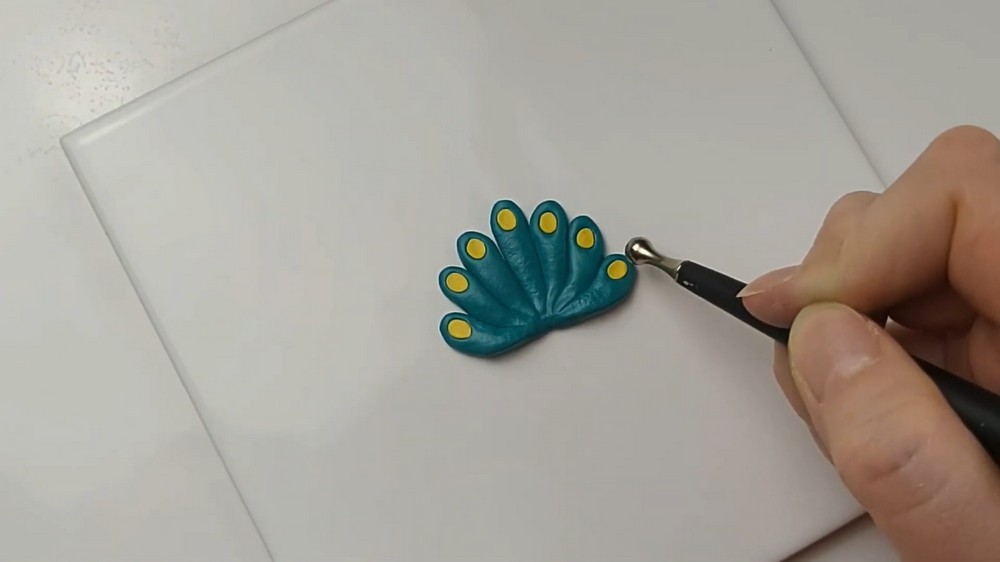
- Roll a dark teal log and divide it into eight sections (the tutorial uses eight to make seven needed pieces).
- Cut the sections and roll each into a ball, then shape each ball into a teardrop and slightly flatten.
- Arrange the teardrops starting with the center feather, working outward; curve and pinch the ends to form pointed tips and to make them fit together without gaps.
- Blend the middle area where all teardrops meet to secure them together and prevent separation.
- Reshape the bottom as needed if the assembly lost form during blending; check height relative to the peacock so proportions are correct.
Inset Detail & Color Patterning
- Indent the feather surfaces lightly before adding inset colors (this prevents details from sitting too raised).
- Peel the assembled tail off the tile briefly to add natural curvature and avoid an overly flat look.
- Press yellow into first set of indents and smooth with a medium ball-point tool.
- Make a new small indent for the next color so it sits recessed.
- Press teal (same as wings) into the indents, smoothing carefully.
- Repeat indents and fill with blue (same as body) for the final ring of color patterning on each feather.
- Peel the finished back tail off the tile to ensure it’s slightly arched for a natural look.
Attach Tail & Final Prep for Baking
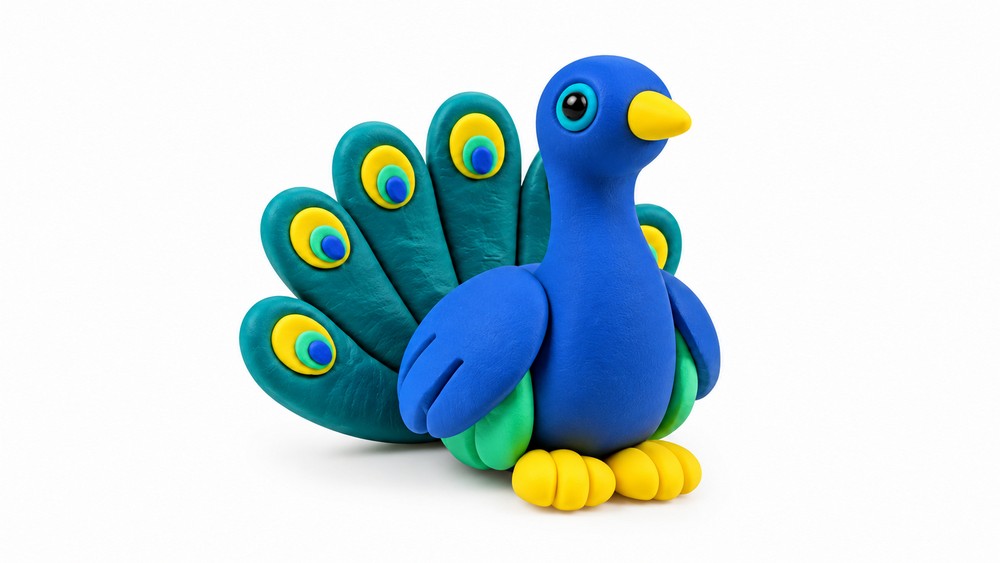
- Place the decorated back tail onto the peacock’s back and press firmly — per the transcript no Liquid Sculpey needed, just firm pressure to secure.
- Peel the whole assembly off the tile and set it standing up for baking to preserve the tail shape and layered wings.
- Bake per your clay’s instructions; the tutorial baked at 275°F for 1 hour (confirm and adjust for your clay brand and piece thickness).
- Allow the peacock to cool completely before handling.
Finishing Instructions
- After cooling, check joins for firmness; if needed, reinforce with a small amount of liquid Sculpey and rebake briefly or secure with craft adhesive if appropriate.
- Optionally, add a gloss or matte varnish to eyes or body as desired.
Tips & Techniques
- Indent before adding inset colors so decorative details remain flush and natural.
- Peel the tail off the tile to avoid an unnaturally flat base; a slight arch reads more organic.
- Work from center outward when assembling the tail to maintain symmetry.
- Layer wings so under-wings peek through to create depth.
Common Problems & Solutions
- Tail pieces separate after handling: blend and press center thoroughly before adding color; reinforce with a tiny clay bridge if needed.
- Colors sit too raised: make slightly deeper indents first, then press color in recessed areas.
- Tail too flat: peel and slightly bend before baking, then stand upright during bake.
Creative Ideas & Variations
- Vary feather patterns using metallic or translucent clay for an iridescent look.
- Add tiny bead accents or painted highlights after baking for extra detail.
- Make a small family of peacocks with graduated tail sizes for display.
Final Result
You will have a layered, colorful peacock with defined facial features, dual-layer wings, stylized feet, and a decorative back tail with inset color rings. Display upright after cooling to show off the arched tail and feather detailing.