Bring Hello Kitty to life in polymer clay with this DIY project, perfect for cute decorations, personalized gifts, or adorable keepsakes.
Creating a Hello Kitty figure out of polymer clay is an engaging and creative DIY project suitable for craft enthusiasts of all ages. This activity allows you to craft the beloved character from scratch, giving life to her iconic features like the bow, oval-shaped face, and adorable expression. Polymer clay is an ideal material for this project as it is easy to mold and customize, resulting in a durable creation once baked. Whether you’re looking to make a keychain, charm, or decorative piece, this project provides plenty of room for personalization.
Unique DIY Polymer Clay Hello Kitty Designs to Try
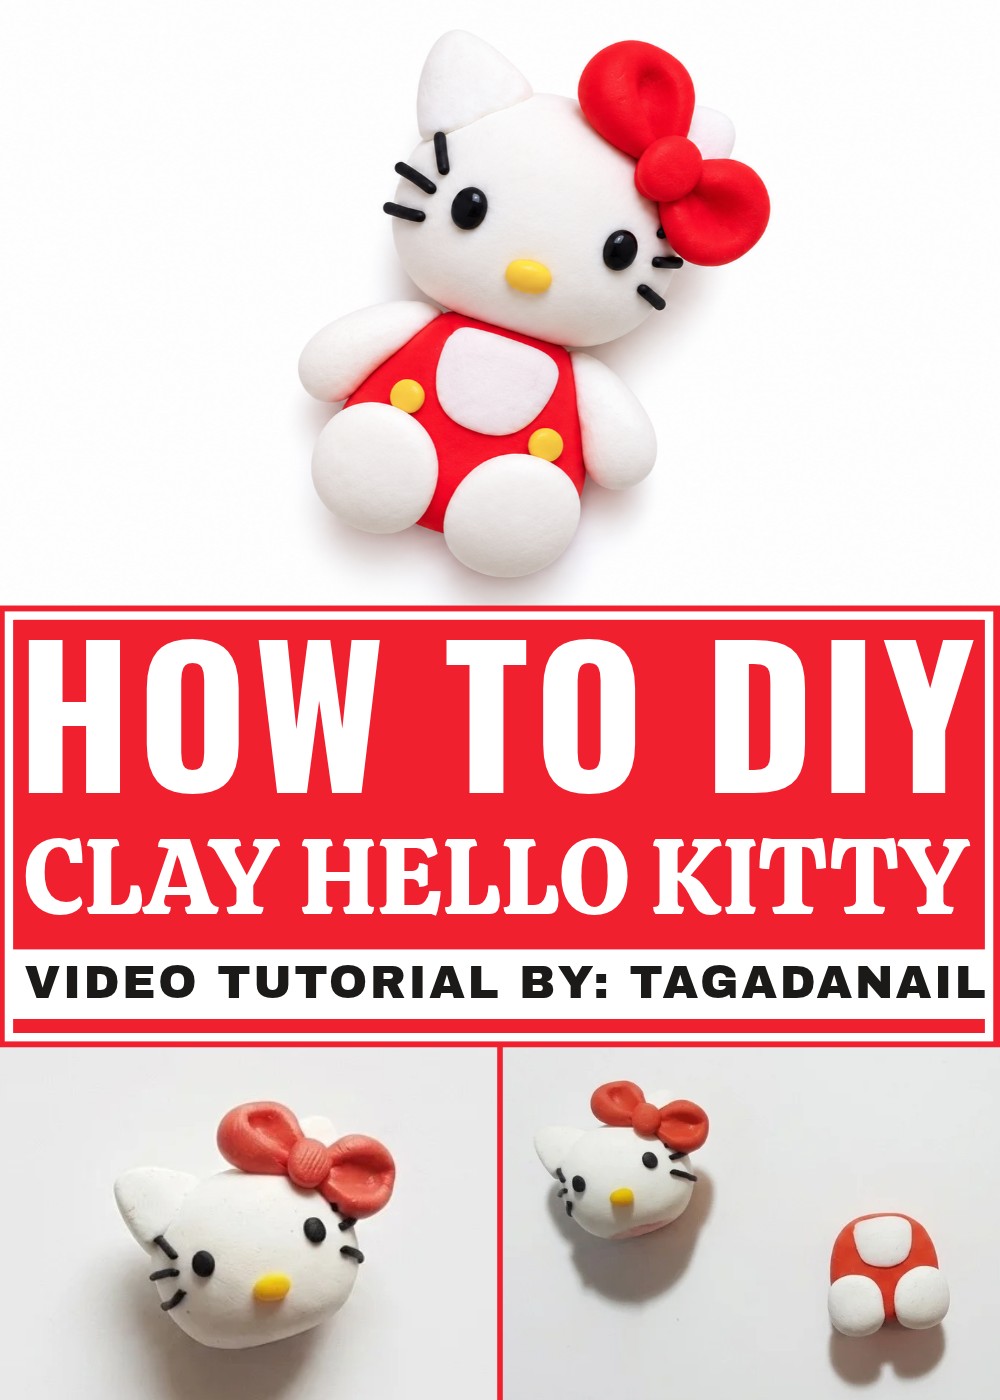
What makes this DIY project especially interesting is the opportunity to learn and refine your sculpting skills while working on something recognizable and fun. The steps involve designing each part of Hello Kitty, assembling the pieces, and baking the clay to harden it. You also get to experiment with colors and textures, perfecting every detail to bring out the character’s unique features. It’s not just about crafting, it’s a chance to explore creativity and enjoy hands-on learning.
By following the pattern or guidelines provided, you can expect clear instructions to help you create a professional-looking result. The experience is both educational and rewarding, making it a great option for gifts, collectibles, or simply for fun. Whether you're a beginner or experienced with polymer clay, crafting a Hello Kitty figure is a delightful project worth trying.
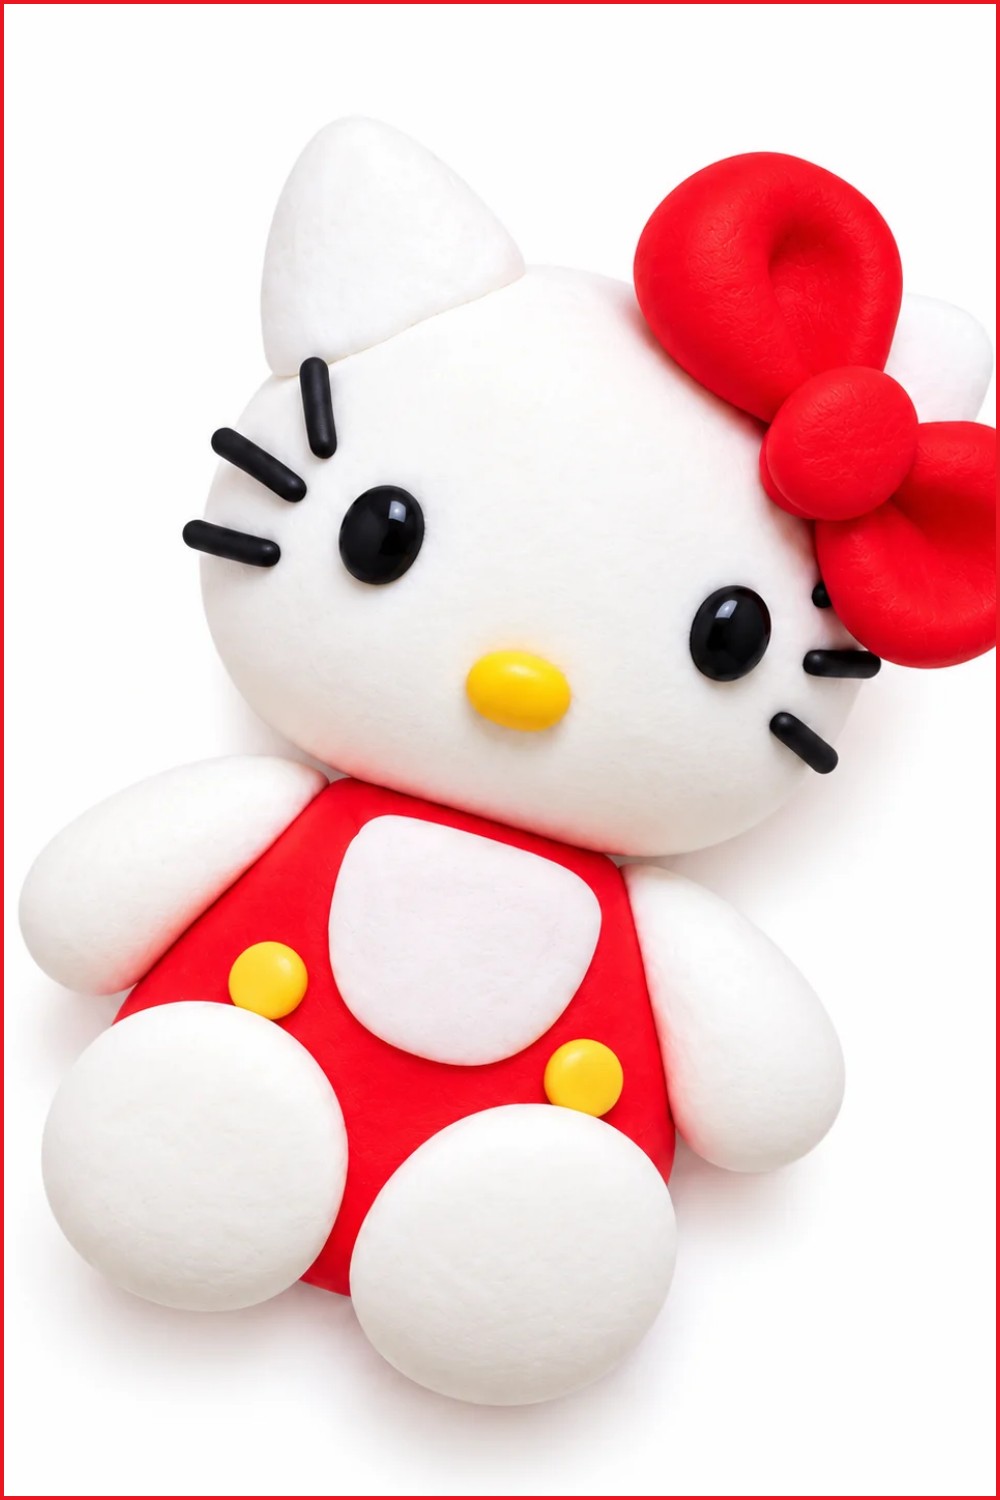
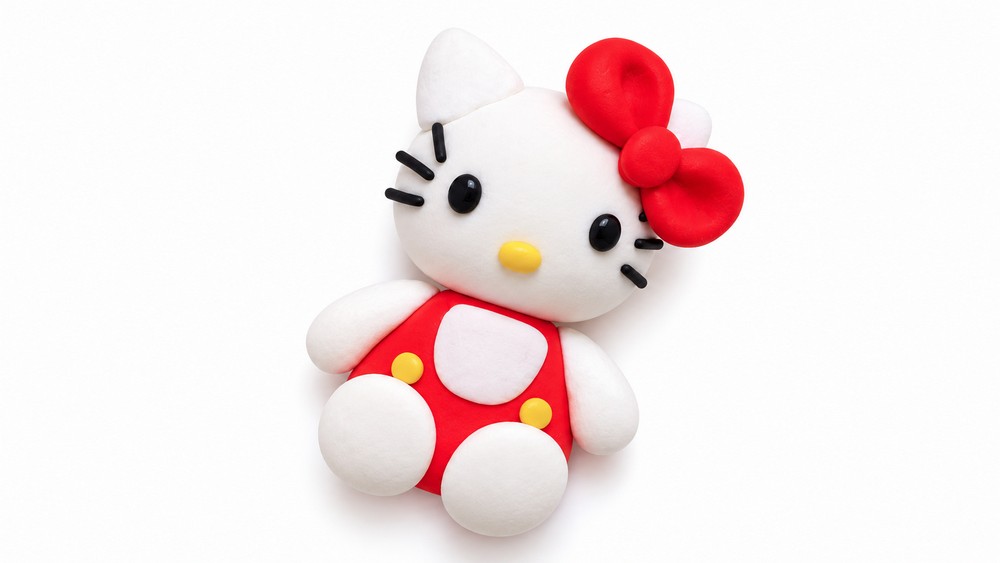
Hello Kitty Polymer Clay Figurine (1:12 scale)
- Create a small Hello Kitty figurine using Fimo Soft polymer clay in white, red, yellow and black.
- The project builds the head, ears, bow, body, overalls, arms and final assembly with a 30 minute bake at 110°C.
- Suitable for beginners with basic tools; time about 1.5–2 hours plus baking and cooling.
Materials
- White polymer clay (main body and head)
- Red polymer clay (dress and bow)
- Yellow polymer clay (nose and buttons)
- Black polymer clay (eyes, whisker bases)
- Optional: translucent varnish for sheen
Tools
- Small rounded sculpting tool or rounded object
- Small scalpel or craft knife
- Needle tool or toothpick for whisker dots
- Small rolling tool or fingers for flattening
- Oven and baking tray
- Tweezers and small scissors
Measurements
- Head diameter: approximately 12–15 mm for a cute miniature proportion
- Body block: roughly 10–12 mm wide and 8–10 mm tall
- Ear size: small halves from a head-slice about 3–4 mm each
- Bow components: three small red shapes, each about 2–4 mm
Pattern / Design Information
- Design is based on classic Hello Kitty features: round head, oval eyes, three whiskers per side, no visible mouth, a yellow nose and a red bow on the left ear.
- Keep proportions simple and stylized for an accurate miniature representation.
Instructions
Part 1: Head and Facial Features
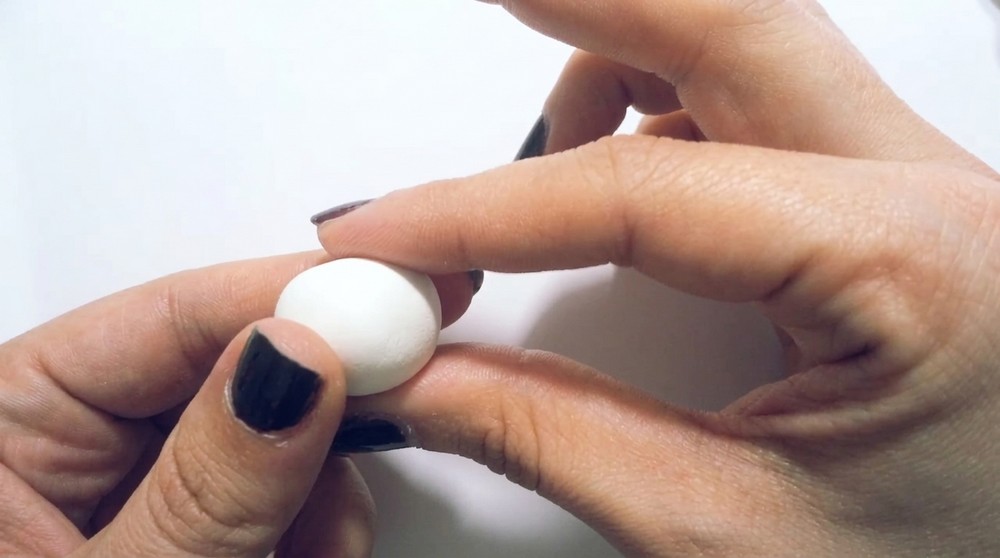
- Roll a ball of white clay to form the head.
- Slightly flatten top and bottom of the ball for the chin and top of head.
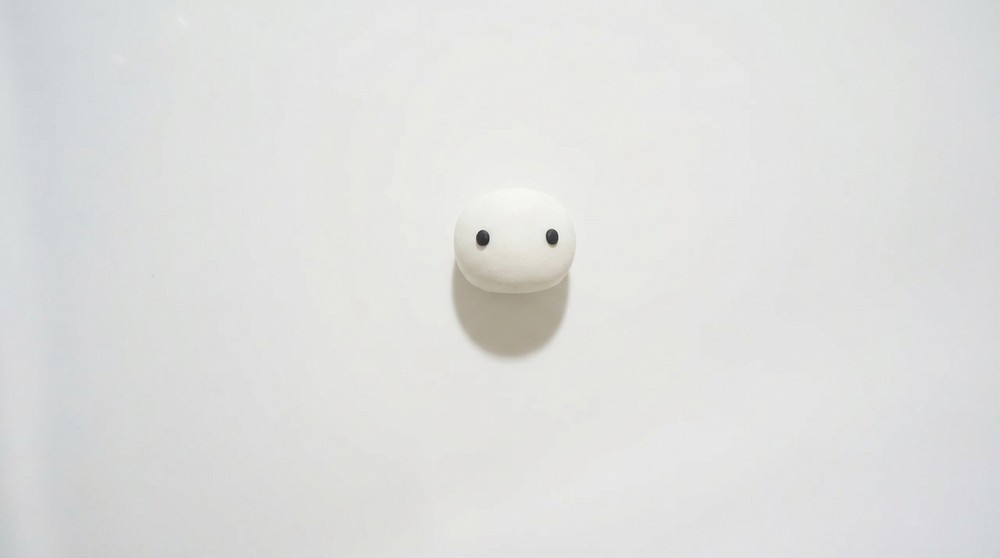
- Make two small black balls for the eyes and press them into position spaced evenly and low on the face.
- Add a tiny yellow ball for the nose and press gently at center between the eyes.
- Form three short tubes of black clay, cut into six small pieces, and press or stick them as whisker bases: three on each side at eye level.
- Use a needle tool to refine placement and to slightly indent where whisker pieces meet the face.
- Leave the head aside to set briefly before adding attachments.
Part 2: Ears and Bow
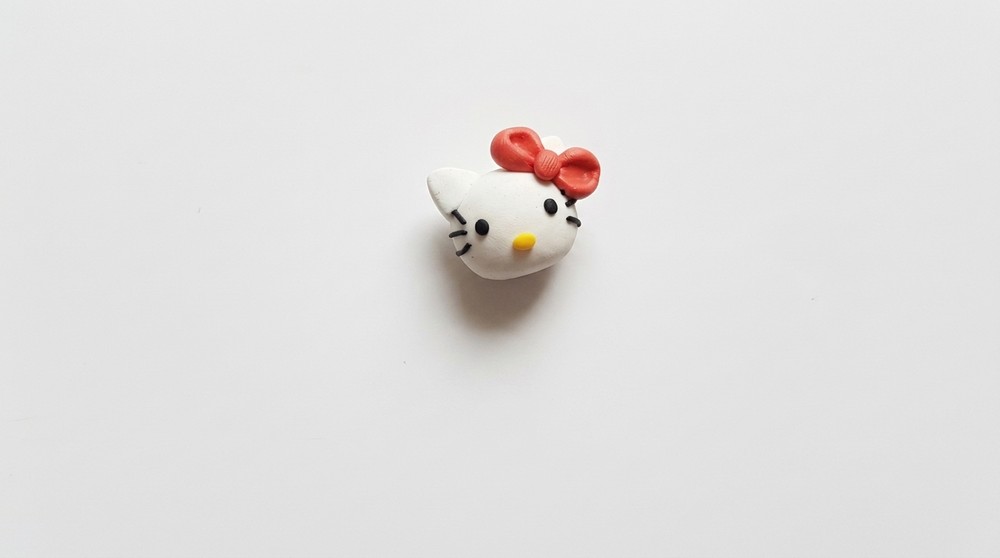
- Take a white ball, cut in half, flatten each half and pinch to shape a pointed cat ear.
- Attach the two ears to the top sides of the head symmetrically, pressing gently to secure and blend any seam.
- For the bow: roll two red balls and shape each into a teardrop by pressing a pointed tool at one end.
- Place the two teardrops next to each other on the left ear to form the bow loops.
- Make a small central knot from a tiny red ball; place and press faintly at the center to finish the bow.
- Smooth any joins with a small tool or fingertip without losing shape.
Part 3: Body, Overalls and Arms
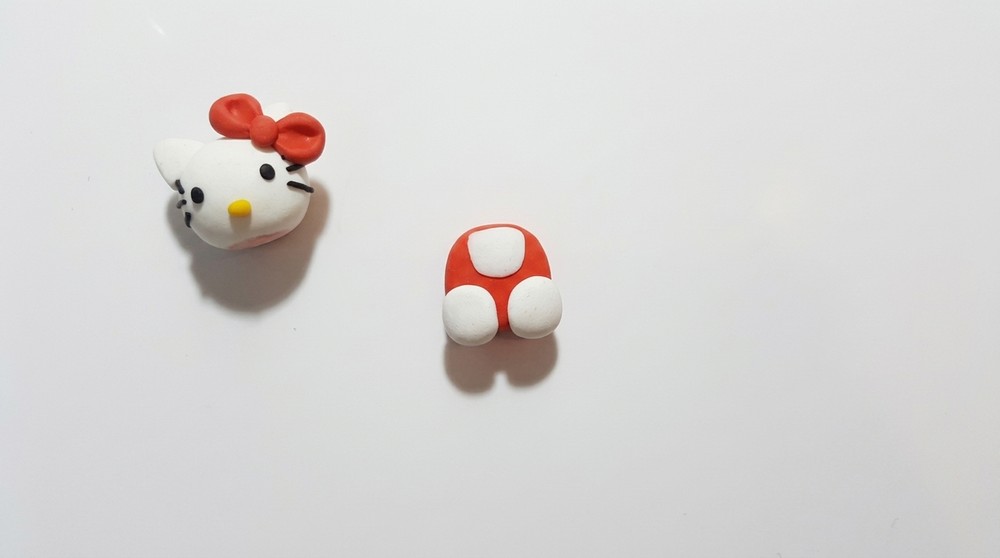
- Roll a square-ish piece of red clay into a small rounded block to make the body; flatten the top slightly to accept the head.
- Create the bib by pressing a small flattened white oval onto the top front of the red body; smooth edges to integrate.
- Shape two small white lozenges for overall straps and attach them symmetrically on the bib area.
- Add two tiny yellow balls on the bib for buttons and press lightly to adhere.
- Make two small white sausage shapes for arms and attach one on each side of the body; position slightly forward to resemble an invite pose.
Joining the Pieces
- Attach the head to the body by aligning and pressing the flattened base of the head into the top of the body until secure.
- Check balance and posture; adjust arm placement if needed to keep the figurine stable.
- Smooth any visible seams with a small tool, blending gently while preserving the form.
Finishing the Project
- Place the assembled figurine on a piece of foil or a baking tray.
- Bake at 110°C (230°F) for 30 minutes as recommended for Fimo Soft, then allow to cool completely before further handling.
- After cooling, inspect for imperfections; sand lightly if required and add a tiny bit of varnish if you want a slight gloss on the bow or nose.
Design Variations
- Create alternate outfits by changing body color or adding tiny accessories like a painted heart or small decals.
- Scale up or down to match dollhouse proportions; adjust measurements proportionally.
- Add a hanging loop at the top of the head to make a pendant or keychain by inserting a small eye pin pre-bake.
Tips and Notes
- Work cleanly: keep fingerprints off flattened surfaces by using light dusting of cornstarch or working with gloves.
- Use minimal liquid clay; excessive liquid can change the texture and increase bake times.
- If making a pendant, pre-insert a small nail or eye pin into the head base and bake with it to secure a loop.
- Be patient when blending seams; over-handling may deform delicate shapes like whiskers and bow.
Finished Measurements
- Final figurine height: typically 22–28 mm from base to top of ears depending on scale choices.
- Width across shoulders: approximately 10–14 mm.
- Weight: negligible; suitable for pendants, charms, or shelf miniatures.
This step-by-step guide reproduces the Hello Kitty miniature from the video using straightforward techniques and small tools. Follow proportions and bake settings to ensure a durable, cute figurine suitable for gifts or display.
Care and Storage
- Keep figurine away from direct sunlight and heat to prevent color changes.
- Dust occasionally with a soft brush.
- Store in a small box with padding to prevent crushing; avoid heavy stacking.
- Handle gently to preserve small details like whiskers and bow.