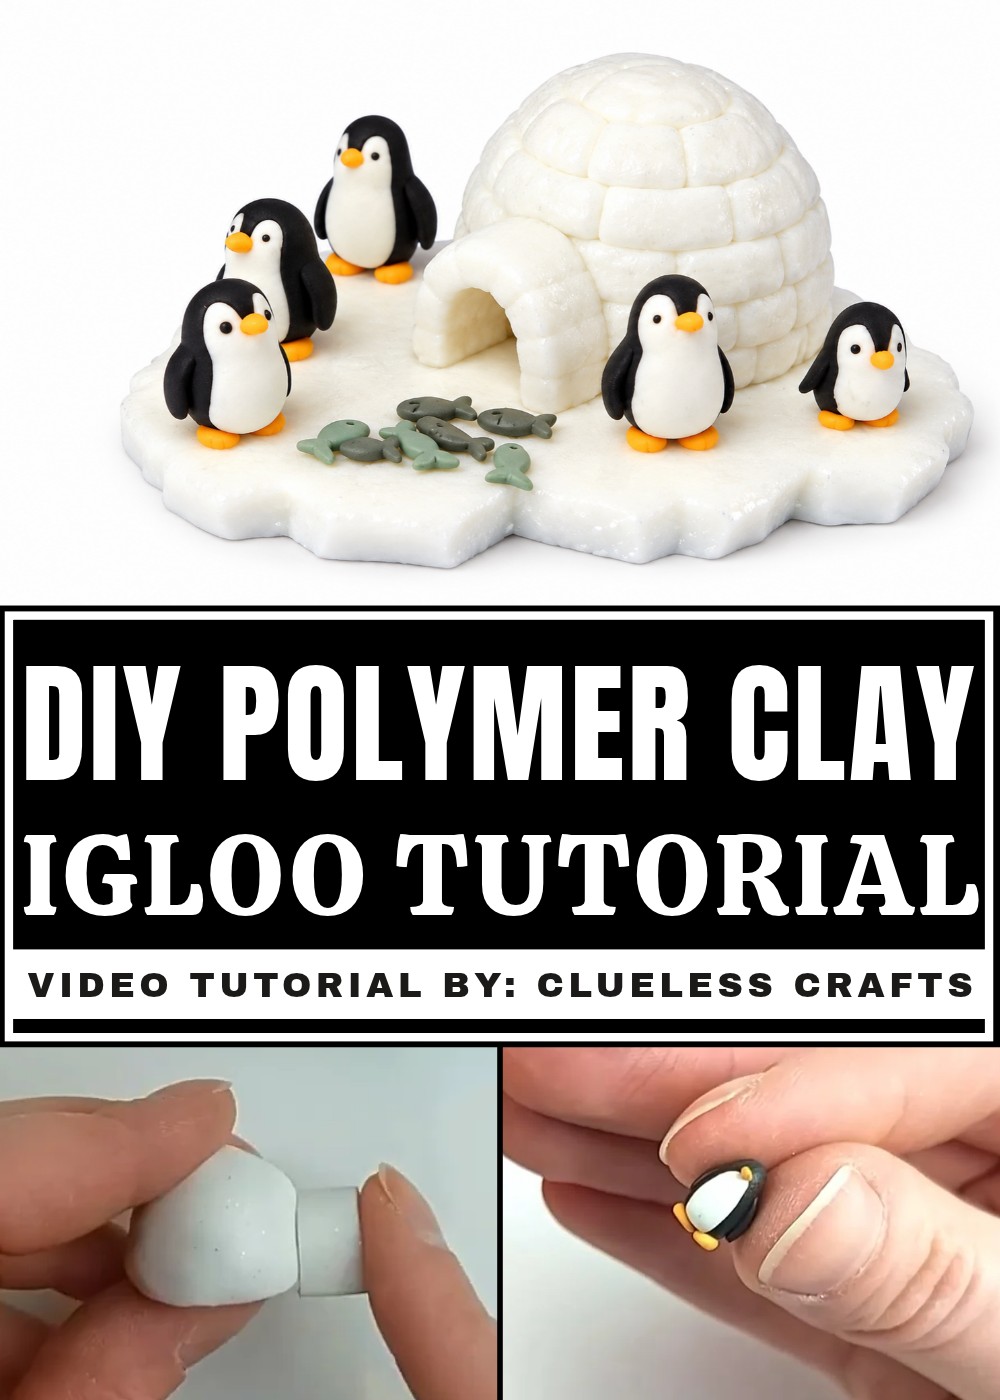
Create a stunning DIY Polymer Clay Igloo with our step-by-step guide which is or crafting enthusiasts, this project is fun, simple, and creative.
Holding a tiny winter wonderland in your hands, a cozy little igloo made entirely by you. This fun and creative project lets you craft a miniature arctic home using polymer clay. It’s a simple and exciting way to turn your imagination into something you can display, gift, or just admire. Whether you’re a seasoned crafter or someone looking for a relaxing way to spend an afternoon, this DIY project is both easy and delightful.
DIY Polymer Clay Igloo Project Perfect for Winter Decor
Working with polymer clay feels like playing with colorful, moldable dough that turns into a solid, smooth creation once baked. You can shape the snowy blocks of your igloo, add detail to the front entrance, or even sprinkle in tiny touches like snowflakes or animals to make it extra special. What’s cool about this craft is how customizable it can be—you can keep it simple or go all out with decorations. The clay is forgiving, so even beginners can create something wonderful without pressure.
This DIY polymer clay project is perfect for adding a bit of winter charm to your home or creating a handmade gift for someone special. The joy of designing, shaping, and finishing your little igloo is truly rewarding. By the time you’re done, you’ll have a lovely keepsake that reflects your creativity and reminds you of the fun you had making it.
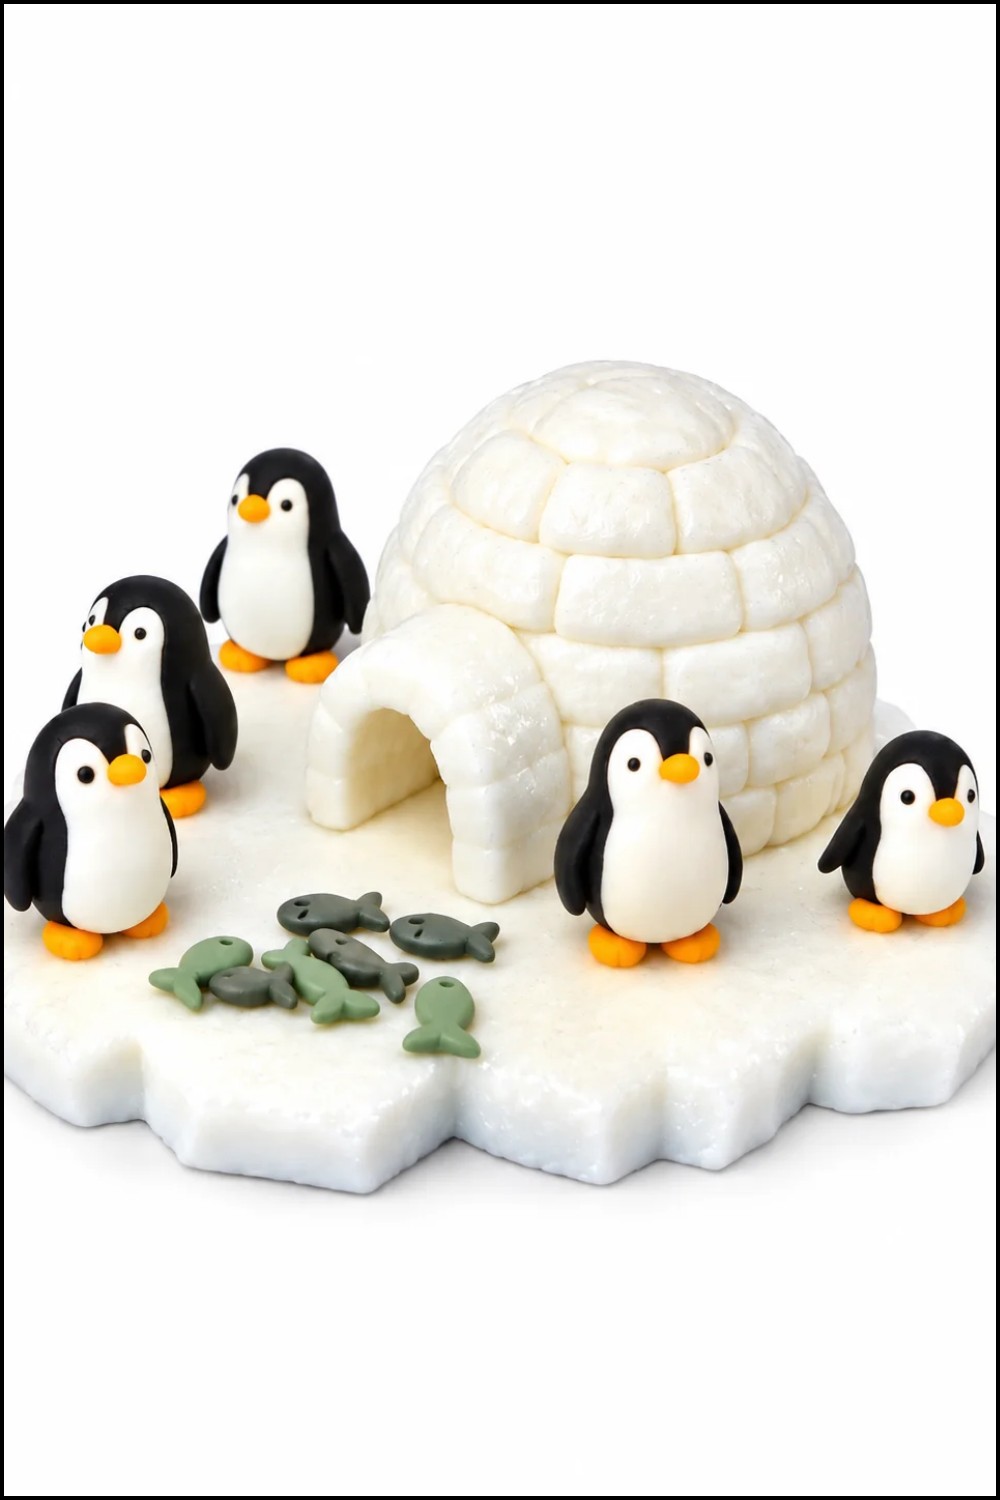
DIY Polymer Clay Igloo
Make a mini clay igloo (“iglue”) using a compact tin-foil dome armature, layer and sculpt clay into an igloo shape, add staggered ice-block details, set it on a jagged iceberg base, and create tiny penguins as companions. The finished piece is a small display diorama — playful, portable, and customizable.
Materials & Supplies
- Large ball of clay (main igloo color; polymer or air-dry)
- Small balls of black, white, and orange clay (penguins)
- 5 x 5 in square of tin foil
- Optional extra clay for iceberg and puffles
Tools & Equipment
- Clay roller or rolling pin
- Heavy object (end of roller works) to compress foil
- Flat-edge sculpting tool (primary marking tool)
- Smaller flat-edge tool (optional)
- Sculpting knife
- Oven (if using polymer clay) and baking surface
- Tweezers (helpful for foil removal)
Project Details
- Difficulty: Beginner–intermediate (patience needed for details).
- Time: Sculpting + detailing varies; tin-foil removal can take ~20 minutes.
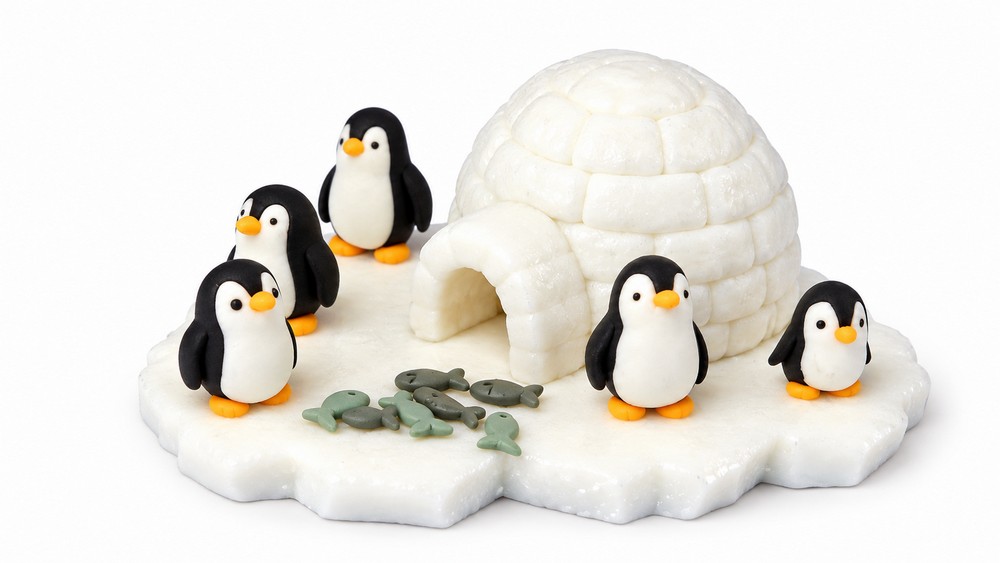
- Result: Mini igloo on an iceberg with one or more penguins; suitable for display or gifting.
Preparation
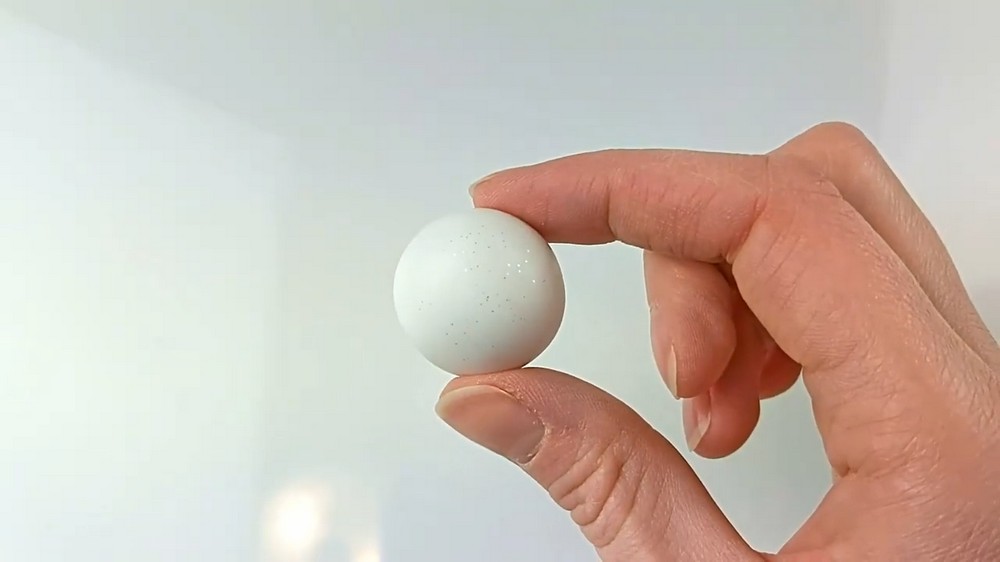
- Roll the large clay ball flat and evenly by rotating it while rolling to avoid thin spots.
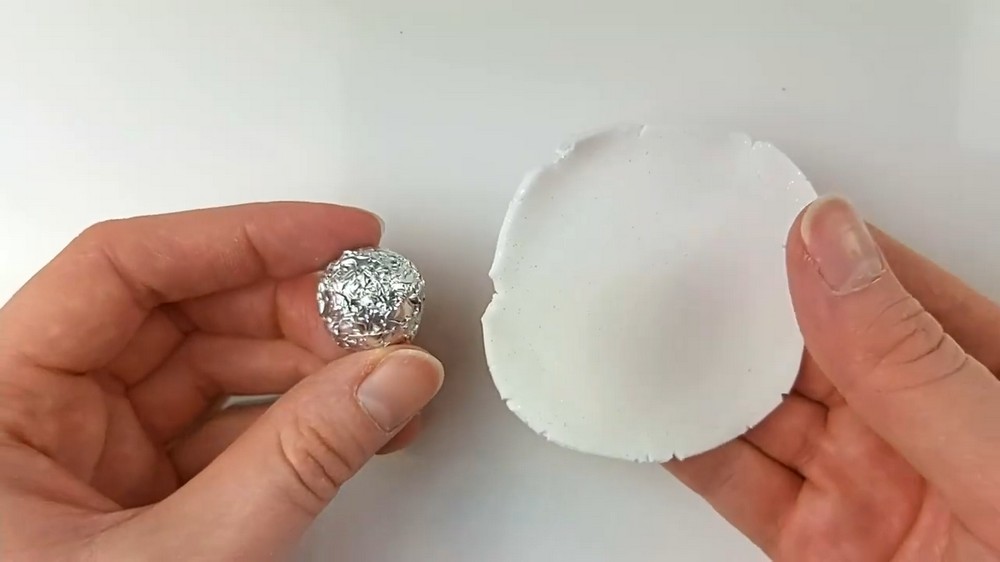
- Crumple a 5 x 5 in square of foil into a rough ball.
- Compress the foil using a heavy object (roller end) into a compact dome — this becomes the armature.
- Arrange tools and workspace so you can sculpt without interruptions.
Step-by-Step Detailed
Forming the Dome
- Start shaping clay onto the foil form:
- Place the flattened clay over the compact foil dome and begin to cover it.
- When clay covers about halfway, cut off excess clay around the edges to make wrapping easier.
- Wrap remaining edges under the base of the dome until fully covered.
- Place the flattened clay over the compact foil dome and begin to cover it.
Smoothing & Trimming
- Rough-press and blend:
- Press the clay into the dome shape to remove major seams.
- Blend out a cut line near the bottom to smooth the overall surface.
- Reveal the igloo shape:
- Trim the overlap at the bottom to reveal the final igloo silhouette.
- Use a sculpting knife to trim remaining overlap and create a clean bottom edge.
Creating the Doorway
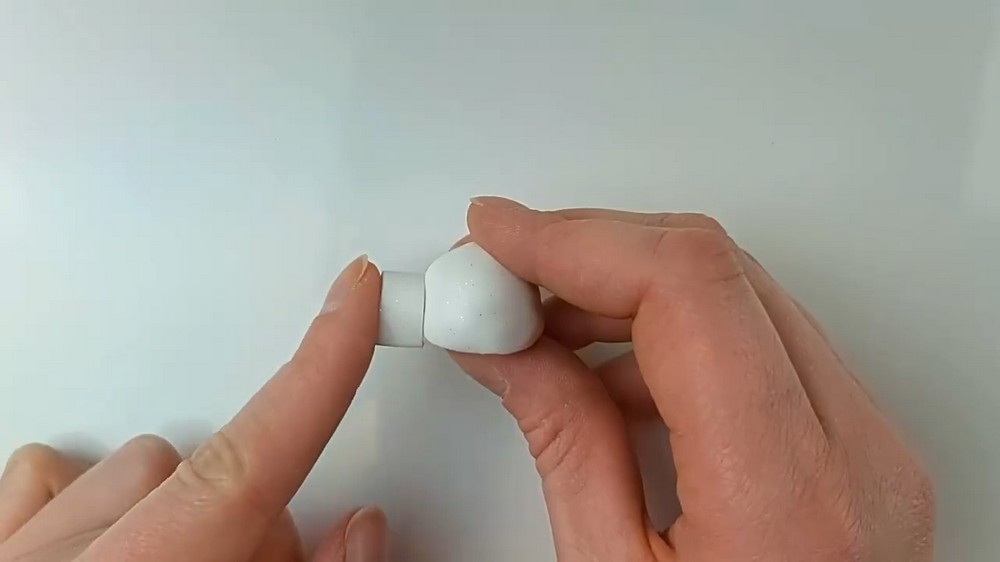
- Make the doorway piece:
- Roll a small ball of clay and cut a rectangle.
- Hold between fingers, pinch into an arch, and blend the connecting edge into the igloo to secure.
- Form the entrance:
- Remove the igloo wall inside the doorway to make a proper entrance.
- If proportions feel off, shorten the doorway: cut off half on one side, flip and remove the other half, then refine.
Adding Horizontal Rows (Block Rows)
- Mark rows:
- Use the flat-edge sculpting tool to indent horizontal lines all the way up the igloo; these are your rows of blocks.
- After each row, inspect for straightness and even spacing; keep rows relatively parallel to the ground.
- Add matching horizontal rows inside the entryway so the doorway looks integrated.
Defining Individual Blocks
- Make vertical separations:
- Use the flat-edge tool to add vertical indents on each row to define individual blocks.
- If the tool edge is too long and crosses rows, make two angled indents (one from bottom, one from top) to meet in the middle for a clean seam.
- If a smaller tool is too flexible and leaves faint marks, rely on the angled-double-indent method.
- Stagger block seams:
- Pay attention to the row below; stagger vertical lines so seams don’t line up, giving a structurally believable pattern.
- Add a few block lines inside the entryway as well, offset from the main rows.
Shaping the Iceberg Base
- Form jagged edges:
- Use the flat-edge tool to indent corners and create angled edges around the base to mimic an iceberg.
- Optionally use the sculpting knife to make edges sharper and more defined for a rugged look.
Sculpting Mini Penguins
- Basic penguin:
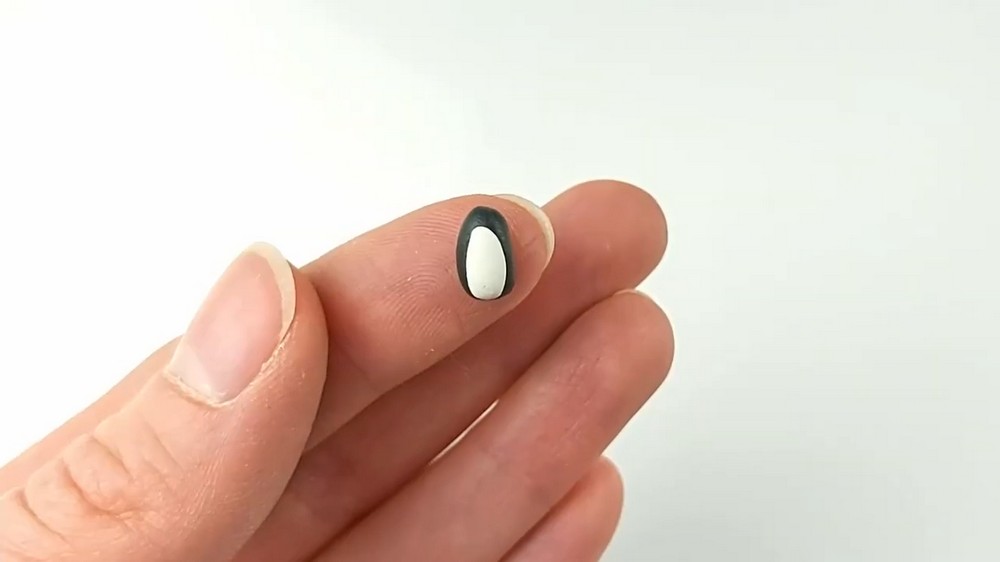
- Roll a black clay ball into a tic-tac shape for the body.
- Roll a smaller white ball, flatten it, and press it onto the black to form a white belly.
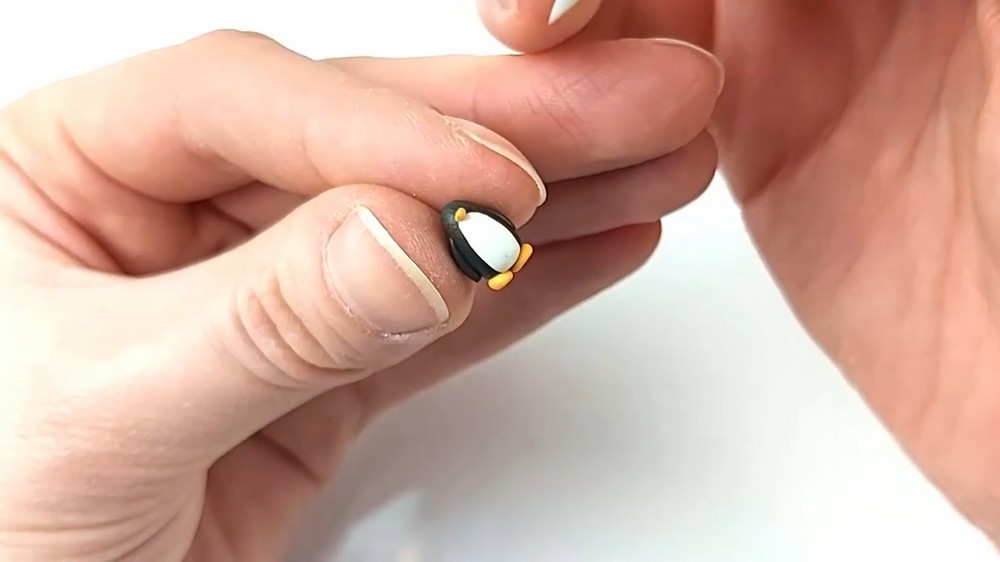
- Make two tiny black teardrops for arms and attach to the sides of the belly.
- Place two tiny orange balls on your finger and press them onto the bottom as feet.
- For the beak: roll orange clay, elongate slightly, cut in half to make a cone, then attach.
- Eyes: add two tiny white balls and even tinier black pupils; if eyes get squished, scrape and replace.
- More realistic variant:
- Add two tiny white balls above the belly and blend them with the belly to create a double-arch white chest.
- Place the beak between the arches where black meets white.
- Indent for eyes and add tiny black balls for pupils.
- Make as many penguins or puffles as desired for display.
Baking and Cooling
- If using polymer clay, bake according to the manufacturer’s instructions.
- After baking, let the igloo cool completely before handling.
Finishing Instructions
- Remove the tin foil core carefully:
- This is often the most tedious step; work slowly and locate an edge to start pulling.
- Expect to spend up to 20 minutes loosening and extracting compacted foil.
- Tweezers can help pry small pieces out; be patient — the remaining foil will usually fall out once a key piece is removed.
- Clean seams and sharpen details with your sculpting knife if needed after foil removal.
- Arrange penguins and puffles on the iceberg for final display.
Tips & Techniques
- Rotate clay while rolling to maintain even thickness.
- Compress foil firmly for a strong dome — but know it increases removal difficulty.
- Inspect each row as you go; correcting early prevents messy fixes later.
- Use angled indents when tools are too long or flexible.
- Never cut clay on your finger; use a cutting surface.
Common Problems & Solutions
- Foil stuck inside: be patient, find a starting piece, use tweezers; eventual removal is guaranteed.
- Faint indents: switch to a firmer tool or use two opposing angled marks that meet.
- Squashed details: scrape and replace small features (eyes, beaks) — reworking small parts is normal.
Creative Ideas & Variations
- Vary penguin sizes and poses for a lively scene.
- Make multiple igloos or an igloo village on a wider iceberg base.
- Add painted highlights or translucent clay for icy sheen after baking.
- Create themed penguins (Holiday, Club Penguin nostalgia, etc.) or tiny accessories.
Final Result
A charming mini igloo on a jagged iceberg populated with tiny penguins and puffles. The strength of this project is in layered detailing — parallel rows, staggered blocks, jagged base edges — and in patience for the tin-foil removal step. Enjoy arranging and customizing your miniature scene.