Learn how to make a stylish DIY Polymer Clay Backpack with this detailed guide and craft a miniature accessory that looks professional and unique.
Adding a touch of fun and creativity to your crafts is always exciting, and a DIY polymer clay backpack is a wonderful way to do just that. This little accessory is bursting with personality, making it perfect for brightening up your space or turning into a playful charm. It’s small, stylish, and full of charm, making it a delightful piece to enjoy or share.
Unique DIY Polymer Clay Backpack Craft Idea
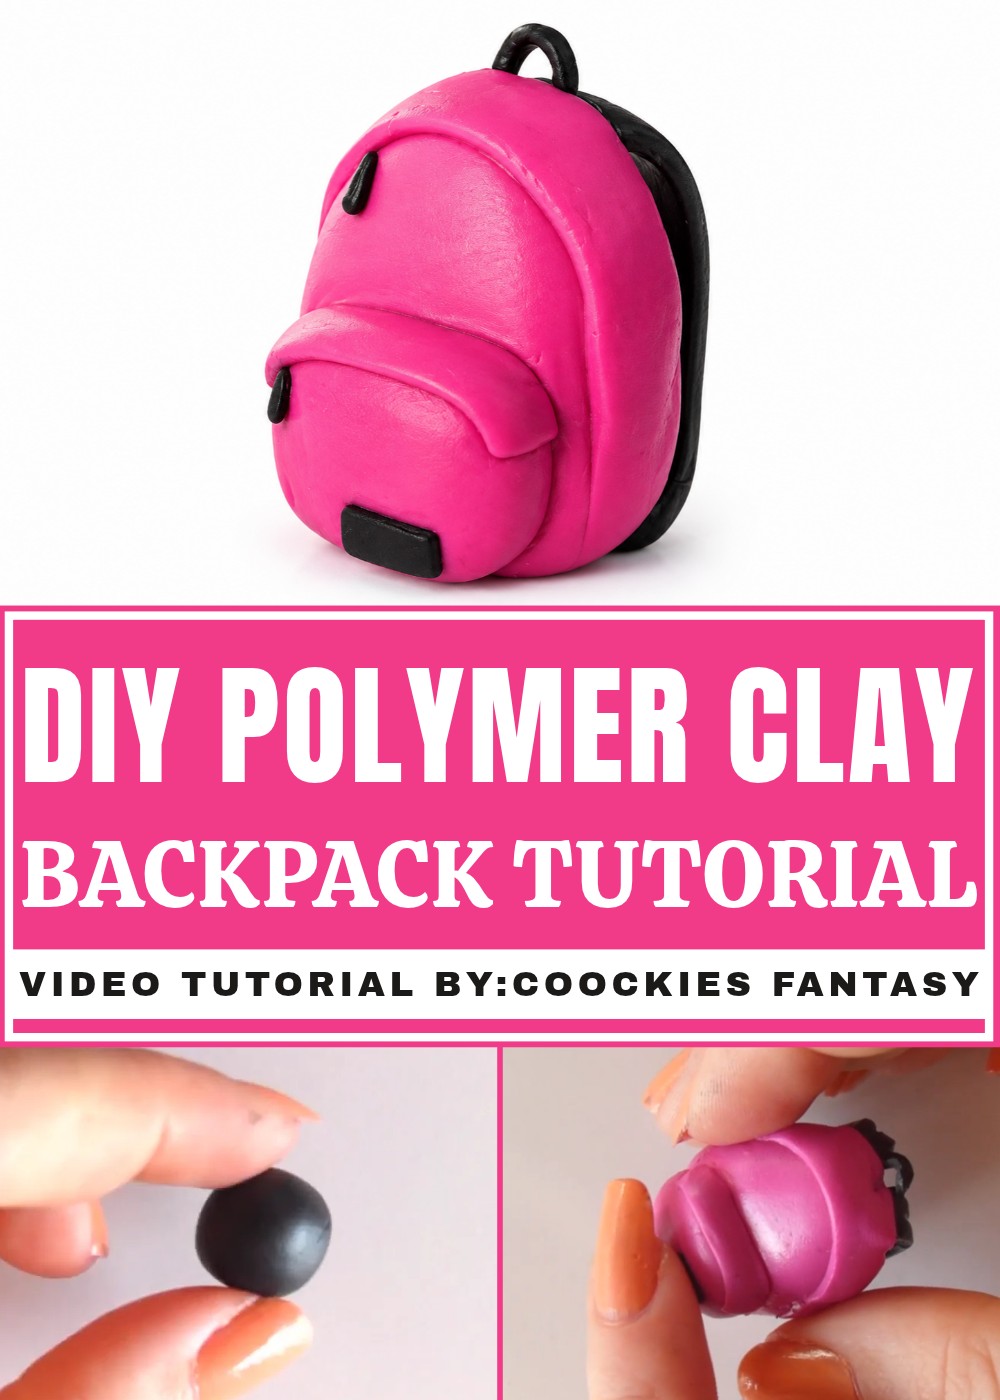
The mini backpack can be used in so many different ways, it’s ideal as a decorative addition to your shelf, a cute keepsake, or even as a charm for your keys or bag. Its petite size and unique design make it stand out and bring a smile wherever you place it. Plus, you can personalize the style, whether you love bright colors, pastel tones, or something bold and edgy.
This tiny handmade piece isn’t just fun to have—it’s also a way to showcase your creative side. Whether you display it at home or carry it with you, this cute backpack is filled with personality and imagination. It’s a memorable item to keep for yourself or gift to someone special who appreciates meaningful, handmade treasures.
Tips for Success
- Keep a reference image of the ISPAC bag to replicate distinctive elements (pocket shape, label placement, center strap line).
- Work with slightly thicker strap ends so they adhere securely before covering them with strips.
- If an edge deforms while hiding seams, re-slice and refine with a blade for a crisp rim.
- Practice the flattened strap technique on scraps to get consistent thickness and center-line detail.
Customization Options
- Swap the main color for any hue you like; magenta was used in the transcript but any color works.
- Scale up dimensions to make a larger display piece or shrink further for doll accessories.
- Add tiny painted accents or mica powders after curing for a glossy or metallic logo effect.
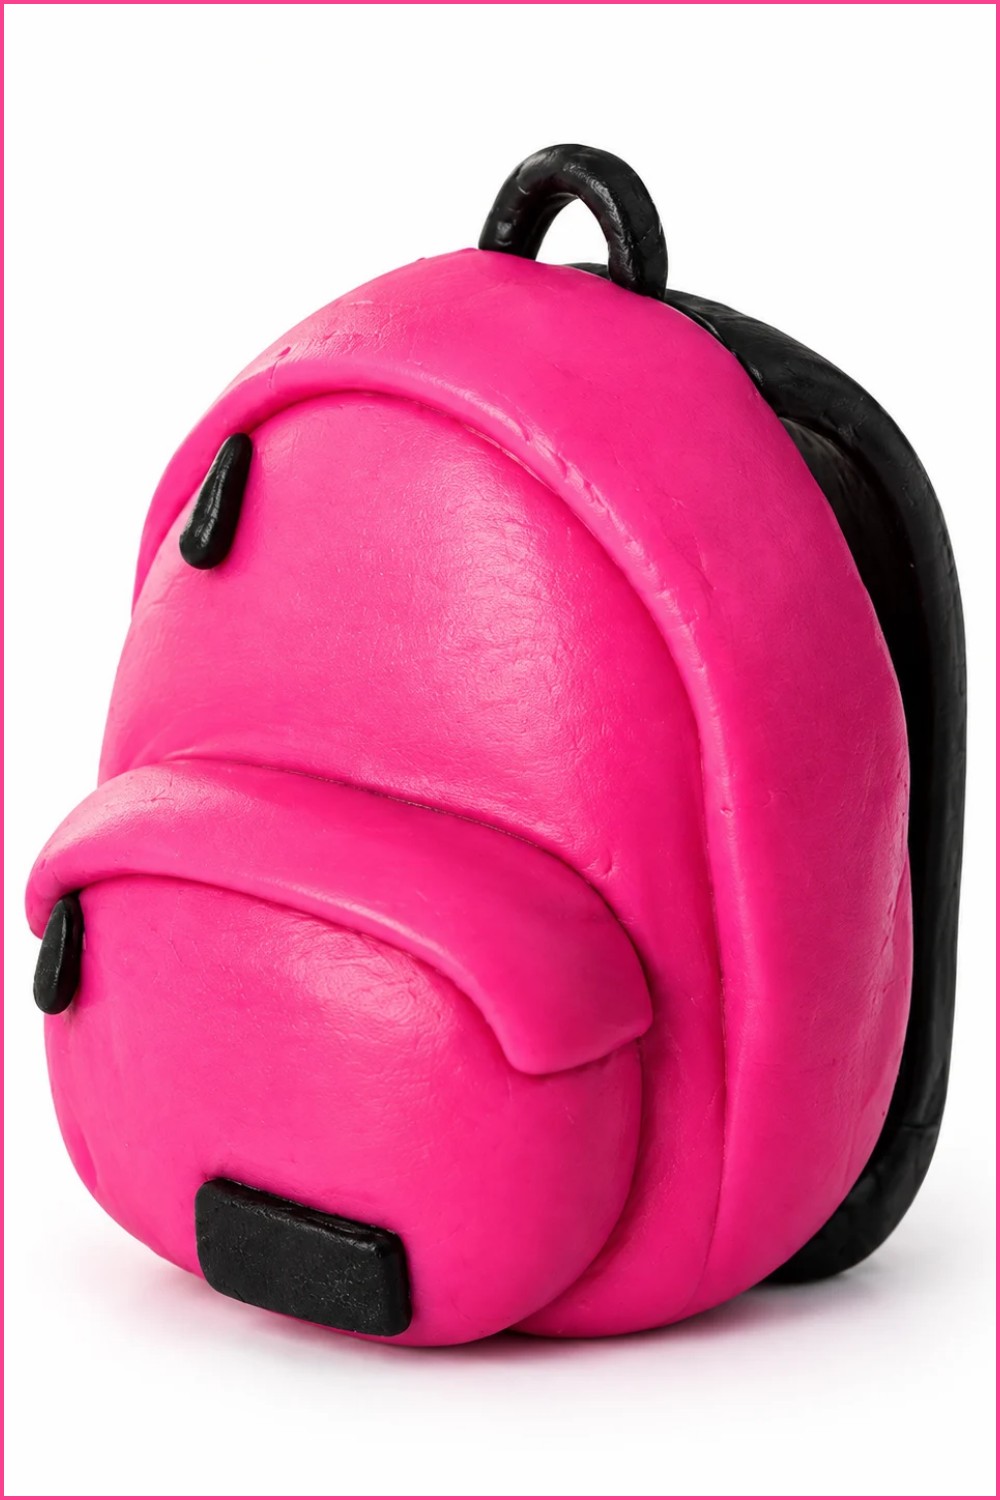
Mini ISPAC-Inspired Fimo Backpack
This step-by-step guide follows the full transcript to make a small polymer (Fimo) backpack inspired by ISPAC bags. It covers every action shown: shaping the bag silhouette, forming the front pocket, making shoulder straps and the top handle, hiding seams with an outer strip, adding the brand label and zipper cords, and finishing touches. Bulleted steps keep the workflow clear and easy to follow.
Project Requirements
Materials
- Fimo (or other polymer) clay in:
- Main color for the bag exterior (example: magenta)
- Black clay for straps, accents, and label
- Optional: extra clay for small details (zippers, cords)
Tools
- Dotting tools of various sizes and pointed/needle tools
- Sculpting/curl tools (angled flathead recommended)
- Cutting tool / craft blade
- Knife or pencil for scoring and drawing lines
- Roller for flattening clay
- Work surface (clean, smooth)
Measurements
- Scale: a small decorative mini backpack (no strict measurements in transcript)
- Adjust size by scaling all pieces proportionally (body, pocket, straps)
Preparation
- Gather tools and chosen clay colors.
- Condition clay by warming and rolling until soft and pliable.
- Keep a reference photo of an ISPAC-style bag handy to match silhouette details.
Making Process
Stage 1: Forming the Main Backpack Body
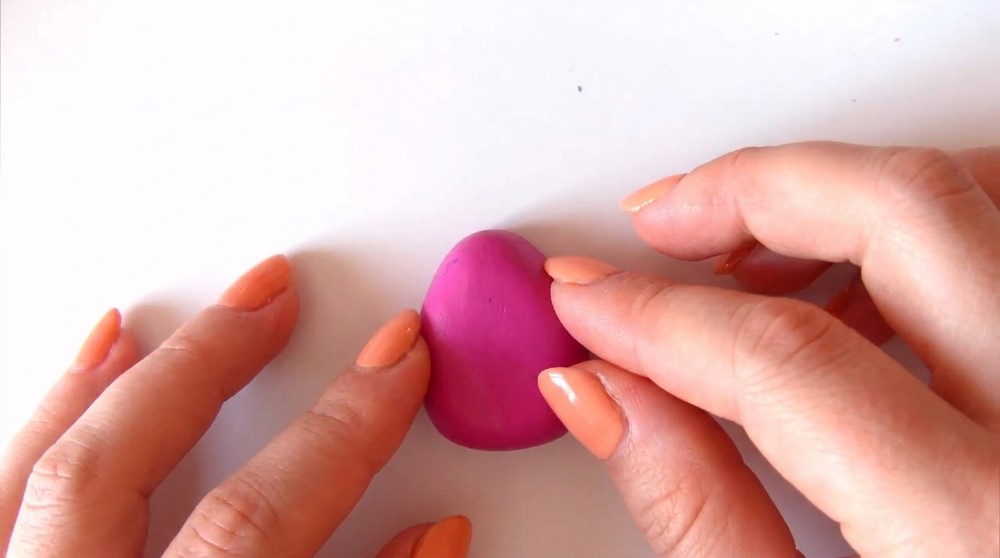
- Take a ball of clay in your chosen exterior color.
- Flatten it slightly with your finger to begin shaping.
- Shape into a teardrop silhouette, then:
- Flatten both the top and bottom ends to reduce pointed tips.
- Continue refining until you achieve an approximate backpack outline (rounded top, slightly wider base).
Stage 2: Creating the Front Pocket
- Roll a smaller ball of the same exterior color for the front pocket (optional but characteristic).
- Flatten it into a rounded rectangle (flattened and fairly rounded).
- Place the pocket piece onto the front center of the bag silhouette and press gently to adhere.
Stage 3: Making the Shoulder Straps
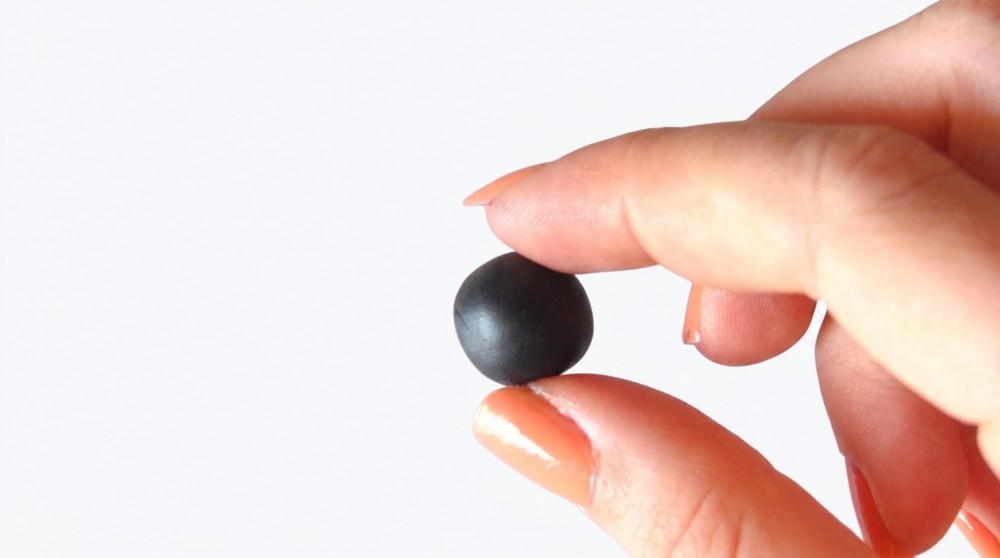
- Roll black clay into two sausage shapes for the straps.
- Slightly flatten each sausage so it has a strap-like profile.
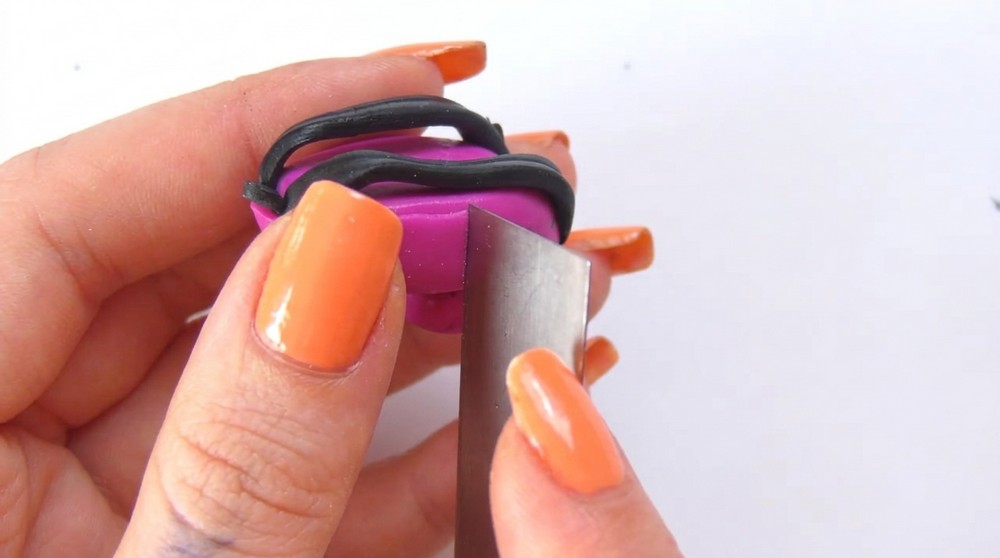
- Use a blade to straighten and even the edges of the flattened strap pieces.
- With a pencil or needle tool, draw a line down the center of each strap to replicate the stitched/center detail from the ISPAC design.
- Position the straps on the back of the bag:
- Firmly flatten the ends onto the bag body so they adhere.
- It’s fine if some flattened ends stick out — these will be covered later.
Stage 4: Creating the Top Carry Handle
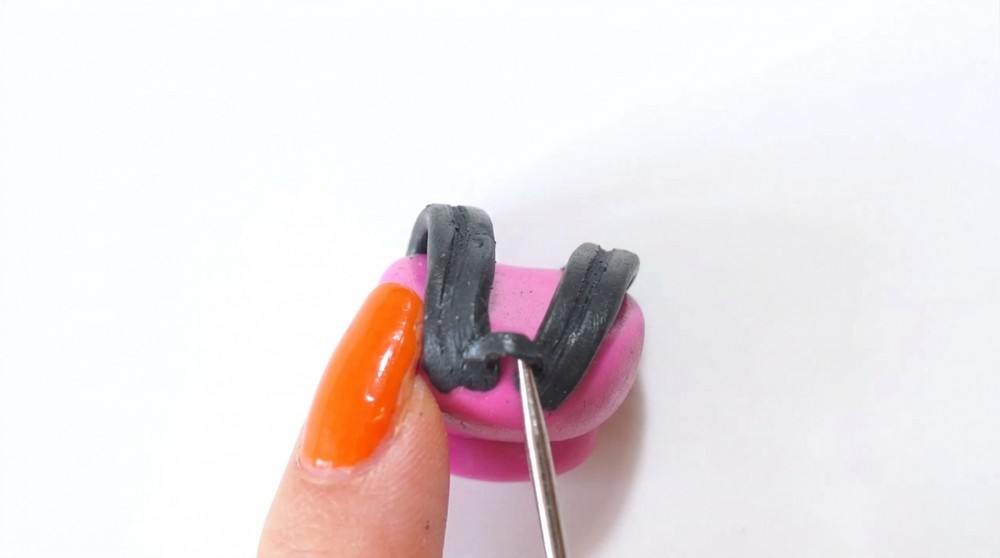
- From black clay, form a small flattened sausage or short rectangle for the top handle.
- Cut and flatten to achieve a small flat rectangle shape.
- Weld this small rectangle above the bag’s top to form a handle (press firmly to secure).
Stage 5: Hiding Seams and Forming Pocket Edges
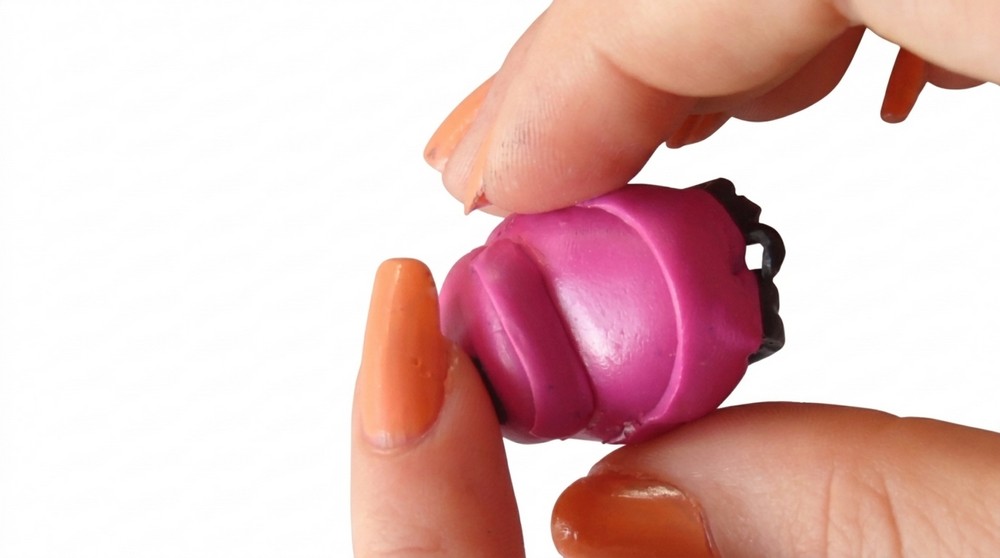
- Flatten a thin sheet of your bag’s exterior color (not too thin — keep some thickness).
- Cut a strip sized to cover the top edge of the straps and any visible excess clay from where the straps and handle meet the bag.
- Place this strip over the back/top area to conceal strap ends and blend seams.
- Use the same method with thinner/smaller strips to form the visible lip of the front pocket and any small lower pocket details:
- Cut and position smaller strips for the pocket edge and lower mini pocket, smoothing edges so they look integrated.
Stage 6: Adding the Brand Label
- Roll a tiny rectangle of black clay to act as the bag’s label.
- Place the label on the side of the bottom front pocket (or wherever the ISPAC label sits on your reference).
- Press gently to adhere and keep proportions small to match the miniature scale.
Stage 7: Making Zipper Cords and Pulls
- Roll very thin cords of black clay for zipper pulls/cords.
- Form tiny rolled bits and position them at the pocket zippers or bag zippers as decorative cords.
- Press lightly so they remain attached but keep them delicate to retain scale.
Stage 8: Final Smoothing and Detailing
- Smooth any transitions between pieces with a soft tool or fingertip, taking care not to distort shapes.
- Re-define the silhouette if any edges became soft while attaching details.
- Add subtle surface textures (stitch lines, fold marks) with needle tools if desired, matching the ISPAC look.
Assembly Process
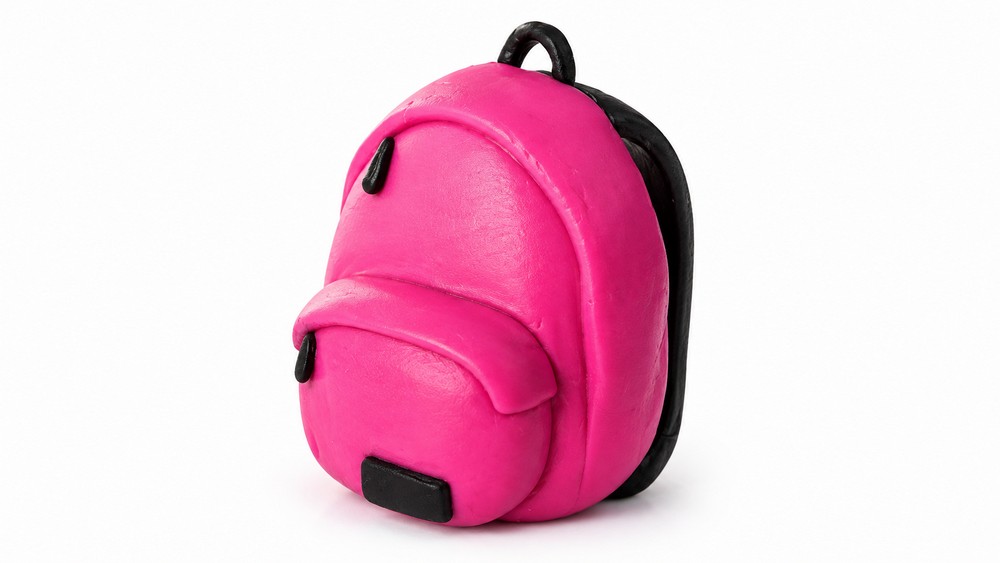
- Confirm all elements (front pocket, straps, top handle, label, cords) are positioned and adhered.
- If pieces need reinforcement, gently press joints until secure.
- Clean up stray fingerprints with a smoothing tool or soft brush.
Decorative Details
- Center-line detail down straps: redraw or deepen using a needle or pencil tool.
- Slightly round the pocket edges for realistic fabric appearance.
- Consider adding tiny accent stitches around the pocket or label (use a fine needle tool to press small dashes).
Final Finishing
- Inspect the miniature backpack for any thin or weak appendages (cords/pulls).
- Make minor adjustments to proportions, then set aside for curing according to your clay’s instructions (the transcript does not include baking steps; follow your Fimo package guidelines if you plan to bake).
Care and Maintenance
- Handle finished mini gently; small cords and handles can be fragile.
- If you intend to use the miniature (for charms or display), consider reinforcing thin bits with slightly thicker bases.
- Store flat in a padded container to avoid crushing delicate details.
Project Summary
This tutorial reproduces every step from the transcript to create a miniature ISPAC-inspired backpack in Fimo: shape the body, form the front pocket, make flattened black straps with a center line, add a small top handle, conceal seams with thin exterior-color strips, attach a tiny brand label, roll tiny zipper cords, and refine details. Work deliberately, keep proportions consistent, and use the described layering method to produce a clean, recognizable mini backpack. Have fun experimenting with colors and scale variations.