Make a spooky and stylish DIY Polymer Clay Bat, perfect for Halloween decor or a charming addition to your handmade accessories collection.
Bats are fascinating and mysterious creatures, making them a fun inspiration for a creative craft project. With polymer clay, you can easily make adorable little bats that are perfect for decorating, gifting, or turning into keychains and charms. This project lets you experiment with creating tiny wings, cute faces, and unique designs, making it a great activity for Halloween décor or just for fun. It’s an easy and enjoyable craft for beginners and experienced creators alike.
DIY Polymer Clay Bat Accessories for Spooky Decor
What makes this project exciting is how versatile and personal you can make the design. You get to shape every detail, from the bat’s wings to its playful expression. Using simple tools like toothpicks, a knife, and your hands, you can craft realistic or cartoonish bats in no time. Once the clay is baked and hardened, you’ll have a durable and charming creation that you can keep or share with friends. The entire process is simple yet so rewarding.
These DIY polymer clay bat creations are a perfect mix of spooky and cute, making them great for any time of year. The project is budget-friendly and doesn’t require fancy tools, so anyone can get started easily. By the end, you’ll have adorable little bats that showcase your creativity and add a touch of charm to your accessories or decorations.
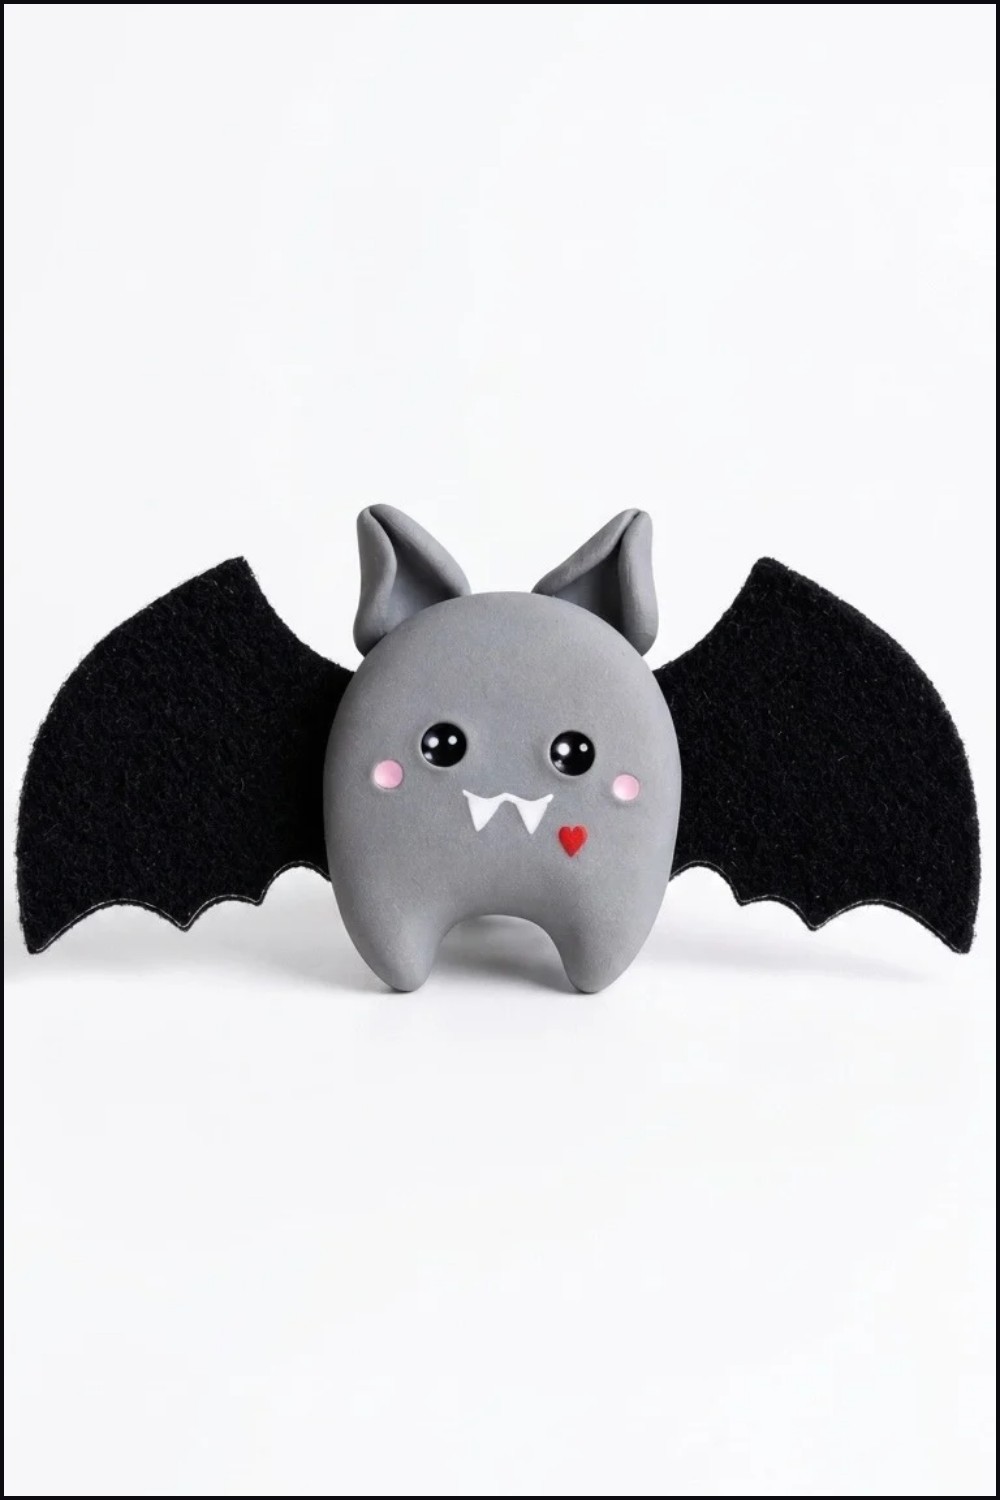
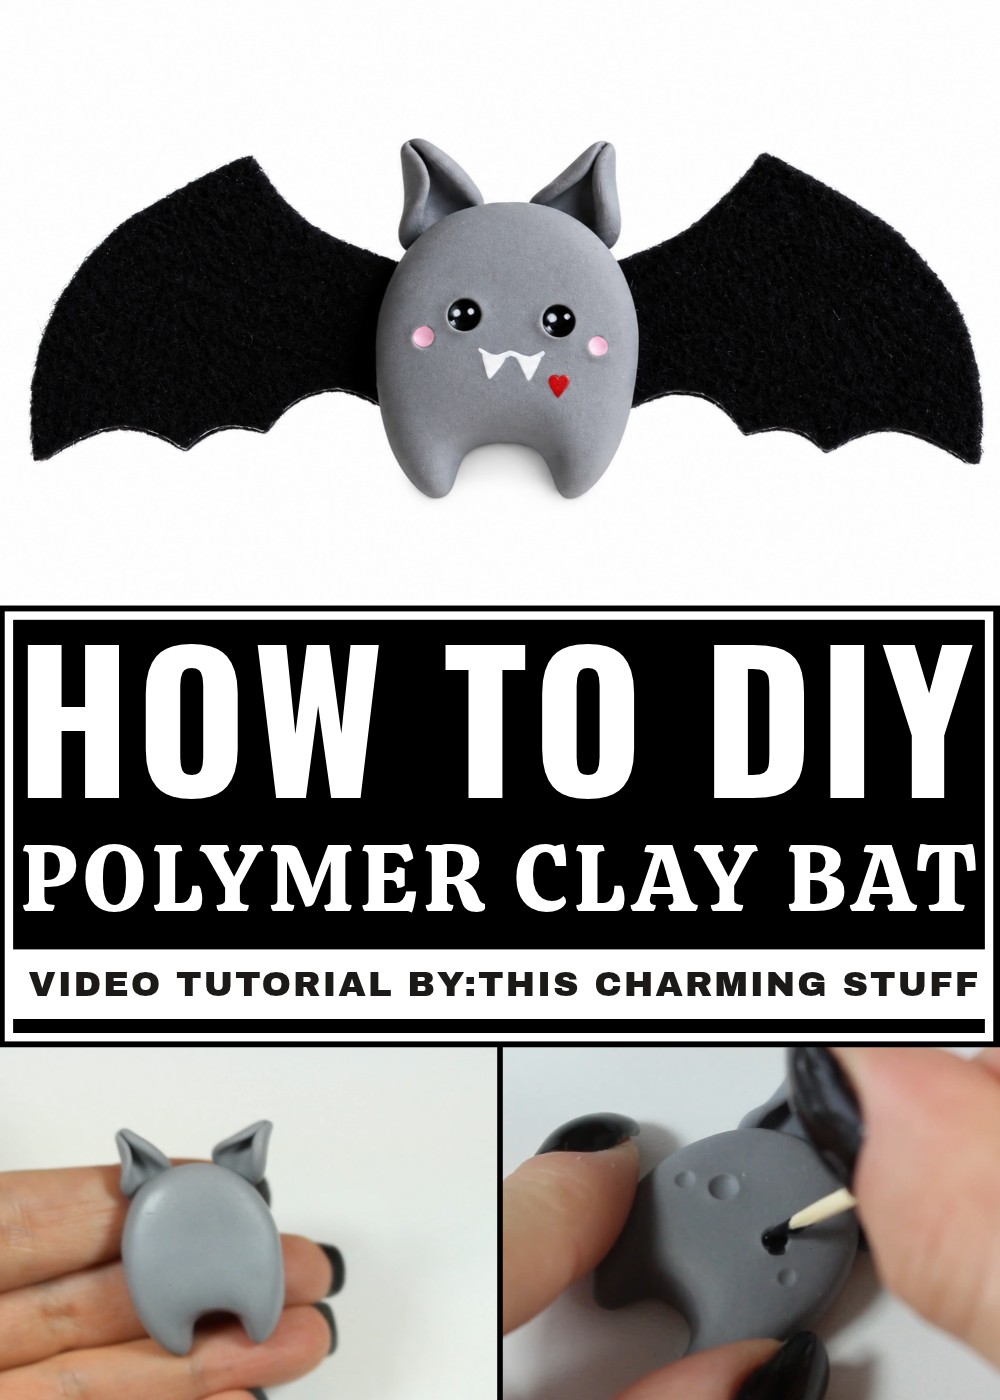
Cute Dracula Kaai Bad Brooch (Polymer Clay + Felt Wings)
- Quick, spooky, and wearable — perfect for Halloween, gifts, or craft markets.
- Combines simple polymer clay sculpting with easy felt work for a mixed‑media brooch.
- Great for beginners: minimal tools, short bake times, and forgiving shapes.
What You'll Need
- Polymer clay: gray (mix white + black), white, black, red, and pink acrylic paint.
- Razor or X‑Acto knife, dotting tool, needle tool, small roller or fingers for shaping.
- Small makeup brush or paintbrush for shading/painting.
- Baking surface and oven (follow clay brand instructions).
- Black felt for wings, paper for wing template, scissors.
- Epoxy glue (or strong craft glue) and jewelry brooch back pin.
- Toothpick or needle for fine painting, sandpaper or small file for smoothing, optional varnish.
A Few Things Before You Start
- Condition clay thoroughly by kneading until soft and even in color to avoid cracks.
- Work on a clean surface and keep tools free of lint; small fingerprints show on smooth minis.
- Use an oven thermometer to ensure accurate baking temperature for polymer clay.
- Plan assembly order: sculpt body, prebake if desired, paint details, attach felt wings with epoxy, glue brooch back on.
Let's Make It
Getting Started
- Mix and shape basic body:
- Create gray clay by blending white and black until you reach a mid‑gray tone.
- Roll a small ball and flatten gently to an oval; this becomes the Dracula Kaai body.
- Keep the shape slightly plump for a cute, chibi appearance — not too flat.
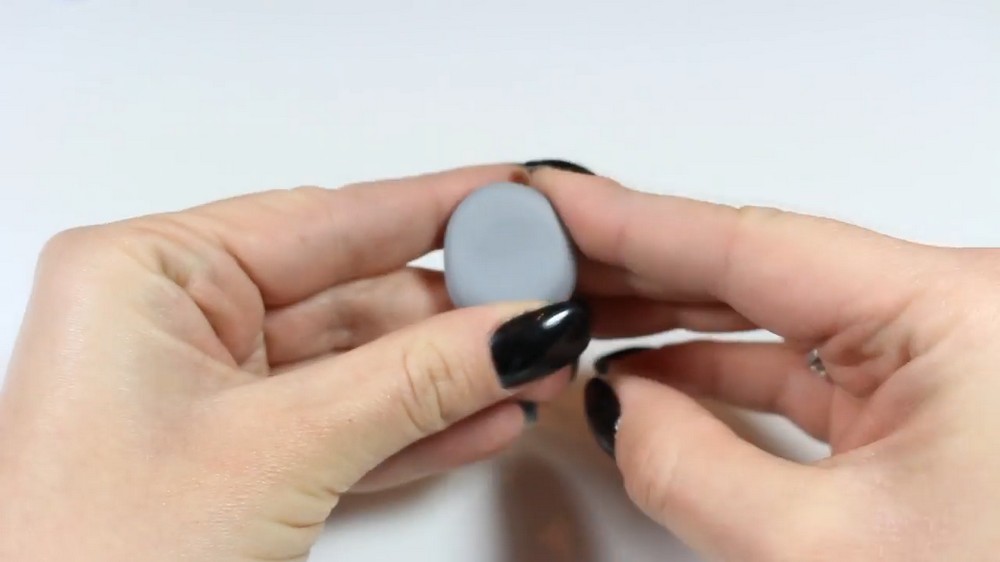
Creating the Main Shape
- Form legs and ears:
- For legs, use the pointed end of a blade, pencil, or marker to score and pull small leg shapes from the body edge or sculpt separate tiny ovals and attach.
- For ears, roll two small gray balls, flatten each, thin them using the blade as a roller, then pinch into a small ear shape.
- Attach ears to the top sides of the head by gently pressing and smoothing the join with your fingertip or a small tool.
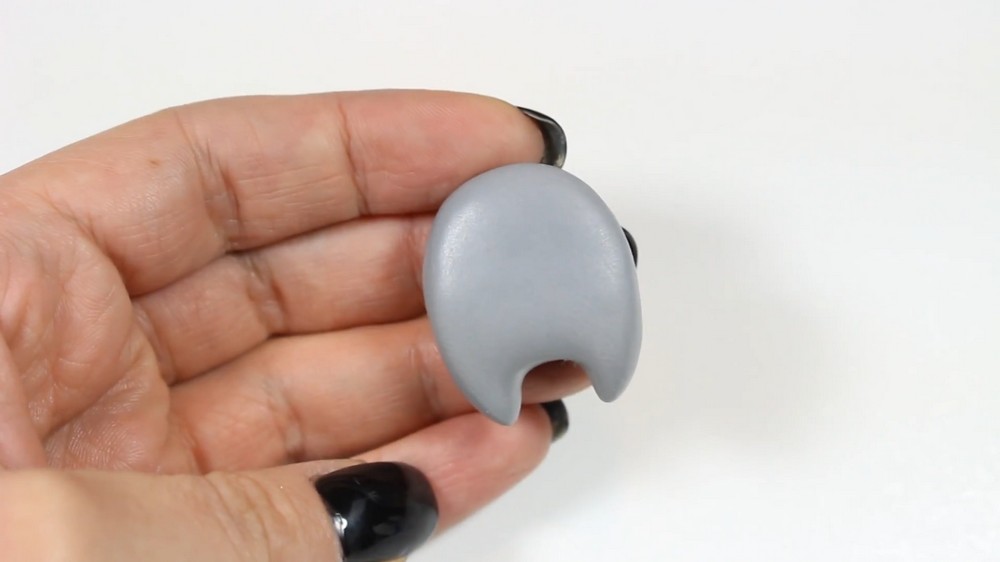
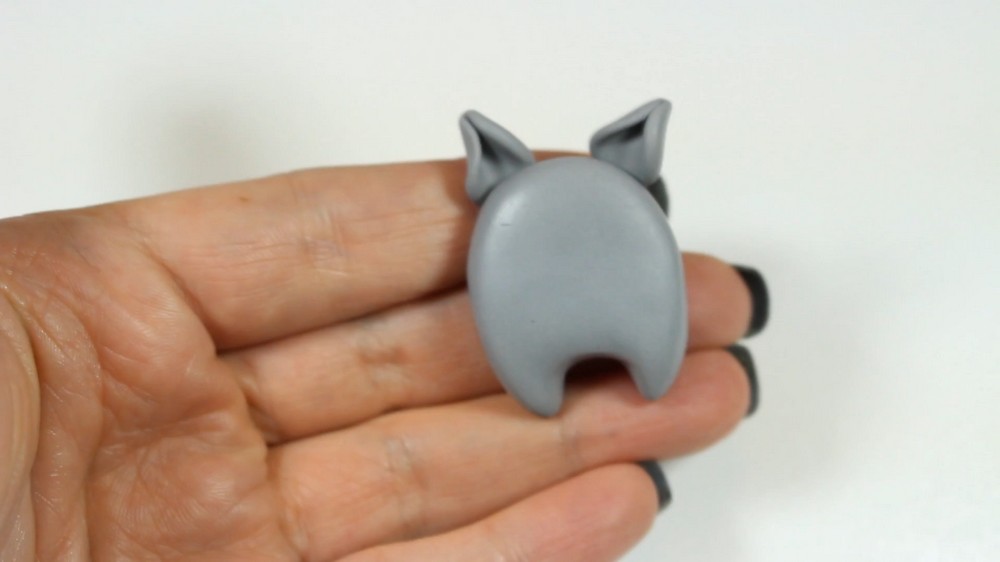
Adding the Details
- Emboss facial features:
- Use a dotting tool to indent eye sockets and tiny cheek dimples before baking to ensure clean impressions.
- If you prefer, prebake the basic shape now to stabilize it for detailed painting later.
- Paint face after baking:
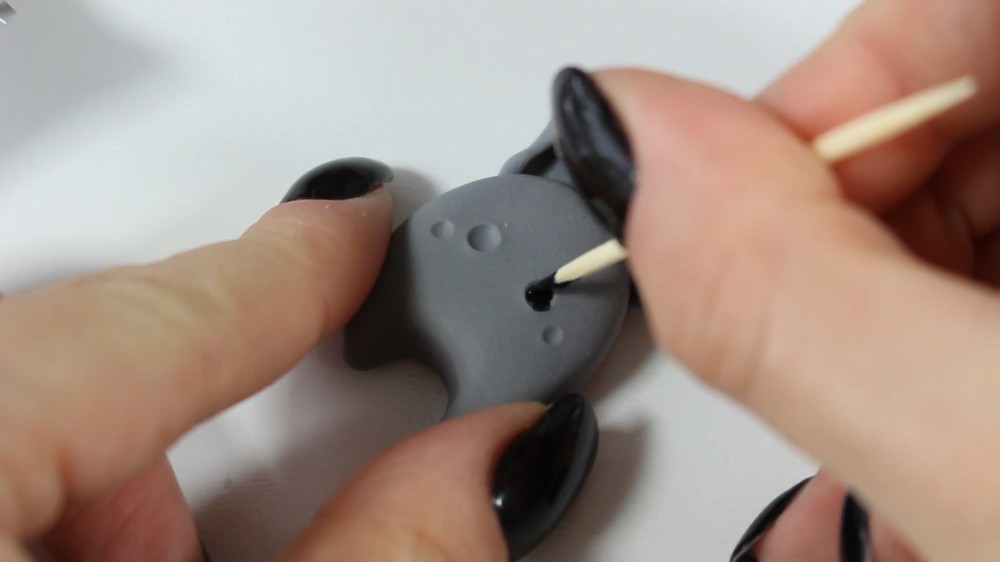
- Use a fine toothpick or needle tool to paint black eyes and tiny pupils; keep the eyes simple and cartoony for charm.
- Add pink cheeks with light dabs of pink paint and white for tiny fang teeth on the mouth area.
- Paint a small red blood drop at the corner of the mouth for classic vampire flair.
Bringing Everything Together
- Make the wing template and cut wings:
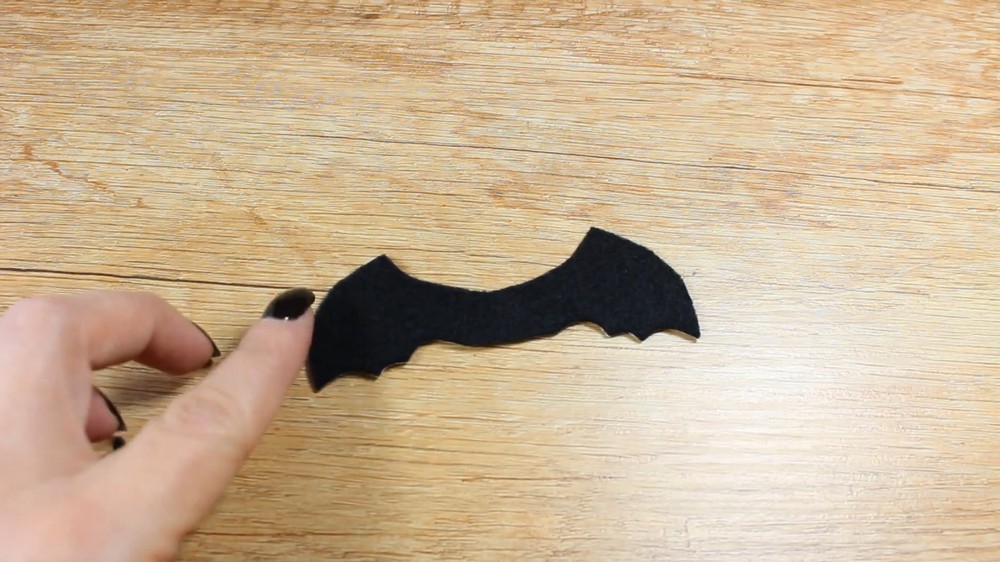
- Fold a small piece of paper in half, draw one wing half using your desired bat wing silhouette, and cut along the line to get a symmetrical pair.
- Place the template on black felt, trace, and cut out two wings. Felt cuts cleanly with sharp scissors — trim neatly for crisp edges.
- Attach wings and brooch backing:
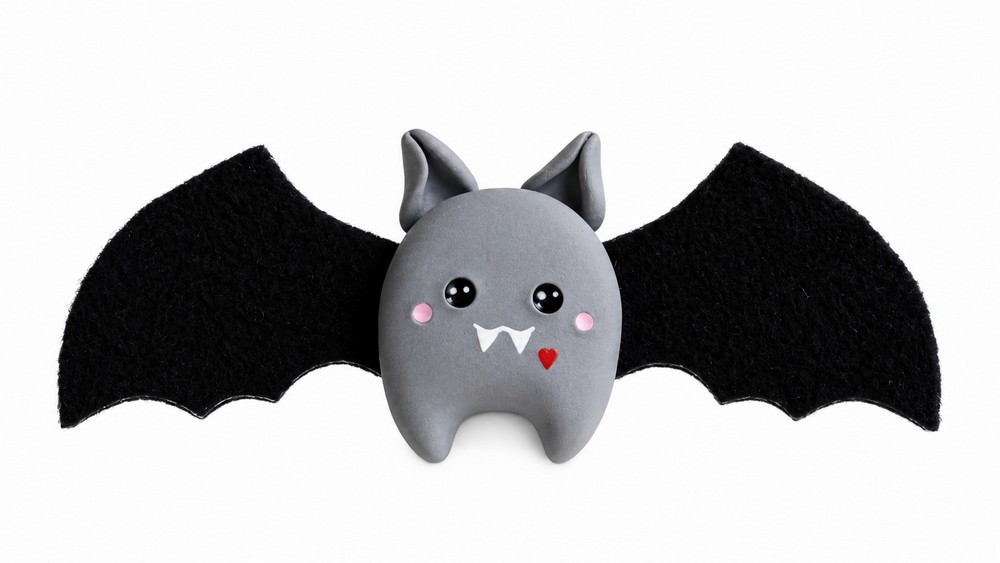
- Position the felt wings behind the clay body to check placement and proportion.
- Use epoxy glue to attach the felt wings to the back of the clay body — apply a small bead of glue and press the felt into place, allowing full cure time per epoxy instructions.
- Once wings are secure, glue the brooch pin onto the felt or directly onto the clay back (ensure cure and structural strength). For extra durability, glue the pin onto the felt first, then adhere that felt piece to the clay.
Finishing the Design
- Final sealing and cleanup:
- If you painted the face, consider sealing the painted areas with a matte or satin varnish to protect paint; avoid glossy varnish unless you want a shiny look.
- Sand any rough edges on the clay back or felt if needed; tidy glue strings with a small blade once cured.
- Let the finished brooch cure and dry completely before wearing to ensure all adhesives and finishes have set.
Tips for a Beautiful Finish
- Keep proportions cute: slightly oversized head, tiny legs, and small ears increase appeal.
- Work in stages: prebake when needed to make delicate painting and handling easier.
- Use minimal glue initially — a thin, even layer of epoxy gives the strongest bond without excess squeeze‑out.
- If you want a sturdier brooch for frequent wear, consider reinforcing the felt‑to‑clay joint with a tiny drop of superglue after epoxy cures.
Make It Your Own
- Color variations:
- Change gray to pastel tones for a kawaii twist, or deep purple for a goth look.
- Add accessories:
- Tiny clay bow ties, painted capes, or glittered details can personalize each brooch.
- Scale and function:
- Make mini versions for earrings or larger pins for coat lapels; adjust brooch back size accordingly.
Frequently Asked Questions
- Can I bake felt with the clay?
- No — do not bake felt. Either prebake clay and attach felt after baking or use low‑temperature clay brands with caution (better to bake first, then glue felt).
- What glue is best for felt to clay?
- Two‑part epoxy is recommended for a durable bond; contact cements or hot glue are less permanent.
- How do I prevent paint smudging?
- Allow acrylic paint to dry fully and use a thin varnish layer to protect it. Test on scrap first.
Final Thoughts
- This Dracula Kaai Bad brooch is fast, fun, and adaptable — perfect for seasonal crafts or small business items.
- Follow the clear sequence: sculpt → detail → bake → paint → attach wings → finish. This keeps the project manageable and gives the best results.
- Have fun experimenting with expressions, colors, and tiny accessories to make each brooch uniquely yours. Happy crafting and spooky styling!