Jump into creativity with this DIY Polymer Clay Mini Seahorse to learn how to craft a charming piece that's perfect for decor or gifts.
Have you ever wanted to create something small, adorable, and full of charm? A miniature seahorse made from polymer clay is an amazing idea for a fun and creative project. Seahorses are such unique and fascinating sea creatures, and turning them into a tiny handcrafted piece can be an exciting way to bring a touch of the ocean into your home. This project is simple enough for beginners and enjoyable for anyone who loves art and DIY.
DIY Polymer Clay Mini Seahorse Craft Project Anyone Can Make
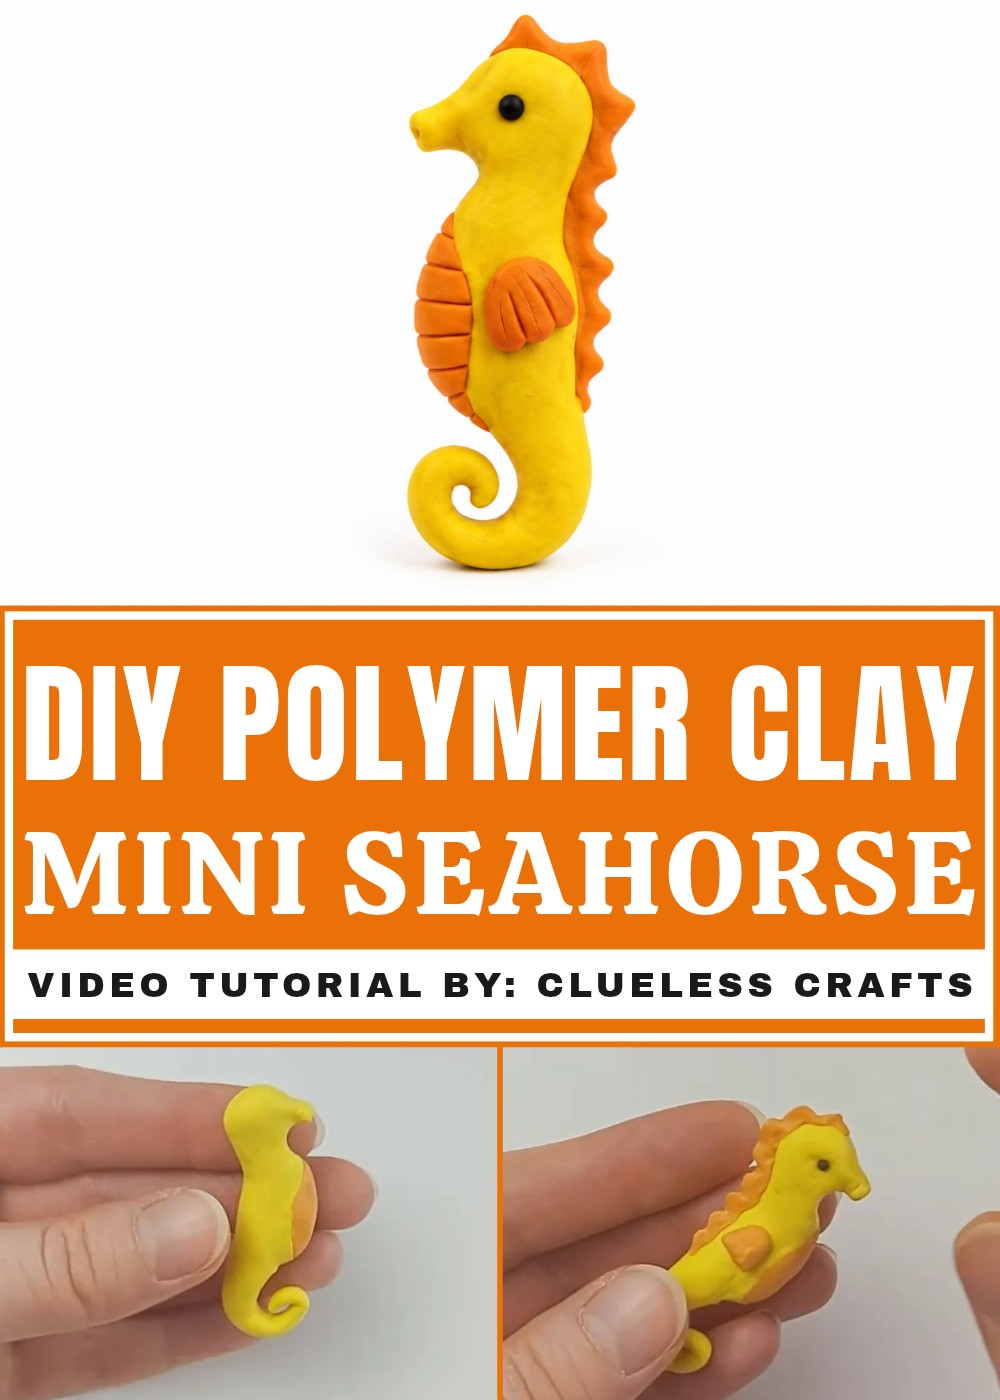
Polymer clay is a fantastic material to bring your seahorse to life. It’s soft and easy to shape, so you can mold all the tiny details like the curled tail, fins, and even delicate textures on the body. You get to experiment with colors, blending shades of blue, green, or even sparkly gold to give your mini creation a magical, underwater feel. Once you bake the clay, it turns into a solid, durable piece that you can display as decor, give as a thoughtful gift, or even turn into a keychain or pendant!
This DIY polymer clay project is not only fun but also lets you use your creativity to make something truly one-of-a-kind. The finished piece is so cute and eye-catching, it’s sure to bring a splash of joy to anyone who sees it. The best part? You’ll have a special keepsake that you made with your own hands.
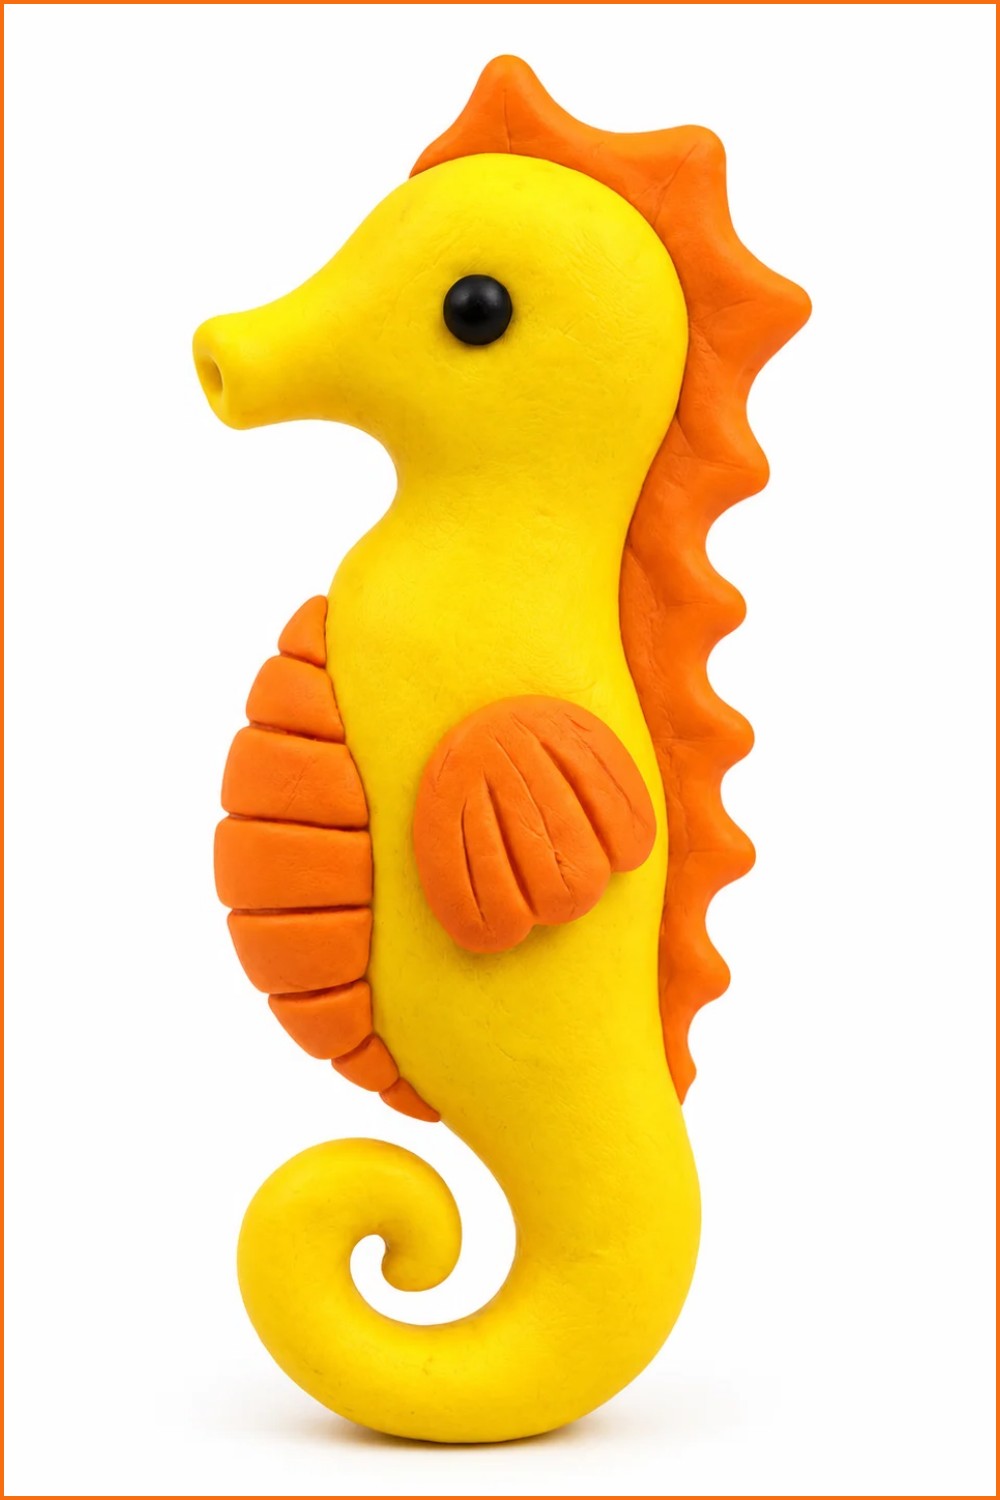
DIY Polymer Clay Mini Seahorse
Make a small clay seahorse from a single primary color with added belly details, a curled tail, a pronounced snout, and decorative fins. This tutorial follows Clara’s step-by-step process including mistakes and fixes so you can learn practical sculpting adjustments.
Materials & Supplies
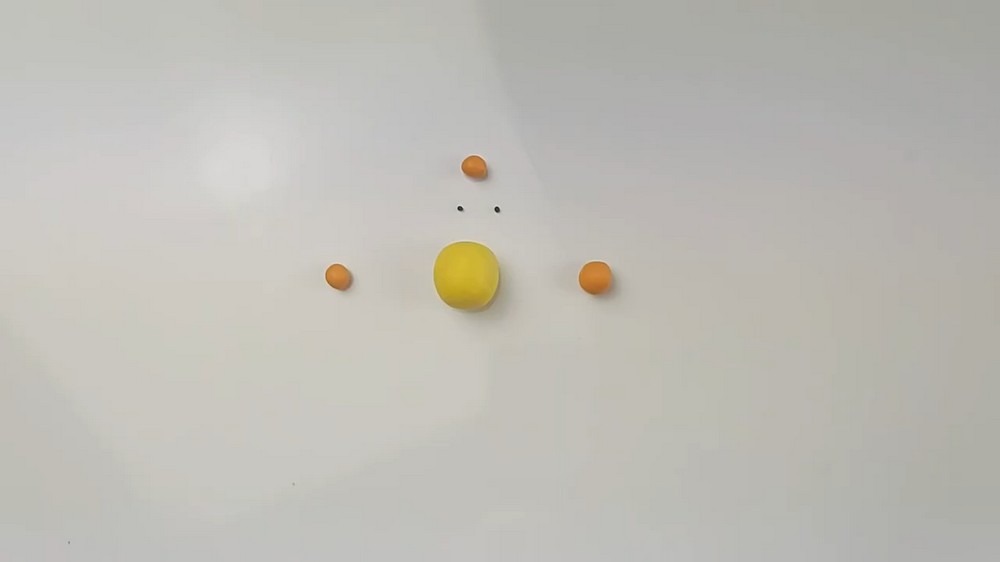
- Yellow clay (main body)
- Orange clay (belly detail)
- Small amounts of black clay (eyes)
- Optional extra colors for fins or accents
Tools & Equipment
- Work surface (clean table)
- Fingers for rolling and shaping
- Small ballpoint or pointed tool (for indents)
- Angled silicone or sculpting tool (for blending)
- Flat-edge sculpting tool (for line indents)
- Knife or blade (for trimming)
- Oven (if using polymer clay) — follow manufacturer’s bake instructions
Project Details
- Difficulty: Beginner with patience; small-scale detailing can be fiddly.
- Time: 30–60 minutes active sculpting; baking time depends on clay.
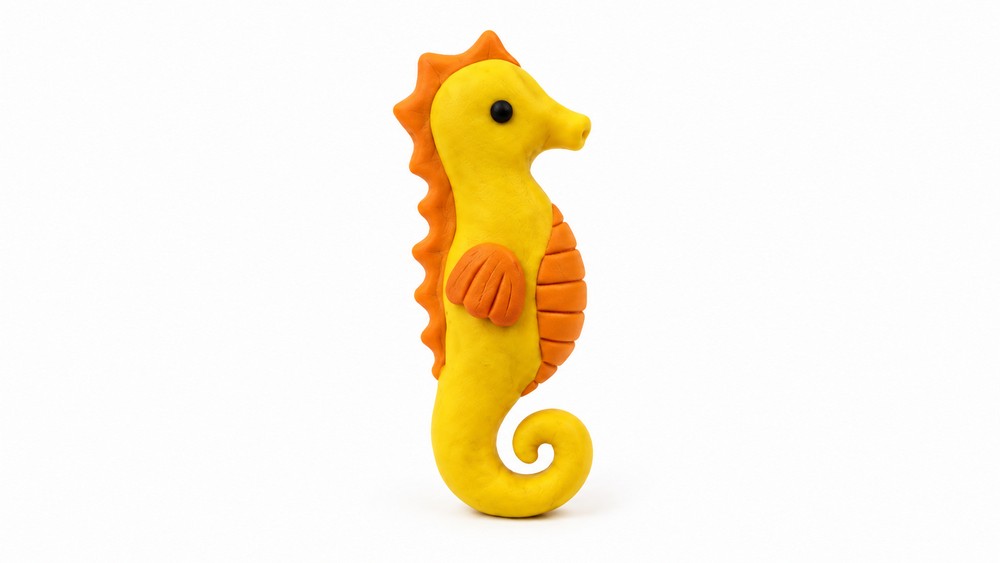
- Result: A cute stylized seahorse with defined belly, curled tail, snout, and textured fins.
Preparation
- Warm clay slightly in your hands so it’s pliable.
- Set tools within reach.
- Plan proportions: thicker mid-body, tapering tail, small head and snout.
Step-by-Step Detailed
Forming the Body
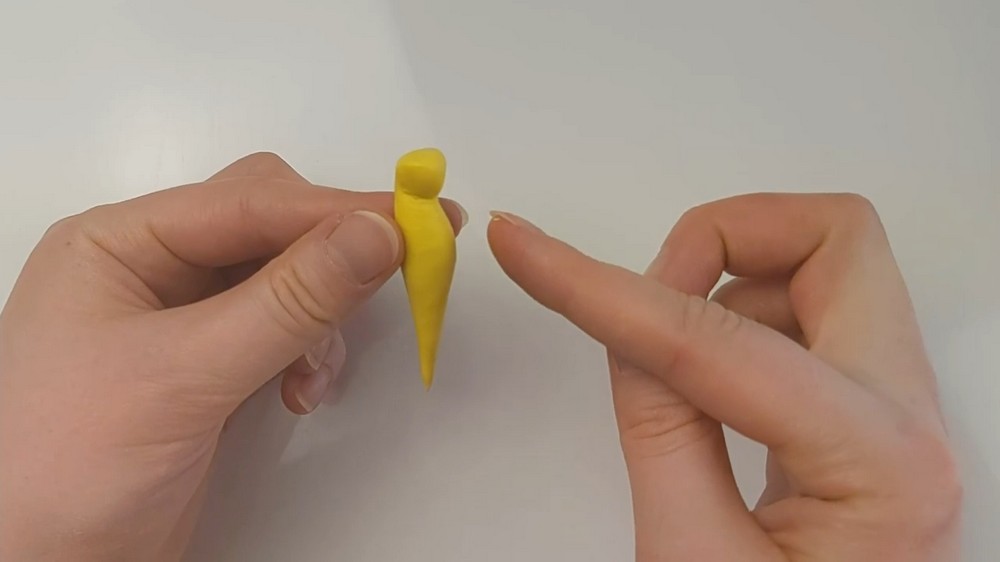
- Roll a large yellow ball into a thick log.
- Taper one end of the log to form the tail base.
- Use your finger to roll an indent where the neck will be to define the head region.
- Push the head forward so it follows the natural curve of the body.
Adding the Belly Detail
- Roll a small ball of orange clay, then flatten between your fingers into an oval.
- Attach the oval to the belly and press in place.
- Roll the whole piece on the table a few times to smooth seams and integrate the belly.
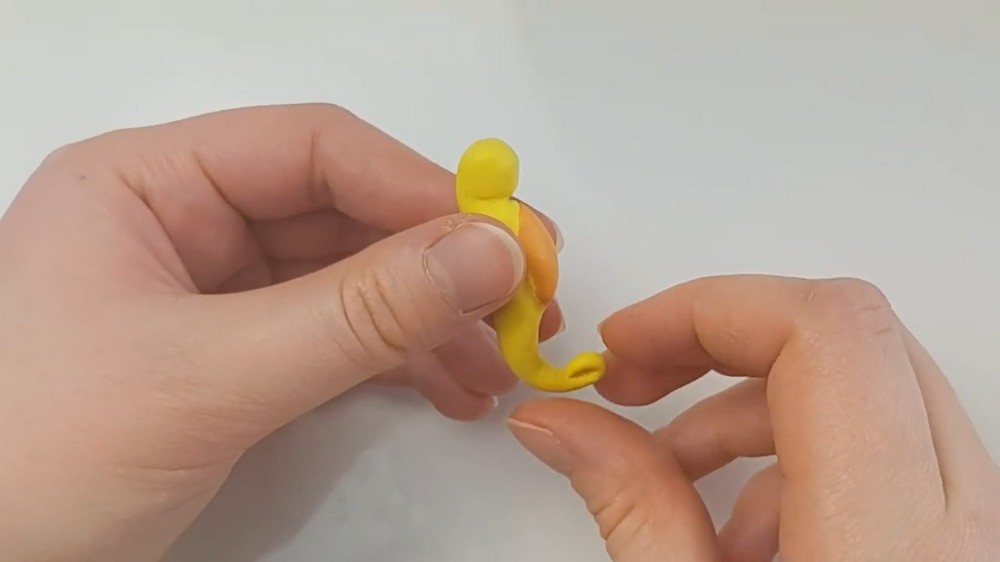
Refining Pose & Tail
- Press the head forward again to angle it downward toward the belly for a natural posture.
- Curl the tail upward into a swirl shape.
- If the tail looks too short or proportions are off:
- Remove a bottom portion of the orange belly clay to free more yellow clay.
- Roll out a longer tail from the extra yellow clay, keeping it reasonably thick to avoid it becoming too thin.
- Re-form the swirl so it curves into the back without looking cramped.
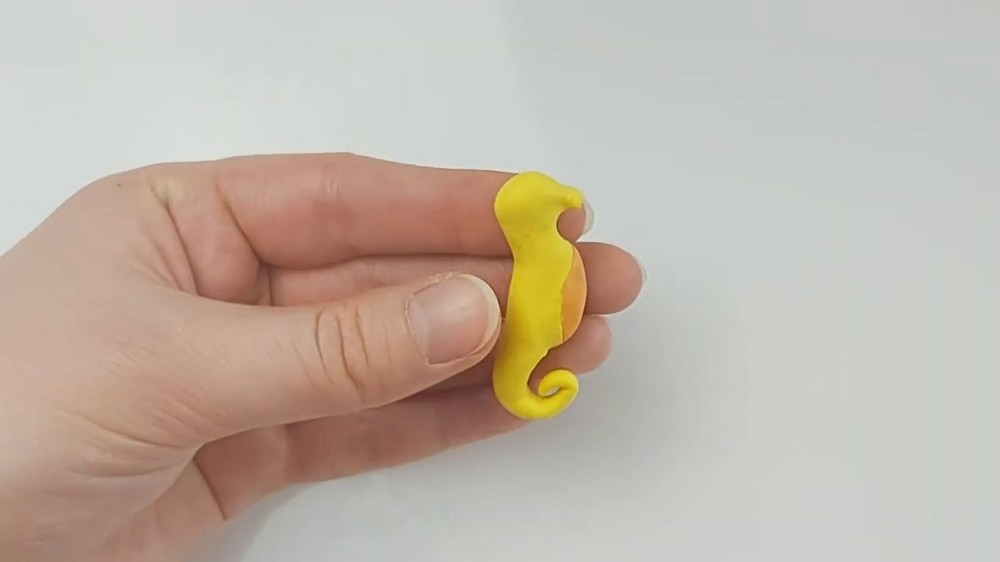
Creating the Snout (Strawlike Mouth)
- Roll a small ball of yellow clay into a log for the snout.
- Attachment approach and common problems:
- Initial attempt: indenting the tip while attached to the face flattened the snout.
- Alternative method: indent the log while attached to the tool, then remove the log from the tool and press the indented log onto the face.
- If deepening the indent pulls the snout away, avoid aggressive pushing.
- Blending and final shaping:
- Blend and shape using an angled silicone tool by rolling it down the face and up the snout.
- Once blended, carefully indent the snout tip (with light pressure) so you don’t lose the shape.
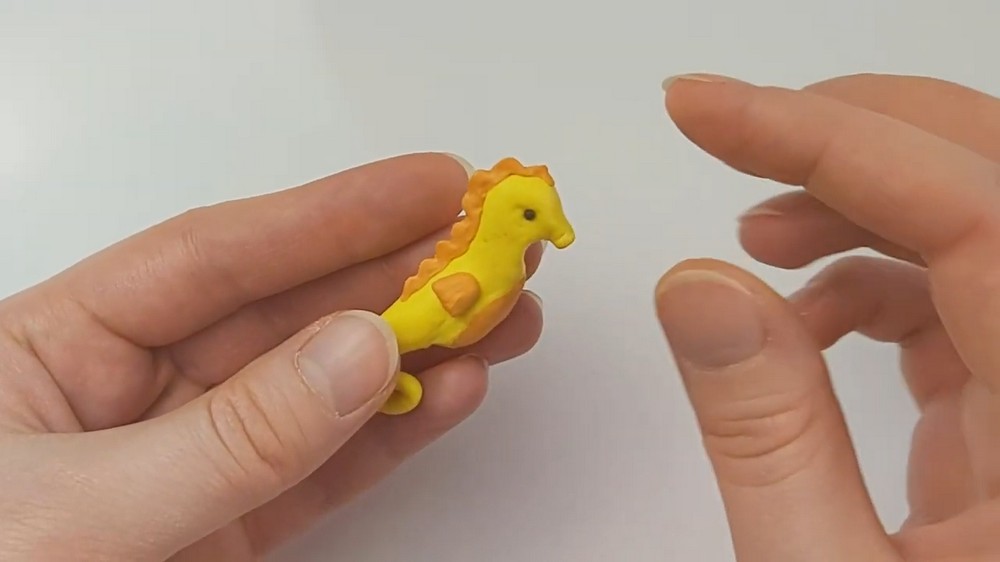
Finishing the Face
- Add an indent on either side of the head for eye sockets.
- Fill each indent with a tiny ball of black clay for eyes.
- Adjust spacing and depth until the face reads as a seahorse.
Adding Fins and Texture
- Decide fin layout:
- Clara chose a long spiked fin extending from head down the back and two smaller side fins at the belly.
- More anatomically accurate: a dorsal fin on the lower back and two pectoral fins near the head.
- Sculpt fins:
- Roll thin plates or spikes in yellow (or contrasting color) and attach along the back and sides.
- Use a flat-edge sculpting tool to add line indents on side fins and across the belly for texture and detail.
Baking
- If using polymer clay, bake according to the clay manufacturer’s instructions.
- Allow the piece to cool completely before handling.
Finishing Instructions
- After cooling, inspect for any loose edges; re-bake small repairs if necessary.
- Optionally sand or add paint/highlights for additional detail once cured.
- Seal with a suitable varnish (matte or gloss) if desired; test compatibility with your clay.
Tips & Techniques
- Work incrementally—small adjustments are easier than large reworks.
- Warm clay in your hands to improve blendability.
- When adding small pieces, create any necessary indents first then press the piece into the indent for better adhesion.
- Use silicone tools for gentle blending; rigid tools can remove too much material.
- If a feature distorts while indenting, stop and blend before retrying with shallower pressure.
Common Problems & Solutions
- Snout flattens when indenting:
- Solution: indent the snout log before attaching or use shallow, gradual indents after blending.
- Tail too short or too thin:
- Solution: reallocate clay from belly or body to roll a longer, adequately thick tail.
- Details pulling away when manipulated:
- Solution: press gently, use supporting fingers, and blend seams thoroughly before adding fine details.
Creative Ideas & Variations
- Color variations: try ombre bodies or patterned bellies.
- Add tiny bubbles or coral bases for a mini diorama.
- Make a family of seahorses in different poses and sizes.
- Use translucent clay for fins to create a delicate effect.
Final Result
You’ll have a stylized clay seahorse with a curled tail, defined belly detail, expressive snout and eyes, and textured fins. The process demonstrates practical fixes for common small-scale sculpting mistakes and leaves you with a charming miniature suitable for display, gifts, or as part of a seascape collection.