Build a DIY Polymer Clay Mini Sand Castle that’s simple and fun perfect for adding a beachy vibe to your decor or gifting ideas
Bring the magic of the beach into your hands with a beautiful miniature sand castle made from polymer clay. This delightful craft lets you create a tiny version of a classic sand castle that will last forever, no tides or waves to wash it away. It’s a fun and relaxing project that’s easy to make and perfect for crafters of all ages. Best of all, you don’t need sand or a sunny day to enjoy this seaside-inspired creativity.
DIY Polymer Clay Mini Sand Castle for Coastal-Themed Crafts
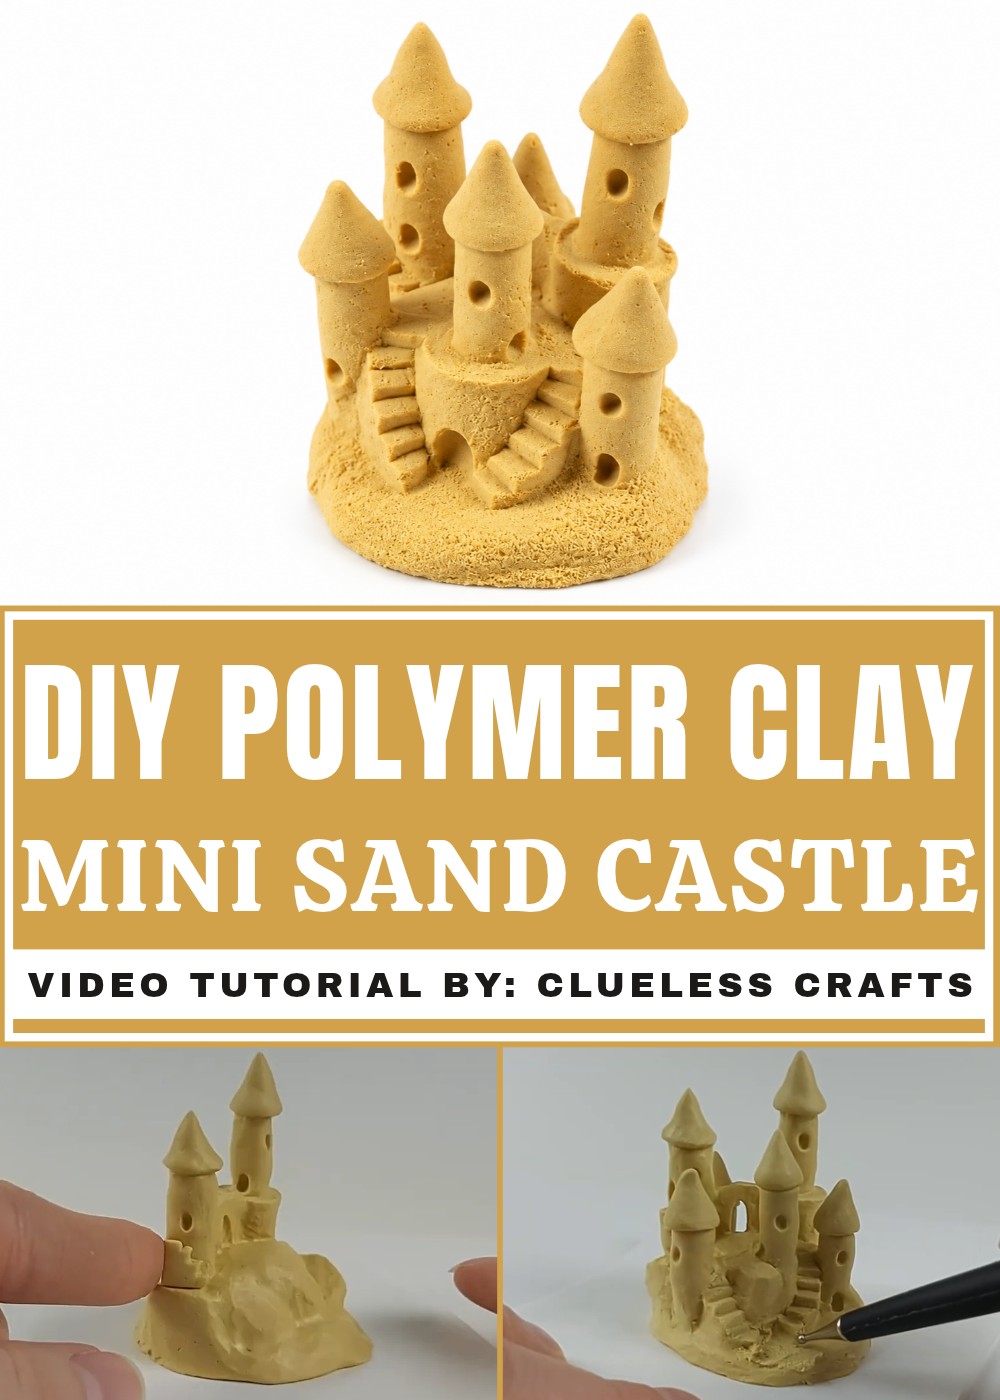
Polymer clay is an amazing material to work with because it’s soft, flexible, and easy to shape into whatever design you imagine. When crafting your sand castle, you can create tiny rounded towers, arched doorways, and textured sandy walls to give it that realistic beachy look. Add adorable details like miniature flags or shells, or even dust it with a bit of shimmer to make it sparkle like wet sand in the sunlight. Once you bake your creation, it hardens into a strong and lasting piece you can keep forever.
This DIY polymer clay project is a wonderful way to bring a touch of summer indoors. Whether you display your mini sand castle on a shelf, gift it to a friend, or add it as a whimsical decoration to your room, it’s sure to spread a little seaside cheer. Most importantly, you’ll love the process of shaping, decorating, and finishing your one-of-a-kind, handmade treasure.
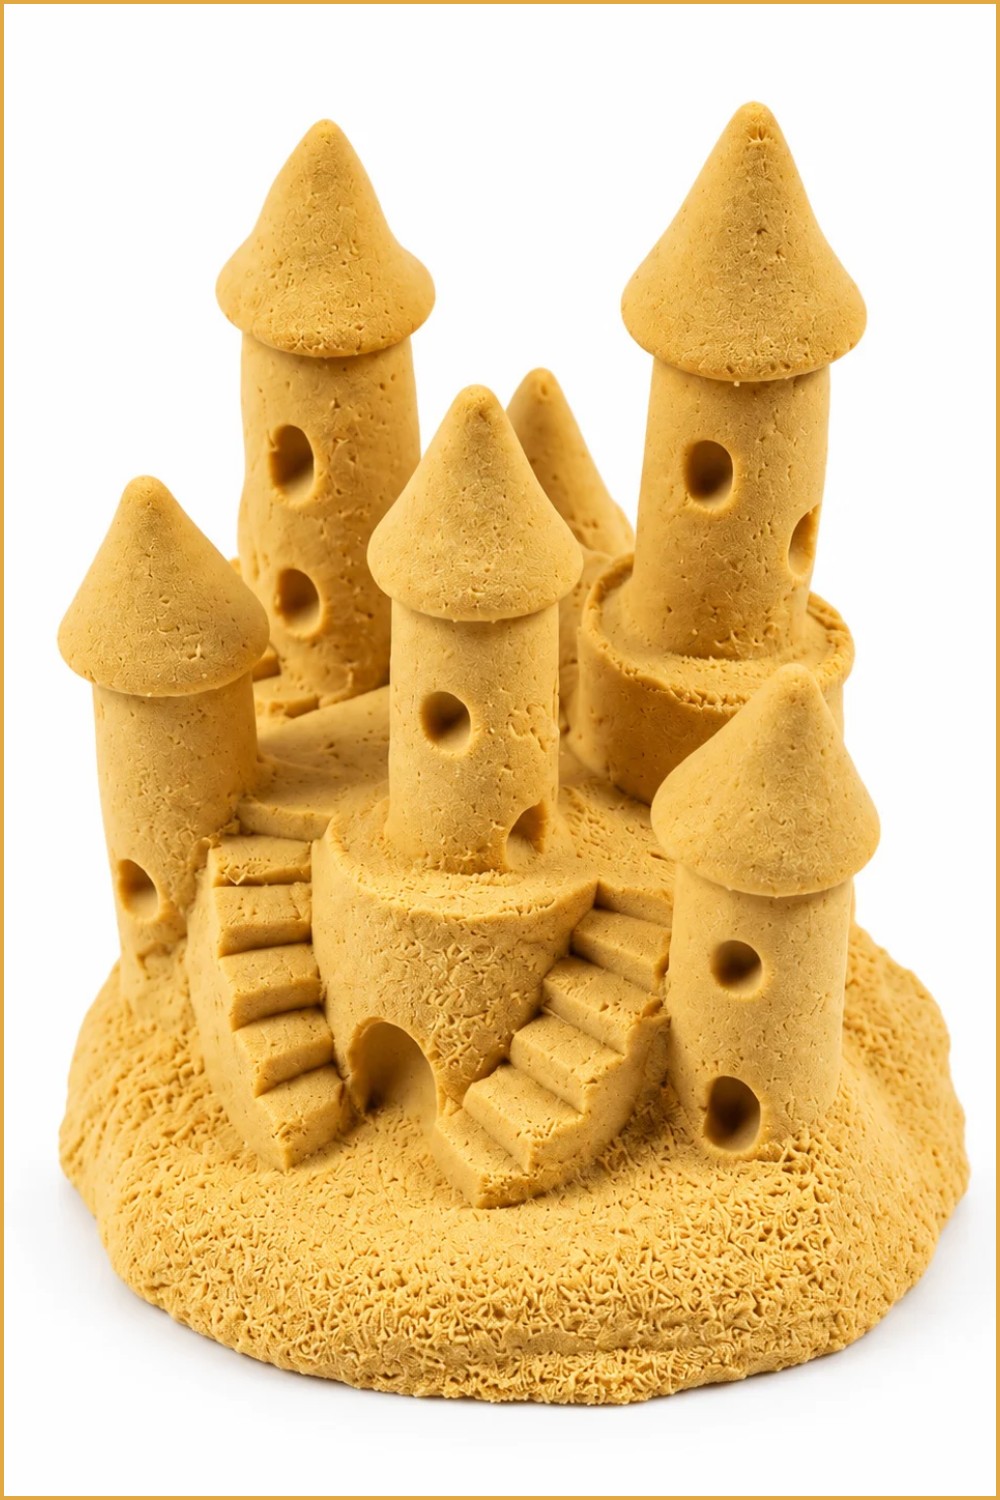
DIY Polymer Clay Mini Sand Castle
Make a detailed clay sand castle diorama from a single sand-colored clay ball. This build is exploratory and iterative — expect to add, remove, reshape, and blend clay while creating towers, archways, staircases, and textured surfaces. The final piece is display-ready after baking and optional finishing.
Materials & Supplies
- Sand-colored clay (a large ball)
- Small extra clay pieces for towers, arches, and stairs (same or contrasting sand tones)
- Liquid clay (optional, for stronger joins)
- Acrylic paints or washes (optional, for weathering)
- Varnish/sealer (optional)
Tools & Equipment
- Sculpting knife or blade
- Sculpting tools (flat edge, rounded tools)
- Small brushes or toothbrush (for texture)
- Work surface and clean hands
- Oven (for polymer clay) and baking surface
- Tweezers or small picks (for fine adjustments)
Project Details
- Difficulty: Intermediate (requires patience, iterative corrections, and blending).
- Time: Several hours including trial-and-error sculpting and texture work; plus baking/cooling time.
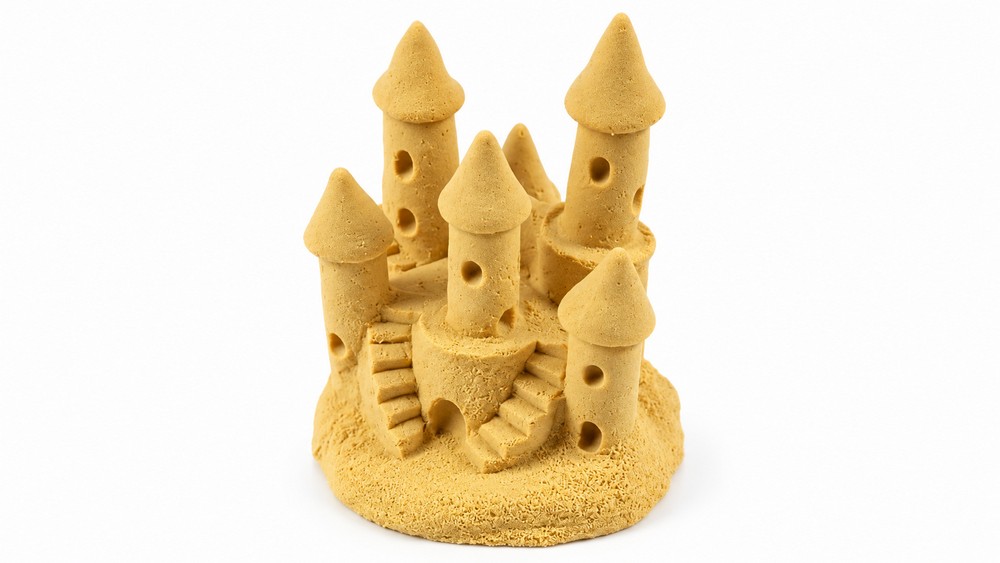
- Result: Multi-towered sand castle with archways, spiral staircases, and textured “sand” surfaces, designed to look good from multiple angles.
Preparation
- Condition the clay by warming and kneading until pliable.
- Tear off a portion for the base and set the rest aside for towers and details.
- Arrange tools and a knife within easy reach.
- Have a plan for display dimensions (to fit your display case if applicable).
Step-by-Step Detailed
Forming the Base
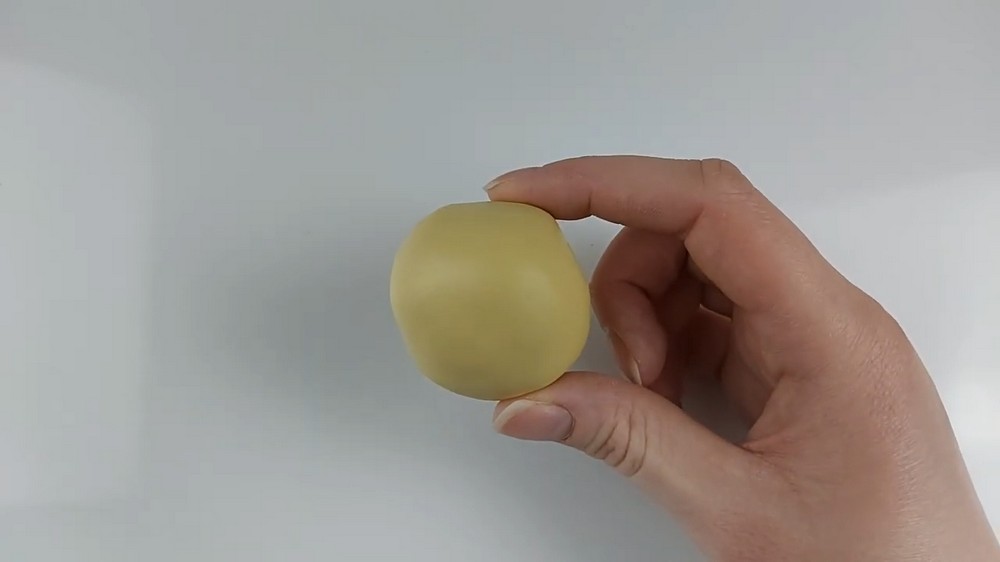
- Rip off a piece of the sand-colored clay to shape the base.
- Start with a rough mound as the foundation — Clara prefers building a pile and carving away.
- Shape a basic foundation block, then observe where towers, walkways, and negative space look best.
- Be prepared to pivot; this build is largely improvised.
Adding Towers and Rough Shapes
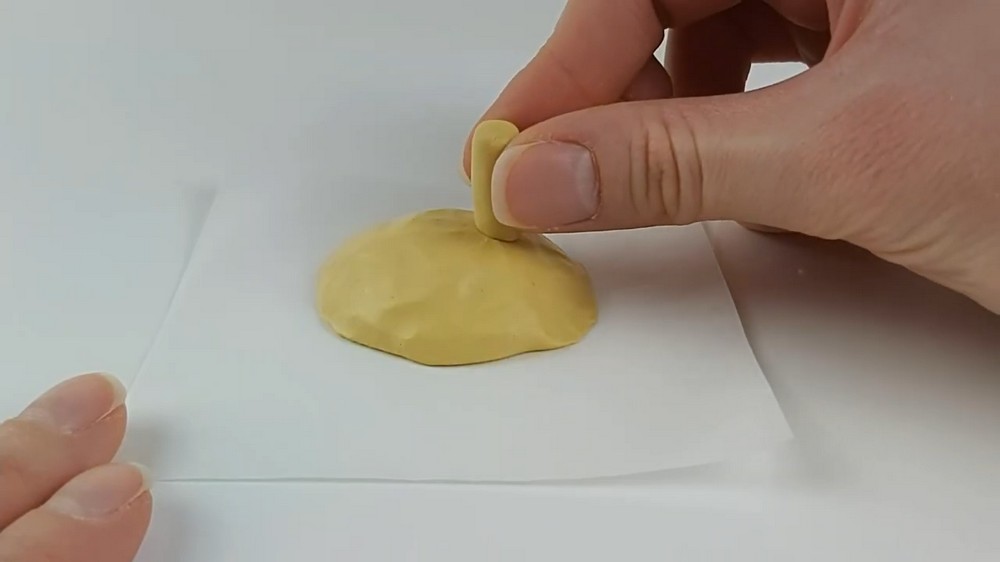
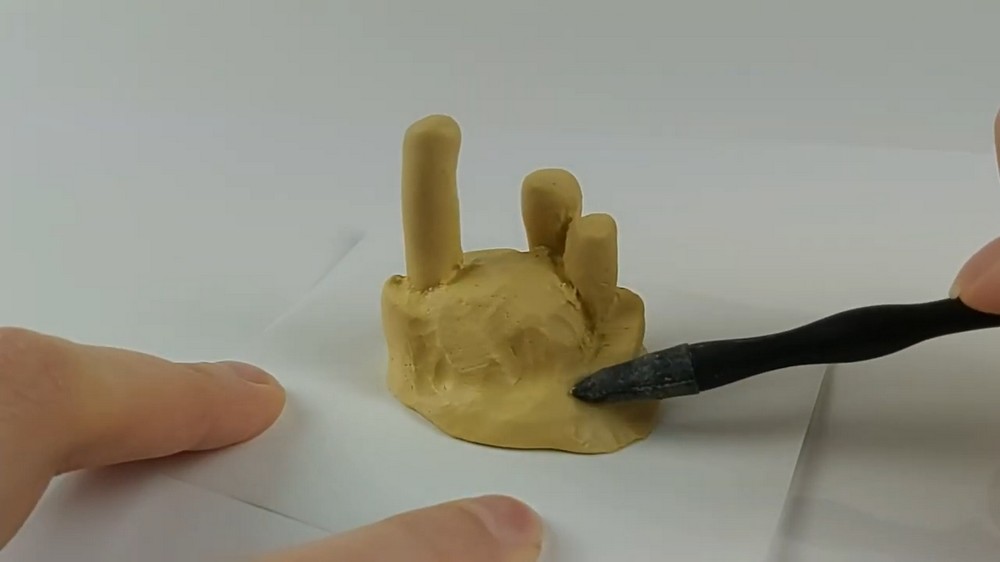
- Add basic shapes for towers by forming cylindrical pieces and placing them on the base.
- Blend delicate seams carefully; small mistakes can quickly warp tower straightness.
- If towers wobble or appear crooked, trim or reblend material until alignment improves.
- Consider pre-making some towers and attaching them later if direct sculpting causes distortion.
Creating Walkways and Arch Bridges
- Decide walkway placement connecting towers — for example, from a large tower base into a smaller tower doorway.
- Bend a strip of clay into an arch and press it between towers.
- Fill any gaps with small clay pieces and blend to look intentional.
- If an arch looks off, remove and reattach with adjusted proportions.
Designing Tower Roofs and Lip Details
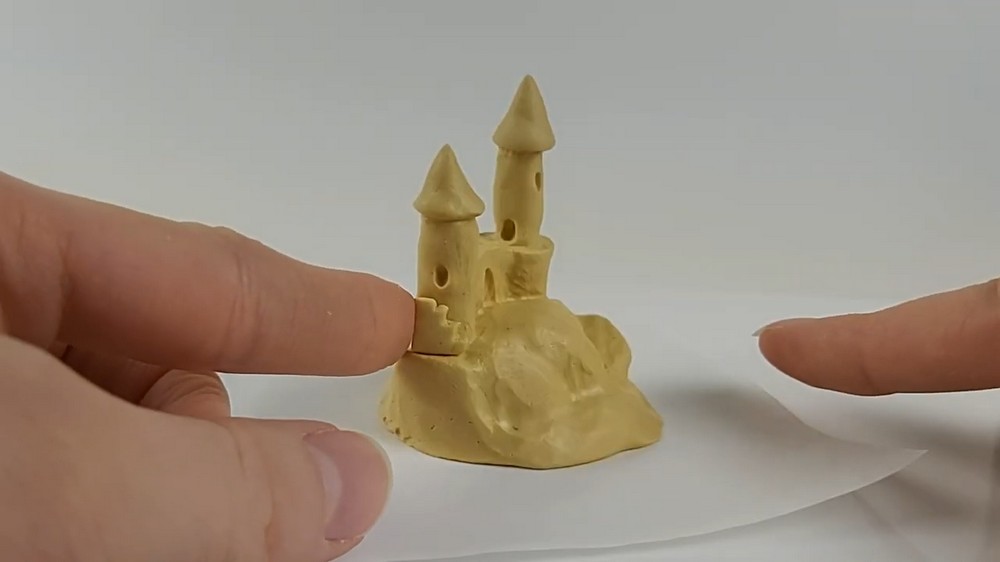
- For pointed cone roofs, indent a line around the top and roll a thin “snake” of clay to form the lip of the roof.
- Attach cones to towers that need height; use liquid clay if necessary for adhesion.
- Decide whether to blend roof joins; blending creates cohesion but can alter tower shapes.
Reworking, Resizing & Adding More Towers
- Expect to cut out and replace entire sections repeatedly:
- Cut out chunks of the base to add new towers.
- Pre-make towers and press them into spaces after adjusting base geometry.
- Adjust tower heights by adding clay back into indents where needed.
- Use iterative placement: remove, re-place, blend, step back and reassess.
Building Staircases & Pathways
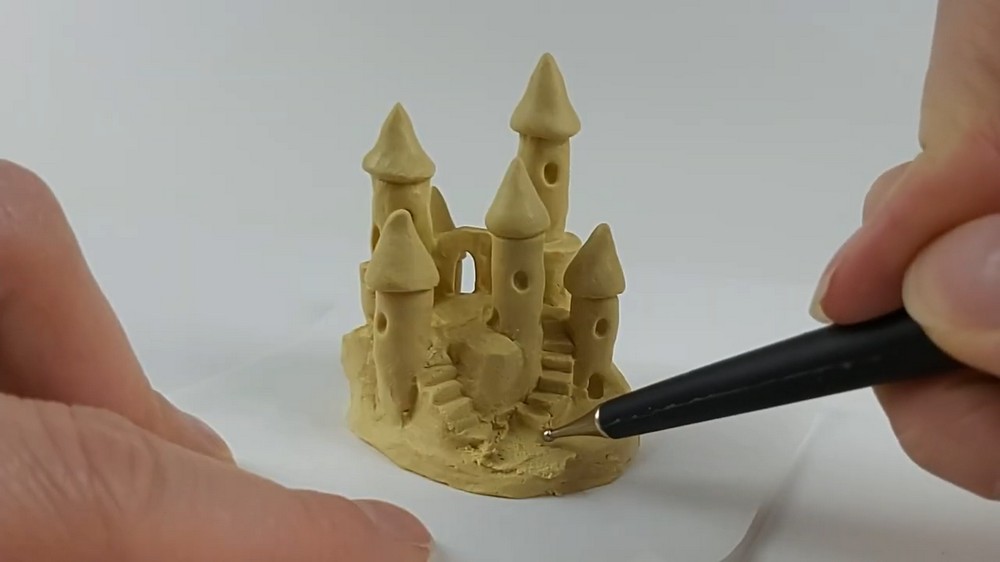
- Turn walkways into spiral staircases by adding many small steps that wrap around towers.
- First attempt: indent steps directly; may appear too soft.
- Second attempt: carve with a sculpting knife — be careful, steps can become too large.
- Modify by adding clay back and creating smaller, more believable steps for scale.
- Expand staircases into multiple directions to create visual interest and balance.
Symmetry, Rearrangement & Corrections
- If a tower or staircase feels lopsided, rearrange by cutting with a knife and repositioning elements for symmetry.
- Create circular bases or landing pads to avoid “melting” shapes and to anchor towers.
- Reattach towers with liquid clay and smooth joins to hide seams.
Texturing the Sand Surface
- Add sand texture to external surfaces with a toothbrush or pointed tool.
- Note: If you texture late in the build, reaching nooks is difficult — texture as you go when possible.
- For interior nooks, use a small paintbrush or pointed tool to stipple and create fine texture.
- Work methodically: exterior first, then carefully add texture to inner passageways.
Final Fill-Out & Details
- Fill remaining negative space with arches, bridges, and tiny staircases to create a cohesive structure.
- Ensure the castle looks appealing from all angles by adding staircases and bridges around the perimeter.
- Decide whether to include a moat (Clara omitted it for size constraints) — you can sculpt a moat recess before final texture.
Baking
- Bake the piece according to your clay manufacturer’s instructions.
- Let the castle cool completely before handling and final finishing.
Finishing Instructions
- After cooling, inspect seams and fragile bits; reattach or re-bake small repairs if needed.
- Optionally paint or wash to accent texture (light dry brushing works well for “sand” highlights).
- Seal with varnish if desired for protection and slight sheen.
Tips & Techniques
- Work in small increments: add, blend, step back, then adjust; this keeps proportions manageable.
- Use liquid clay for strong joins but avoid over-blending if you want crisp architectural lines.
- Texture as you go where possible to avoid hard-to-reach areas later.
- Keep a clean blade and small tools for precise cuts and stairs.
Common Problems & Solutions
- Towers becoming misshapen while blending:
- Solution: pre-make towers and attach after shaping base; blend minimally.
- Steps too big or soft:
- Solution: add clay back and carve smaller, shallower steps; use knife for definition.
- Texture not reaching nooks:
- Solution: use a small brush or pick to texture tight spaces, or texture components before attachment.
- Overuse of blending leading to loss of detail:
- Solution: stop blending early, use thin snakes or minimal blending to preserve form.
Creative Ideas & Variations
- Add tiny flags, shells, or miniature figures to populate the castle.
- Create a moat with blue-tinted resin or painted clay for a believable water feature.
- Make a modular set of smaller castles to arrange into a beach scene.
- Paint weathering or shadowing to emphasize depth and texture.
Final Result
A richly detailed sand-colored clay castle with multiple towers, archways, spiral staircases, and textured surfaces. The piece reflects an improvisational building process — expect delightful imperfections and lots of small features to explore.