Jump into creativity and sculpt your own adorable DIY Polymer Clay Walrus with this easy guide, perfect for beginners and animal lovers alike.
Transforming a simple block of polymer clay into a cute and chunky sea animal is a wonderful way to get creative. A walrus, with its adorable tusks and round features, is a fun and unique design to work on. This project allows you to use your imagination while learning how to shape and mold clay into something playful and full of character. It's ideal for beginners and also enjoyable for more experienced crafters.
Handmade DIY Polymer Clay Walrus for Animal Lovers
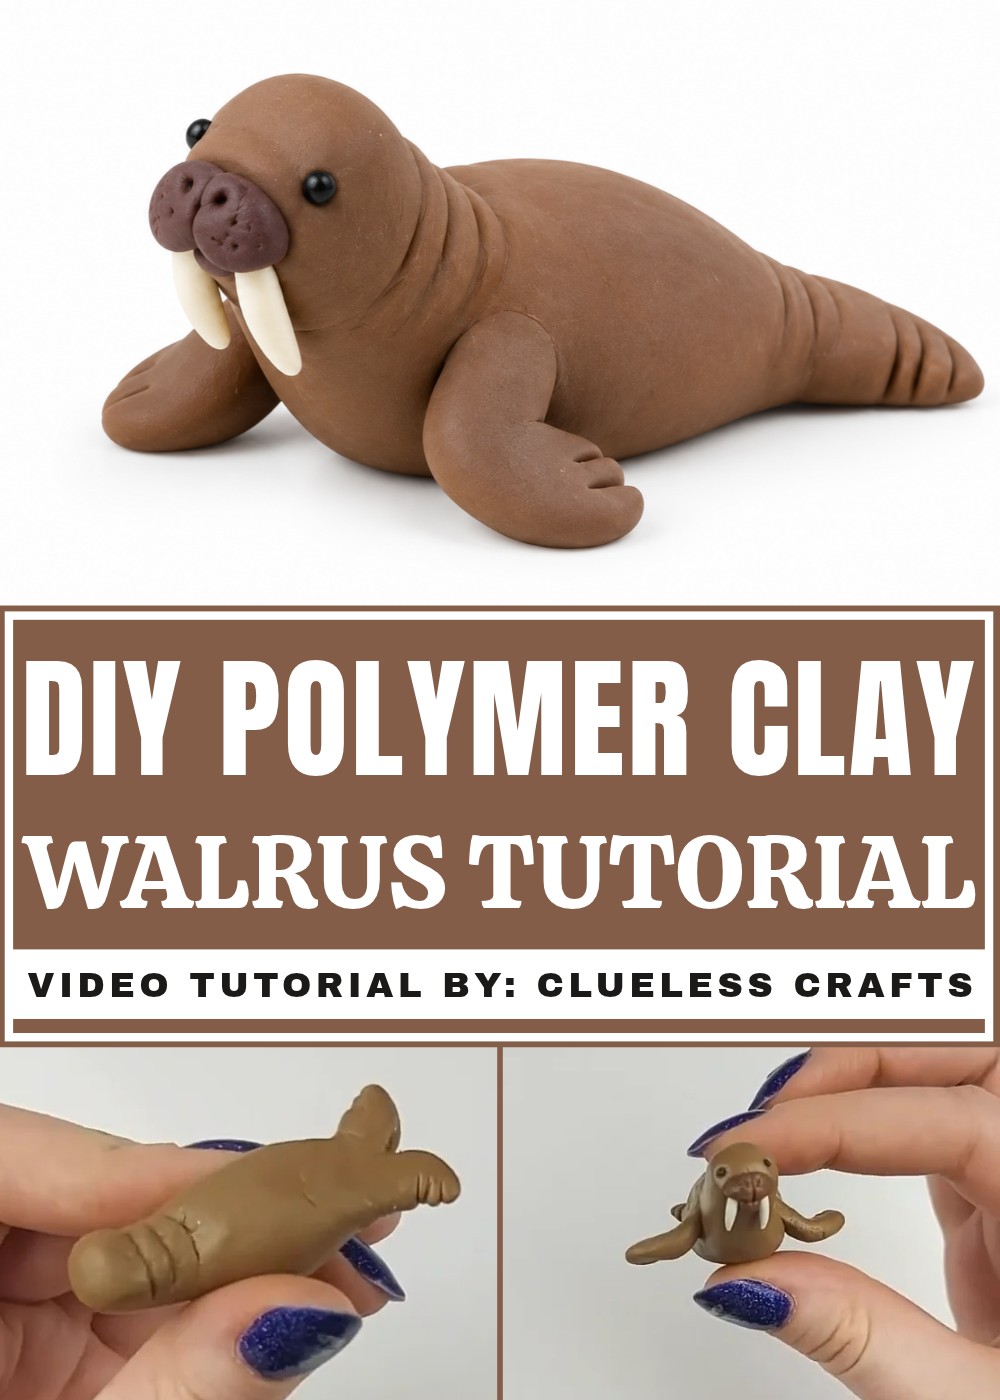
Using polymer clay for your walrus sculpting project is a great choice because it’s easy to work with and hardens in the oven to create a long-lasting piece. You can shape the body, add little flippers, and of course, don’t forget the iconic tusks and whiskers! With just a few simple tools, you can give it personality by adjusting details like the expression on its face or adding patterns to its surface. The best part is how small and manageable the project is, making it easy to try again or improve your skills if needed.
Once your creation is complete, you’ll have a handmade walrus that is perfect for decorating a desk, as a fun figurine for kids, or even as a thoughtful, homemade gift. It’s a small but satisfying project that’s both entertaining and rewarding. Plus, it’s a delightful way to explore your love for marine animals while crafting something creative and unique.
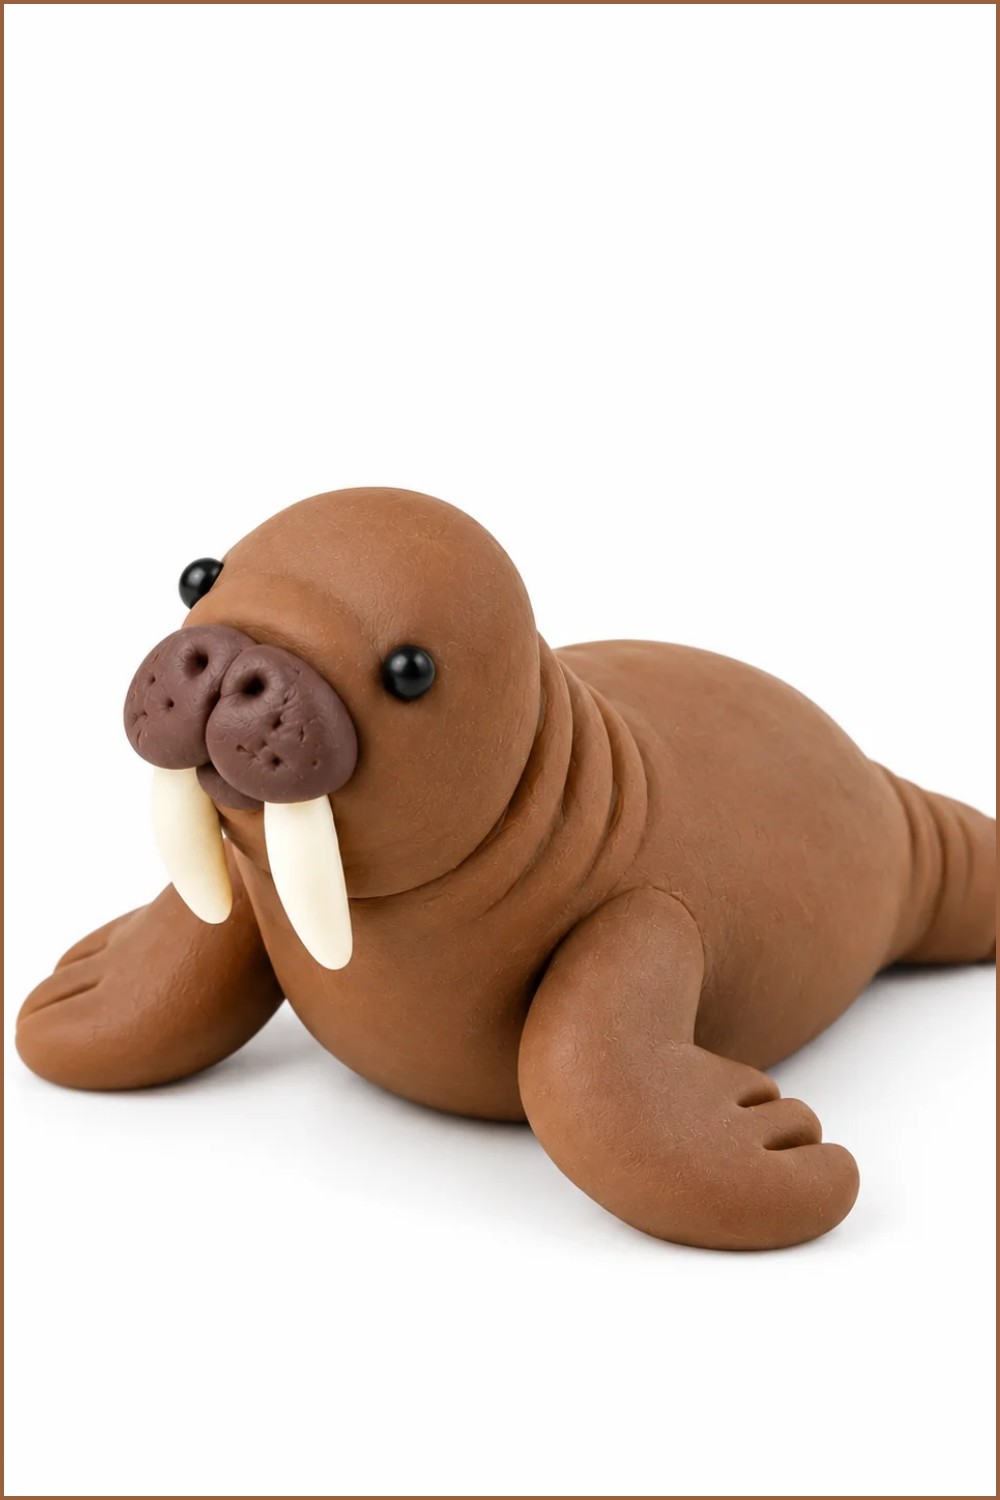
DIY Polymer Clay Walrus
Create an easy, cute clay walrus sculpture using simple shapes and texturing. The project focuses on forming a curved body, detailed tail and flippers, a defined face with tusks, and characteristic skin folds. Finished piece is baked and ready for display.
Materials & Supplies
- Polymer clay: brown (main), white (tusks)
- Work surface or mat
- Aluminum foil or small tray for baking (optional)
Tools & Equipment
- Sculpey / craft knife (flat-edge and sharp tip recommended)
- Flat-edge sculpting tool and pointed sculpting tool
- Oven (set to polymer clay manufacturer temperature; tutorial uses 275°F)
- Toothpick or small needle (optional for fine dots)
Project Details
- Skill level: Beginner
- Time: ~30–60 minutes (plus bake/cool time)
- Bake: 275°F for 1 hour (follow your clay brand instructions)
Preparation
- Pre-prepare clay pieces so you have all colors/amounts ready — this makes sculpting faster and more accurate.
- Keep tools within reach and have a cool surface to place the piece after baking.
Step-by-Step Detailed
Form the Body
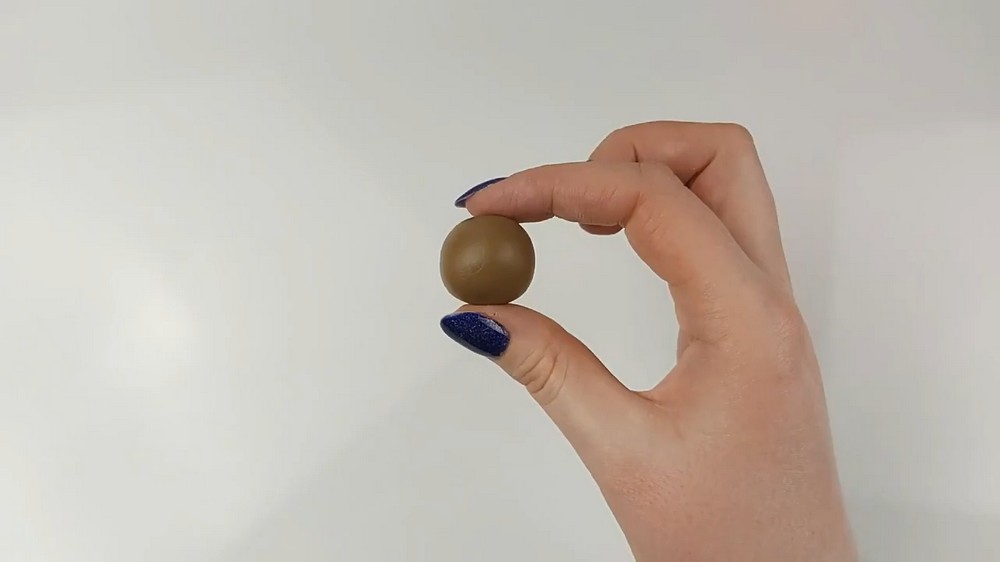
- Roll a large ball of brown clay and elongate it into a curved log.
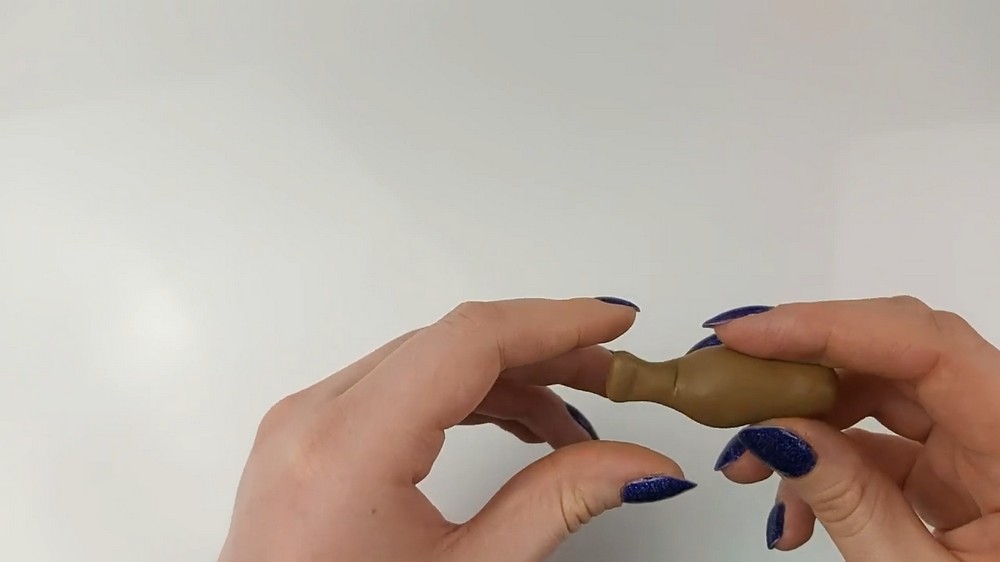
- Shape each end differently: one end as a thick cone (back) and the other as a thinner cone (head area), leaving a small ball at the thin end for the tail.
- Curve the tail upward and the head back slightly to create a slightly curved body.
Define Neck Skin Folds
- Use a flat-edge sculpting tool to press in a couple of lines at the back of the neck to imitate walrus skin folds — press lightly and evenly.
Shape the Tail
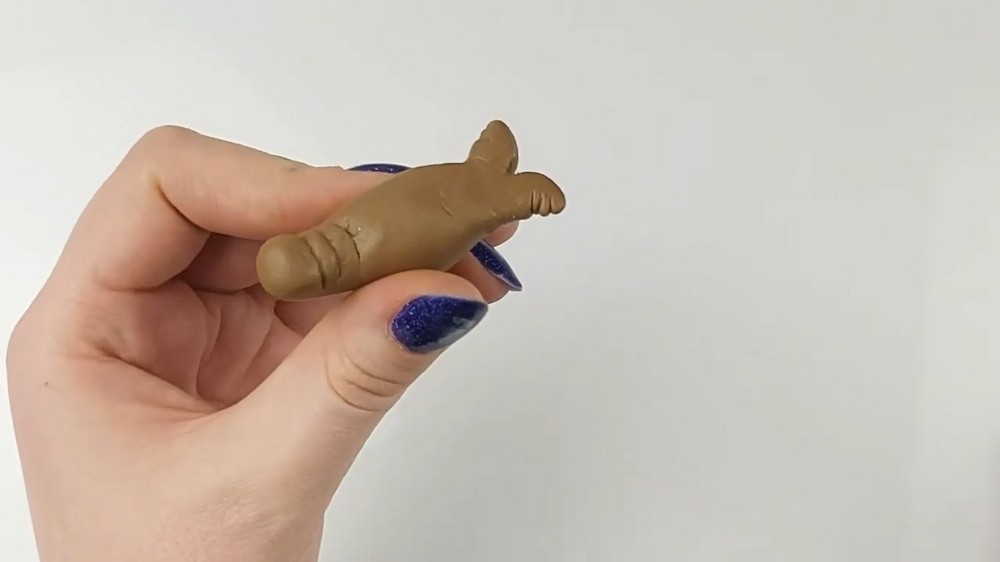
- Flatten the reserved tail ball into a triangle-like shape with the pointed end toward the body.
- Cut the triangle in half with the sculpey knife to create two tail flukes.
- Pinch each half into a refined triangular fin.
- Using the sculpting knife, cut fin indents (not at the very end, more toward the body) to show the toe orientation.
- Refine shapes with the flat-edge tool; if indents pushed the tail together, re-separate and reshape until symmetrical.
Sculpt the Face
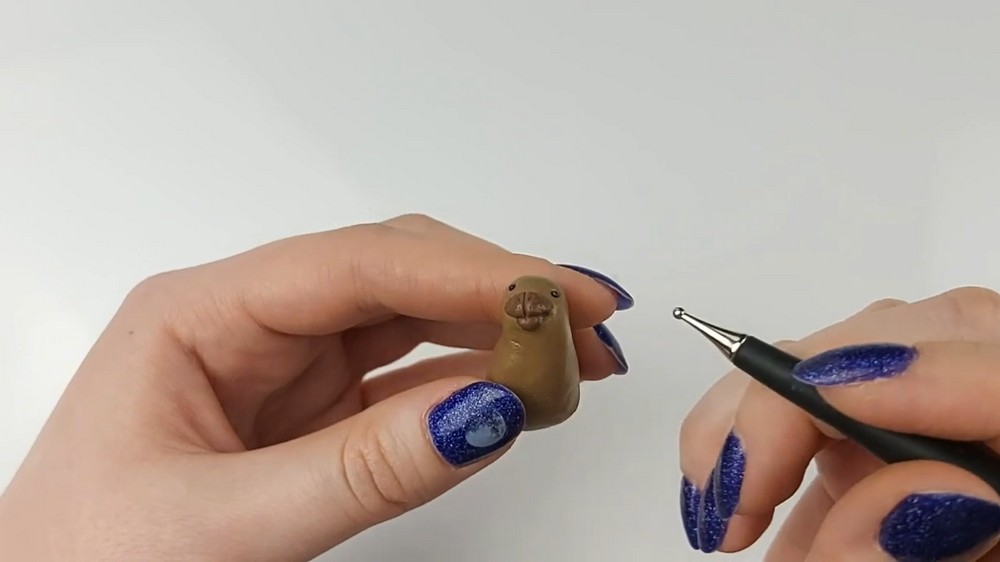
- Form a small ball of brown clay for the lower mouth region and a longer slightly rolled ball for the upper mouth.
- Position the lower piece as the lower lip and the upper rolled piece across above it to form the snout.
- Use the flat-edge tool to divide the upper mouth into two sections (center split for mouth line).
- Press two tiny teardrop shaped indents for nostrils and create shallow indents for the eyes; fill eye indents with small black clay if available.
Add Facial Texture
- Use a pointed sculpting tool to dot the nose area to emulate whisker pores (freckle-like texture). These are where whiskers would be.
Add the Tusks
- Create room for tusks by making shallow indents on either side of the lower mouth.
- Roll two small cones of white clay and insert them into the prepared indents, adjusting angle and depth until they look natural.
Make and Attach Arms / Flippers
- Roll two small brown balls into log shapes for flippers; one end slightly thicker to form the fin.
- Flatten the fin side slightly and give the log a gentle curve so the flipper supports the walrus when posed.
- Carve indents on the outer edge of the fin (not at tip, toward the back) using the flat-edge tool to suggest digit separations.
- Mirror the design and attach both arms under the neck using the neck skin folds as placement guides.
- Bend arms slightly outward so the walrus can rest stably.
Refine Skin Folds & Details
- Once arms are blended, revisit and redefine skin folds on the neck and add more folds around the tail base — the more folds, the more characteristic the walrus.
- Smooth seams and check overall silhouette.
Pre-Bake Check
- Confirm no unintended holes or wire; ensure all parts are firmly attached and seams smoothed.
- Preheat oven to 275°F (or follow your clay’s specified temperature).
Finishing Instructions
- Bake the walrus at 275°F for 1 hour (follow manufacturer directions for your specific clay).
- Remove from oven and let cool completely before touching or moving.
- Optionally, sand any rough bits lightly and seal with a varnish suitable for polymer clay (matte or gloss, as preferred).
Tips & Techniques
- Prepare pieces in advance — makes assembly faster and cleaner.
- Use the flat-edge tool for consistent skin folds and cleancut tail/fin indents.
- Place flippers slightly outward to give the walrus a stable base for display.
- If details get smudged, re-sculpt gently while clay is still soft; post-bake fixes are harder.
Common Problems & Solutions
- Tail or flippers collapse while shaping:
- Solution: reshape carefully, support with fingers, and refine after initial attachment.
- Tusks fall out after baking:
- Solution: ensure tusks are seated in indents and embedded slightly into the lower mouth; if they fall out, reattach with super glue.
- Seams visible after baking:
- Solution: sand gently with fine-grit sandpaper and re-smooth with a little varnish for polish.
Creative Ideas & Variations
- Make a family set: vary sizes for baby walrus and adult.
- Add color accents (lighter belly, painted eyes) or create a winter base (snow) from white clay.
- Turn into a magnet by embedding a small magnet into the base before baking (ensure manufacturer-safe heating).
Final Result
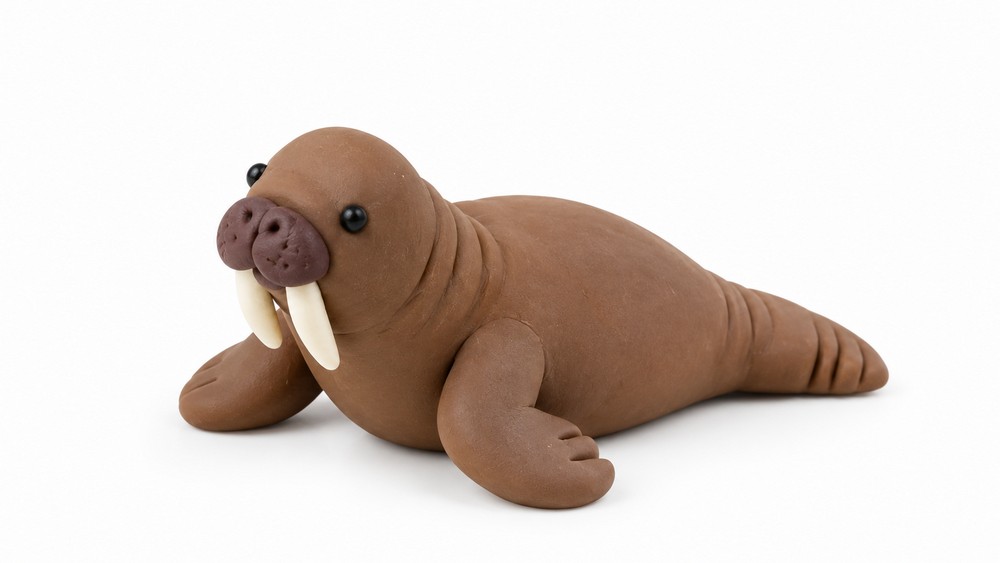
A charming, compact walrus with defined tusks, expressive facial texture, and realistic skin folds. Baked and cooled properly, it stands as a durable miniature for display or as a gift — approachable for beginners and easy to personalize.