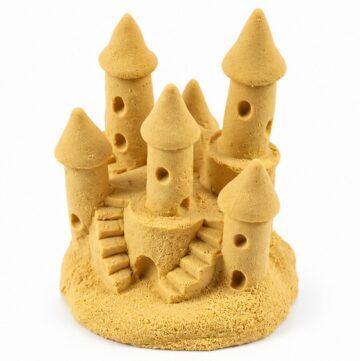
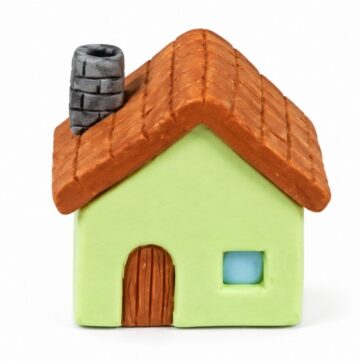
Bring nature to life with our guide on crafting DIY Polymer Clay Mini Trees, perfect for adding a charming handmade touch to your decor or gifts.
Creating miniature trees using polymer clay is a fun and creative craft project that allows you to design your own small, decorative models of nature. These tiny trees can be displayed in miniature scenes, fairy gardens, or used as imaginative décor pieces. The project is simple enough for beginners yet offers room for customization, making it appealing to experienced crafters as well.
DIY Polymer Clay Mini Trees with Simple Steps

Polymer clay is an ideal material for this craft due to its pliability and ability to be baked into a durable form. The mini trees can be shaped in various styles, such as tall pine trees, leafy oaks, or even whimsical shapes inspired by your imagination. You can add texture to mimic bark and create leaves or small details to make every tree distinct. Color blending can also add depth, especially if you want to make seasonal designs, like autumn trees with red and orange leaves or winter trees covered with snow.
This handmade craft project is both creative and practical. The finished pieces are lightweight, making them easy to display on shelves, desks, or as part of other decorative setups. Additionally, the small size of these polymer clay creations allows you to experiment and practice techniques without the need for a large workspace. Whether you are looking to enhance your décor, create a personalized gift, or simply explore your creativity, this project is both engaging and rewarding.
DIY Polymer Clay Mini Trees
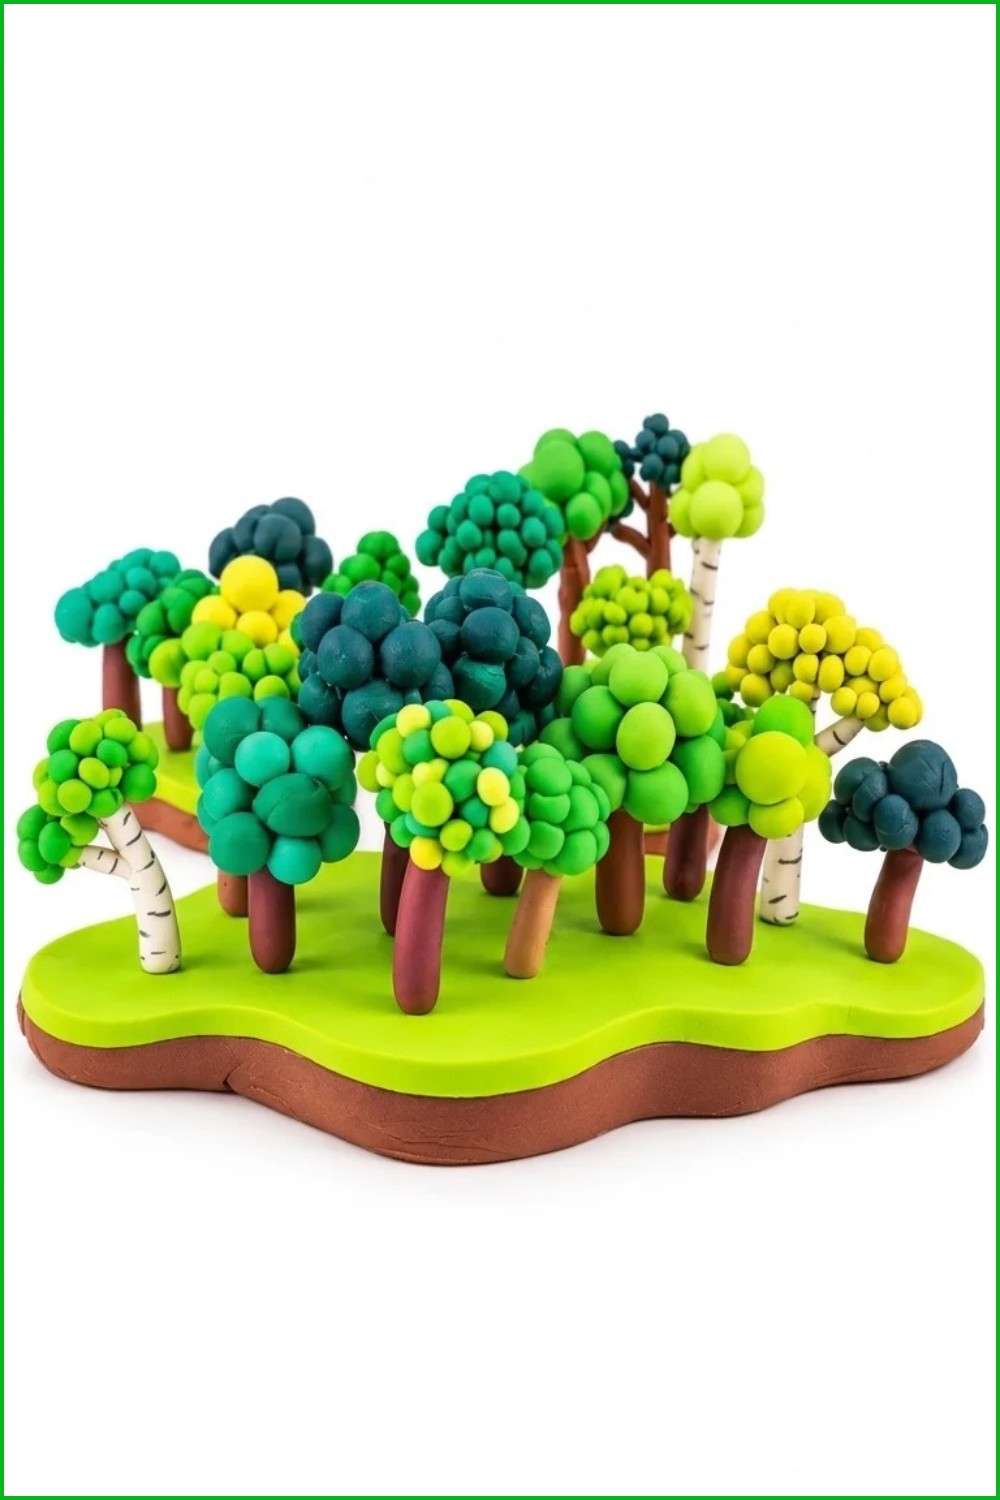
Create a miniature forest of polymer-clay trees for dioramas, displays, or mixed-media landscapes. This project builds clusters of tiny leafed trees and birches using rolled clay logs for trunks, inserted wire supports, and hundreds of small rolled “leaf” balls. The modular trees can be baked on stands and later arranged, glued, or pegged into a base for a customizable miniature woodland.
Materials & Supplies
- Polymer clay: multiple shades of green, brown, white, and small amounts of other accent colors
- Thin craft wire for internal tree supports
- Aluminum foil (for temporary oven stands)
- Liquid clay or strong glue (super glue) for post-bake fixing
- Optional: base clay (brown/green) to build landscape later
Tools & Equipment
- Sharp craft blade (for splitting logs and adding bark detail)
- Small round or ball stylus / silicone sculpting tools (for smoothing and blending)
- Toothpicks or potter’s needle (for tiny indents and texture)
- Small craft scissors (useful for cutting branch splits)
- Oven for baking polymer clay
- Work mat or paper to protect your table
Project Details
- Skill level: Beginner–Intermediate (repetitive rolling, fine detail)
- Time: variable — rolling many tiny leaves is the most time-consuming step
- Output: multiple small trees; scale depends on log size and leaf density
Preparation
- Gather clay colors and condition well to avoid cracking.
- Plan trunk sizes and how many trees you want; rolling many leaf balls requires time.
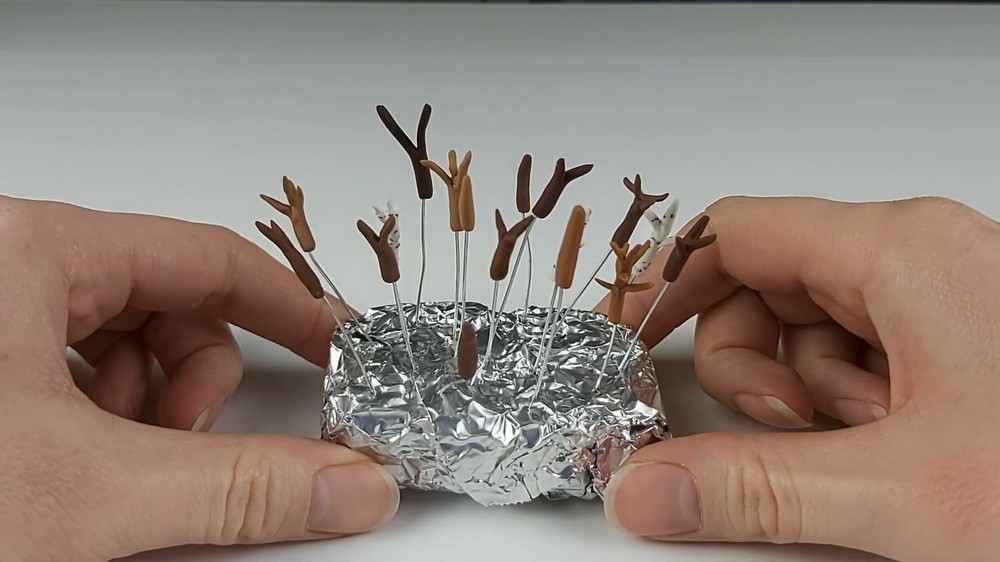
- Make small tin-foil rectangle stands to hold wire trees during baking. These allow you to bake trunks upright without squashing branches.
Step-by-Step Detailed
Make Leaf Balls
- Roll tiny balls from various greens until you have a generous pile — this will likely feel excessive, but it’s necessary.
- Tip: roll small clay logs first, slice them into consistent pieces, then roll each slice into balls to speed the process.

Form Tree Trunks
- Roll brown clay into logs sized to your desired tree scale.
- Decide whether trunks will remain simple or be sculpted with branches.
- For branches:
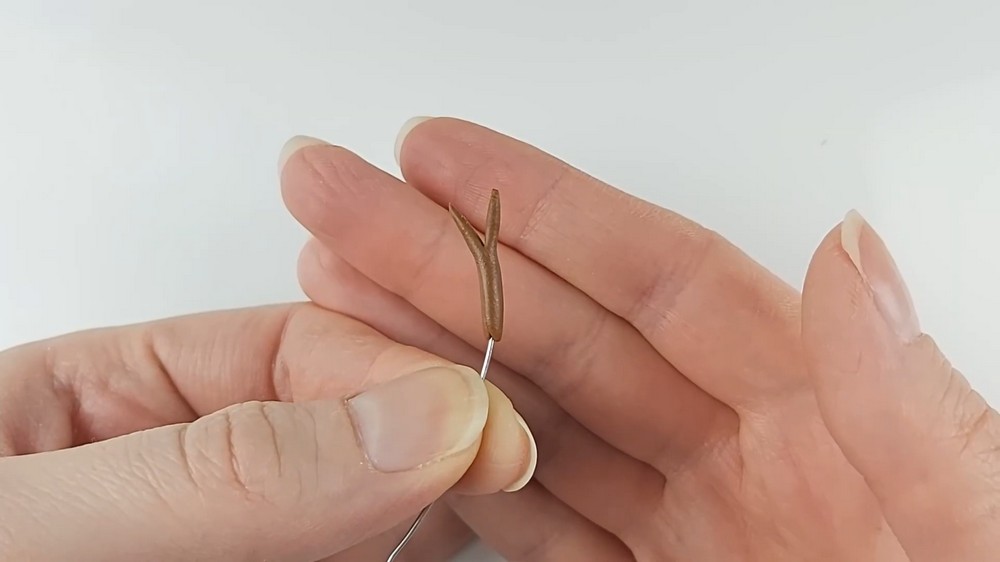
- Split the end of a log with a blade and gently spread the halves to form branch stubs.
- Insert a thin wire into each trunk for strength and manipulation. If wire pokes through, flatten the log, wrap clay around wire, then roll to cover completely.
Add Branches
- Create tapered small logs for branches, slice at an angle, and fit them to the trunk if you prefer attached branches rather than splitting the trunk.
- Use small scissors to trim or create finer branch splits—this is easier than slicing with a blade for delicate pieces.
Make Birch Trunks (Optional)
- Roll a white log for the birch base.
- Roll tiny thin brown strips until fragile; press and place these horizontal bark strips randomly around the white trunk.
- Use a needle or blade to cut shallow lines into the brown strips, then pull small amounts of white clay over cuts to blend and add texture.
- Roll the trunk between fingers to press down flaky bits and refine texture.
Prepare for Baking Trunks
- Make tin-foil rectangle stands and insert wire-trunked trees upright so trunks and branches keep their shape.
- Bake trunks first, before adding leaves—this prevents accidental squashing during handling.
Add Leaves After Baking
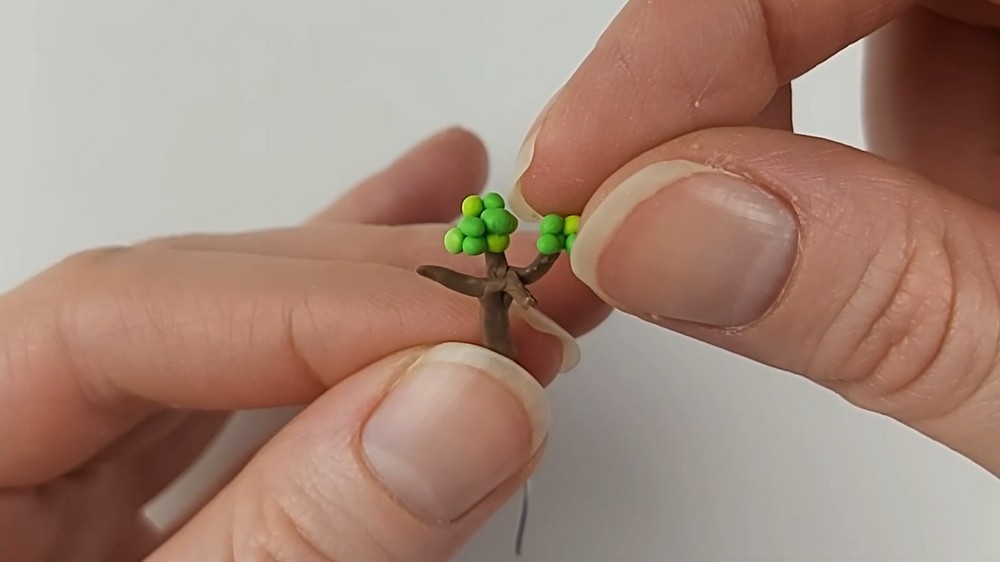
- Apply a small dab of liquid clay or glue onto branch tips with a toothpick so leaves will adhere.
- Experiment with different leaf sizes and densities:
- Attach tiny balls individually for a dense canopy.
- Group medium balls into clusters, gently blend seams, and roll lightly over seams with a pointed silicone tool to create a natural clustered look.
- For a larger foliage mass, press many small balls together into a single larger cluster and refine seams.
Variety and Placement
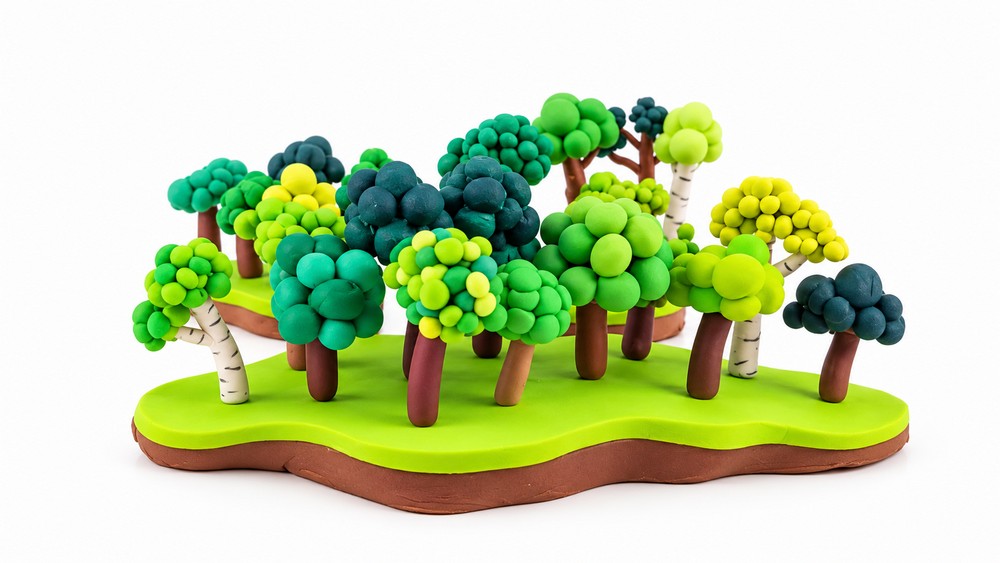
- Use 2–3 shades of green per tree to add depth and realism.
- Vary branch density: some trunks sparse, some heavily leafed.
- Make some trees without wire and use them to create surface texture or to glue onto a base later.
Assemble into a Landscape
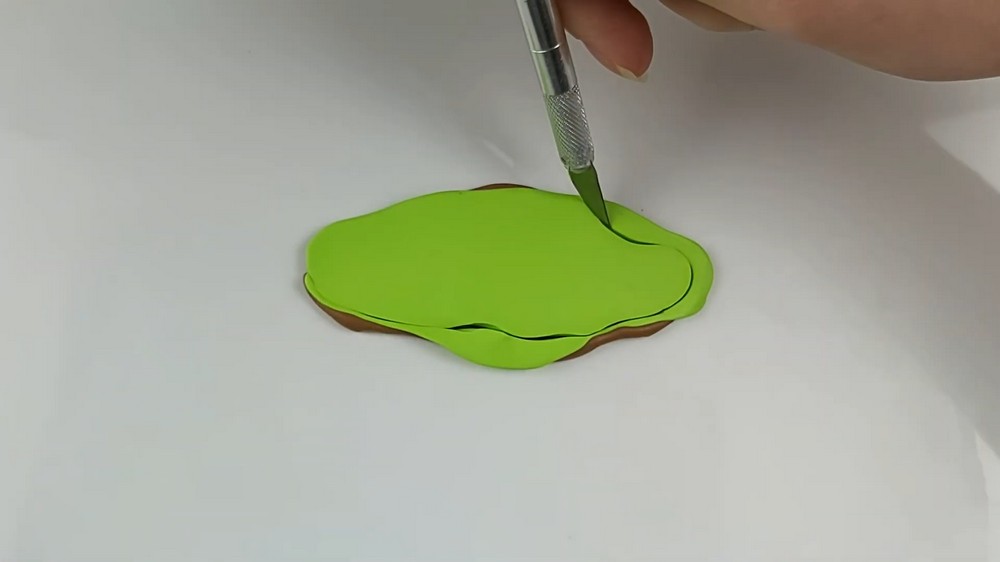
- Create a base layer from brown clay and add thin green sheet for grass if desired.
- Insert wires into base holes made by the same wire, or super glue non-wired trees onto the baked base.
- Arrange trees, rearrange, and swap pieces freely until you’re satisfied.
Finishing Instructions
- Ensure all components are fully baked and cooled before final assembly.
- Use super glue to secure non-wired trees to bases; for wired trees, trim wire to a suitable peg length and insert into pre-made holes in the base, fixing with glue if needed.
- Optionally varnish or seal bases for durability.
Tips & Techniques
- Roll leaf balls in batches—consistency speeds the process and creates uniform canopies.
- Insert wire into trunks before sculpting branches to avoid poking through later.
- Bake trunks upright to avoid deformation.
- Lightly roll grouped leaf seams rather than smoothing flat to maintain a natural texture.
- Keep extra leaves handy for touch-ups and to create understory bushes.
Common Problems & Solutions
- Wire pokes through trunk:
- Flatten the log, wrap clay around the wire fully, then roll to seal.
- Branches sag during baking:
- Use tin-foil stands to support upright positioning; bake at recommended temperature and time.
- Leaves flatten or smear while attaching:
- Use minimal adhesive and press gently; bake trunks first so handling is easier.
- Clusters become too smooth:
- Use a pointed silicone tool to roll seams lightly and reintroduce texture.
Creative Ideas & Variations
- Make evergreen cones by rolling tapered leaves or layered scales.
- Mix in colored leaves (autumn palette) for seasonal scenes.
- Create a modular diorama with removable trees on pegs for reconfiguration.
- Build cliffs, caves, or a tiny waterfall and incorporate trees for scale.
Final Result
You will have a charming miniature forest composed of diverse, tactile trees—birches with textured bark, leafy clustered canopies, and varied heights. The modular approach allows rearrangement and reuse in future projects, enabling you to expand into large-scale landscapes like cliffs and waterfalls as your collection grows.