Bring a touch of magic to your crafting with our DIY Polymer Clay Mushroom Fairy House idea, perfect for creating enchanting handmade decorations.
A charming little house tucked under a whimsical mushroom cap, this project lets you bring that vision to life! By crafting a miniature fairy house, you can add a touch of magic to your space that feels straight out of a fairytale. Its small, enchanting design makes it impossible not to smile whenever you see it, and it’s perfect for brightening up shelves, desks, or even plant pots.
Fun DIY Polymer Clay Mushroom Fairy House Project
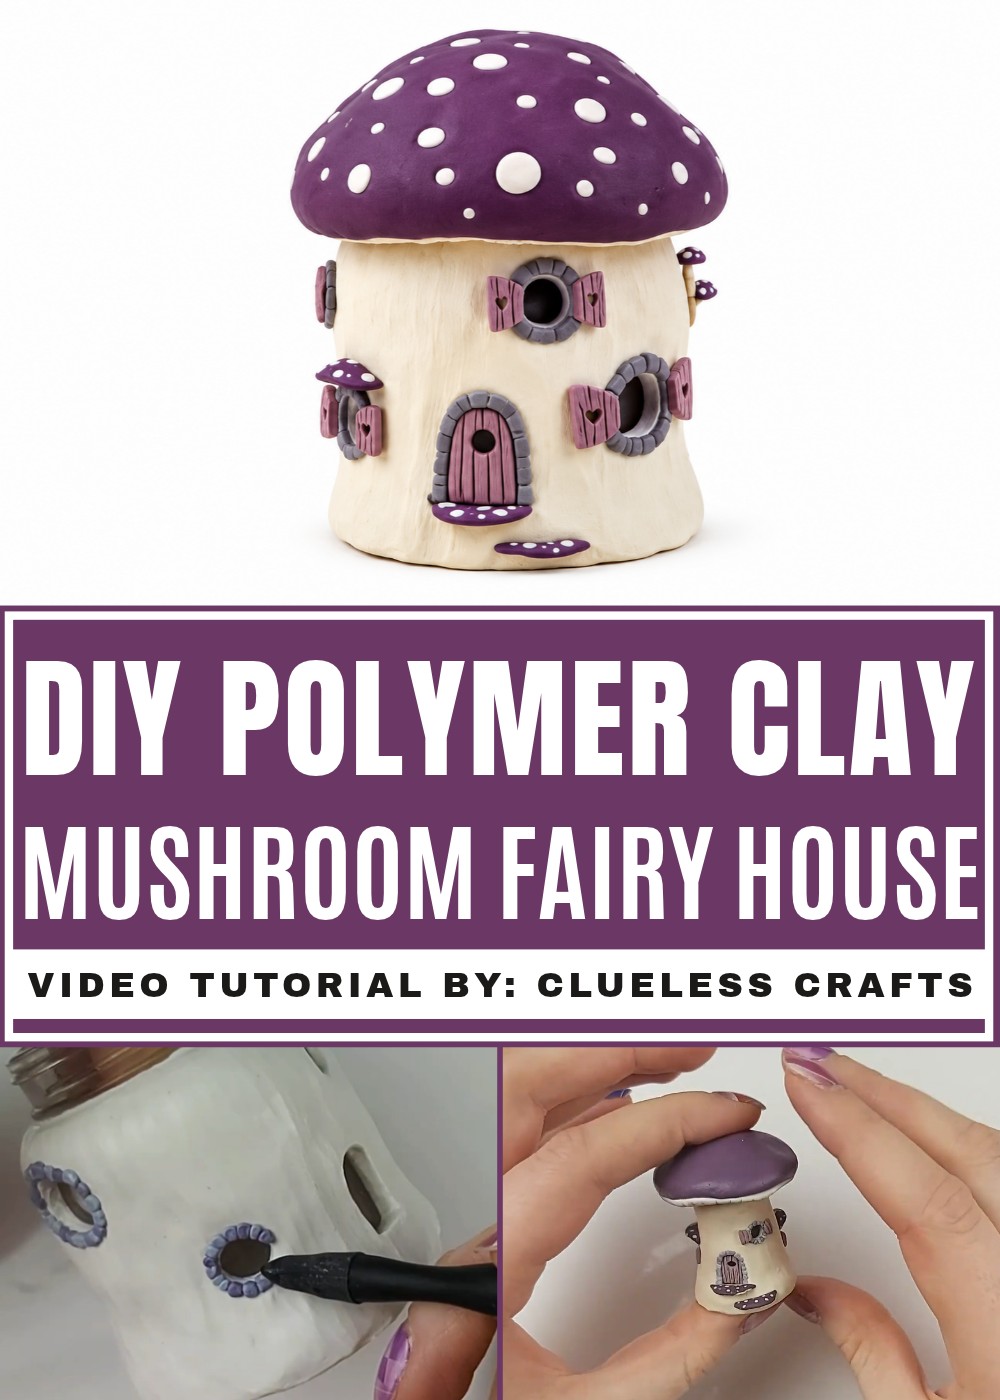
A mushroom fairy house has a timeless, storybook appeal that draws people in. The adorable details, like tiny windows, curved doors, and the round mushroom top, give off a cozy, magical vibe. These charming pieces feel like they belong in a world where fairies, gnomes, and woodland creatures roam. Their whimsical look can easily add personality to any nook, making them a wonderful addition to your home’s décor.
Apart from being a lovely decoration, these miniatures bring a sense of wonder and creativity to your everyday life. They’re not just crafts, they’re little works of art that tell a story. Whether you display it on its own or pair it with other magical creations, a mushroom fairy house is sure to spark curiosity and admiration. It’s the kind of project that lets your imagination flourish and brings a little enchantment wherever it’s placed.
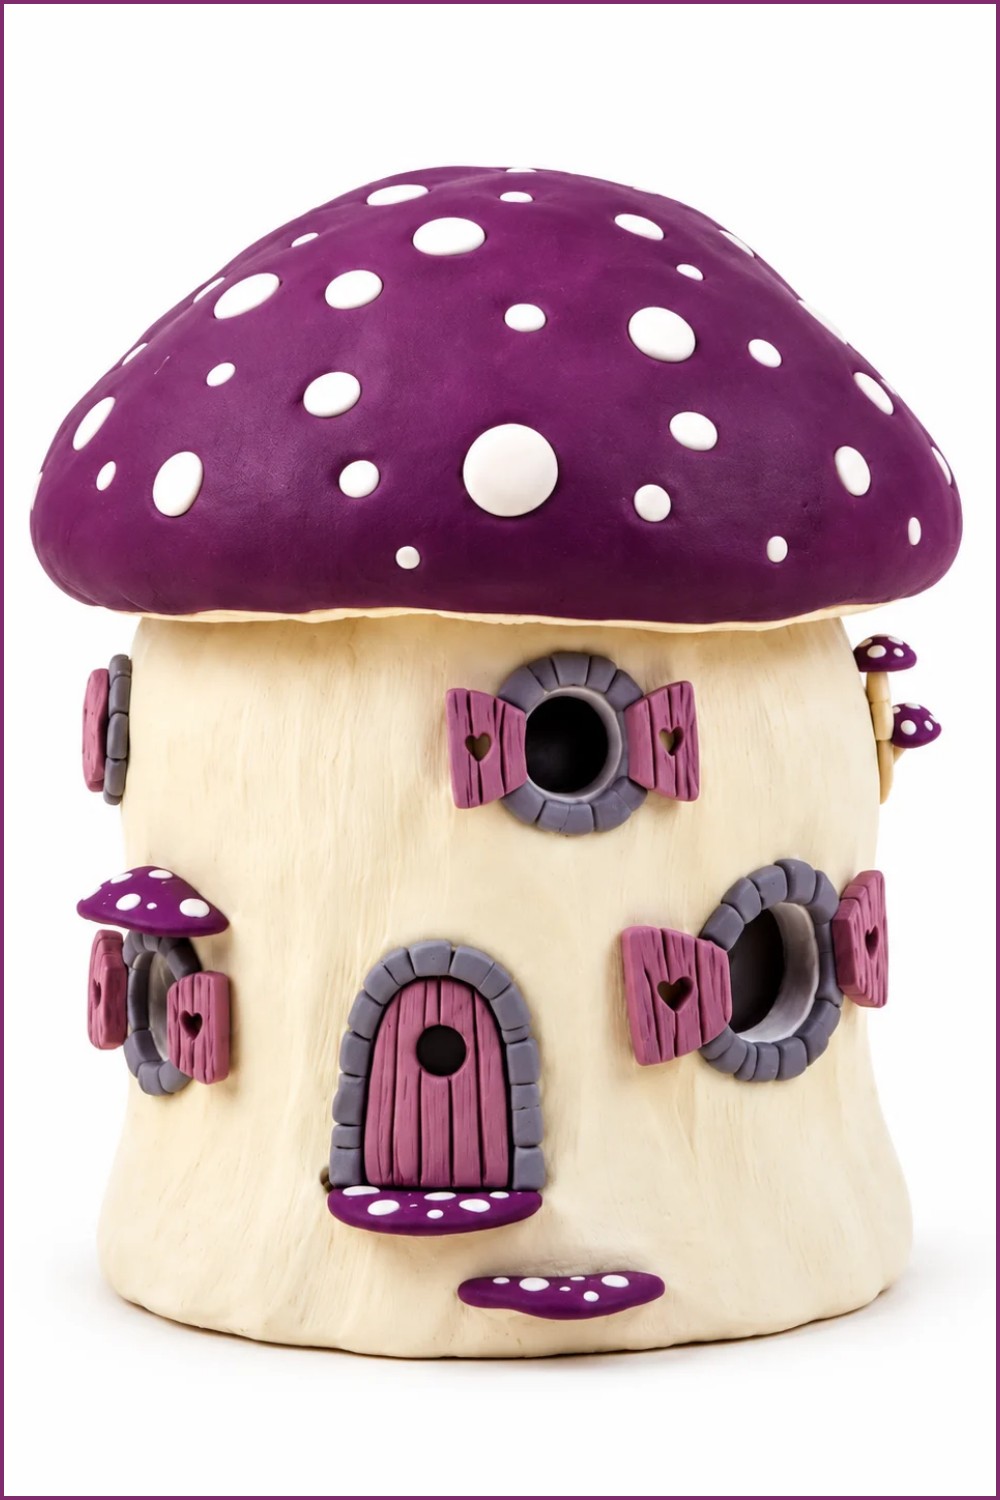
DIY Polymer Clay Mushroom Fairy House
Create a charming secret mushroom fairy house using polymer clay over miniature glass containers (jar and corked bottle). Each house hides a small compartment and features carved doors/windows, mushroom decorations, clay shutters, and a removable mushroom cap lid. Two miniature versions are covered step‑by‑step: a medium jar house and a smaller cork bottle house.
Materials & Supplies
- Miniature glass jar with metal lid and tiny glass bottle with cork
- Polymer clay: light purple, dark purple, white, various accent colors, brown/stone colors as desired
- Liquid Sculpey (or liquid polymer clay) — for adhesion
- Super glue (for attaching foil dome to metal lid)
- 100% acetone and Q‑tips — for lint cleanup
- Tin foil — for forming a dome support inside the mushroom cap
Tools & Equipment
- Sculpey/craft knife and flat‑edged sculpting tool
- Ball‑point and medium ball‑point tools for texture smoothing
- Small circular cutters and detail knife
- Roller and small block for pressing
- Oven (follow clay manufacturer instructions)
Project Details
- Skill level: Beginner–Intermediate (small details and patience required)
- Time: Several hours (making and placing tiny decorations is time‑consuming)
- Bake: 1 hour for assembled houses; pre‑bake small doors/shutters approx 20 minutes (follow clay brand guidelines)
Preparation
- Condition clay thoroughly. Pre‑prepare small elements (doors, shutters, mushrooms) to speed assembly.
- Work on a clean surface; lint removal is important — have acetone and Q‑tips ready.
- Preform tin‑foil dome for mushroom cap and test fit lid/cork.
Step-by-Step Detailed
Covering the Jar / Bottle
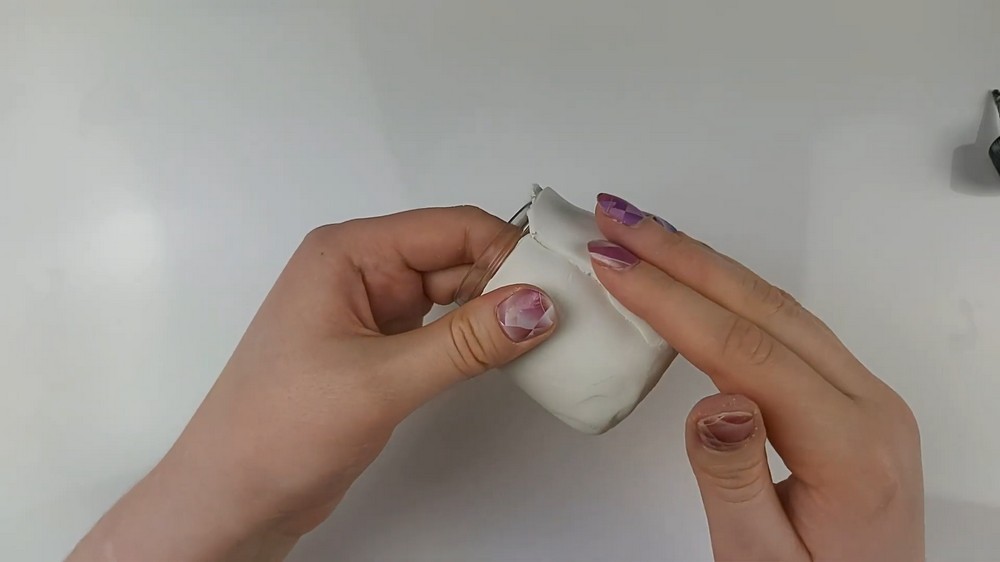
- Apply liquid Sculpey to bottom and sides of the jar/bottle.
- Press clay sheet onto the jar, blend edges, and cut excess around the rim for a neat fit.
- Add a rope of clay around the jar base to form a wider mushroom base and smooth it into the body to disguise the jar shape.
Carving Doors and Windows
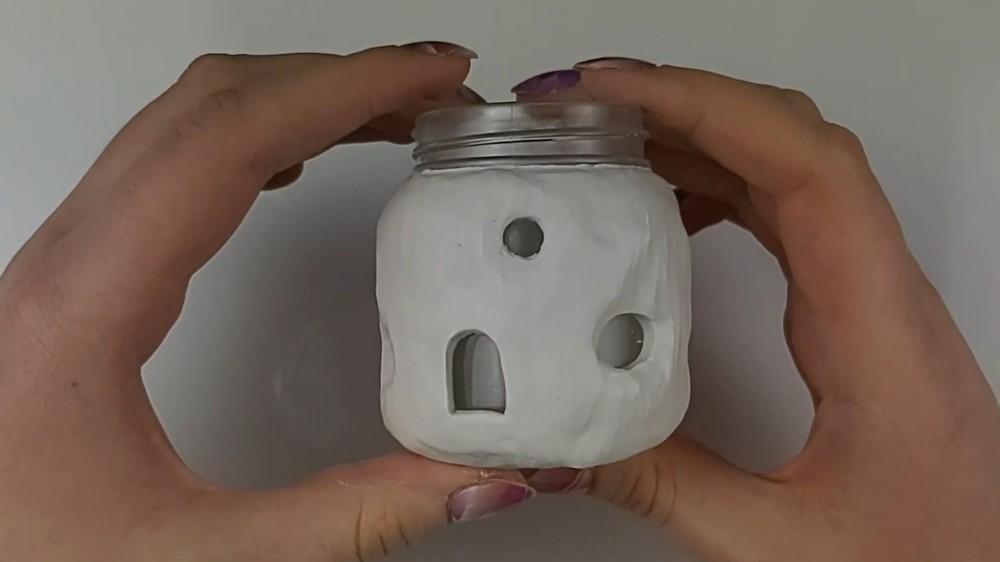
- Mark and cut window and door shapes with a detail knife.
- Scoop out the openings and smooth interiors with a rounded ball‑point tool for a soft, mushroom‑like texture.
- Use a medium ball tool for stone or textured surfaces if desired.
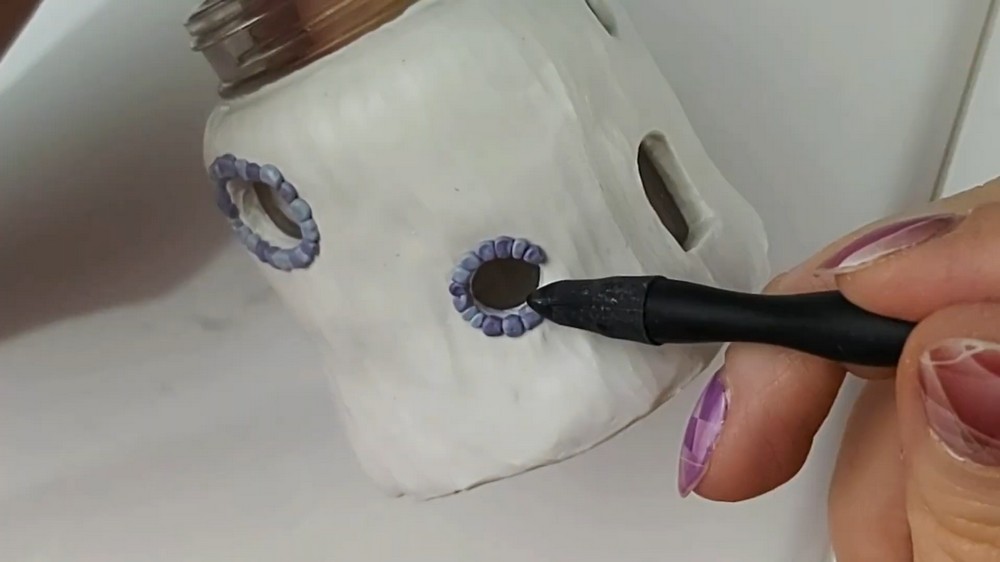
Clean Lint / Surface Issues
- If lint appears trapped in the clay, wipe the area with a Q‑tip dipped in 100% acetone to lift fibers and clean the surface before continuing.
Make Doors & Shutters (pre‑bake step)
- Roll out light purple clay for doors; carve wood grain lines with a knife.
- Use a circular cutter for round window cutouts; form round shutters and cut in half.
- Pre‑bake these small elements for ~20 minutes to firm them so they retain texture when applied later.
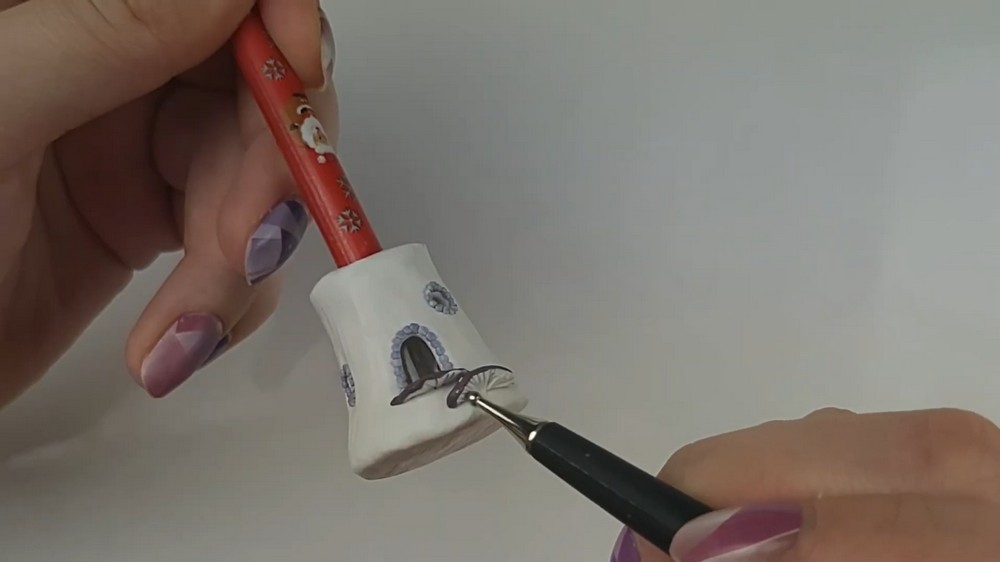
Create Tiny Mushrooms & Decorative Dots
- Roll dark purple blobs with a white center, flatten and cut in half to form mushroom caps.
- Press white dots onto mushroom caps with a ball tool.
- Roll many tiny balls in shades of purple/gray for door/window accents — tedious but optional.
Attach Shutters & Mushrooms
- Place mushrooms along the house sides as stepping stones or window covers.
- Use a tiny amount of liquid Sculpey to stick pre‑baked shutters/doors in place.
- Vary shutter positions (some open, some closed) for visual interest.
Make the Mushroom Cap Lid
- Crumple tin foil into a dome shape sized to the lid/cork.
- Smear super glue onto the metal lid and press the foil dome in place (for jar) or press foil onto the cork (for bottle).
- Coat foil with liquid Sculpey, then wrap dark purple clay over the dome and trim excess.
- Add an extended lip by attaching a rope of dark purple clay and blend.
- Add a thin white clay band around the underside of the cap and texture with a sculpting knife.
- Apply white spots with small balls of white clay and press with a ball tool.
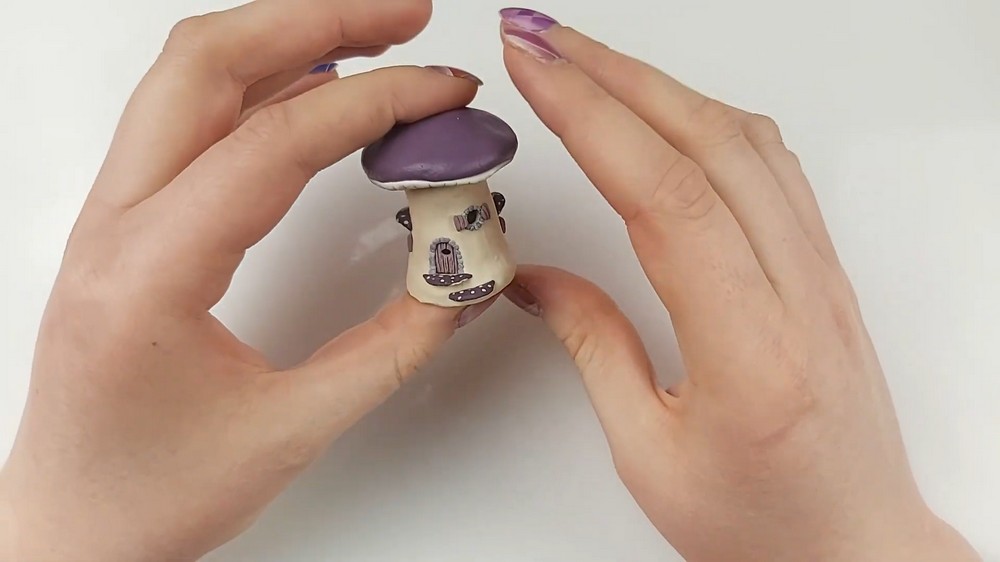
Bake
- Place jar and cap assembly in the oven while cold, then preheat to your clay brand’s temperature — the tutorial bakes for 1 hour. (Putting glass in cold oven and allowing it to heat slowly reduces shock risk.)
- Bake the smaller bottle assembly the same way; note preheating with clay inside can slightly darken original Sculpey—this can be a stylistic choice.
Smaller Secret Bottle Version
- Repeat the same sequence on the tiny cork bottle but scaled down: coat bottle with liquid Sculpey, add base rope, carve door/window with tiny circular cutter, clean lint with acetone.
- Pre‑bake tiny doors/shutters (20 minutes) to prevent squashing textures during application.
- Fit the mushroom head to the cork after baking using the imprint you made pre‑bake for a snug fit.
Finishing Instructions
- Allow all pieces to cool completely in the oven before removing.
- If needed, tidy joins with fine sanding, then reattach any loose bits with a small amount of liquid Sculpey and do a short re‑bake per product instructions.
- Optionally seal with a matte or satin varnish — avoid gloss unless you want a shiny mushroom cap.
Tips & Techniques
- Pre‑bake small textured pieces (doors/shutters) to avoid losing their detail when applied.
- Use acetone + Q‑tip to remove lint before it is trapped permanently.
- Press a test fit of mushroom cap on the lid/cork to get a matching shape impression before final baking.
- Place some shutters open/closed for natural variation.
Common Problems & Solutions
- Texture squashes when applying details:
- Solution: pre‑bake doors/shutters or add after the main bake and glue.
- Lint stuck in clay:
- Solution: use 100% acetone on a Q‑tip to clean before continuing.
- Mushroom cap color darkening:
- Solution: placing clay in a cold oven and preheating can produce a darker bake—test on scrap clay first.
Creative Ideas & Variations
- Paint fine details on the big original house instead of clay accents for a different aesthetic.
- Make seasonal mushrooms (autumn tones) or add tiny LED fairy lights inside the jar for glow.
- Turn the secret compartment into a tiny keepsake holder or jewelry box.
Final Result
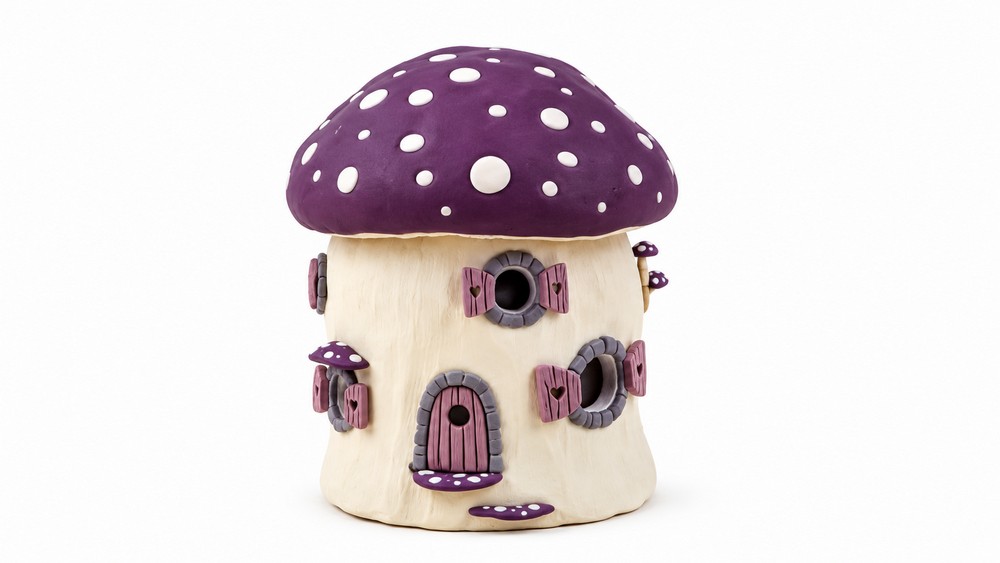
You’ll end with two adorable miniature secret mushroom fairy houses: a medium jar house with removable mushroom cap lid and decorative mushrooms, and a tiny corked bottle house. Both feature carved doors, windows, shutters, and textured mushroom tops — perfect for display, gift giving, or hiding small tiny secrets.