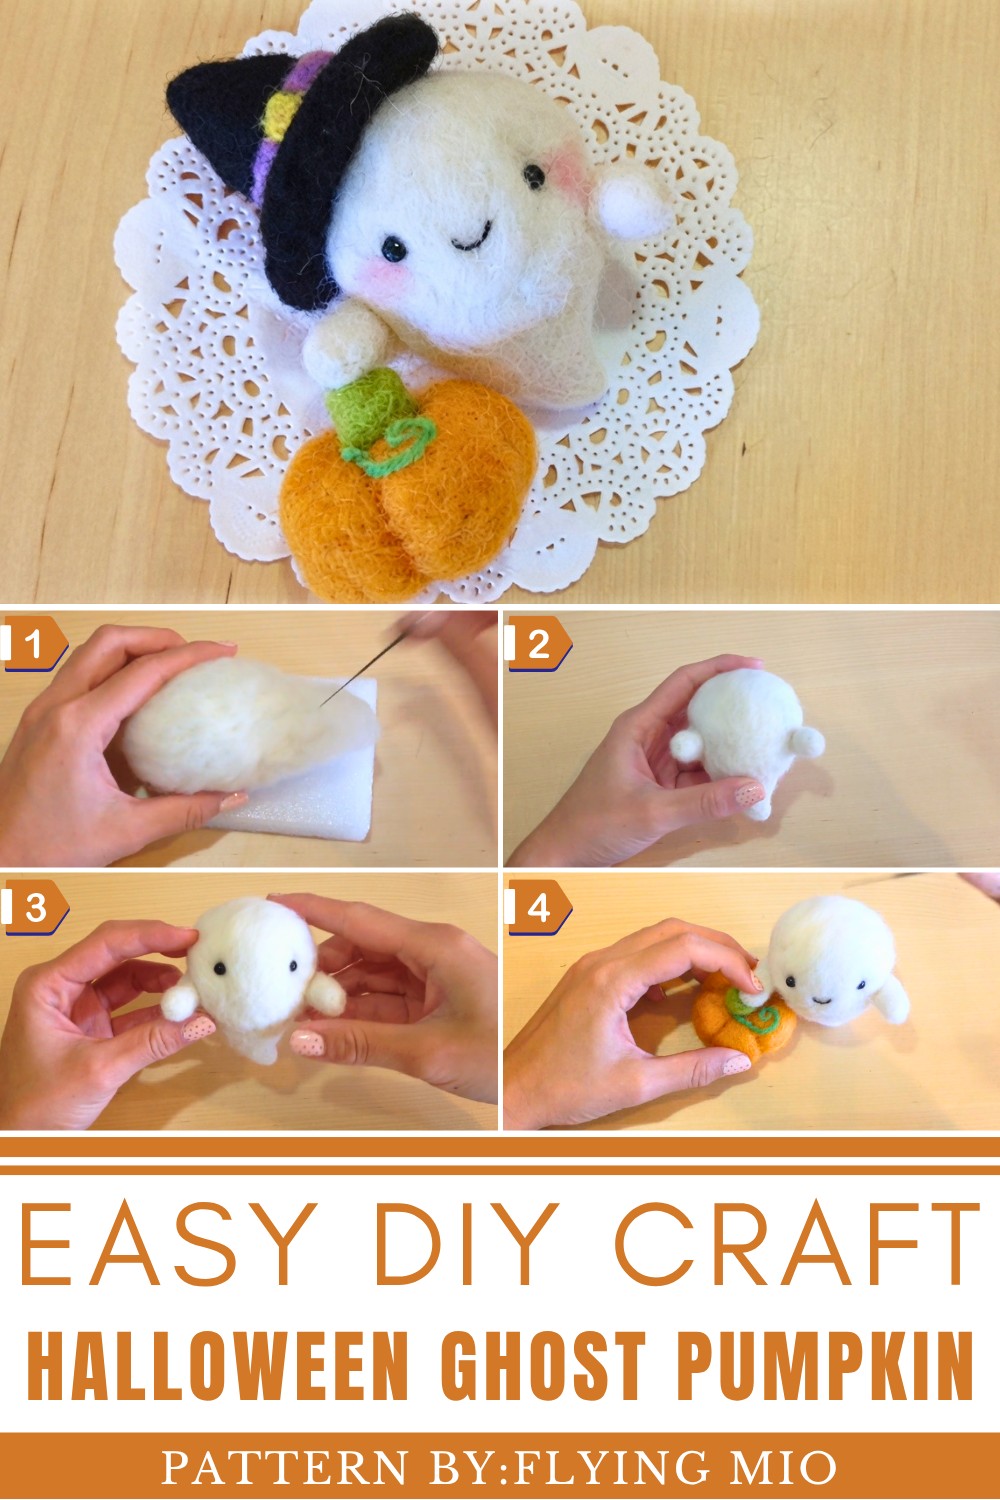
Create spooky seasonal decor with a charming DIY Halloween Ghost Pumpkin Witch Needle Felt project, perfect for adding handmade magic to your home.
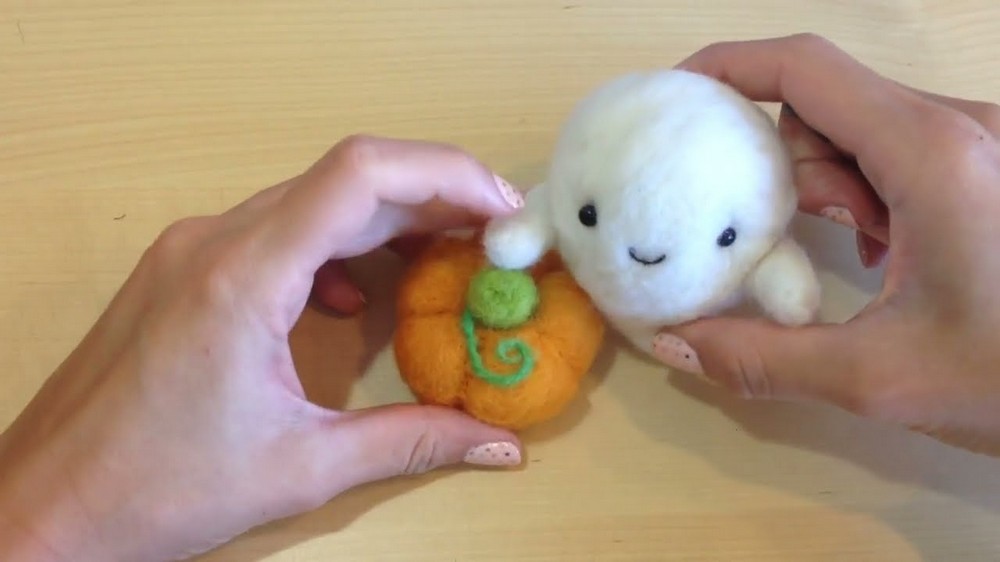
Transform your Halloween crafting into something extraordinary with this needle-felted creation that combines a friendly ghost, a charming pumpkin, and a mini witch’s hat. Perfect for seasonal decorations or as a unique wearable accessory, this project has a whimsical appeal that’s hard to resist. Whether you want to brighten up your home, give a handmade gift, or craft something spooky and fun, this delightful DIY project can bring joy to your Halloween festivities.
DIY Halloween Ghost Pumpkin With Needle Felt - Easy Guide
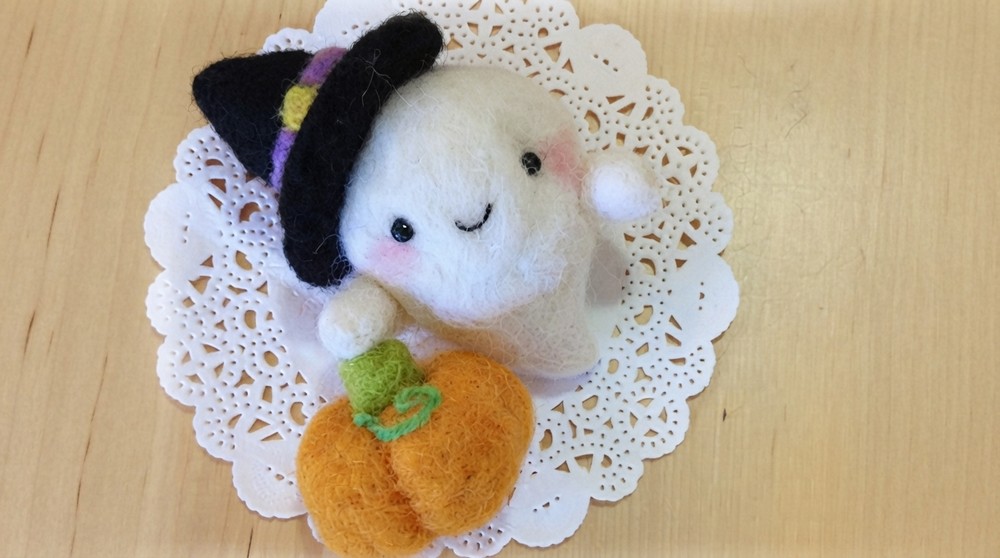
The styling possibilities are endless! You can make your ghost wave its arms in playful poses, sculpt a realistic vine for the pumpkin, or add bold accents to the witch’s hat, such as colorful ribbons or spooky sparkles. Even better, you can customize their size to adapt them as decorations for your desk, mantelpiece, or even your costume. With needle felting, you’ll experience the rewarding process of turning soft wool fibers into adorable, solid shapes that become keepsakes.
About Crafter!
This craft is beginner-friendly yet allows room for creativity. It’s a relaxing activity that lets you embrace the spooky season while adding your own artistic flair. If you're feeling inspired, head over to Flying Mio’s YouTube channel for a step-by-step tutorial (watch it here). Full credit to her for teaching the techniques and making this project accessible and fun for all! Bring your Halloween spirit to life—one felted character at a time.
Needle-Felted Ghost
Phase 1: Materials Needed
To get started, gather these essentials:
- Needle Felting Tools:
- Felting Needles: Specifically designed for needle felting.
- Foam Block or Sponge: For a safe and stable surface while felting.
- Felting Wool:
- White (for the ghost), black, orange (for the pumpkin), green, light pink (for blush), purple, and yellow (for details).
- Pillow Stuffing/Cotton: To save on felting wool (optional).
- Animal Eyes: Small craft eyes for the ghost (or substitute with polymer clay or felt pieces).
- Super Glue or Hot Glue: For attaching accessories or making it wearable.
- Bobby Pins or Hair Clips: If you want the ghost to sit on your shoulder.
Phase 2: Crafting the Ghost Body
Step 1: Form the Base
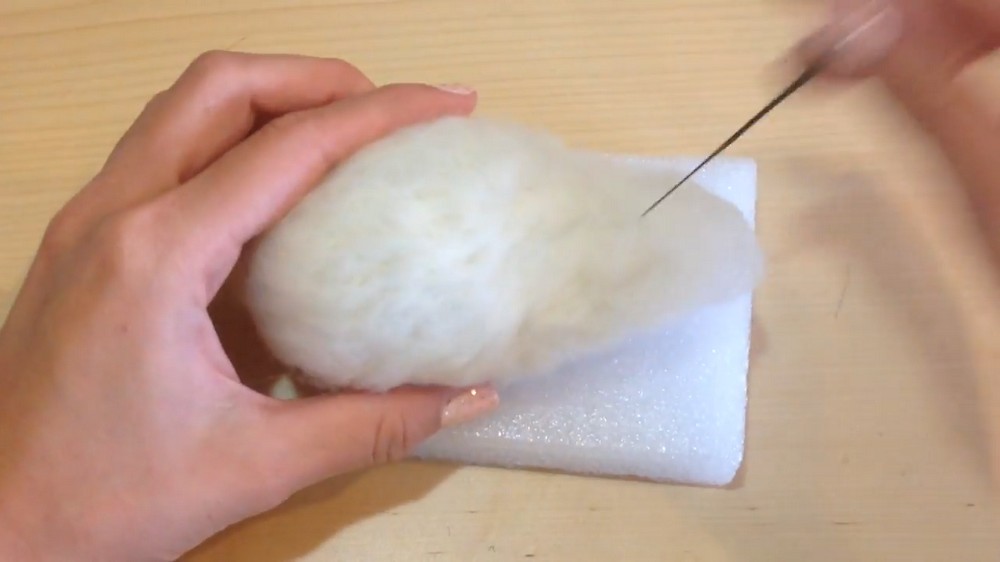
- Take some pillow stuffing or cotton and shape it into a teardrop shape (this will be the core of the ghost).
- Wrap white felting wool around the cotton to cover it completely.
- Use your felting needle to poke all over the wool to compact and shape it into a solid teardrop.
- The more you poke, the tighter and more solid the wool becomes.
Step 2: Add Arms
- Roll small pieces of white wool into two tiny cylinder shapes for the arms.
- Use your needle to shape each arm until firm. Be gentle to avoid reshaping the arms too much.
- Attach the arms to the ghost’s sides by poking directly where they meet the body.
- To make the bond stronger, poke repeatedly at the joint where the wool connects.
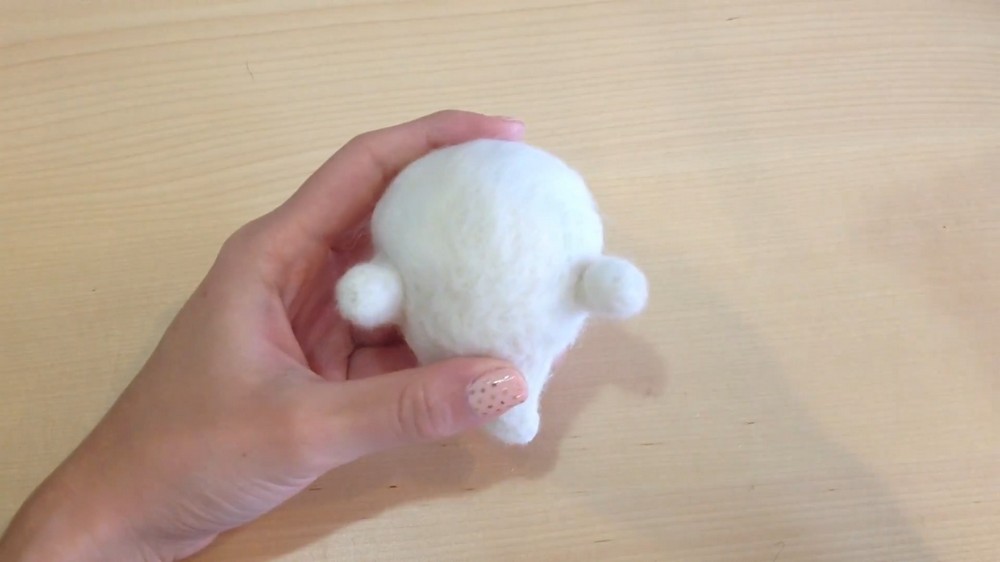
Tip: Position the arms however you like—forward (like saying "boo") or one up and one down.
Step 3: Add Facial Features
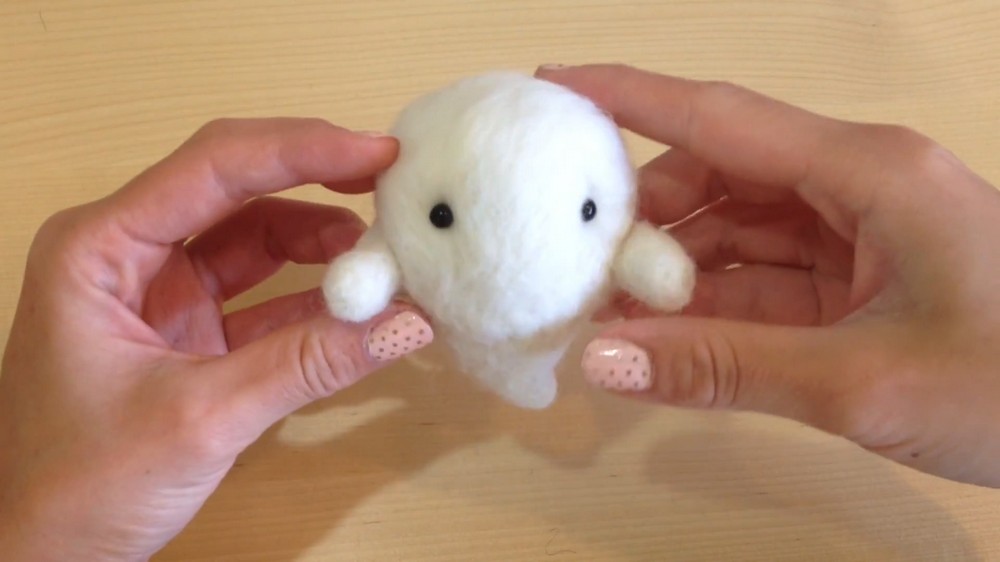
- Decide where to place the eyes and mouth:
- Use your felting needle to gently poke the spots where the eyes will go for precise placement.
- Insert the animal eyes and secure them either by pushing them into the ghost or carefully gluing them in place.
- For the mouth:
- Roll a thin strip of black wool between your fingers until it forms a thread-like shape.
- Needle felt the black wool gently to shape into a smile (or a frown or “O”-shape for a spooky expression).
- Optional: Add blush by gently felting small pieces of pink wool under the eyes.
Phase 3: Making the Pumpkin
Step 1: Form the Pumpkin
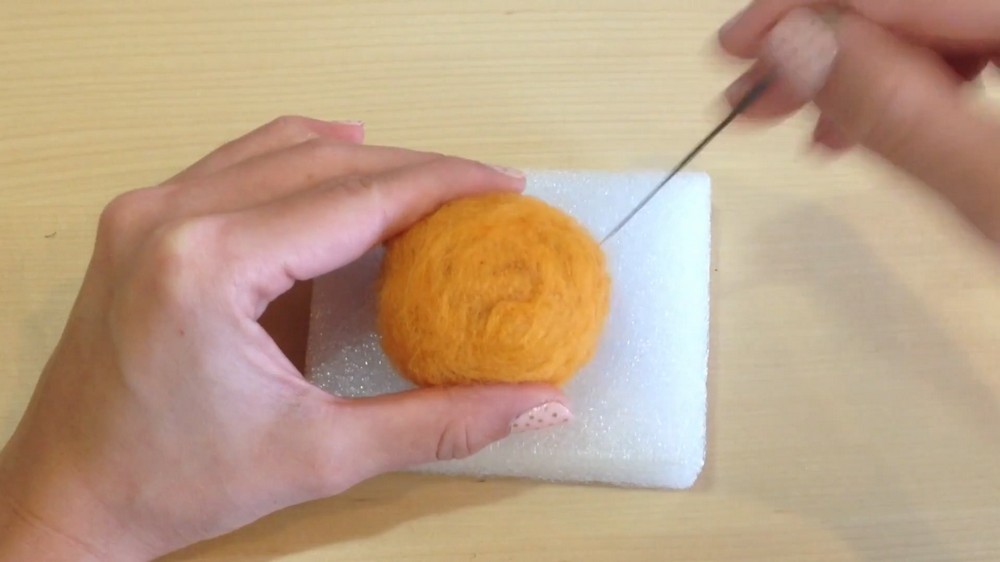
- Roll orange felting wool into a ball.
- Use your felting needle to poke all over the wool until you have a dense, round sphere.
Step 2: Add Details
- Make the stem:
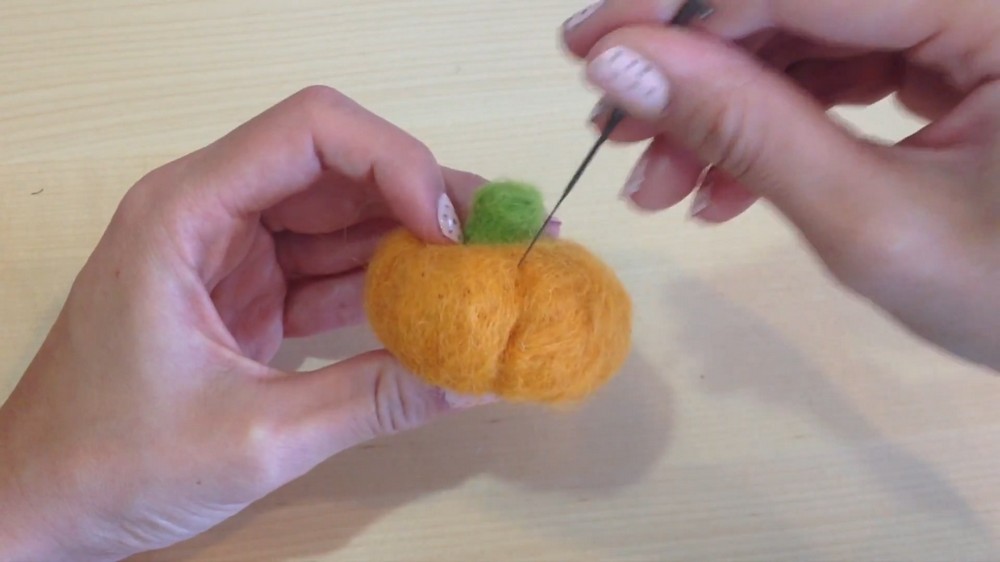
- Roll a small piece of green wool into a short cylinder and felt it until firm.
- Attach the cylinder to the top of the pumpkin using your needle, poking at the base of the stem to secure it to the pumpkin.
- Create the ridges:
- Use your needle to poke lines all around the pumpkin at 1-inch intervals to create the grooves.
- Add a vine:
- Roll dark green wool into a thin thread, curl it into a vine-like spiral, and felt it to the side of the pumpkin.
Step 3: Attach the Pumpkin to the Ghost
- Decide where to place your pumpkin (e.g., beside the ghost or under its hand).
- Felt the pumpkin into place by poking gently until secure.
Phase 4: Crafting the Witch Hat
Step 1: Make the Cone Top
- Roll some black wool into a cylinder shape.
- Gradually poke one end of the cylinder until it forms a cone shape.
- Rotate the piece as you felt to create a sharp, even point.
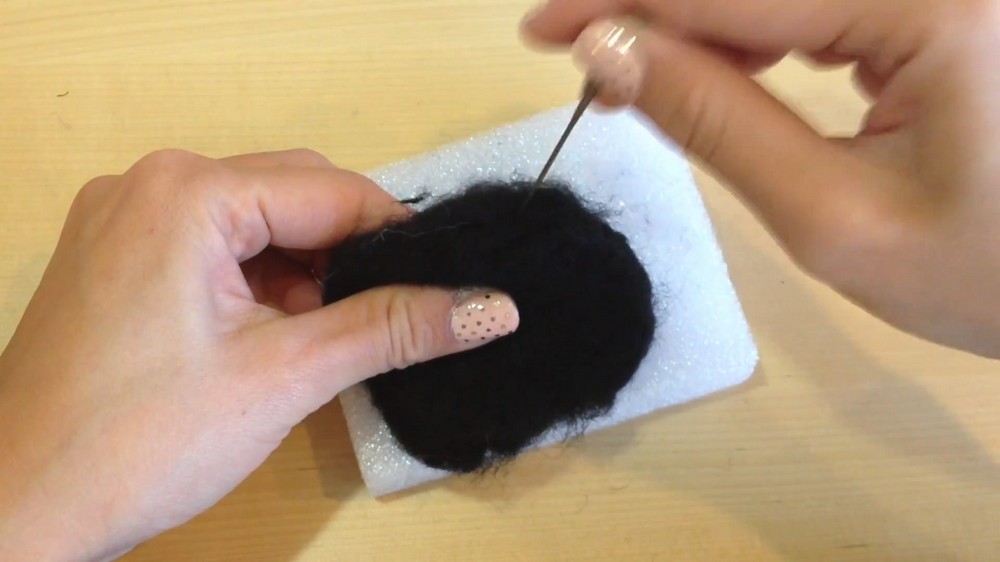
Step 2: Make the Flat Base
- Take a chunk of black wool, flatten it by needle felting until you create a thin, even sheet.
- Shape the sheet into a circle:
- Felt the corners to curve them inward and smooth out the edges.
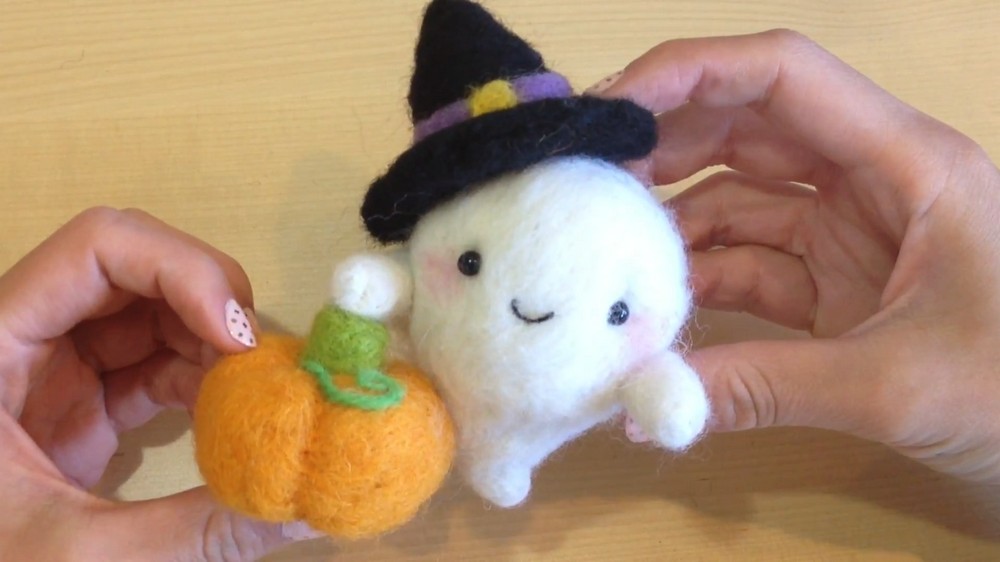
Step 3: Assemble the Hat
- Attach the cone to the center of the circular base using your needle.
- Poke the base of the cone into the center of the circle until they are fully bonded.
- Add embellishments:
- Use purple wool to make a long, thin strip for a ribbon around the hat’s base. Felt it onto the hat.
- Add a yellow accent to the center of the purple ribbon or anywhere you like for extra detail.
Phase 5: Putting It All Together
Step 1: Attach the Hat
- Position the witch hat on the ghost’s head.
- Felt the base down with gentle pokes until secure. Be sure not to distort the ghost’s head shape.
Step 2: Final Touches
- Add any extra details you want—like more blush, vines, or patterns on the hat.
- Enjoy your finished ghost as a decoration or gift.
Phase 6: Making It Wearable (Optional)
Step 1: Prepare Bobby Pin or Hair Clip
- Take two bobby pins or a hair clip. Superglue their ends together for extra stability.
- Make sure the bobby pins/hair clip have an open slot to slide onto your shirt.
Step 2: Attach the Ghost
- When your ghost and pumpkin are complete, glue the bobby pins (or clips) securely to the bottom of the ghost using hot glue or super glue.
- Position the ghost on your shoulder by sliding the pins through your shirt.
Crafting Tips
- Be patient! Needle felting takes time, but the process is very forgiving.
- Careful with the needle:
- Felting needles are sharp! Work slowly to avoid poking yourself.
- Use references:
- Look at a picture of a ghost, pumpkin, or witch hat for inspiration.
Additional Ideas
- Customize:
- Use different colors or styles for the hat, blush, and pumpkin.
- Seasonal Accessories:
- Add bat wings, stars, or other Halloween-themed decorations to your ghost.
- Explore More:
- Use this method to make other cute felted characters like bats, cats, or candy corns.