Try this DIY Polymer Clay Fish project, a cheerful and beginner-friendly craft idea to design cute fish that are fun for all ages.
Have you ever wanted to make a cute little ocean friend right at home? Thanks to the amazing YouTube channel Drawings In Action, you can learn exactly how to do that. All the credit for the lovely tutorial and design goes to this talented creator for sharing such a fun DIY Polymer Clay Fish Project. It is a wonderful way to bring a tiny part of the sea to your desk or room. Building something beautiful with your own hands is always a joy, and this activity is perfect for anyone looking to relax and be creative.
Quick DIY Polymer Clay Fish Project For A Relaxing Afternoon
It is basically a fun activity where you shape soft, colorful material into an adorable little swimming creature. You start by rolling and lightly pressing the pieces together, carefully adding small details for the fins, eyes, and tail. Reading about it is so interesting because you get to see how a plain lump of material safely changes into a bright, smiling pet that never needs to be fed. You will love discovering how basic tools from around your house can help you add scales and texture. Watching it all come together step by step feels like pure magic.
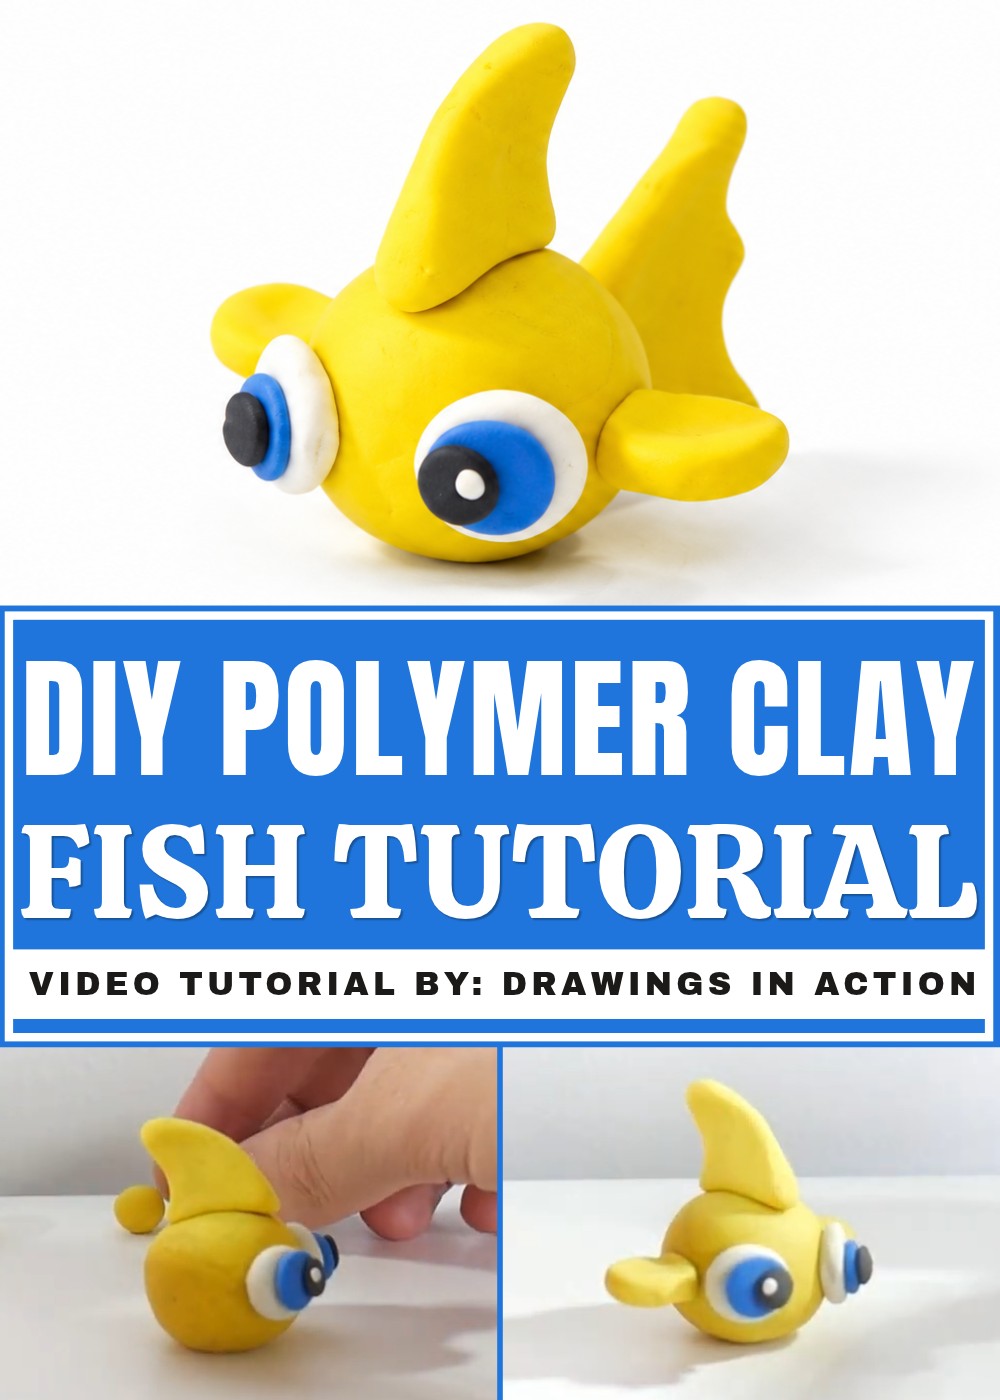
Anyone can enjoy this relaxed activity, whether you are a complete beginner or someone who shapes things all the time. It is a fantastic way to spend a quiet afternoon indoors, and the final piece is a cheering decoration you can keep or give to a friend. Learning about the process gives you wonderful ideas for mixing colors and patterns, allowing you to make each piece completely unique. Go ahead and follow this delightful idea. You will surely feel happy and proud to see the lovely swimmer you can create with just a bit of imagination.
Beautiful DIY Polymer Clay Fish Project
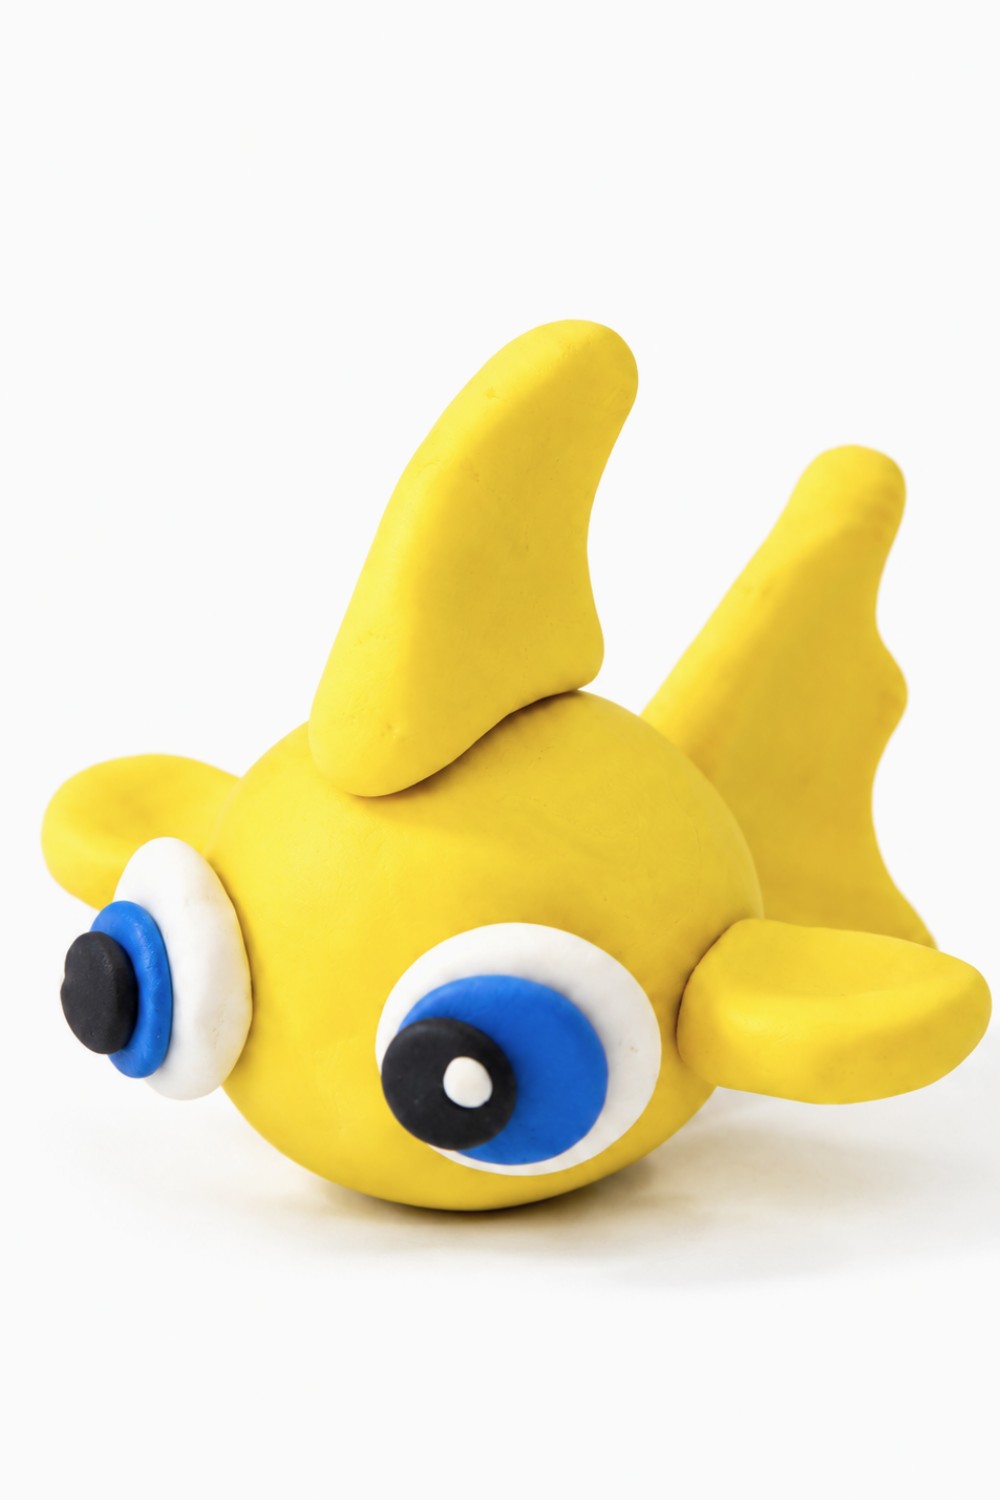
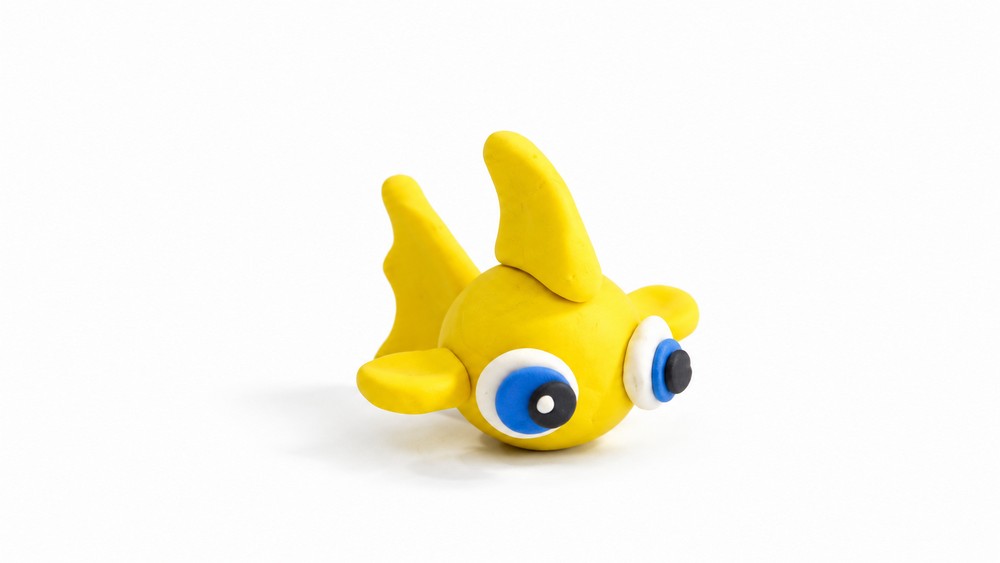
This step-by-step tutorial will guide you through the process of making an adorable and colorful clay fish. The fish features a vibrant yellow body, expressive eyes with detailed highlights, a trident-shaped tail fin, and creatively shaped fins that bring it to life. Using yellow, white, blue, and black clay, this project offers an enjoyable hands-on activity that is both beginner-friendly and fun for all ages. By following simple techniques like shaping balls, flattening pieces, and creating unique forms, you’ll assemble a charming fish with clear instructions for every part. Let’s dive into this exciting project and create your own clay fish!
Materials and Tools
Materials
- Yellow clay: For the body, fins, and tail.
- White clay: For the eyes.
- Blue clay: For the pupils.
- Black clay: For the pupils and eye highlights.
Tools
- Your hands: For rolling, flattening, and shaping the clay.
- No additional tools are required for this simple project.
Full Instructions
Preparing the Clay
Divide the Clay into Balls
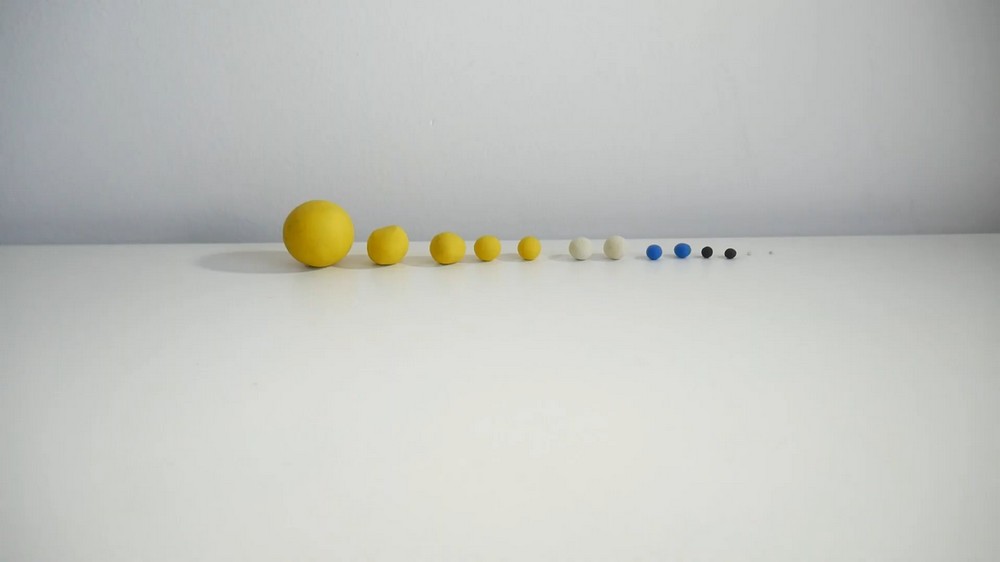
- Roll the clay into balls of various colors and sizes:
- Yellow clay:
- One large ball for the body and face.
- One small ball for the dorsal fin.
- Two small balls for the side fins.
- One large ball for the trident-shaped tail fin.
- White clay: Two small balls for the eyes.
- Blue clay: Two slightly smaller balls for the pupils.
- Black clay:
- Two tiny balls for the pupils.
- Two even tinier balls for the eye highlights.
- Yellow clay:
- Make sure the clay balls are smooth and evenly shaped. Proper preparation at this stage will make the assembly process easier and more precise.
Shaping the Fish’s Body
Form the Body
- Take the largest yellow ball and position it at the center of your workspace.
- Use your hands to smooth and shape the ball into a rounded oval form.
- This oval will serve as the body and face of the fish.
Adding Details to the Eyes
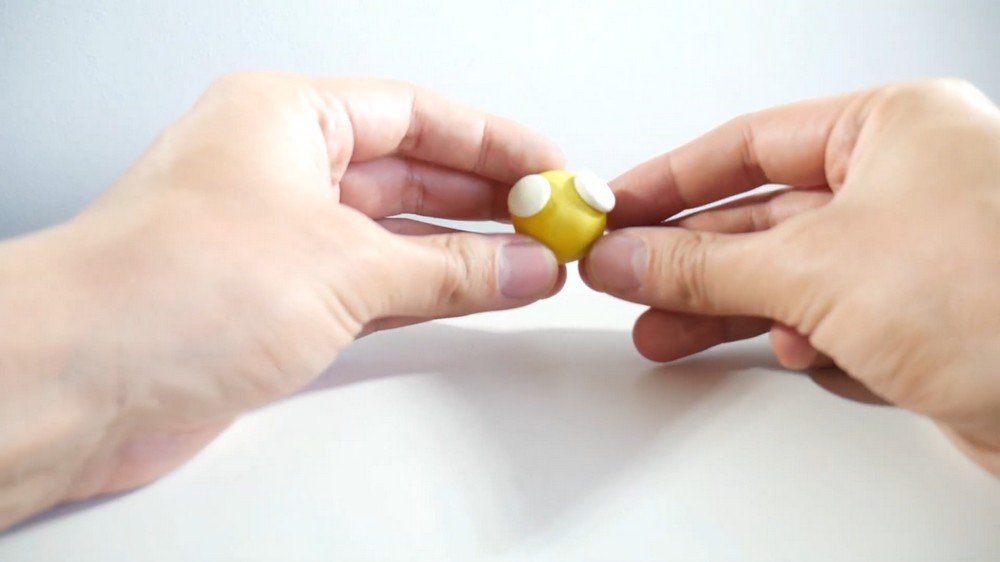
Attach the White Base for the Eyes
- Take the two white balls and place them on the front side of the yellow body, positioned symmetrically for balance.
- These balls will serve as the base of the fish’s eyes.
Add the Blue Pupils
- Take the two blue balls and attach one to the center of each white base.
- Press gently to ensure the blue pupils are securely fixed without flattening them entirely.
Add the Black Pupils
- Take the two tiny black balls and place each one on top of the blue pupils to form the fish’s pupils.
- Position them carefully to create the desired expression.
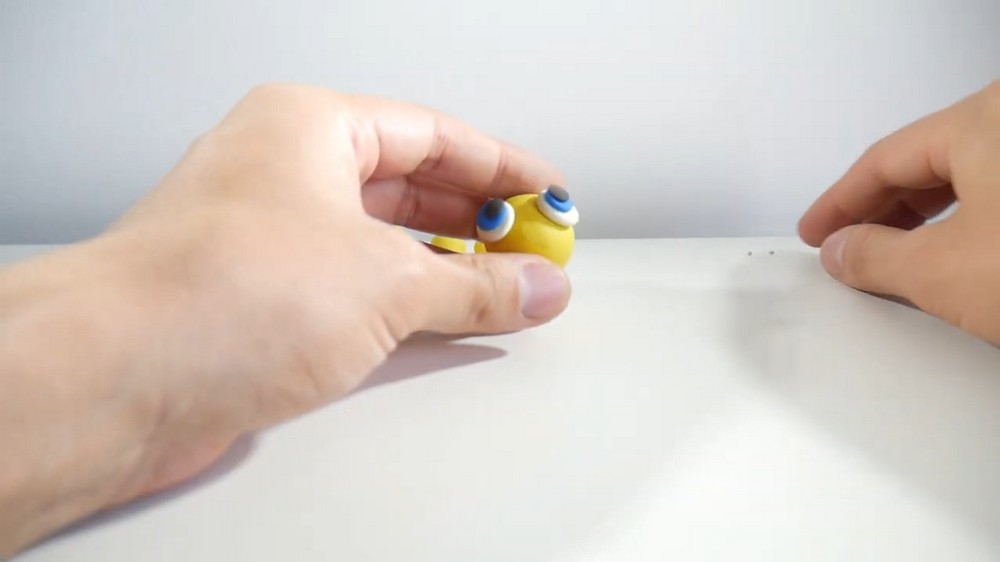
Adding the Highlight to the Eyes
- Finally, take the two even tinier white balls and place them on the black pupils.
- This detail adds a sparkling highlight, which brings life to the fish’s eyes.
Creating the Fins
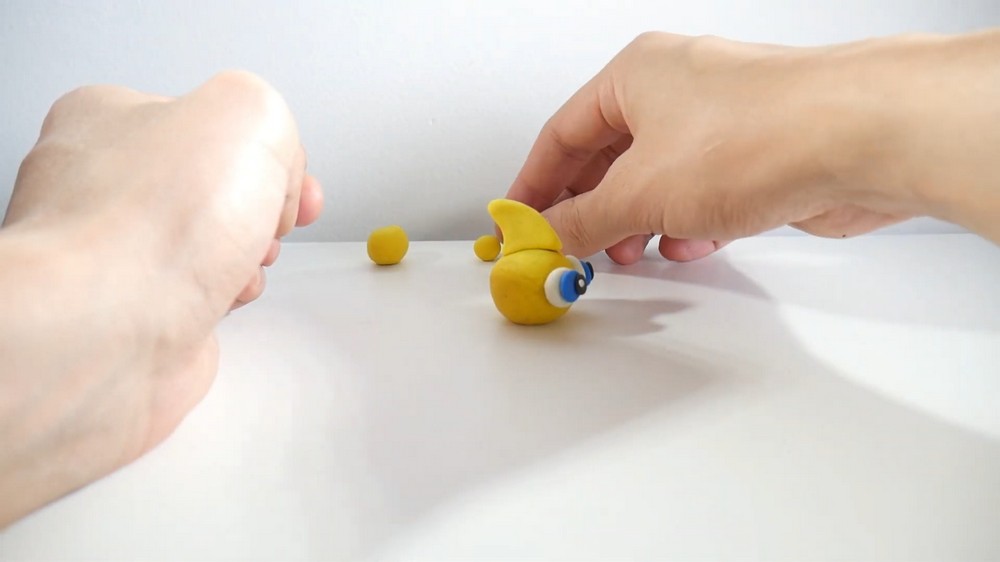
Make the Dorsal Fin
- Take a small yellow ball and shape it into a triangular form as shown in the video.
- Smooth the edges and define the triangle to ensure it looks clean and precise.
- Attach the dorsal fin on the top center of the fish’s body, pressing gently to secure it.
- Make sure the fin is positioned straight and central for symmetry.
Make the Side Fins
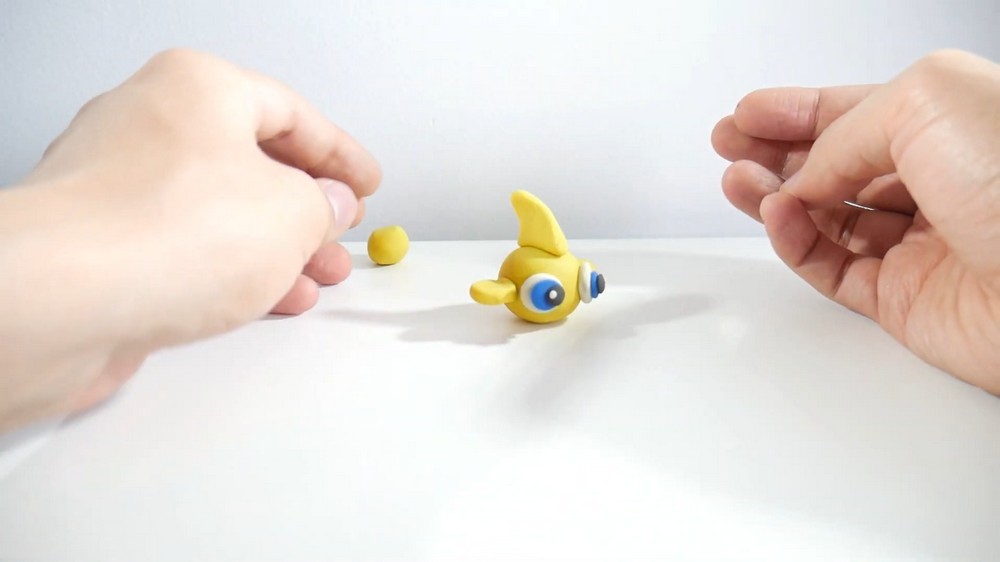
- Take the two small yellow balls and shape each into a flattened teardrop.
- The teardrop shape should have one rounded end and one pointed end.
- Attach one side fin to the right side and the other to the left side of the fish’s body.
- Place them evenly and position them slightly below the dorsal fin for a natural look.
Crafting the Tail Fin
Form the Tail
- Take the large yellow ball reserved for the tail fin and shape it into a flattened triangle.
- Once the triangle is formed, carefully pull out three points from the wider side of the shape to create a trident design.
- Ensure the three points are evenly spaced and well-defined to achieve a symmetrical look.
Attach the Tail
- Position the trident-shaped tail fin at the back of the fish, aligning it with the body.
- Press gently and make sure the tail is securely attached to the yellow body.
Final Adjustments
Inspect the Fish
- Rotate your fish and inspect it from all sides. Ensure that:
- The eyes are aligned and balanced, with no pieces misaligned.
- The dorsal fin is straight and centered.
- The side fins are symmetrical and evenly positioned on either side of the body.
- The tail fin is well-shaped and securely attached.
Smooth the Surface
- Use your fingers to gently smooth out any fingerprints or uneven areas on the clay.
- Pay special attention to the joints between the fins and the body to make them look seamless.
Conclusion
Your clay fish is now complete! With its vibrant yellow body, expressive eyes, detailed fins, and trident-shaped tail, this project is both eye-catching and simple to make. The step-by-step approach ensures that even beginners can achieve a polished and delightful result.
This clay fish can be displayed as a handmade decoration, gifted to someone special, or added to a collection of clay creations. The use of basic shapes and minimal tools makes this activity fun and accessible while providing opportunities to practice foundational modeling techniques like shaping, flattening, and assembling. Take pride in your work and consider creating additional fish with different colors or designs to expand your handmade collection.