Learn how to craft an adorable DIY Polymer Clay Frog and Pea-Pod with this easy guide to create playful figures for decor, gifts, or personal projects.
Crafting small animals and nature-inspired designs is a delightful way to get creative, and adding frogs and pea-pods to the mix brings a playful touch to your project. This idea is simple yet so charming, making it suitable for anyone who loves cute decorations or unique handmade gifts. Whether you're crafting for fun or looking for something special to brighten up your space, these designs are sure to bring a smile to your face.
DIY Polymer Clay Frog & Pea Pod Design for Fun Handmade Projects
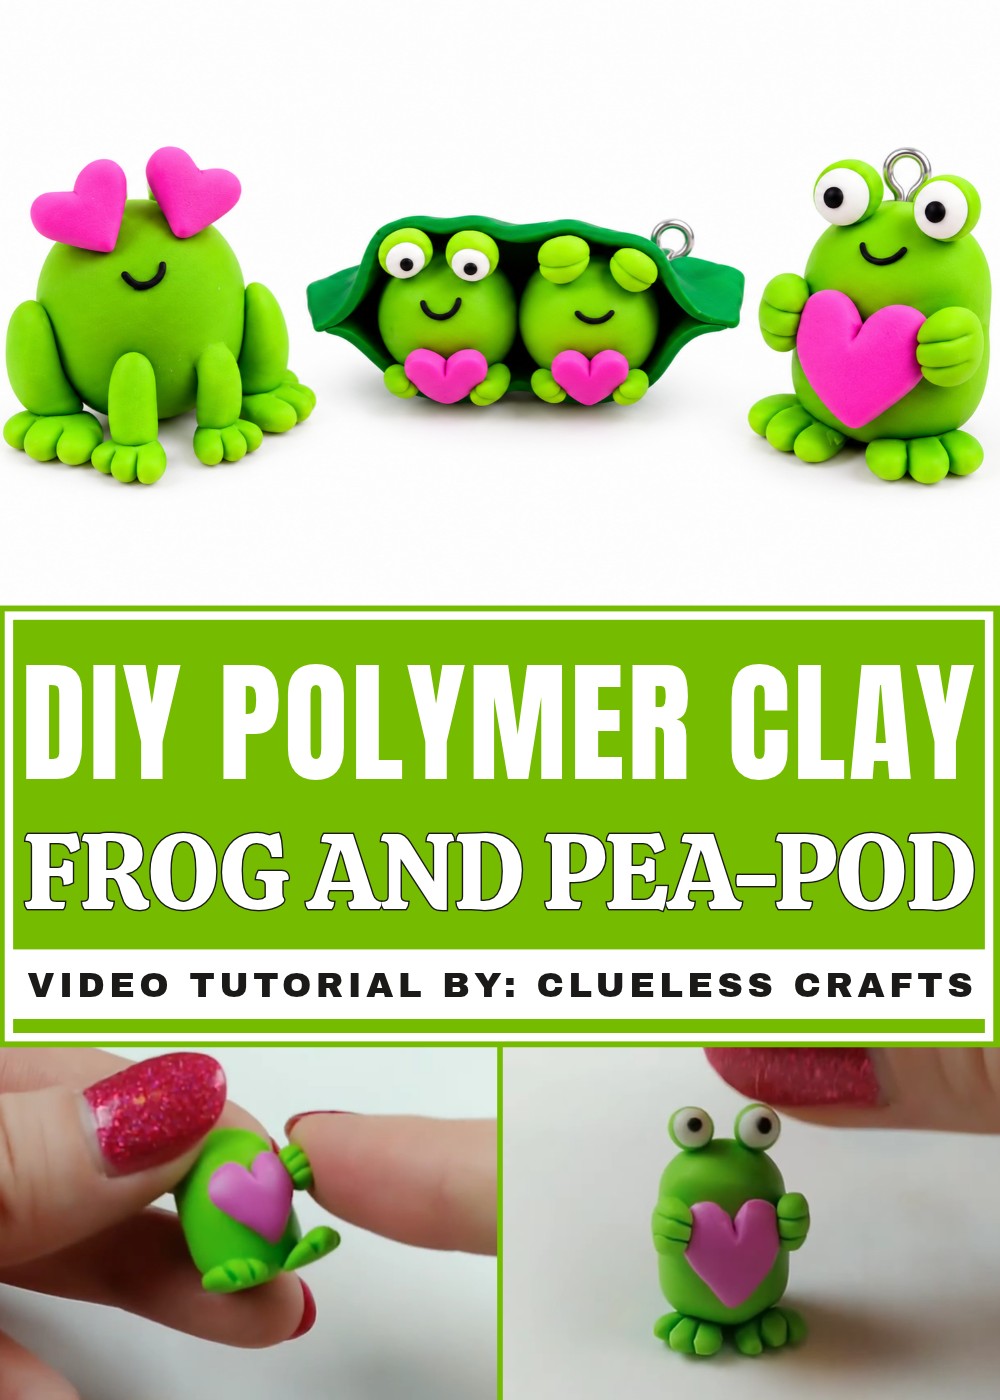
The tiny frog, with its cheerful face, and the peas nestled inside their pod are perfect for adding a quirky, nature-inspired vibe. You can display them on your desk, use them as part of a centerpiece, or even turn them into keychains or small gifts. The combination of animal and plant designs is appealing and versatile, making it a great project for kids, beginners, or anyone who enjoys creating with vivid colors and simple techniques.
Using clay to create these adorable characters gives you so many options to personalize the designs. Whether the frog has big, happy eyes or the pea-pod is designed to look extra playful, each piece can reflect your unique style. These fun and friendly decorations are easy to make, enjoyable to share, and add a bit of whimsy wherever they go. It’s a charming little project that’s perfect for any crafting enthusiast.
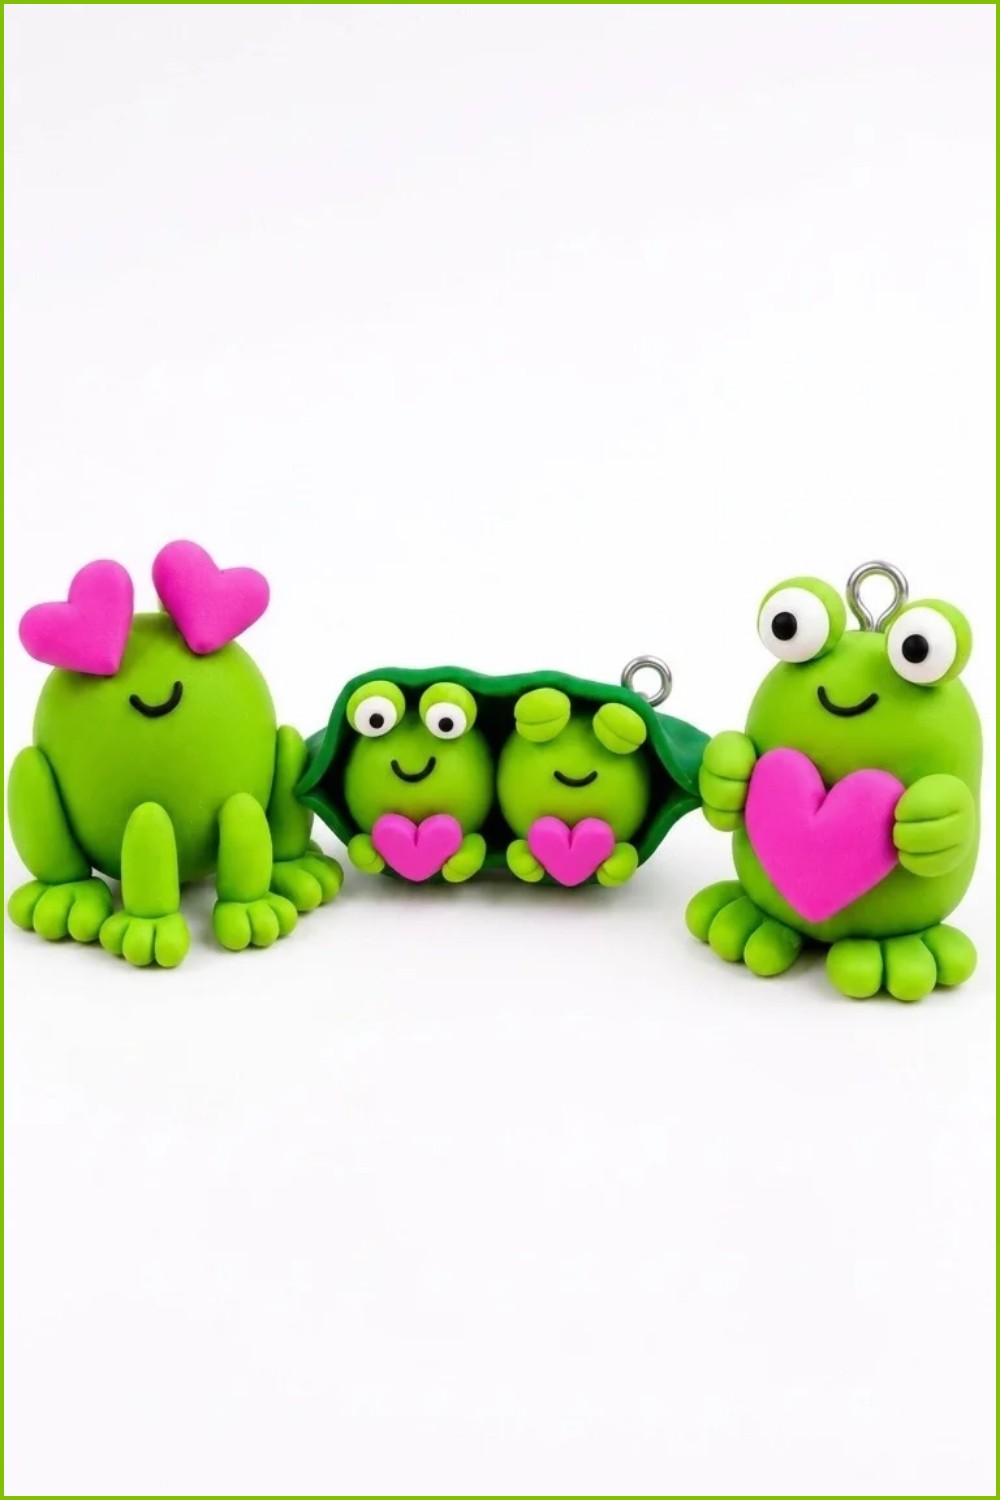
Valentine Froggy Charms — Beginner‑Friendly Step‑by‑Step Guide
This guide is written for beginners. Follow each small step slowly. Work on a clean surface and have all tools ready before you start.
What you will make
- 3 charm designs:
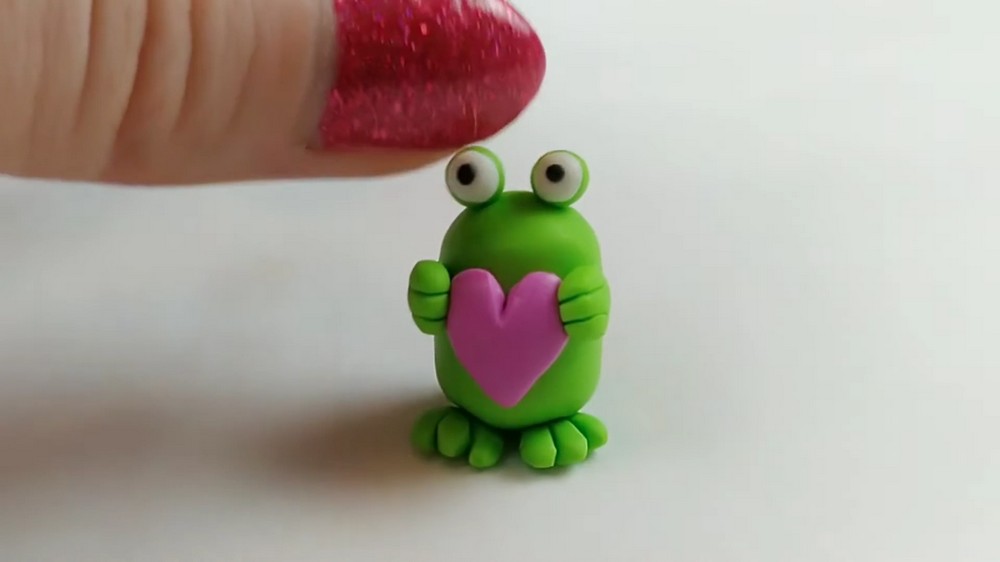
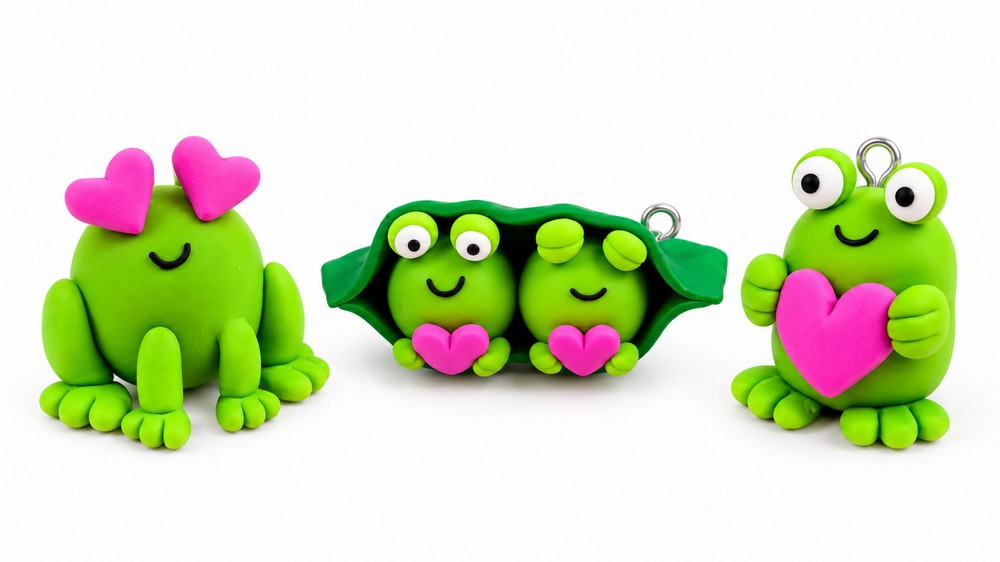
- Heart‑belly frog
- Leggy frog with two hearts
- Two frogs in a pod (peas‑in‑a‑pod)
Supplies & Tools
- Polymer clay: green (light and dark or variations), bright pink, white, black
- Eye pins (for turning charms into pendants)
- Needle or thin pin (to pre‑poke holes)
- Liquid Sculpey or liquid clay (for securing pins and sticking baked to raw clay)
- Blade / craft knife
- Silicone tool or toothpick for smoothing
- Small sculpting tools (optional)
- Oven (and baking tray) — follow your clay brand’s baking instructions
- Optional: roller, tweezers, small scissors
Important: Follow your polymer clay manufacturer’s baking temperature and time. A common guideline is about 265°F (130°C) for 15–30 minutes per ¼ in. (6 mm) thickness, but check your package.
Prep — What to do first
- Condition (knead) each clay color until soft and workable.
- Decide approximate sizes: frog body (largest), feet/hands (smaller), hearts (tiny).
- Have eye pins and needle ready. Pre‑poke holes just before inserting pins.
1) Heart‑Belly Frog — Easy Version
Body
- Roll a green ball and shape it into an oval — this is the frog body.
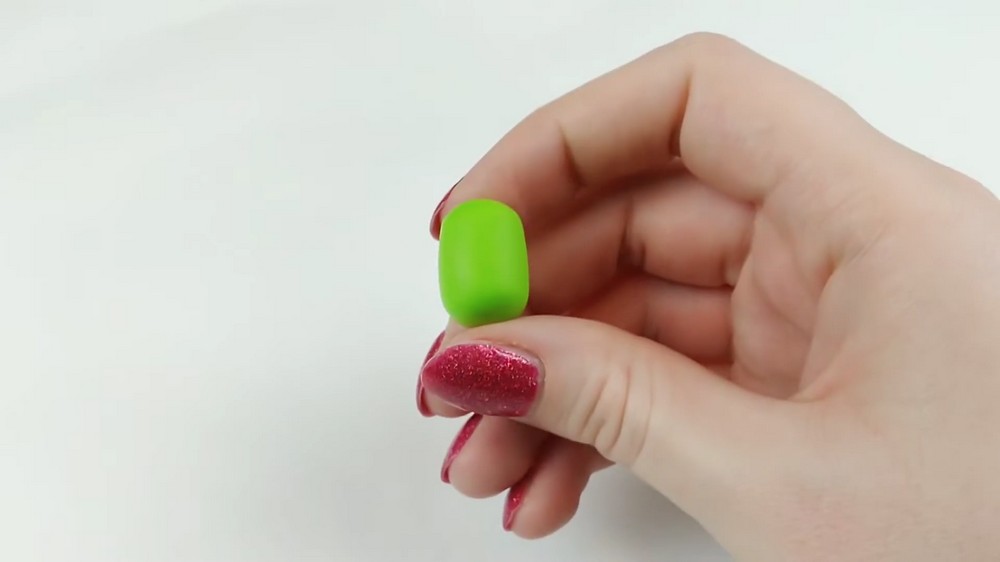
Hind Feet
- Roll two smaller green balls.
- Squish each into a triangle.
- Add two toe indents and carve a short center line to define toes.
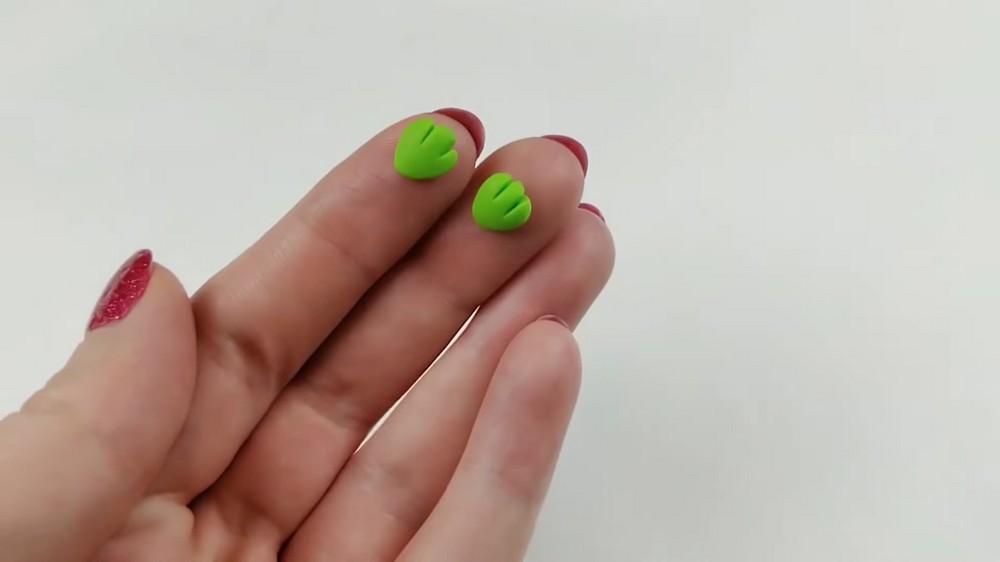
Front Feet / Hands
- Make two even smaller triangular feet the same way (these are the front feet).
Eyes
- For each eye: roll a small green ball, press a small white piece on top and smooth the seam.
- Add a tiny black dot for the pupil. Smooth gently.
Heart
- Roll bright pink clay flat enough to cut.
- Cut a small triangle then trim away little bits until a heart appears.
- Use a silicone tool to smooth the edges for a soft heart shape.
- Press the heart onto the frog’s belly and smooth the join.
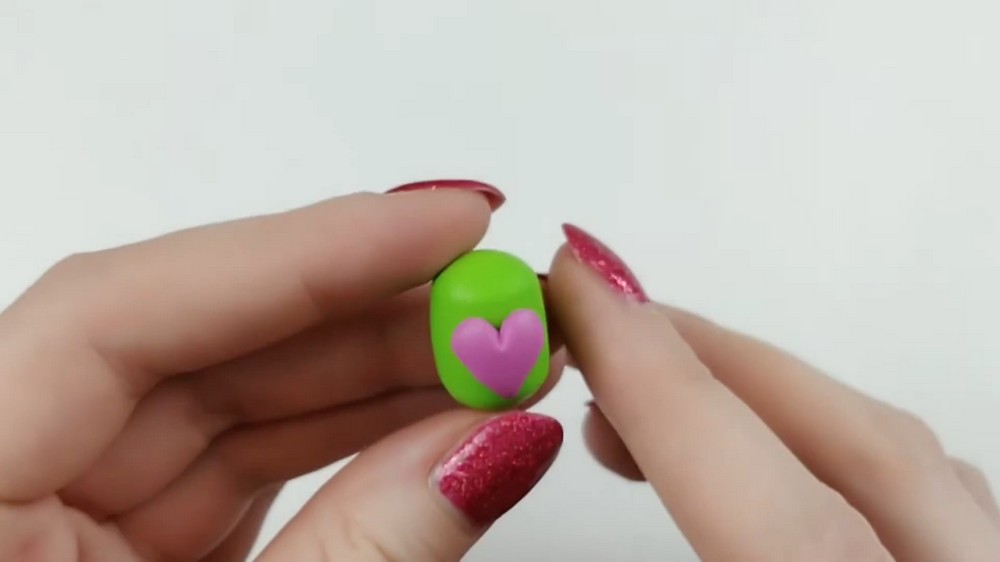
Pin & Bake
- Pre‑poke the hole where the eye pin will go with a needle.
- Put a little Liquid Sculpey on the eye pin, then insert the pin.
- Bake according to your clay’s instructions.
Tips: Be patient when shaping the heart — many tiny trims give the cleanest shape.
2) Leggier Frog — More Froglike, Two Hearts
Legs & Arms
- Roll tapered hind legs (longer logs, thinner at one end).
- Roll two smaller logs for front legs/arms.
- Make feet/hands with the same triangle + toe indent method.
Assembly
- Attach hind feet to hind legs, then attach legs to the body.
- Attach front legs and blend the ends into the body with your tool so joints look smooth.
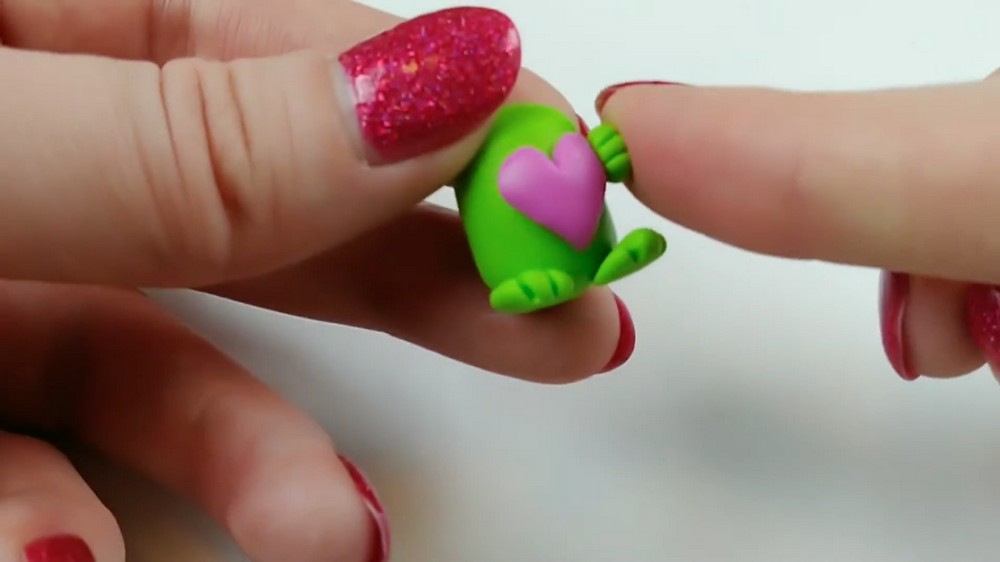
Hearts (two)
- Make two small pink hearts the same way as before (trim little bits to shape).
- To make hearts lean naturally, place a small green ball behind each eye as a support, then place the heart in front of that support.
- Adjust eye height if needed so everything lines up nicely.
Smile & Pin
- Add a small smile (shallow line) on the face.
- Pre‑poke and secure the eye pin with Liquid Sculpey, then bake per instructions.
Tip: If a heart or eye sits wrong, fix placement before baking.
3) Peas‑in‑a‑Pod Frog Pair
Base / Pod Sheet
- Roll out dark green clay thin and wide so two frogs fit, with extra overhang to wrap.
Frogs & Hearts
- Make two tiny frogs (small oval bodies) and add hearts/hands using the same methods.
- For eyes: one frog can have googly eyes (white + black pupil), the other can have sleepy closed eyes (cut a line across the eye ball with your blade).
Pod Wrapping
- Trim the green sheet so it fits snugly around the frogs.
- Curl the ends upward and press them against each frog’s outline to form the curved pod edges.
- Trim top/bottom as needed, then pinch the sides together to close the pod.
- Trim bottom corners into rounded shapes so the pod looks smooth.
Pin & Bake
- Pre‑poke the eye pin hole, add Liquid Sculpey to the pin, insert, then bake.
Tip: Work slowly when curling the pod so it fits evenly.
After Baking — Final Touches
- Let charms cool completely before handling.
- If a pin feels loose, add a tiny dot of super glue to secure.
- Lightly sand any rough edges if desired, then wipe clean.
- Optionally add a thin gloss to hearts for shine (use product safe for polymer clay).
Beginner Tips & Troubleshooting
- Pre‑poke pin holes — this keeps pins straight and easier to insert.
- Use Liquid Sculpey on pins and on any baked‑to‑raw joins — baked clay won’t stick to raw clay without it.
- For tiny pieces, don’t overwork the clay — over‑handling can make them soft and hard to shape.
- If a heart looks messy, redo it: small consistent trims make cleaner shapes.
- If something shifts while baking, remove it, reattach with liquid clay, and rebake a short cycle.