Learn how to sculpt a charming DIY Polymer Clay Mini Dragon using this easy guide and create a handmade centerpiece for decor or thoughtful gifts.
Dragons are magical creatures, and making a mini dragon out of polymer clay is a fun and creative way to bring one to life. This project is great for anyone who loves crafting or enjoys the world of fantasy. It’s a unique activity where you get to make your own tiny dragon, giving it personality and charm. Once it’s finished, your handmade dragon can brighten up your desk, shelf, or even become a thoughtful gift for someone special.
Beginner-Friendly DIY Polymer Clay Mini Dragon for Home Display
You can design your dragon in so many ways! Give it small wings, a curled-up tail, or friendly eyes, it’s totally up to your imagination. Whether you want it to look fierce or cute, colorful or simple, it’s your chance to make a mythical creature that’s one-of-a-kind. It’s small and easy to display anywhere, adding a touch of magic wherever you put it. People will love admiring a tiny dragon that you created yourself.
Using polymer clay is easy and fun. You can shape it, mold it, and add tiny details like horns or scales to bring your dragon to life. You don’t need to be an expert at crafting, it’s perfect for beginners and anyone who enjoys hands-on projects. By the time you finish, you’ll have a magical little dragon that shows off your creativity and makes you proud.
DIY Polymer Clay Mini Dragon
What Are We Making?
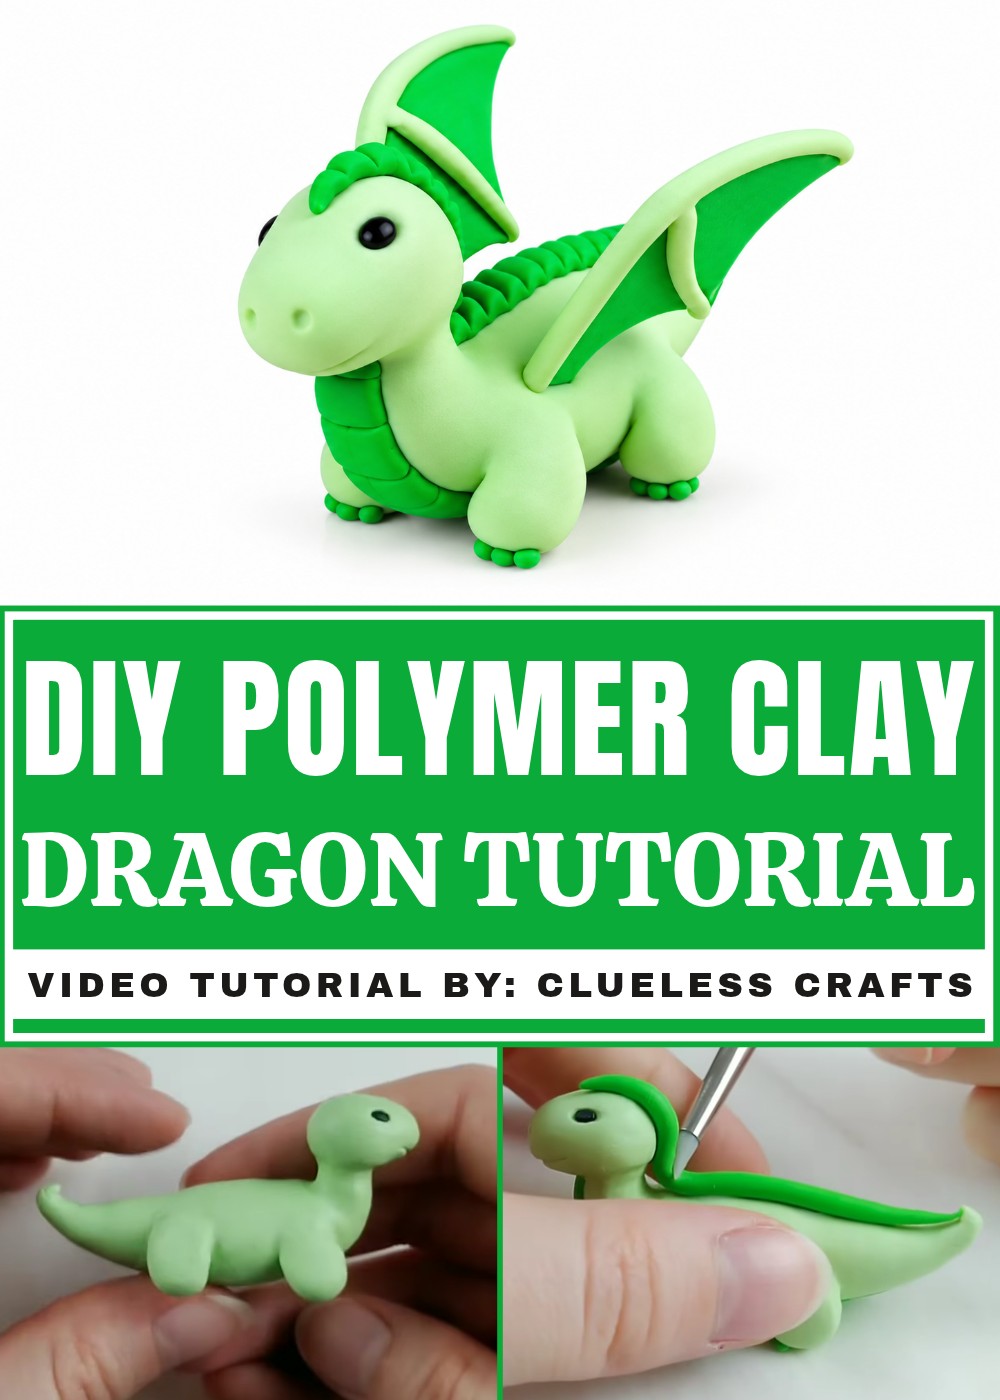
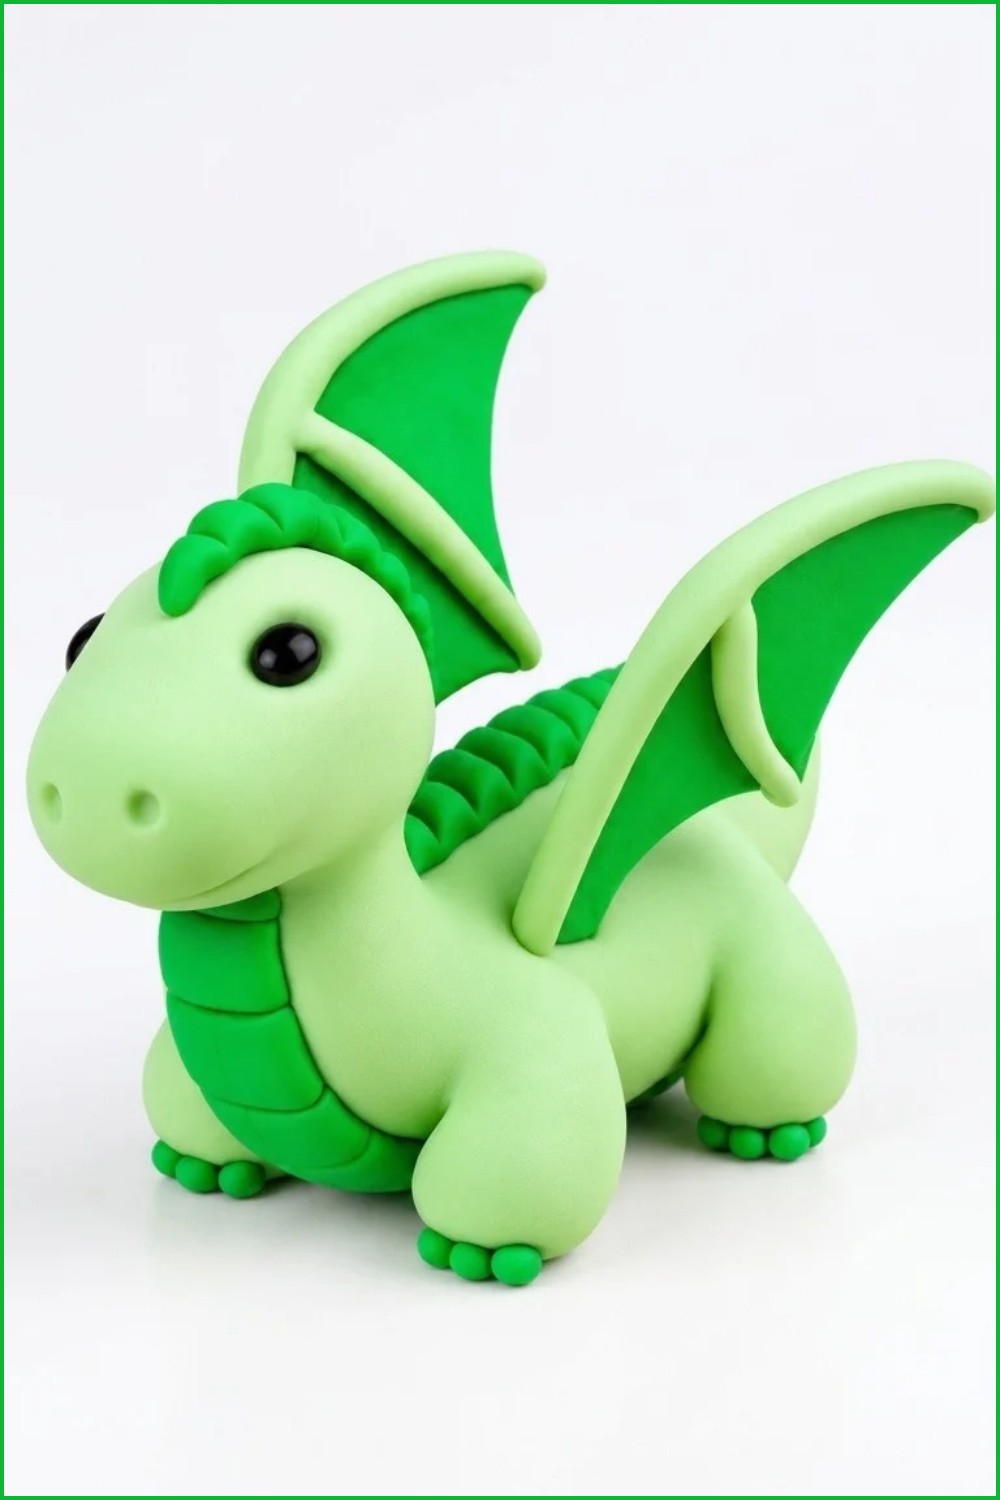
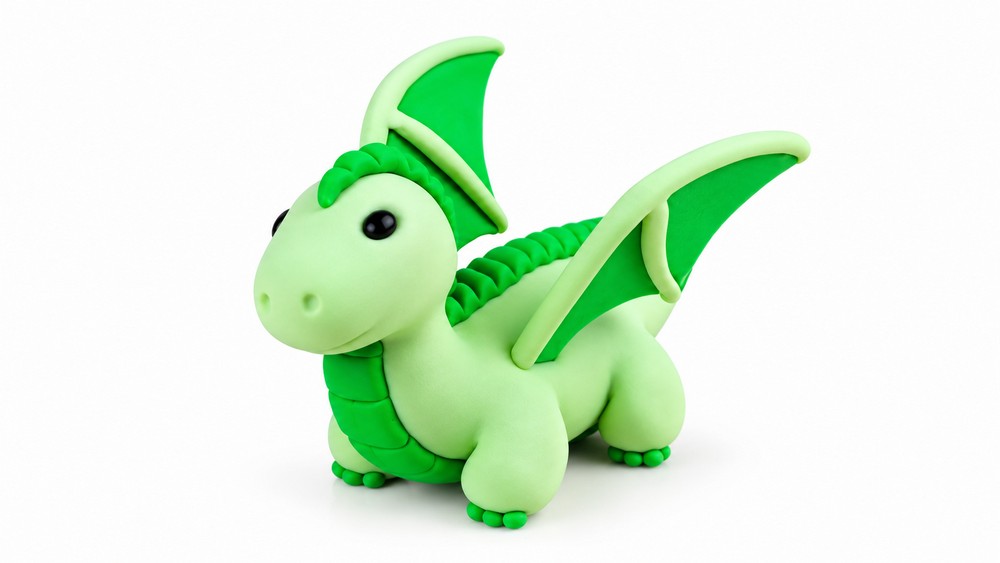
We are making three mini clay dragons. Each dragon is made from simple components: a tapered body with a raised neck and tail, a teardrop head with facial features, four legs, a contrasting belly with scales, a ridge of scales down the back, and a pair of wings with internal support/detailing.
Materials at a Glance
- Polymer clay in: green (main), dark green (details), light green (supports).
- Liquid Sculpey (or equivalent liquid clay) for bonding unbaked onto baked or for secure joins.
- Small bits of black clay (for eyes) and any other accent colors you want.
- Parchment paper (for transferring wing sheets).
- Tin foil or small scrap for supports (optional).
- Oven for baking polymer clay (follow manufacturer temps).
Tools You'll Need
- Rolling pin or smooth roller
- Ball-point and flat sculpting tools
- Blade / craft knife
- Needle tool or pin
- Silicone smoothing tool or your finger for blending
- Small cutting guide (optional)
- Small work surface and parchment for baking
Things to Know Before Starting
- Work with small amounts at a time so you can preserve detail and avoid smushing.
- If you want cleaner cuts and less squishing, briefly chill clay in the freezer before cutting.
- Use liquid Sculpey when attaching unbaked clay to already-baked pieces to ensure a solid bond.
- Pre-bake thin/delicate pieces (wings) to make them easier to attach without deformation.
- Follow your clay brand’s baking temps and times.
Let's Get Started
Step 1: Get Ready
- Lay out your chosen color set for the first dragon (green set for the first dragon).
- Prepare tools and a clean work surface with parchment.
- If you plan to make multiple dragons, pre-portion the clay colors for each dragon so the workflow is consistent.
Step 2: Make the Body (Green Dragon)
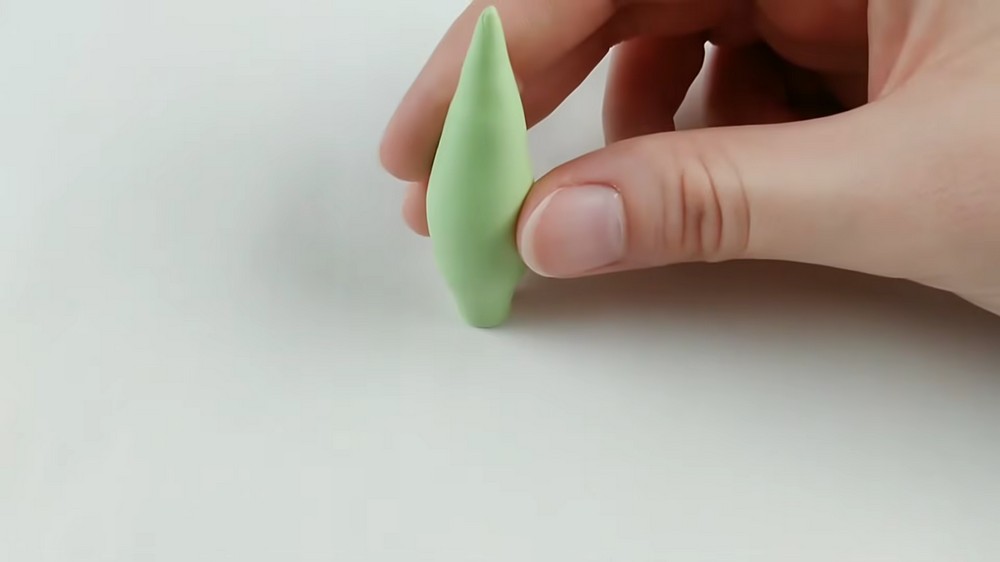
- Roll a ball of the main color clay into a log, tapering both ends.
- Taper one end to a fine point — this becomes the tail.
- Taper and flatten the opposite end to create an even flat surface for later attaching the head.
- Shape the body: bend the neck region upward slightly and curve/tip the tail upward so the dragon has a natural pose.
Step 3: Make the Head (Green Dragon)
- Roll a small ball of the main color clay and shape it into a teardrop (focus shaping on one end to form the face).
- Add indents for eyes and nostrils using a needle tool or ball-point tool.
- Use a flat sculpting tool to draw the mouth — carve a shallow line for the mouth. If you accidentally create a cheek indent, you can keep it as character (the transcript calls it a happy accident).
- Place little black balls of clay into the eye indents for pupils/eyes.
- Attach the head to the body:
- Add a bit of liquid Sculpey where the head will meet the flattened neck.
- Press the head into place and blend the seam into the neck with a ball-point or angled sculpting tool.
- Note: if the face squashes when attaching, you may want to add fine facial details after attaching in future iterations.
Step 4: Make and Attach the Legs (Green Dragon)
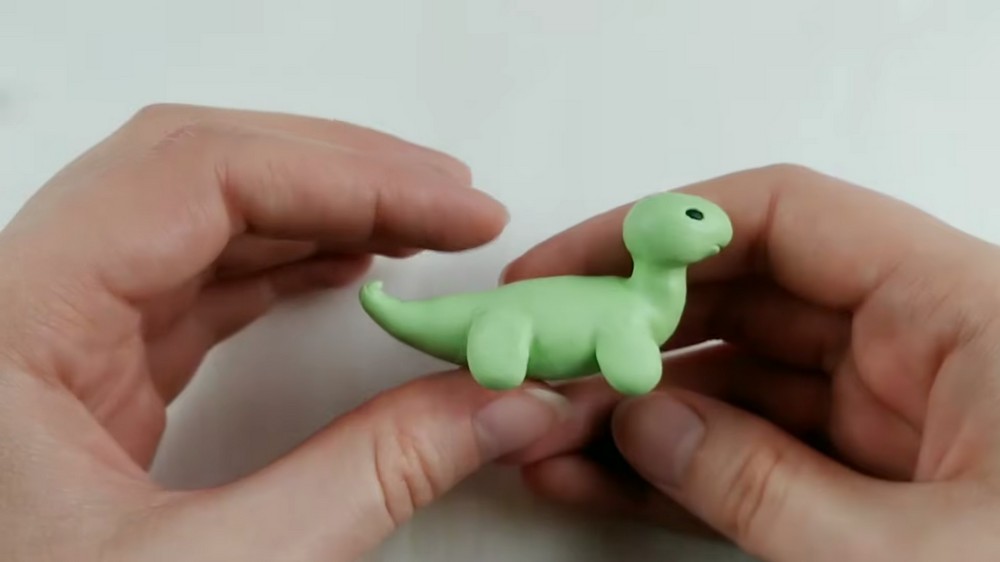
- Roll small balls of clay for the legs, then squash each into a teardrop and flatten the edge that will attach to the body — this makes gluing/blending easier.
- Position the legs (two front, two rear as desired).
- Blend each leg into the body using a silicone tool or your finger to make a smooth transition.
- Add little toes if desired by adding tiny bumps of clay on the flattened ends.
Step 5: Add the Belly Panel and Scales
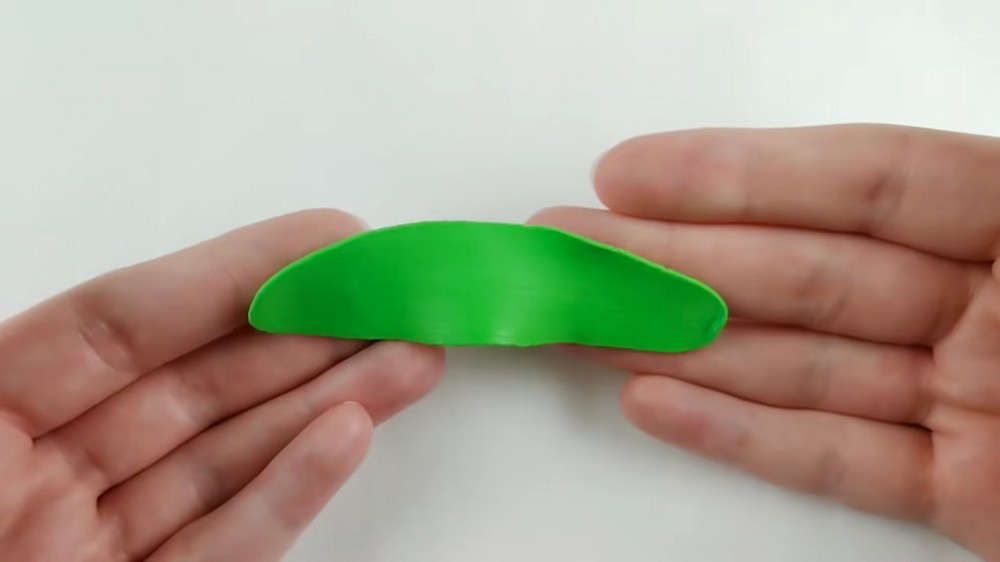
- Flatten a piece of darker green clay for the belly panel.
- Use the dragon body as a guide to estimate and cut the belly panel length and shape.
- Cut the belly shape with a blade and place it onto the underside of the dragon.
- Add texture/scales to the belly: use a blade or flat-edge tool to cut or score scale-like marks on the belly piece.
- Adhere the belly using a touch of liquid Sculpey and press/flatten into place with a flat tool.
Step 6: Make the Back Ridge / Scales Row
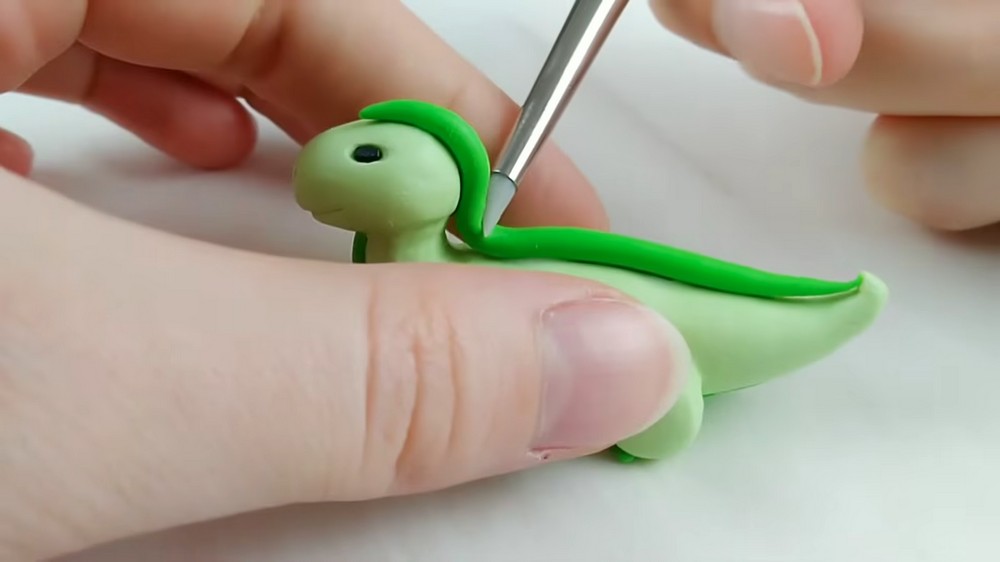
- Roll a log of the darker green clay to the same length as the dragon body.
- Apply a little liquid Sculpey to help adhesion along the spine area.
- Place the log along the dragon’s back where scales should run down toward the tail.
- Create the look of individual scales by pressing a flat-edge tool repeatedly along the length of the log to make overlapping scale indents (this gives a segmented ridge effect).
Step 7: Make and Attach the Wings (Green Dragon)
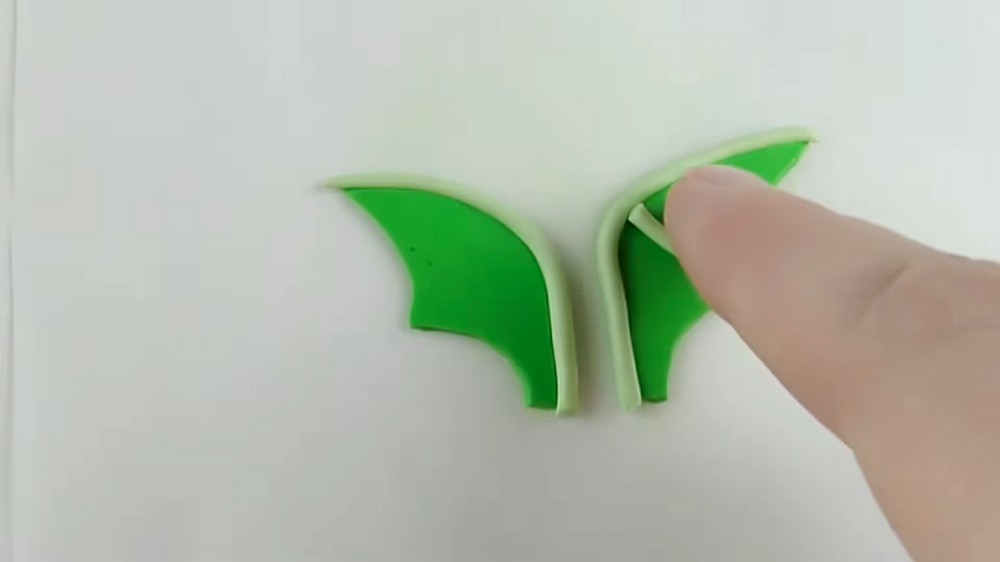
- Roll out a thin sheet of the darker green clay for the wing shapes.
- Cut the wings into the shape you want (matching sides makes symmetry simpler).
- Add lighter color details (e.g., light green) for the wing’s structural support — place thin strips down the center and along the leading edge to create sections.
- To make identical wings more easily:
- Lay a sheet of parchment on top of one wing and press down so it adheres slightly.
- Flip the sandwich and peel away the other parchment layer; the wing sticks to the bottom sheet, allowing you to add mirrored details on the other side.
- Pre-bake the wings briefly (the transcript indicates a pre-bake step to make wings easier to add) — follow your clay brand’s guidance for short prebake times (a few minutes) so wings firm but are not fully fired.
- Apply liquid Sculpey to the wing base and press the wing into the body above the front leg.
- Repeat for the other wing.
Step 8: Final Bake (Green Dragon)
- Place the assembled dragon on parchment and give it a final bake per your clay brand’s recommended temperature and time for the piece size. The transcript says “final trip to the oven” and the dragon comes out ready.
- Allow to cool completely before touching to preserve shape.
Step 9: Evaluate and Repeat for the Next Dragons
- The transcript then moves on to make the next dragon using blue clay. Repeat Steps 2–8 with the blue color set, and again with the pink color set, adapting the darker/light shades for belly, ridge and wing supports for each color variant.
- Small stylistic variations can be introduced across the three dragons (different wing shapes, scale patterns, eye sizes) to make each unique.
Easy Finishing Tips
- Work in small increments—tiny details are easier to control when clay is cool and you’re handling small pieces.
- Use liquid Sculpey when attaching pieces that will not be rebaked together (or when attaching prebaked wings to the body before final bake).
- Pre-bake thin pieces (like wings) so they retain shape when being attached.
- Smooth seams with a damp finger or silicone tool, but avoid overworking soft clay.
- Let pieces fully cool after baking before attempting any additional finishing or gluing.
Common Beginner Mistakes
- Attaching head or facial details before attaching the head to the body (risk of squashing the face while blending).
- Not flattening the head-attachment area first (makes a stronger, cleaner join).
- Skipping the prebake for wings (leads to deformation when attaching).
- Overworking the clay when smoothing seams and losing shape or texture.
Ways to Personalize It
- Change scale patterns (use triangular vs. rounded indentations).
- Vary wing style: bat-like membrane, feathered, or translucent by using thin white/pearl clay.
- Add tiny accessories: crowns, spikes, horns, or tiny painted accents after baking.
- Pose the neck and tail differently for more dynamic silhouettes.
Final Look
- After baking and cooling all three dragons, clean up any remaining seams with gentle sanding (if desired) or a light acetone smoothing (use with caution).
- Arrange your trio (green, blue, pink) and admire the variations you made.
- Store on a padded surface or display base to protect delicate wings.