Meet the cutest seasonal collectible yet a DIY Polymer Clay Halloween Witch Frog full of charm, personality, and festive Halloween appeal.
There's something undeniably delightful about a tiny frog dressed for the spookiest season of the year. This DIY Polymer Clay Halloween Witch Frog is the kind of miniature art piece that blends whimsy with seasonal charm in the most satisfying way. Sitting confidently in its finished form, the little figure sports a classic witch hat, a characterful expression, and rich Halloween-inspired tones, think deep greens, blacks, and moody autumnal accents that feel perfectly festive without being overdone.
Cute DIY Polymer Clay Halloween Witch Frog for Spooky Season Décor
Creative Rachy is a talented creator whose channel is dedicated to imaginative and detailed miniature art projects that inspire crafters and art lovers alike.
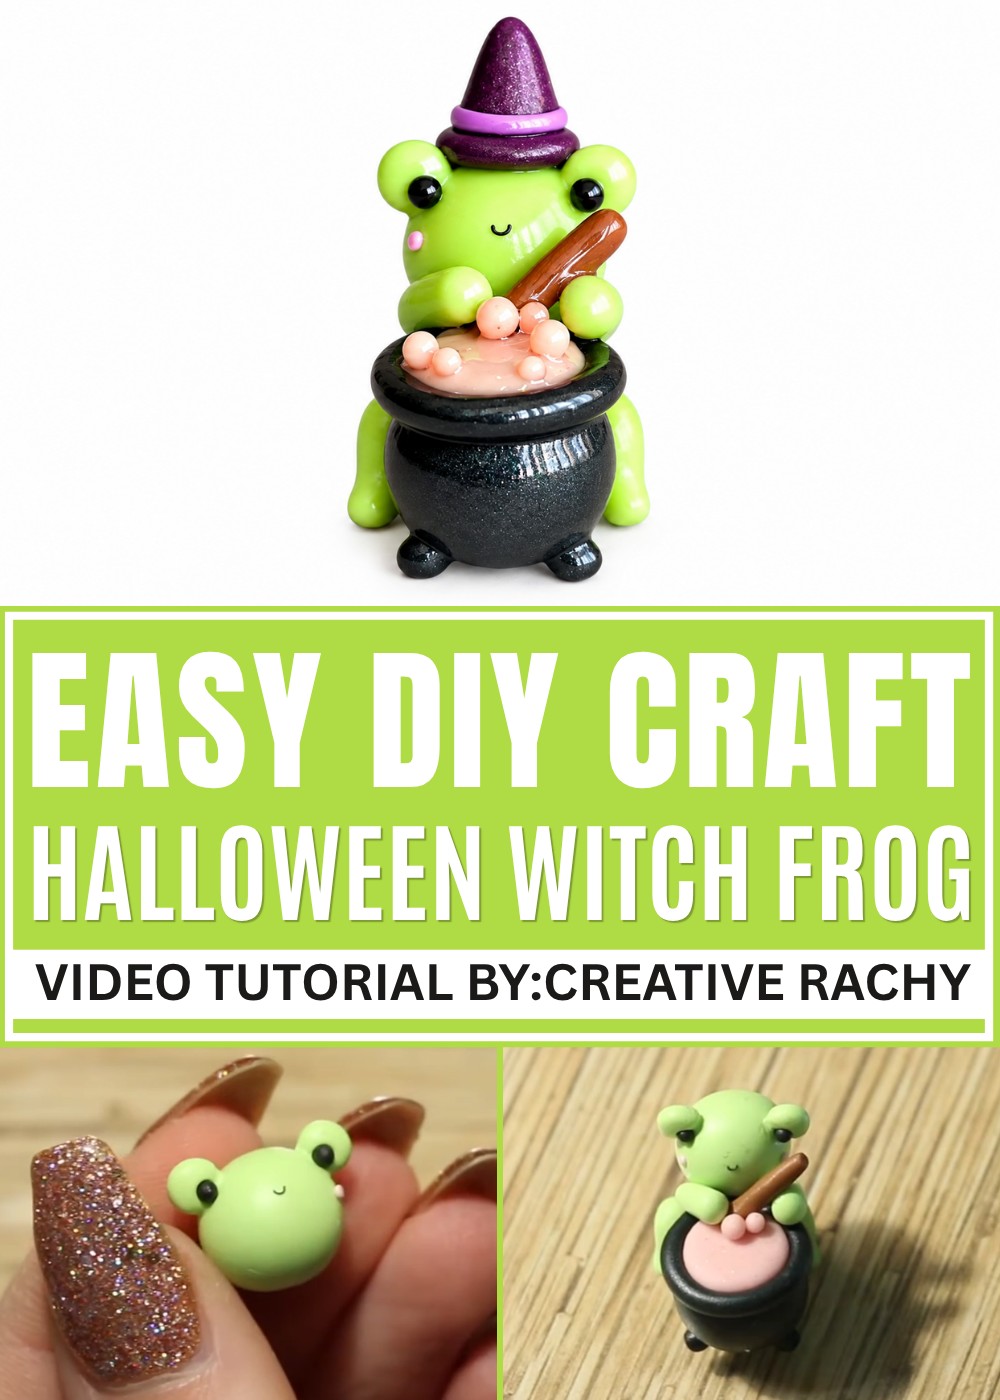
What sets this piece apart is its personality. The frog isn't just a decoration; it feels like a tiny character with a story. Its wide, expressive eyes and compact, rounded silhouette give it an almost cartoonish charm that appeals to both Halloween enthusiasts and miniature art collectors alike. The witch hat sits just right — slightly oversized in that playful way that makes it feel intentional and endearing rather than clunky.
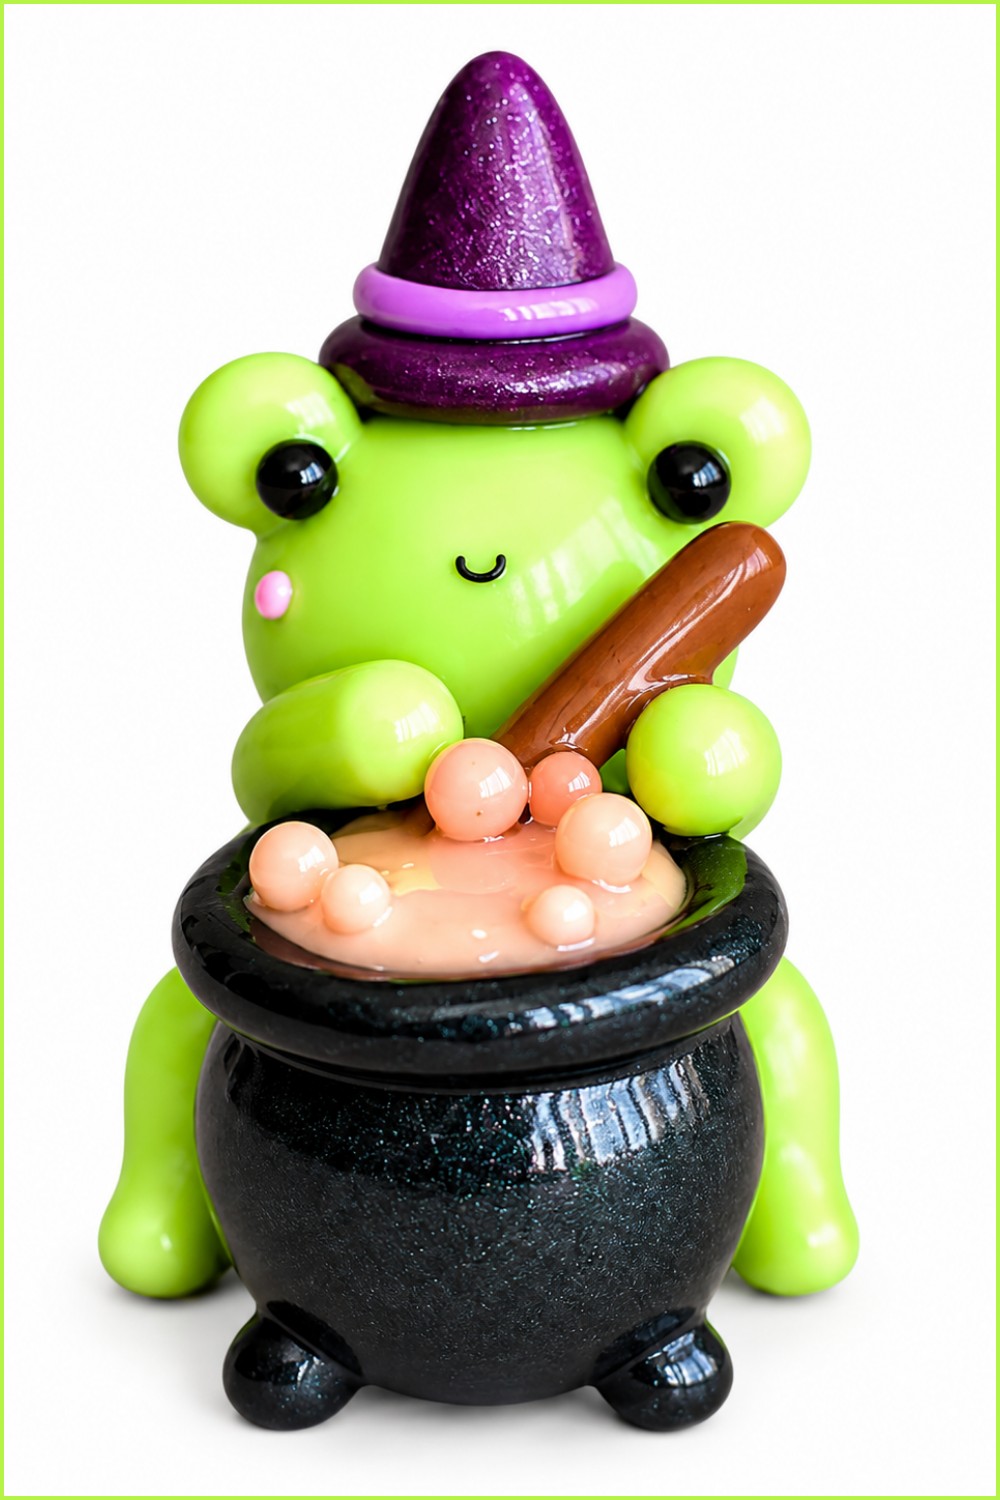
As a finished collectible or seasonal display piece, it holds its own on any shelf, mantle, or Halloween vignette. It has the kind of polished, handcrafted aesthetic that looks impressive while still carrying a warm, handmade soul. The detailing , from the subtle textures to the carefully considered proportions — makes it feel complete and cohesive as a standalone sculpture.
Whether you're drawn to spooky season décor, miniature character design, or simply appreciate clever and creative artistry, this DIY Polymer Clay Halloween Witch Frog delivers a satisfying visual that lingers. It's playful, it's seasonal, and it's the kind of small creation that carries a surprisingly big presence.
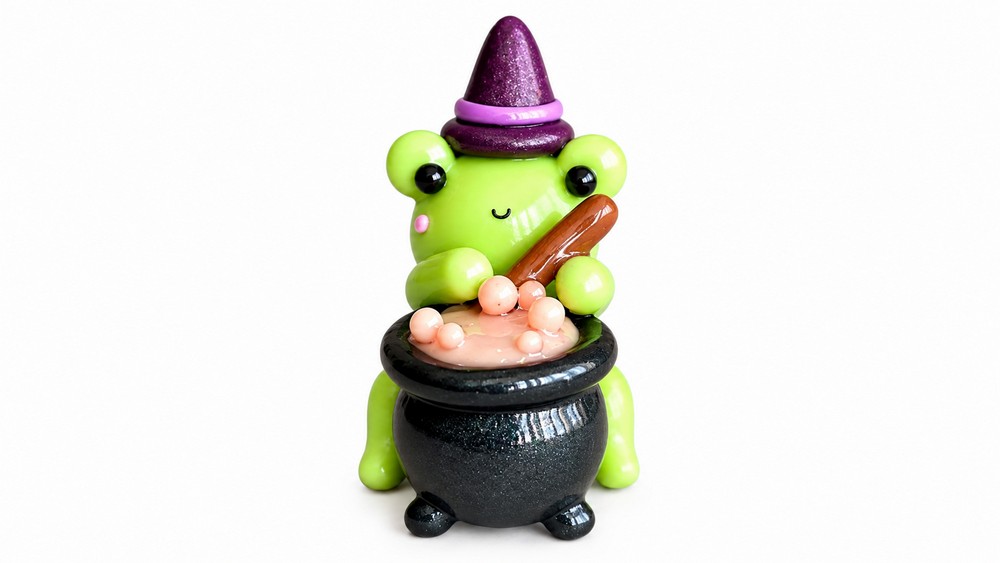
How to Make a Kawaii Frog and Witch's Cauldron in Polymer Clay
Halloween crafts do not always have to be spooky and dark. Sometimes the cutest little creations can be the most memorable ones. This project brings together two iconic Halloween elements, a bubbling witch's cauldron and an adorable kawaii frog wearing a tiny witch hat, all crafted from polymer clay. Whether you want to display this on a shelf, use it as a decorative piece, or simply enjoy the process of sculpting, this tutorial walks you through every single step in a way that is easy to follow even if you have never touched polymer clay before. Get your clay ready and let us dive right in.
What You Will Need
Materials List
- Pearly black polymer clay (for the cauldron)
- Glow in the dark polymer clay (for the cauldron mixture, optional)
- Bright pink iridescent glitter (for decorating the mixture, optional)
- Pink glow in the dark powdered pigment (for coloring the mixture, optional)
- Green polymer clay (for the frog body, head, arms, and legs)
- Black polymer clay (for the frog eyes and mouth)
- Pink polymer clay (for the frog cheeks)
- Brown polymer clay (for the mixing stick)
- Dark pearly purple polymer clay (for the witch hat)
- Light purple polymer clay (for the hat ribbon)
- A clay blade (for cutting clay)
- A needle tool or sculpting tool (for blending and adding details)
- A dotting tool (for creating eye indents)
- A small round cookie cutter (for shaping eye pieces)
- A rolling pin (for flattening clay)
- UV resin or glaze (for a shiny finish after baking)
- An oven (for baking)
Part One - Making the Cauldron
Step 1 - Shaping the Cauldron Body
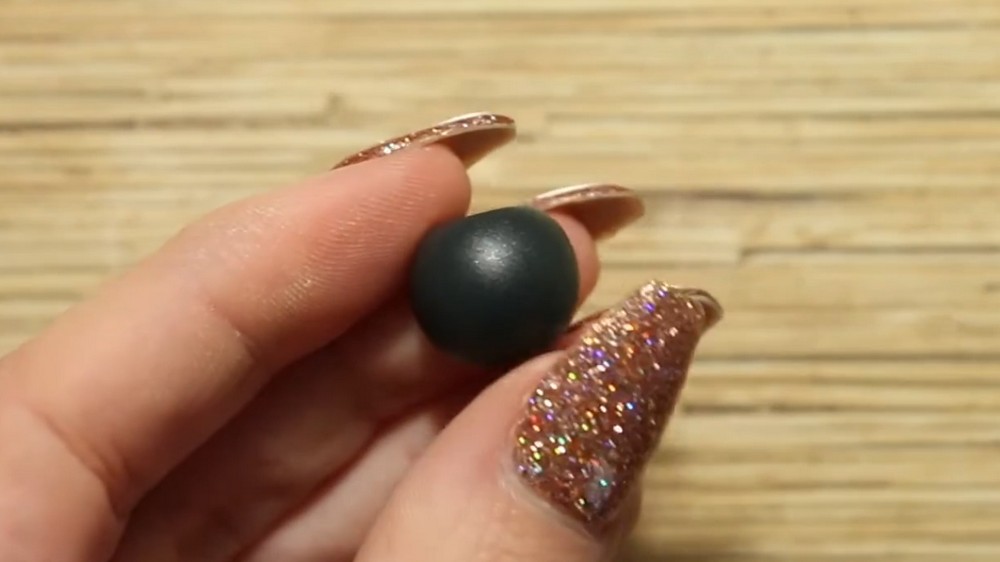
- Take a generous amount of pearly black clay and roll it between your palms into a smooth round ball
- Once you have your ball, gently press one side of it flat against your work surface
- This flattened bottom will help the cauldron stand upright and look stable
- Do not press too hard, you only want a slight flat base not a completely flat disc
Step 2 - Preparing the Cauldron Mixture
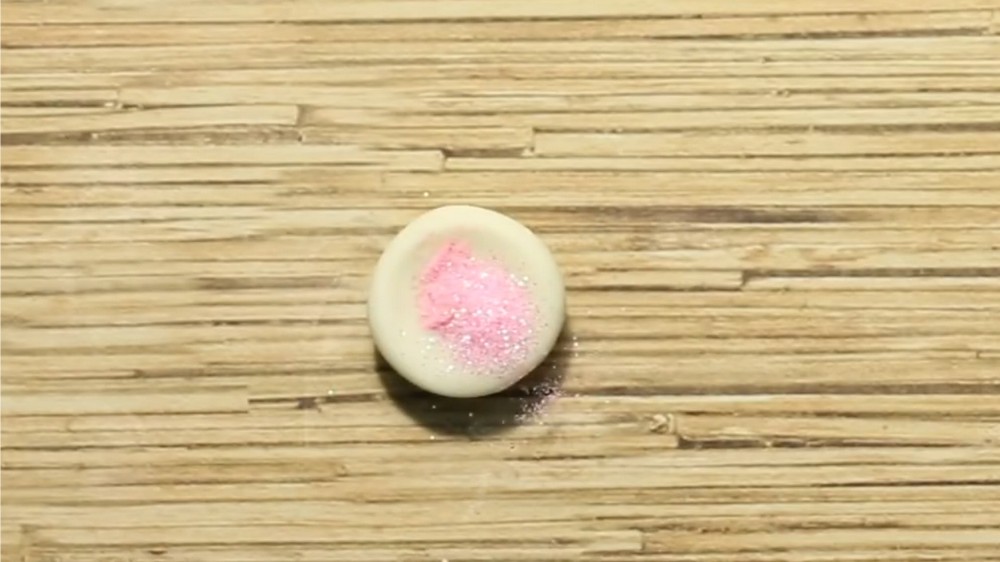
- Take your glow in the dark polymer clay and mix in a small amount of pink powdered pigment
- The reason you use powdered pigment instead of regular paint is so that the clay does not become too opaque and loses its glow in the dark quality
- Add a pinch of pink iridescent glitter into the clay and knead it all together until the color is even
- Remember that making the mixture glow in the dark is completely optional
- You can use any color of clay you like for the mixture inside the cauldron such as green, purple, or even a classic orange
Step 3 - Adding the Mixture to the Cauldron
- Flatten your colored mixture clay down on your work surface until it is roughly the same size as the flat base of your cauldron
- Place the two pieces together so the mixture sits on top of the cauldron opening giving the appearance that it is filled right to the brim
Step 4 - Creating the Cauldron Rim
- Roll out a long thin snake of black clay
- Carefully wrap this snake all the way around the top edge of your cauldron where the opening meets the mixture
- This will create a raised rim that makes your cauldron look more realistic and defined
- Use your blade to cut off any excess clay where the two ends of the snake meet
- Gently blend the seam together with your fingertip or needle tool so the join is invisible
Step 5 - Adding the Cauldron Legs
- Roll out three small identical pieces of black clay
- Shape each one into a short stubby leg that is slightly thicker at the base
- Carefully flip your cauldron upside down
- Press one leg onto the bottom center front and the other two on the back left and back right
- Make sure all three legs are even in height so the cauldron sits level when flipped back over
- Press them on firmly so they do not fall off before baking
Part Two - Making the Kawaii Frog
Step 6 - Shaping the Frog Head
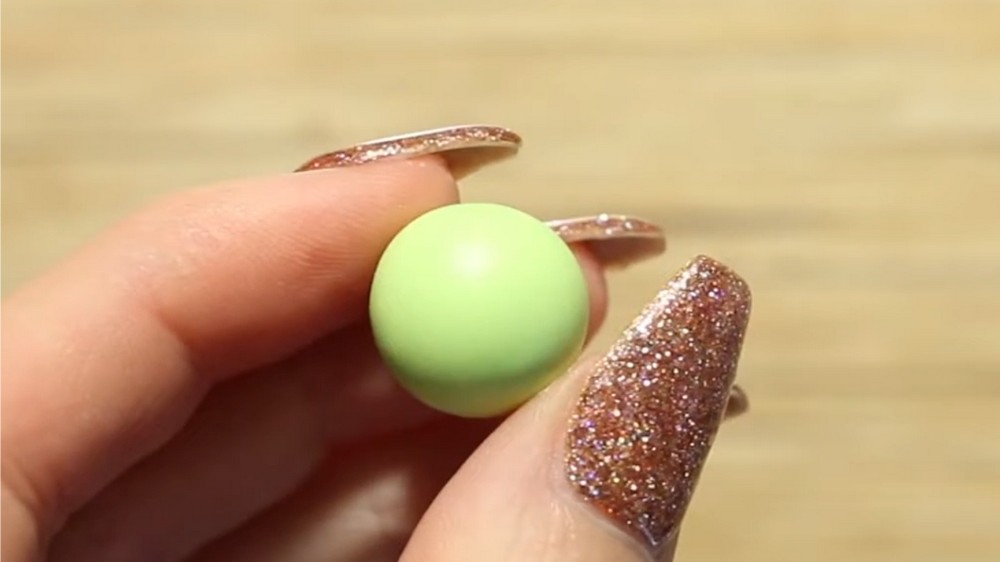
- Take a ball of green polymer clay and roll it into a smooth round shape for the head
- Set it aside and roll two smaller balls of green clay
- Flatten each smaller ball down on your work surface into flat circular disc shapes
- These will become the raised eye bumps on top of the frog head
- Using your round cookie cutter, trim off a small section from the flat side of each circle
- This straight edge will help you attach and blend the eye bumps onto the head smoothly
Step 7 - Attaching the Eye Bumps
- Position both trimmed circles side by side on the upper front of the frog head
- Press them gently onto the head and use your needle tool or fingertip to blend the edges where the circles meet the head
- The goal is to make it look like the eye bumps grow naturally from the head rather than looking like they were stuck on separately
Step 8 - Adding the Frog Face
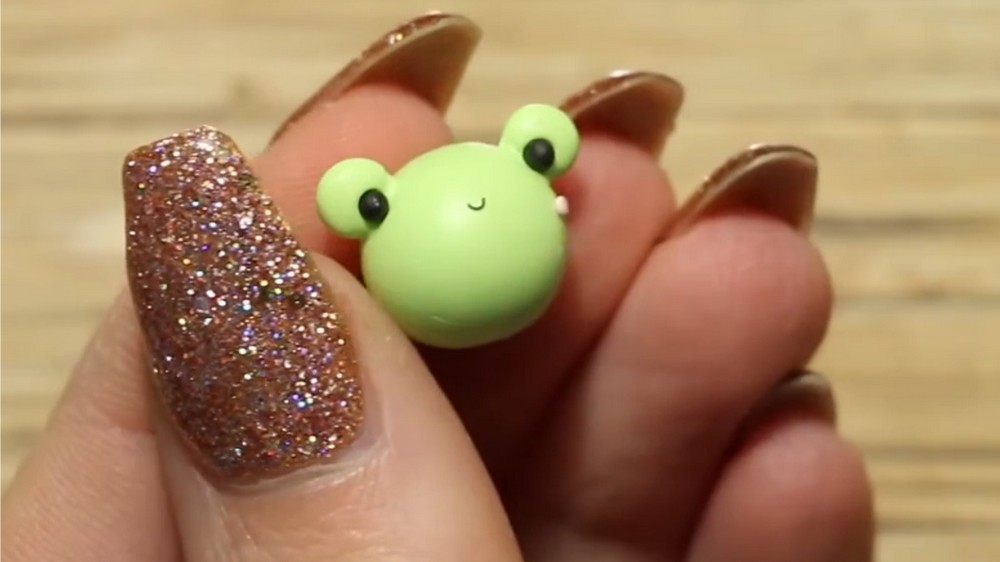
- Use your dotting tool to press two small round indents into the center of each eye bump
- Roll two tiny balls of black clay and press one into each indent for the eyes
- Roll a small U shaped piece of black clay and press it below the eyes to form a cute little mouth
- Roll two small pink balls of clay and gently flatten them
- Press one onto each side of the face just below the eyes for the cheeks
- These pink circles give the frog that classic kawaii blushing expression
Step 9 - Creating the Frog Body
- Take a larger piece of green clay and shape it into a cone shape
- Once you have your cone, trim off the top pointed part so you have a flat surface where the head will connect
- Place the head on top of the trimmed cone and use your needle tool to blend the two pieces together at the join
- Smooth the connection until the head and body look like one seamless piece
Step 10 - Making the Frog Legs
- Take more green clay and roll it out on your work surface
- Pinch one end of the rolled clay firmly to create a flattened wider foot shape
- Fold the remaining clay back on itself to create a bent knee leg shape
- The leg should naturally look like it is bent at the knee with the foot pointing outward
- Repeat this to create a second matching leg
- Attach one leg to each side of the frog body and blend the top of each leg into the body
Step 11 - Attaching the Frog to the Cauldron
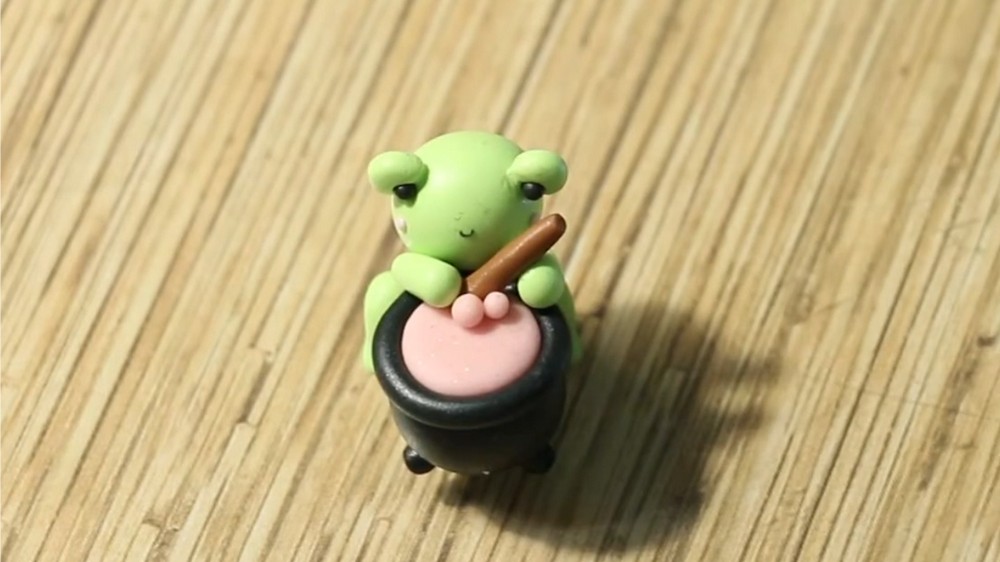
- Position your frog figurine against the side of the cauldron so it looks like the frog is leaning against it or sitting beside it
- Press the frog gently so it connects securely to the cauldron
Step 12 - Adding the Mixing Stick
- Roll a small thin piece of brown clay into a stick shape
- Place this stick so that one end goes into the cauldron mixture and the other end points toward where the frog arms will be
- This will look like the frog is stirring the cauldron potion
Step 13 - Adding the Frog Arms
- Shape two small pieces of green clay into simple arm shapes
- Attach one arm on each side of the frog body
- Position the arms so they are reaching toward and holding the mixing stick
- Blend the tops of the arms into the body using your needle tool
Step 14 - Adding Bubbles to the Mixture
- Roll several tiny balls of your mixture colored clay
- Scatter and press these small balls across the surface of the cauldron mixture
- This creates the effect of the potion bubbling and boiling which adds great visual detail and character to your piece
Part Three - Making the Witch Hat
Step 15 - Shaping the Hat
- Take your dark pearly purple clay and flatten a piece down on your work surface for the wide brim of the hat
- Take another piece of the same purple clay and roll it into a cone shape for the tall top part of the hat
- Trim off the very bottom of the cone with your blade so it has a flat edge
- Press the cone flat side down onto the center of the brim piece
- Blend the two parts together where they meet so the hat looks like one complete piece
Step 16 - Adding the Hat Ribbon
- Take a small piece of light purple clay and roll it into a thin coil
- Gently flatten this coil slightly using your rolling pin so it becomes a flat thin ribbon strip
- Wrap this ribbon around the base of the cone where it meets the brim
- Trim off any excess and blend the ends together neatly
Step 17 - Placing the Hat on the Frog
- Gently place the finished witch hat on top of the frog's head
- Press it down lightly so it sits securely
- Adjust the angle if you want the hat to sit straight or slightly tilted for extra personality
Baking and Finishing
Step 18 - Baking Your Figurine
- Preheat your oven according to the instructions on your specific polymer clay packaging as different brands have different temperature requirements
- Place your figurine carefully on a parchment lined baking sheet
- Bake for the recommended time and allow it to cool completely before touching it
Step 19 - Applying the Glaze
- Once your figurine is fully cooled, apply a coat of UV resin or polymer clay glaze over the entire piece
- This gives your frog and cauldron a beautiful shiny polished finish
- If you are using UV resin, cure it under a UV lamp according to the resin instructions
Helpful Tips for Beginners
- Keep your clay cool by working in a room that is not too warm as heat from your hands can make clay sticky and hard to shape
- Wipe your hands clean every time you switch between clay colors to avoid color contamination
- Work slowly on small details like the face and the hat ribbon because rushing tiny pieces often leads to misshapen results
- Do not skip blending the joins between pieces because a smoothly blended seam is what separates a polished figurine from a rough one
- If a piece falls off before baking simply press it back on as unbaked clay sticks to itself easily
- The glow in the dark effect is a fun bonus but the figurine looks just as charming without it
Every time you sit down with polymer clay you are learning something new about how to control the material and express your own creative ideas. This little frog stirring its cauldron is more than just a Halloween decoration, it is proof that even the smallest pair of hands can build something full of life and imagination. Keep creating and see where the clay takes you next.