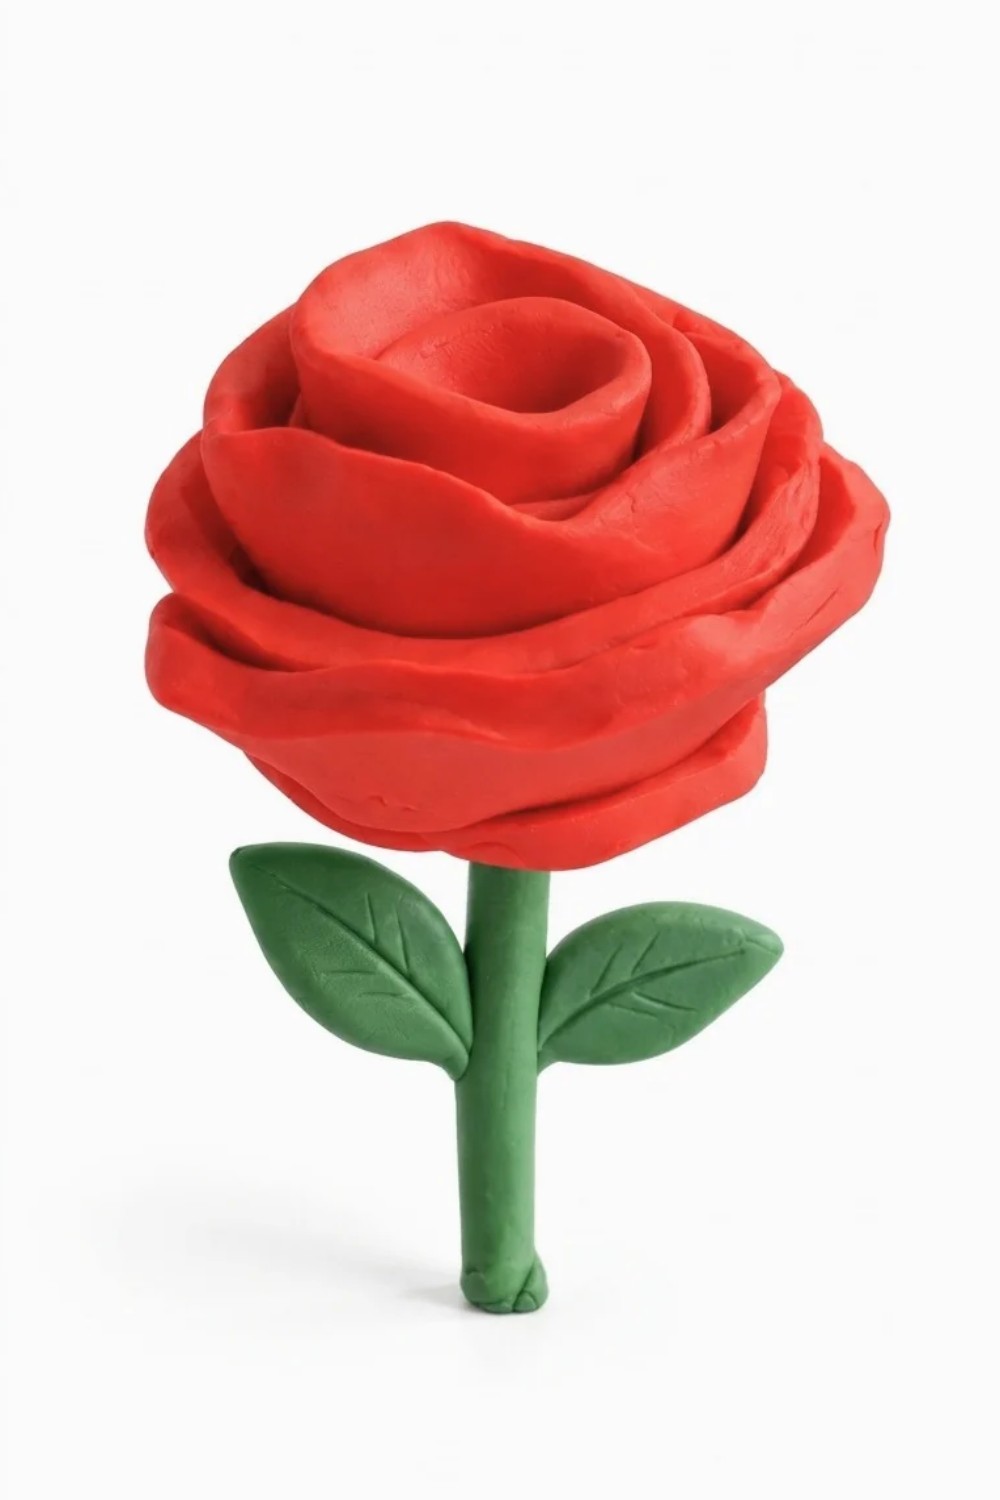
Would you like a beautiful flower that stays fresh without water or sunlight? A small clay rose is a lovely choice for anyone who loves flowers and wants something special for home decoration. Drawings In Action shares an interesting idea that shows the beauty of a rose through simple shapes and delicate details.
DIY Polymer Clay Rose features soft, curved petals arranged around a small center. The flower has a natural appearance, with each petal gently folding outward. Its layered shape gives it a full and beautiful look, while the smooth clay surface helps every detail stand out. Red is a popular color for roses, but pink, yellow, and white can also look attractive.
Simple DIY Polymer Clay Rose For Home Decorations
The petals are the most important part of this flower. The inner petals stay close together, forming a small bud, while the outer ones open wider. A green stem and pointed leaves can complete its appearance. Thin lines on the leaves can give them a more natural finish.
Polymer clay is rolled into small pieces and flattened to form individual petals. These pieces are placed around the center one by one, with gentle curves along their edges. This helps the flower develop its lovely layered shape.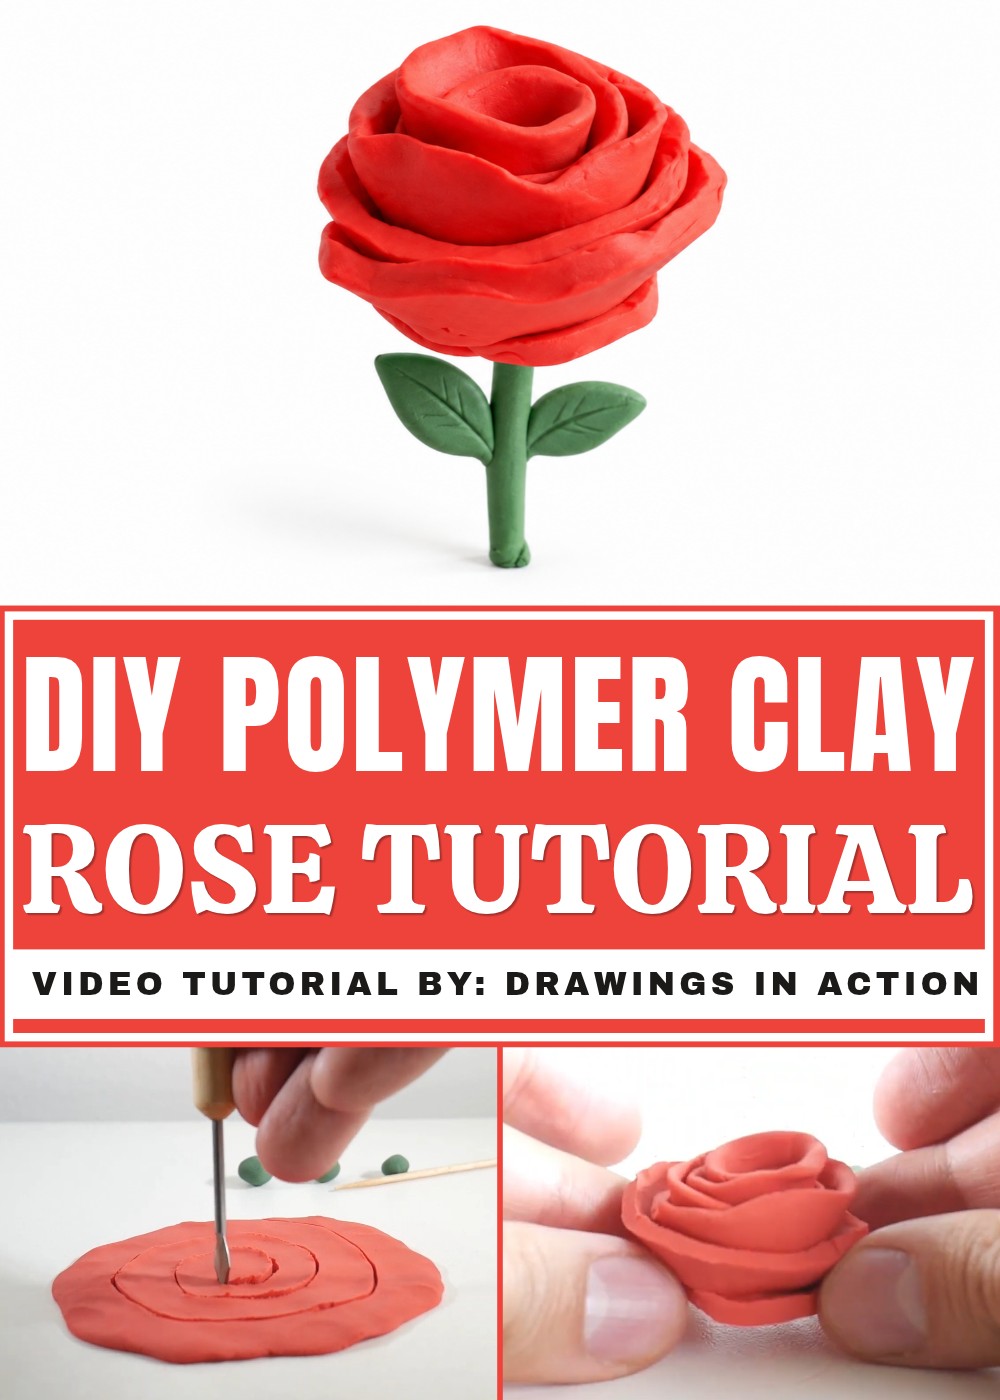
You can use this clay rose for decorating a table, bookshelf, or bedroom. It also works as a sweet birthday gift, Mother's Day present, or Valentine's Day surprise.
The finished flower is a lasting decoration that needs no special care. Its graceful petals and beautiful color offer a simple way to keep a little floral beauty in your home throughout the year.
How to Make a Beautiful Plasticine Rose – Beginner-Friendly Tutorial
In this easy tutorial, you will learn how to create a beautiful plasticine rose using just a few materials. This step-by-step guide is perfect for beginners and will show you how to make a delicate rose with petals, a stem, and leaves in no time!

Materials and Tools Needed
- Red plasticine (for the rose petals)
- Green plasticine (for the stem and leaves)
- Toothpick or small stick (to form the stem)
- Craft knife or cutter (to cut the plasticine)
Why I Love This Plasticine Rose Project
I love this plasticine rose project because it is simple and fun, perfect for beginners. It allows me to be creative and make something beautiful with my own hands. The process of shaping the petals and assembling the rose is relaxing and rewarding. Using just a few materials, like plasticine and a toothpick, I can create a delicate flower that looks realistic. This project also helps me improve my fine motor skills and patience. Overall, it’s a quick and satisfying craft that brings joy and a sense of accomplishment every time I finish a rose.
Quick Overview
This plasticine rose project is an easy and quick craft ideal for beginners. You start by dividing red and green plasticine into small balls. Flatten one red ball and cut a spiral shape from the outside toward the center using a craft knife. Roll the spiral inward to form rose petals. Next, wrap a toothpick with green plasticine to create the stem. Shape two green plasticine balls into triangular leaves and attach them to the stem. Finally, connect the stem to the rose petals base. This simple process results in a beautiful, handmade plasticine rose perfect for decoration or gifts.
Step-by-Step Instructions
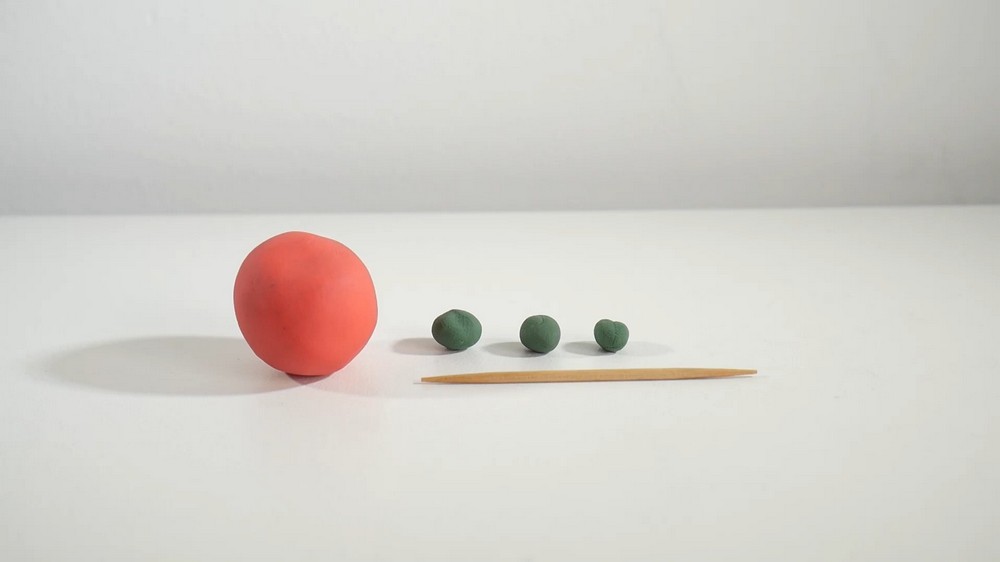
1. Prepare the Plasticine Balls
- Take the red and green plasticine and divide them into several small balls.
- Make sure the balls are about the size shown in the reference (you can pause the video at 0:32 for exact size).
- You will need multiple red balls for petals and a few green ones for leaves and the stem.
2. Make the Rose Petal Base
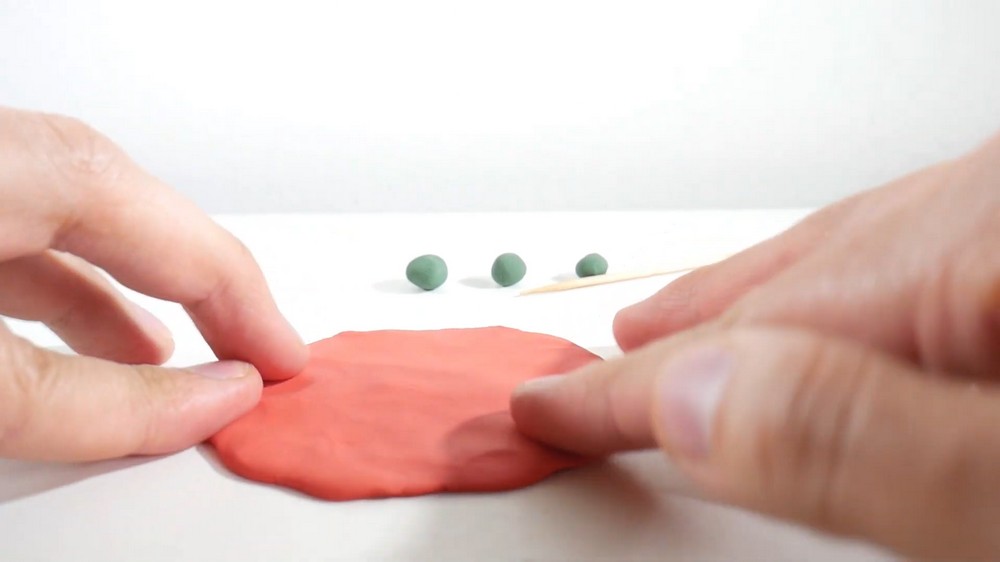
- Pick one red plasticine ball.
- Flatten this ball on your working surface until it becomes a round, flat shape.
- The flattened plasticine will be the base to create your rose petals.
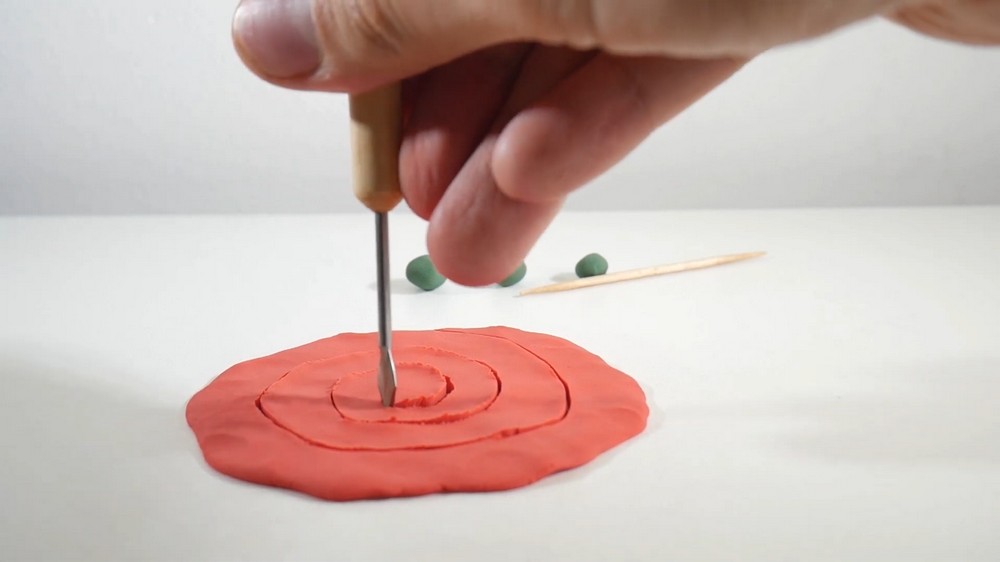
3. Cut a Spiral in the Flattened Plasticine
- Using a craft knife or any cutter, carefully start cutting a spiral shape into the flattened red plasticine.
- Begin cutting from the outer edge of the circle and work your way inward toward the center.
- This spiral will become the petals of your rose.
4. Shape the Rose Petals
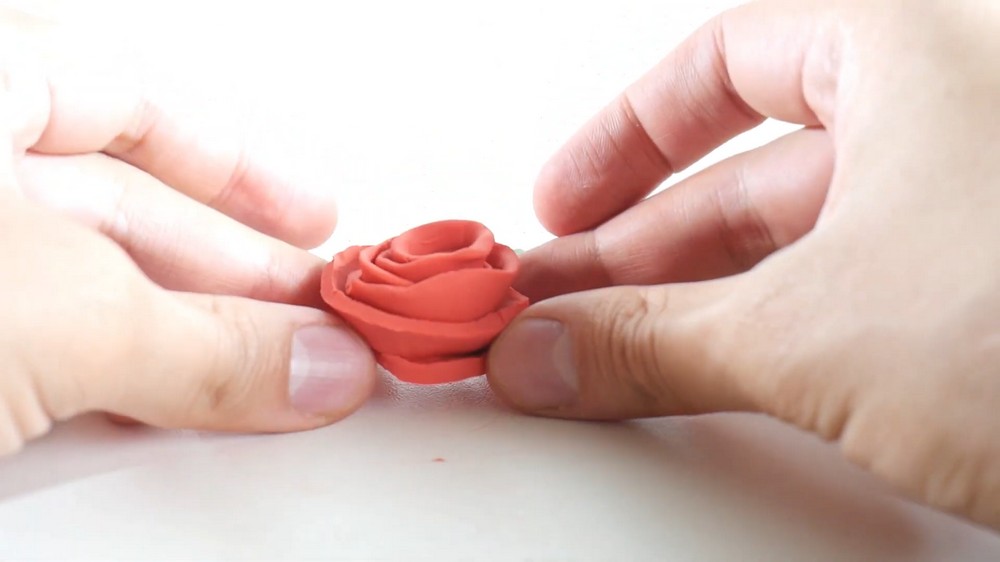
- Start rolling the plasticine spiral inward by folding it from the outer edge toward the center.
- Keep folding gently, forming the petals naturally as you go.
- Continue rolling until you reach the center to create the full rose shape.
5. Create the Stem
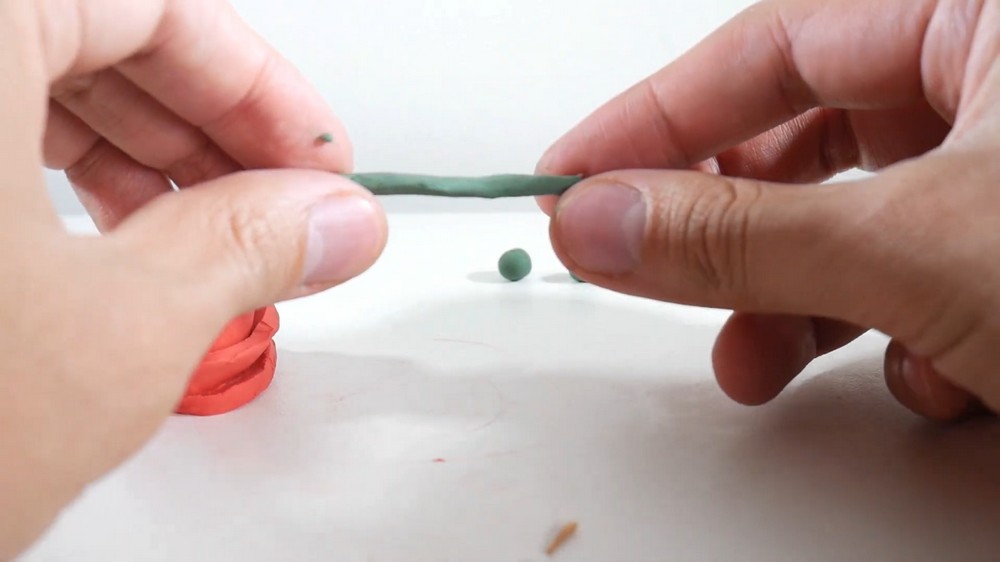
- Take your toothpick or small stick.
- Wrap it evenly with green plasticine until it is fully covered and resembles a green stem.
6. Make the Leaves
- Take two green plasticine balls.
- Shape each ball into a triangular leaf by pinching and molding the plasticine.
- Attach both leaves to the green stem by pressing them gently onto it.
7. Assemble the Rose
- Attach the stem to the base of the rose petals by gently pressing the wrapped toothpick into the bottom of the rolled petals.
- Adjust as needed so that the rose sits firmly on the stem.
Finishing Touch
You have now completed your lovely plasticine rose! This simple craft can be a beautiful gift or a decoration. You can explore making roses in different colors or sizes using the same technique.