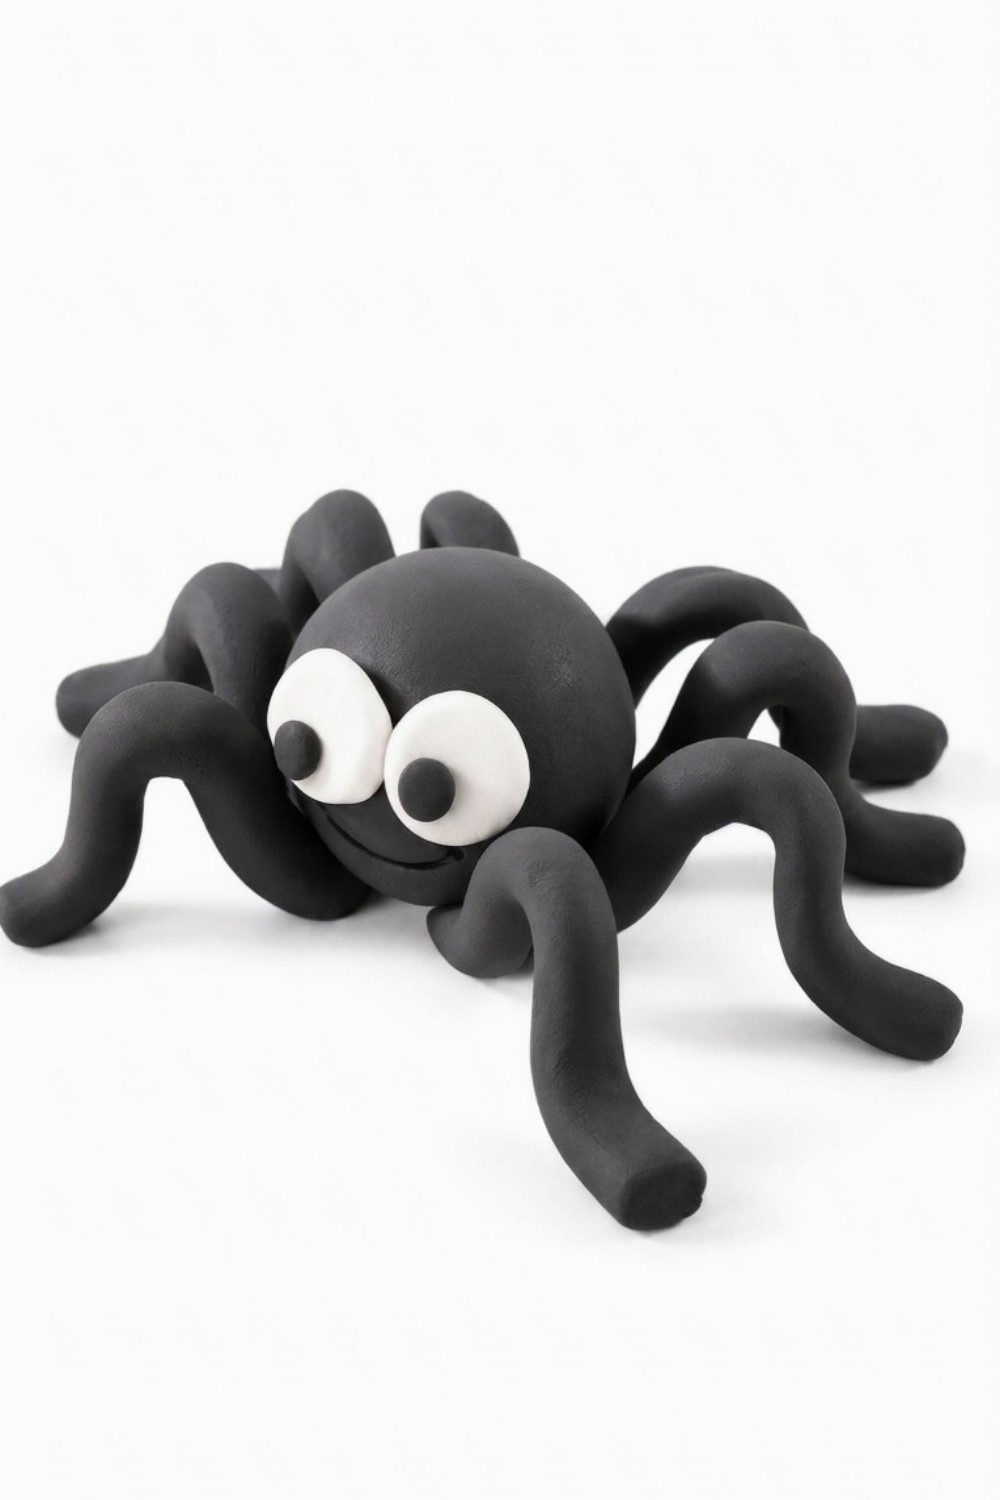
Follow this easy DIY Polymer Clay Spider tutorial to create a fun project designed for unique decorations or gifts.
Creating your own spooky decorations at home is a lot of fun, especially when you mold them yourself. If you want a neat and creepy project, making a DIY Polymer Clay Spider is a fantastic idea. Full credit for this amazing tutorial and clever design goes to the original YouTube channel, Drawings In Action. Their video shares a simple way to bring a tiny, eight-legged friend to life using basic crafting supplies. It is a wonderful activity that anyone can try easily, whether you are totally new to crafting or have modeled shapes for years.
Simple DIY Polymer Clay Spider To Craft At Home
Working on this little creature is very relaxing and completely beginner-friendly. You start by rolling soft pieces into small balls for the body and the head, then gently stretch out thin sections to form the long, bendy legs. The best part is that you get to choose exactly how it looks. You can add bright colors, paint tiny dots for eyes, or even give it a friendly smile instead of a scary face. Once you have shaped all the parts and placed them together, you just bake the finished piece in the oven so it becomes hard and stays safe for a long time.
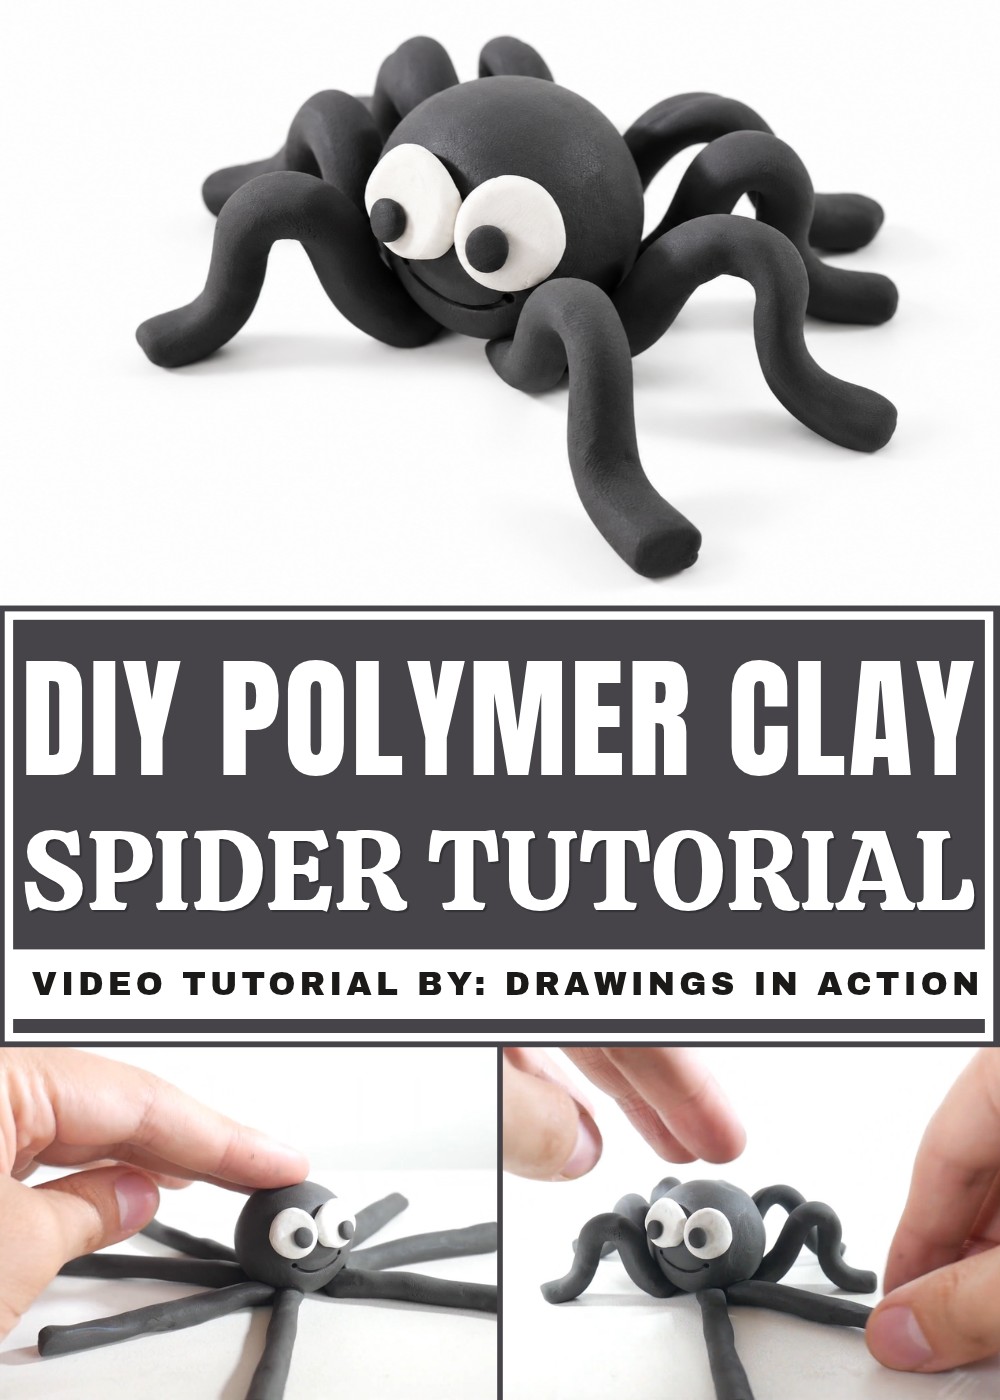
Having this handmade bug around the house is perfect when you want to add a playful touch to your room. It is wonderful for decorating during Halloween, hiding in fake webs to surprise your friends, or giving away as a unique little gift. The whole process takes just a little time and uses very few tools, so you do not need a huge workspace. Reading about this fun activity will surely make you want to grab some supplies and start rolling. It is a joyful, simple way to spend an afternoon being creative and making something truly special.
How to Make A DIY Polymer Clay Spider
This tutorial focuses on building a simple yet expressive plasticine spider using only black and white plasticine, plus one tool—a pencil. The process is straightforward, making it a great choice for beginners or anyone looking for a quick handmade project. The finished spider has a rounded body, eight realistic legs, cartoon-style eyes, and even a cheerful smile drawn into its face. Each step in this guide walks you through shaping the materials with your hands and assembling the pieces, ensuring the spider looks neat and balanced. With thoughtful details like bent legs and a hand-drawn expression, this spider is guaranteed to turn out looking cute and lively. Follow along with the easy instructions to form a delightful little figure you’ll enjoy showing off and sharing.
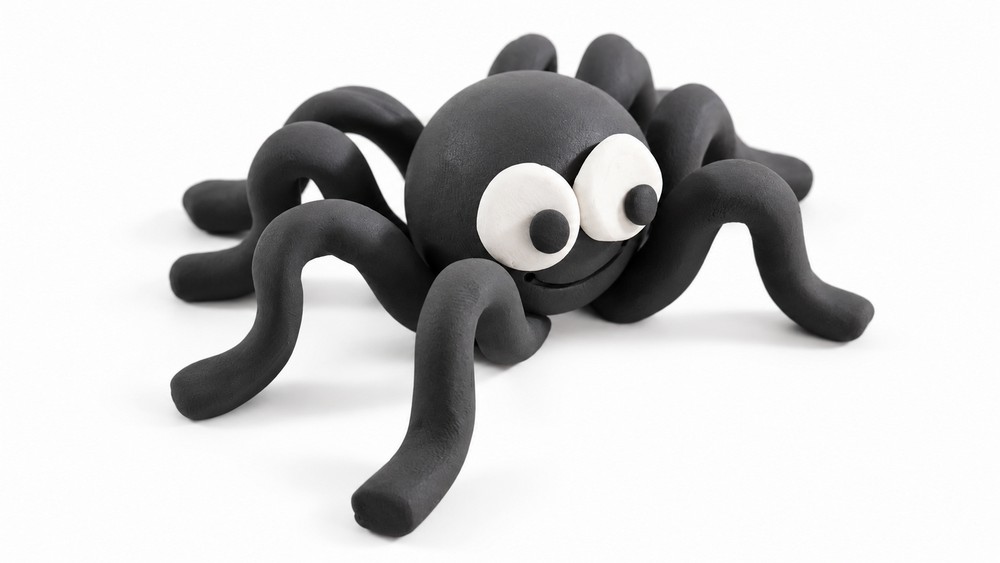
Materials and Tools
Materials
- Black plasticine: This will be used for most of the spider, including its body and legs.
- White plasticine: Used to create the eyes.
Tools
- Pencil (or similar tool): Used to draw the smile on the spider’s face.
Preparing Plasticine Balls
Roll and Divide Plasticine
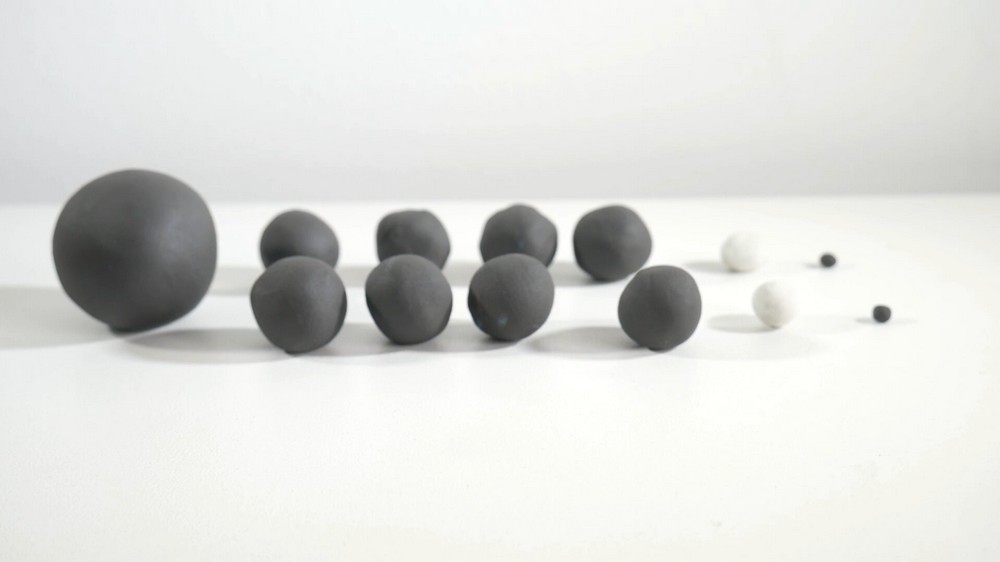
- Begin by dividing the black plasticine into balls of varying sizes:
- One large ball: This will form the main body of the spider.
- Eight smaller balls: These will be used to shape the eight legs of the spider.
- Divide the white plasticine as follows:
- Two small balls: These will form the spider’s eyes.
- Lastly, divide a small portion of the black plasticine to create two tiny balls for the pupils of the eyes.
- Pause and adjust the size of the balls as needed. Refer to the video for accurate proportions if necessary.
Creating the Spider’s Body
Shape the Body
- Take the largest black plasticine ball and knead it with your hands to ensure it is smooth and crack-free.
- Once softened, shape the ball into a rounded sphere.
- This will serve as the spider’s main body.
Adding the Eyes
Attach the White Eyes
- Take the two small white balls and press them gently onto the front of the spider’s body.
- Position the eyes close together to make the spider appear cuter and more animated.
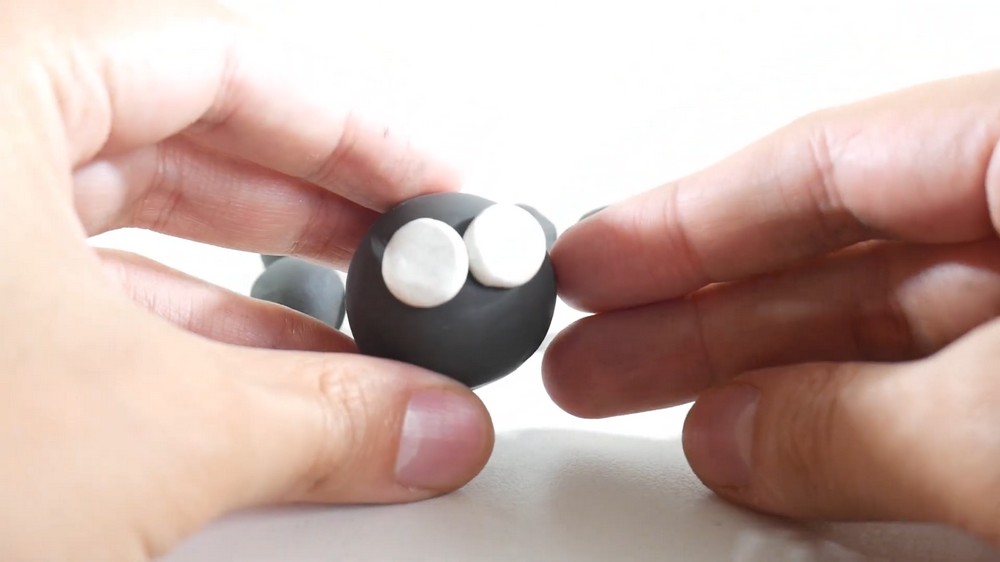
- Make sure the two eyes are symmetrical and level with each other.
Add the Black Pupils
- Take the two tiny black balls and place one on the center of each white eye.
- Press lightly to secure the pupils while keeping the round shape intact.
- Adjust the positioning of each pupil so the spider’s gaze feels natural.
Adding a Smile
Draw the Smile
- Using a pencil or similar tool, carefully draw a smile just below the eyes:
- Lightly press the tip of the pencil into the black plasticine to carve a curved line.
- The smile can be as simple or exaggerated as you like, but it’s best to keep it proportional to the size of the body.
- Smooth any edges of the line if necessary to give the smile a polished appearance.
Making the Legs
Roll Black Plasticine Into Thin Cylinders
- Take the eight smaller black plasticine balls you prepared earlier and place one ball on a flat surface.
- Roll the ball back and forth with your fingers until it stretches into a thin cylinder resembling a stick.
- The cylinders should be uniform in thickness and long enough to serve as spider legs.
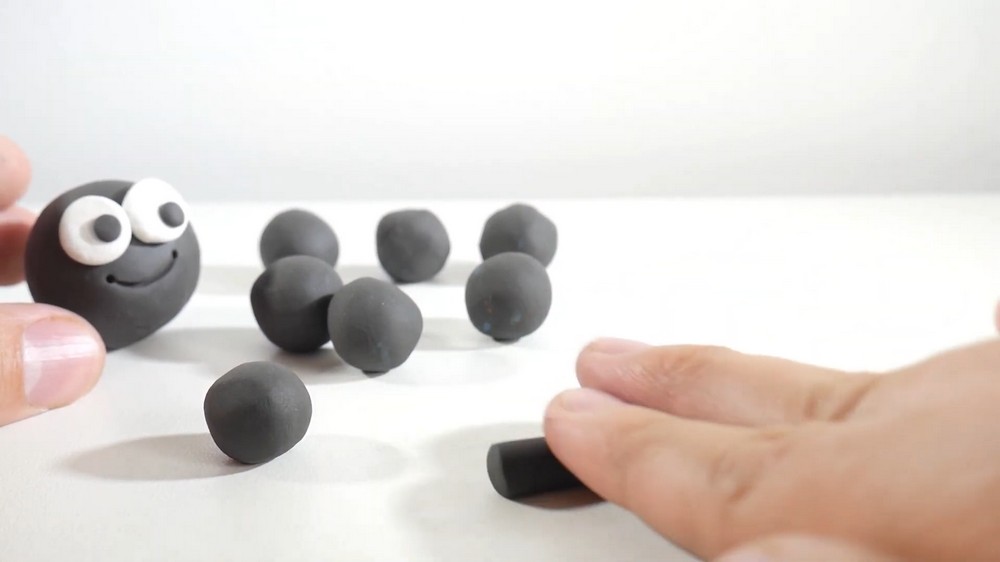
- Repeat the process for all eight black balls to create a full set of legs for your spider.
Attaching the Legs
Position the Legs
- Divide the legs evenly: four on the left side and four on the right side.
- Starting on one side of the spider’s body, press the ends of four legs gently into the side of the spider.
- Space the legs evenly so that they are aligned and balanced.
- Repeat this process on the other side of the spider, adding the remaining four legs.
- Make sure that both sides of the spider have a symmetrical appearance.
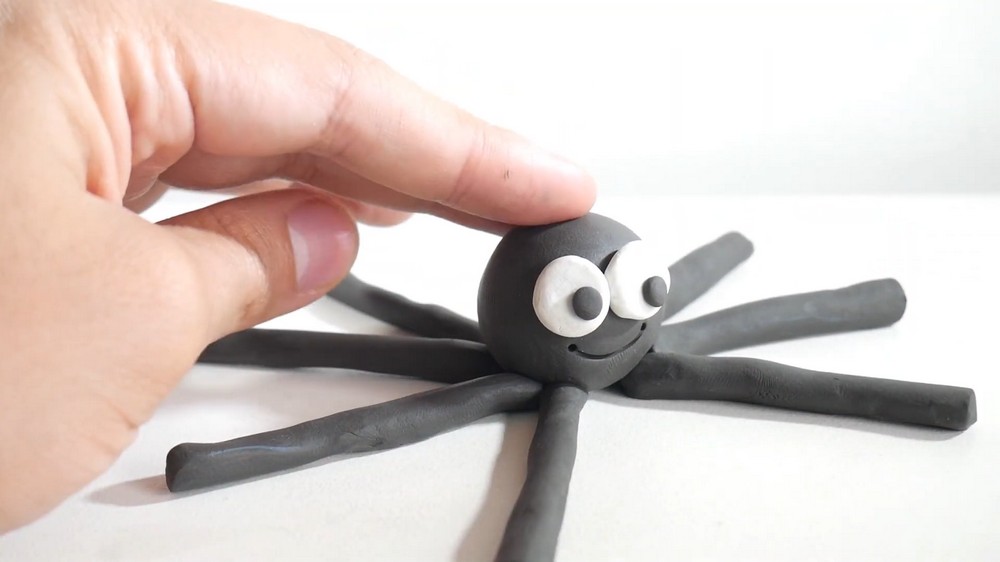
Secure the Legs
- Press gently where each leg attaches to the body to ensure they are firmly fixed.
- Be careful not to flatten the legs or distort the body during this process.
Shaping the Legs
Create an "S" Shape
- To give the legs a more realistic appearance:
- Gently bend each leg upward at its base and then downward at its midpoint.
- This bent formation creates a subtle “S” shape, which mimics the natural curvature of a spider’s legs.
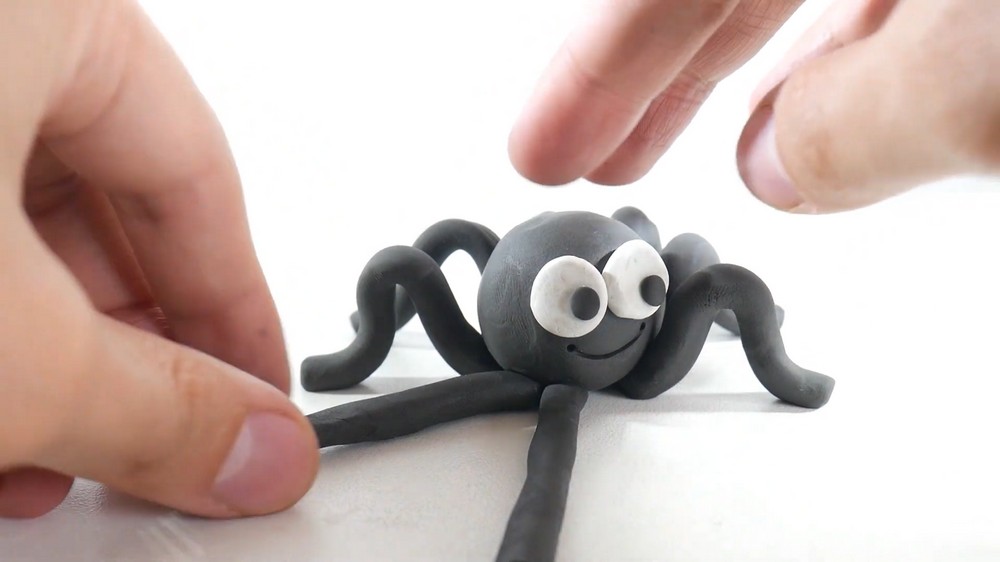
- Repeat this process for all eight legs, adjusting as necessary to keep the legs symmetrical and evenly spaced.
Final Adjustments
Inspect the Spider
- Rotate the spider and check it from all angles:
- Ensure the legs are evenly spaced and uniformly shaped.
- Confirm that the eyes and smile are well-positioned and look proportional to the body.
Refine the Details
- Smooth any uneven areas on the plasticine to give the spider a polished finish.
- Ensure all pieces, including the legs and eyes, are securely attached to the body.
Conclusion
A plasticine spider modeled with care and patience can be a charming addition to your collection of handmade projects. With its bent legs, cheerful expression, and simple yet appealing details, the spider is an engaging figure that balances creativity and simplicity. Whether for a decorative display, a seasonal theme like Halloween, or just a fun activity with kids, this figure is both lightweight and full of personality. By following precise instructions, the entire process—from rolling plasticine into small balls to attaching legs in an "S" shape—ensures the spider turns out well-proportioned and visually appealing. With minimal materials and tools required, this project offers a relaxing way to shape something quirky and fun with your hands. Take pride in completing something imaginative and unique while practicing straightforward techniques suited for all experience levels.