Create a cute and colorful DIY Polymer Clay Starfish with this beginner-friendly guide, perfect for crafting coastal decorations.
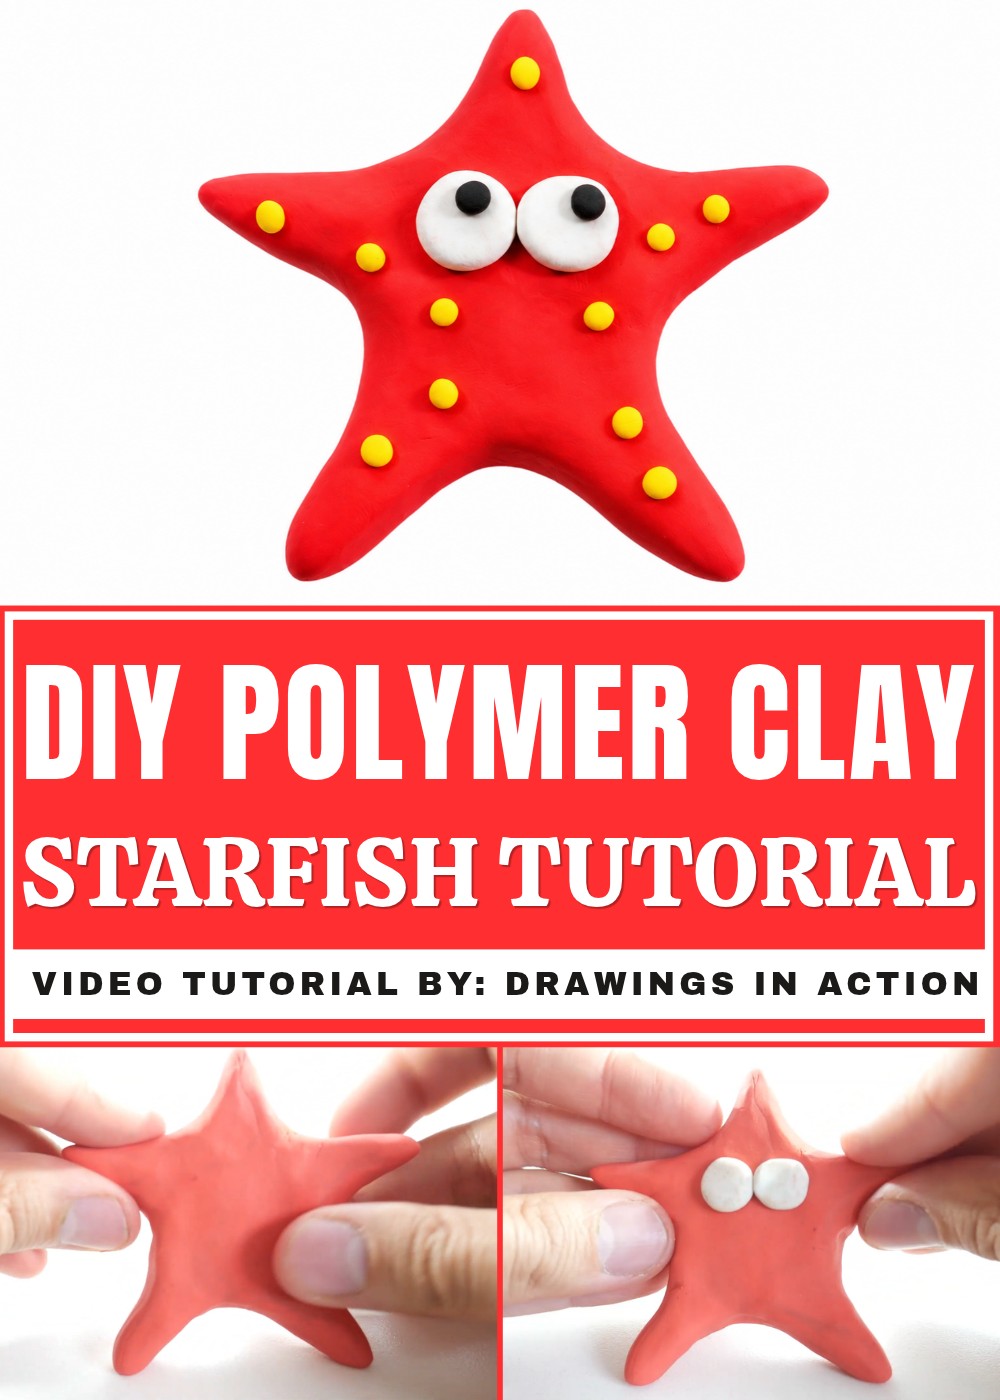
If you love the beach and want to bring a little piece of the ocean into your home, this fun project is perfect for you. Today, we are exploring a wonderful DIY Polymer Clay Starfish idea that is super easy to try. Full credit for this amazing tutorial and beautiful design goes to the original YouTube channel, Drawings In Action. They have shared a simple guide that shows everyone how to shape and bake a cute little sea creature right at your kitchen table. It is a lovely way to spend a free afternoon making something truly special.
Easy DIY Polymer Clay Starfish Ideas For Beginners
Creating this little ocean friend is surprisingly relaxing and highly enjoyable. You only need a few basic colors of soft modeling material and some common items from around your house to add tiny dots and lines. As you roll and press the piece into a familiar star shape, you will see it slowly come to life. Adding texture to the top gives it a real and natural look, just like a true sea star you might find resting on the wet sand. Playing with the soft colors is a great way to let your imagination run wild while keeping your hands busy.
Once your handmade treasure is baked and cooled down, you can use it in so many wonderful ways. It looks absolutely beautiful sitting on a bathroom shelf, glued to a summer picture frame, or given as a lovely handmade gift to a friend. Even if you have never tried making things by hand before, you will find this activity very rewarding. It is a fantastic hobby for people of all ages who want to try something artistic. You will feel so proud when you look at your finished piece and realize you made it entirely by yourself.
How To Shape A Simple Plasticine Starfish
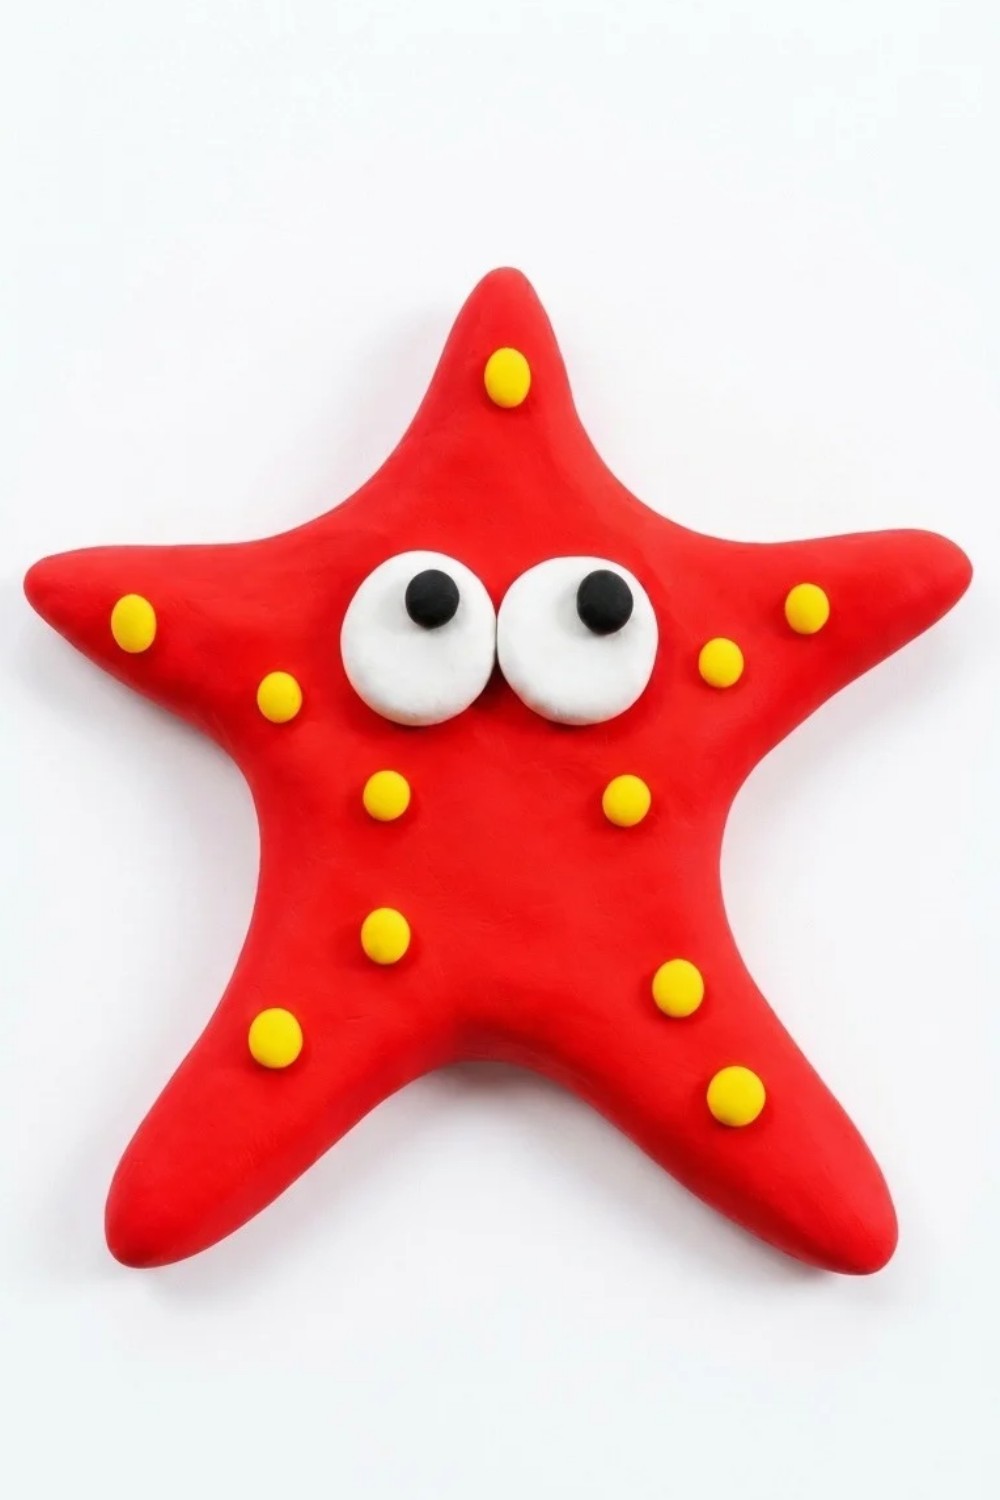
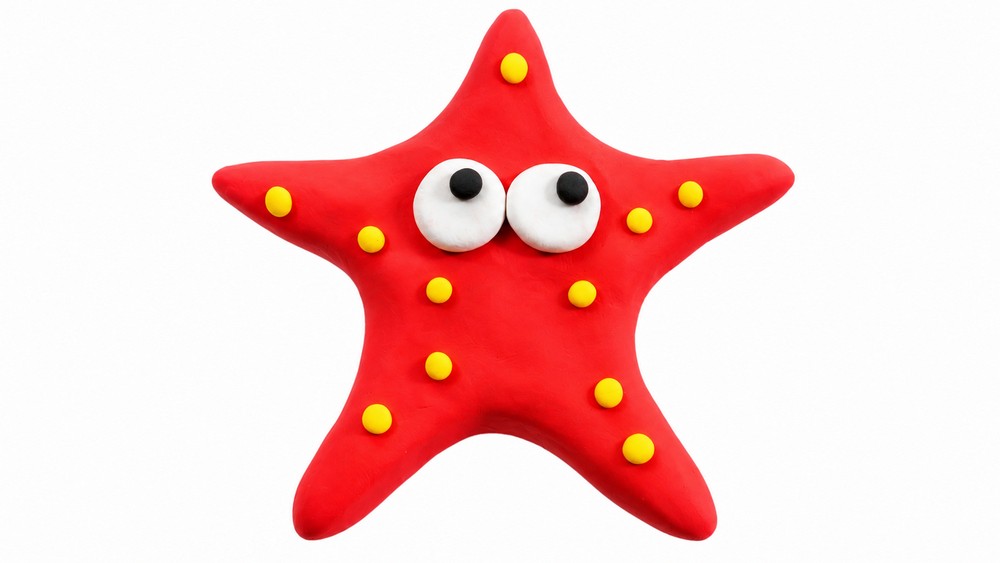
This tutorial explains how to model a delightful plasticine starfish using just four colors: red, white, black, and yellow. The process is simple and requires no tools—everything is done with your hands. Each step involves straightforward actions such as shaping plasticine into balls, stretching and flattening points, and adding small details like eyes and decorations. By the end, you’ll have a starfish that is bright, fun, and suitable for display or play. Follow the instructions carefully for a result that looks just like the one described in the original guide.
Materials and Tools
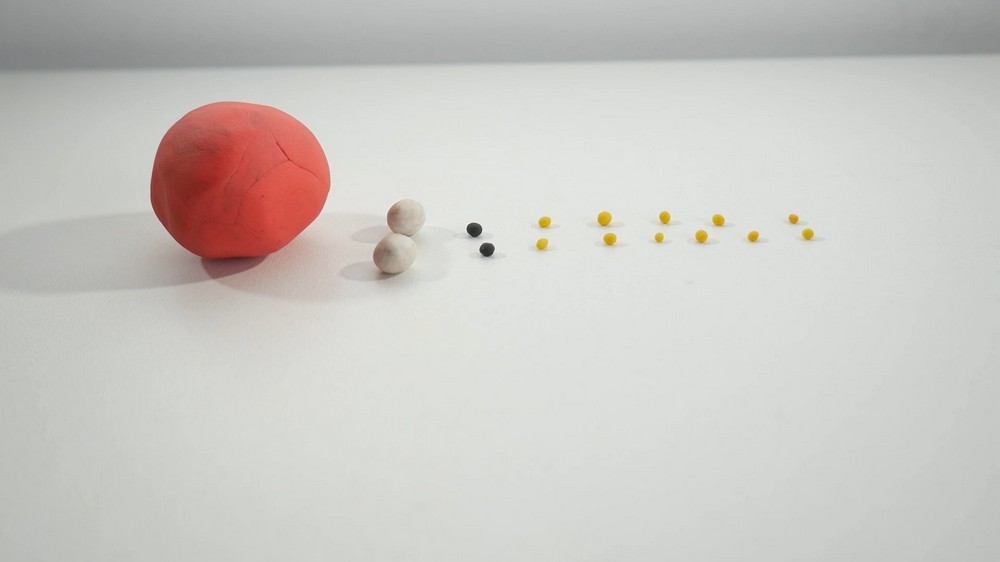
Plasticine Colors
- Red plasticine: Forms the main starfish body, including five points (arms).
- White plasticine: Used to make the eyes.
- Black plasticine: Used for the pupils inside the eyes.
- Yellow plasticine: Added as decorative spots on the starfish.
Preparation
- Divide the plasticine into small balls of specific colors:
- Red for the body.
- White for the eyes (at least two).
- Black for the pupils (at least two).
- Yellow for decoration.
- Pause to prepare your plasticine according to the described setup before starting the tutorial.
No additional tools or materials are mentioned. All shaping steps are completed using your hands.
Shaping the Main Starfish Body
Start with Red Plasticine
- Take the prepared red plasticine balls and combine them into a single mass.
- Knead the plasticine with your hands until it becomes soft and pliable.
- Shape the softened red plasticine into a rough, rounded lump.
Form Five Points
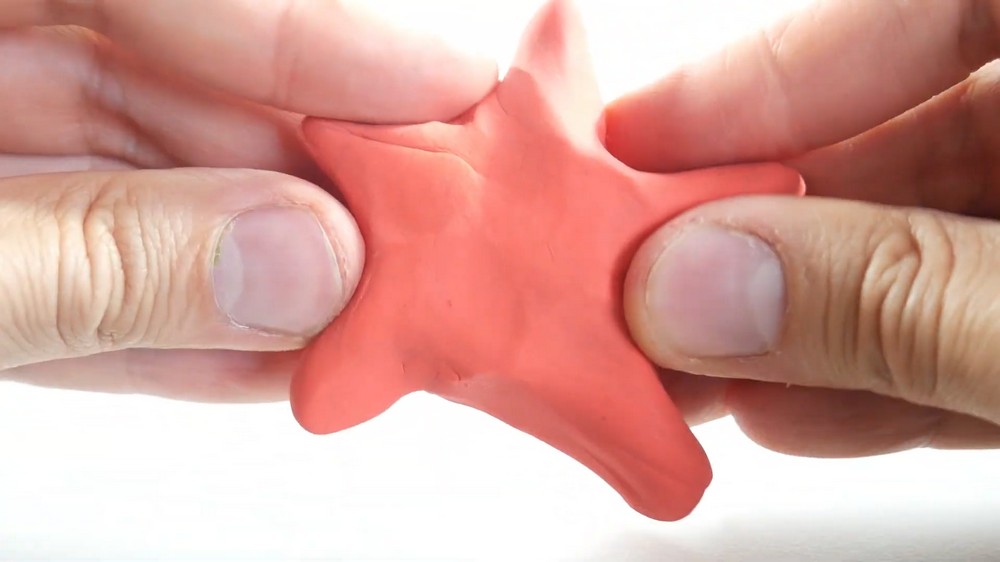
- Use your fingers to gently pull small sections of the red plasticine outward, one by one:
- Shape these into five evenly spaced points radiating outward from the center of the lump.
-
- One side can be left slightly thicker in the middle to create the body of the starfish, as seen in the video.
- Ensure all five points are equal in size. If one point appears too small or too large, redistribute extra plasticine to balance them.
Flatten the Starfish
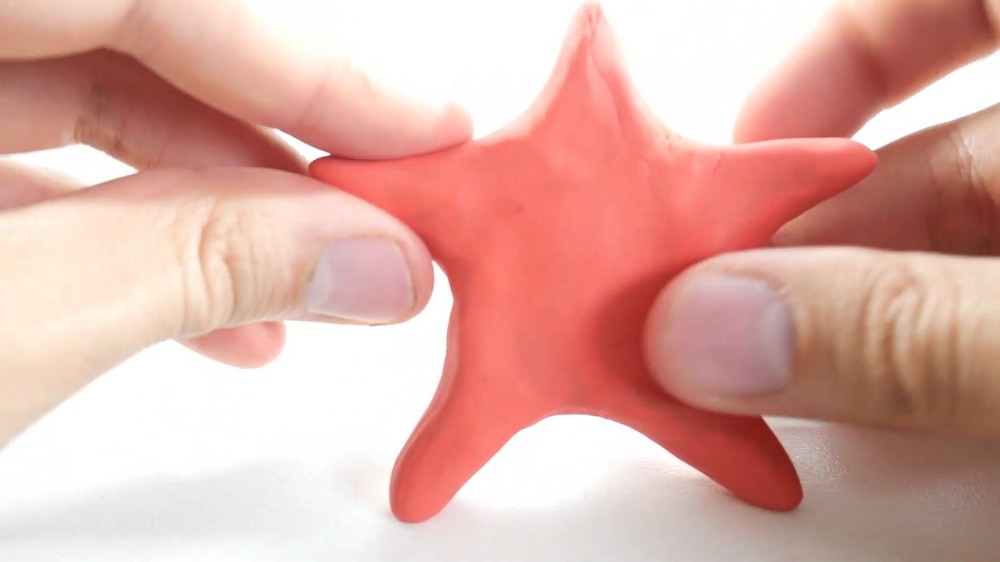
- Once the points are pulled out, lightly press down on the entire starfish with your fingers.
- Flatten each arm gently, keeping each one symmetrical and uniform in shape.
Adding the Eyes
Prepare Two White Plasticine Balls
- Take two small white plasticine balls that you’ve set aside.
- Compare them to ensure the size matches for a balanced look.
Flatten and Position the Eyes
- Using your fingers, gently press on each white ball to form a flat circular disc.
- Place the flattened white discs on the front of the starfish, where the eyes will go.
- Position the discs slightly in the upper-center area of the starfish.
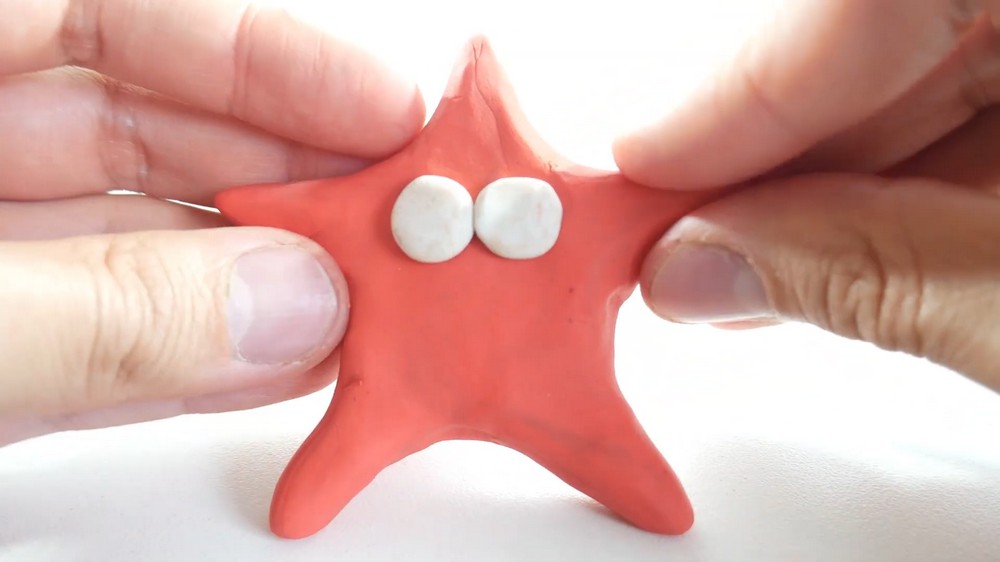
Add the Black Pupils
- Prepare two small black plasticine balls.
- Place each black ball on top of a flattened white disc, one per eye.
- Gently press down to secure the black pupils in the center of the white eye discs.
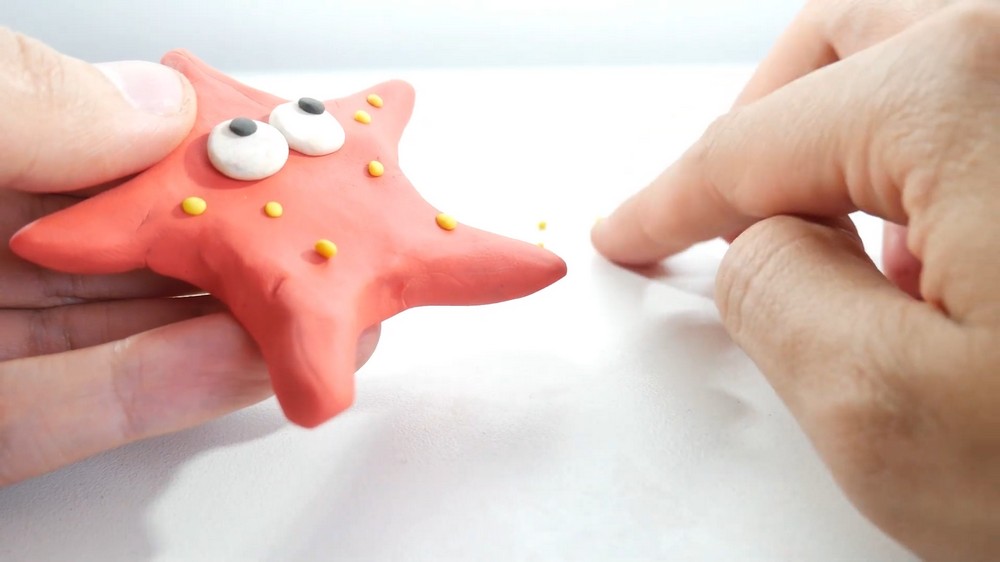
Adding Yellow Decorations
Shape the Decorations
- Take the yellow plasticine balls and roll them into small spheres.
- These balls should be smaller than the pupils and should remain round.
Decorate the Starfish
- Place the yellow balls on the surface of the red starfish.
- Arrange them in random patterns across the body and arms for a decorative effect.
- Press lightly to make sure each yellow ball sticks well to the red surface.
Final Checks
- Inspect the shape: Ensure the starfish has five even arms. Adjust their size and shape with your hands if needed.
- Check the eyes: Confirm that the white discs and black pupils are well-aligned and firmly attached.
- Adjust decorations: Arrange the yellow decorations evenly and ensure they are securely placed.
Conclusion
This quick and simple project can help you form a colorful plasticine starfish with distinct features like bold eyes and fun decorations. With just your hands, you shaped the red plasticine into a balanced, five-pointed star and added the playful finishing touches of the eyes and textured yellow spots. This process is perfect for beginners or those looking for a relaxing activity. The final starfish has a charming look and can add a touch of creativity to any small space. Store it safely and enjoy the fun design you’ve just completed.