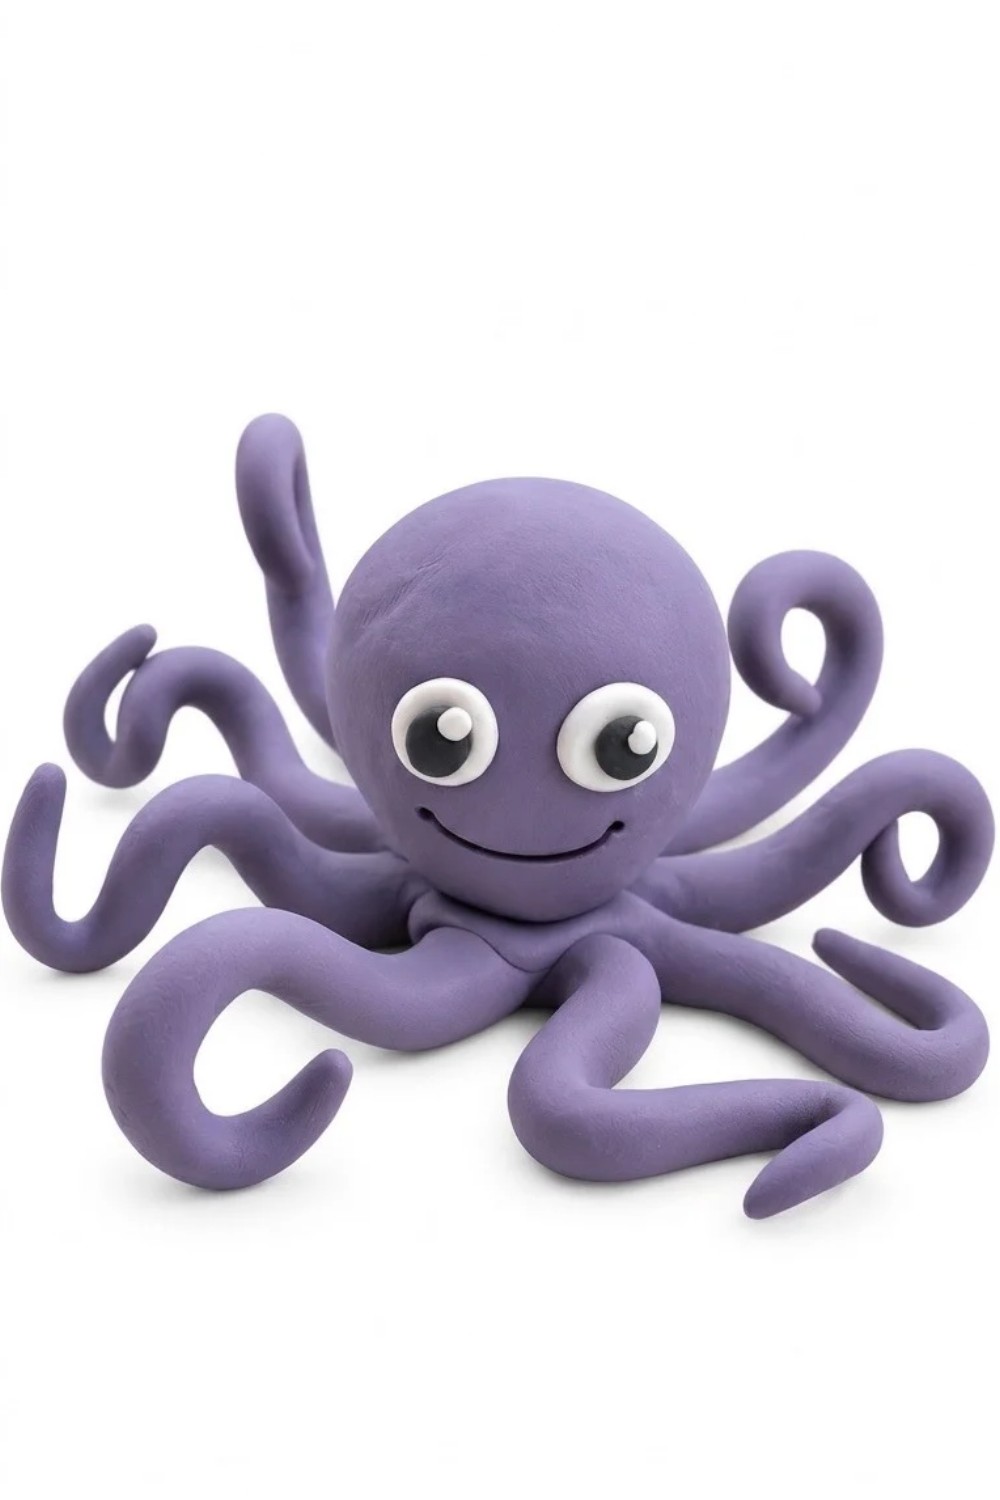
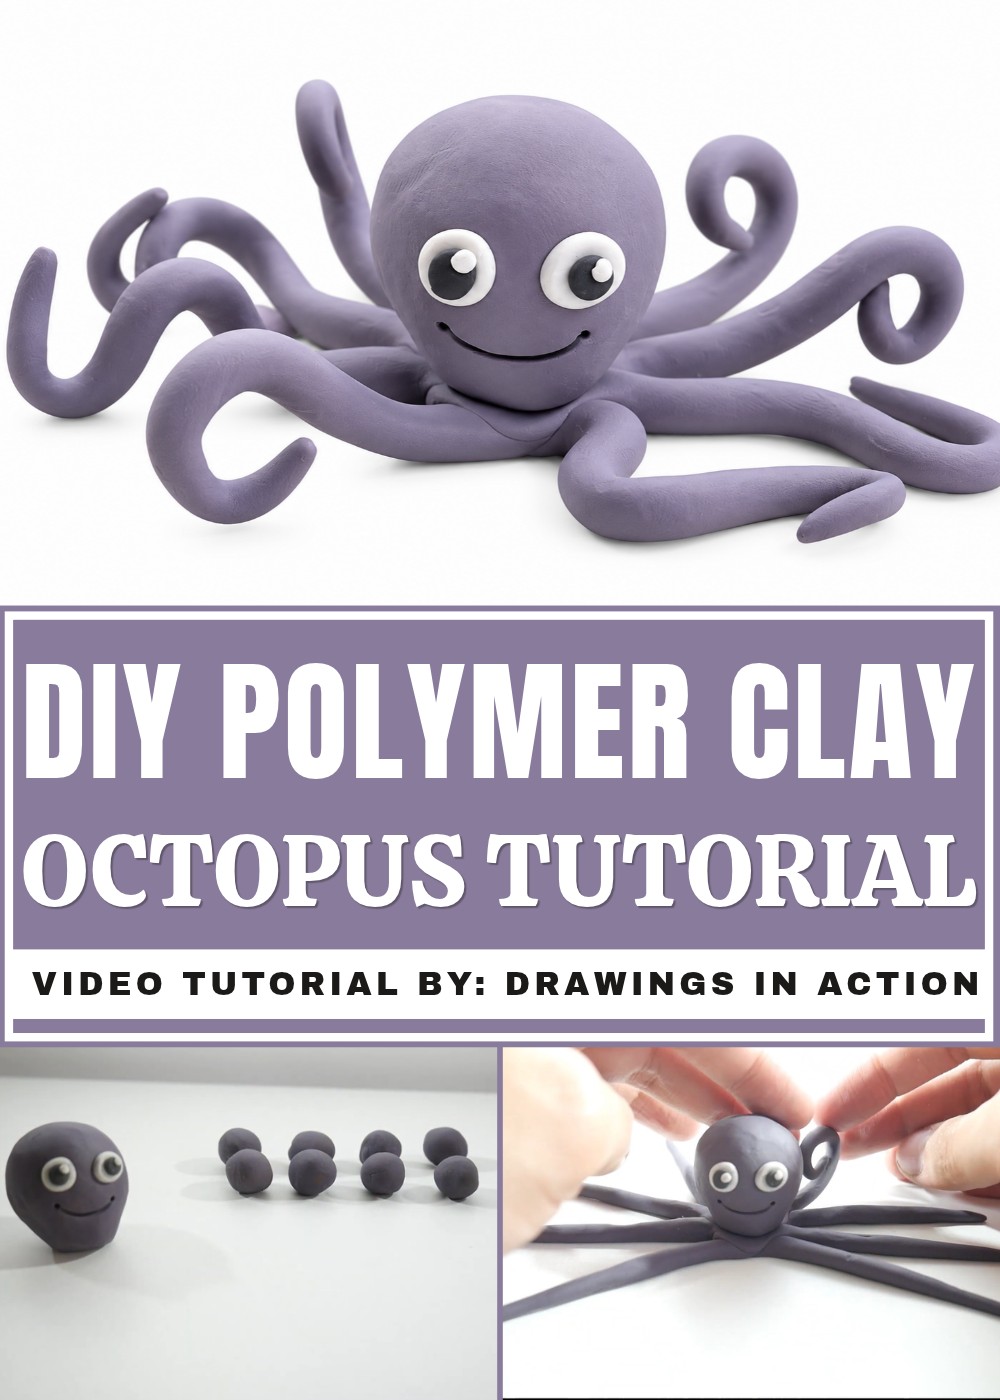
Display a DIY Polymer Clay Octopus on your bedroom shelf or study table, with its cute eyes and little curved arms for a cheerful underwater touch.
Can a tiny clay Toy look just as interesting as the real one? Its unusual body and eight curling arms offer plenty of room for fun details. Drawings In Action presents this lovely idea in a simple way that animal lovers can appreciate.
Simple DIY Polymer Clay Octopus With Curly Tentacles
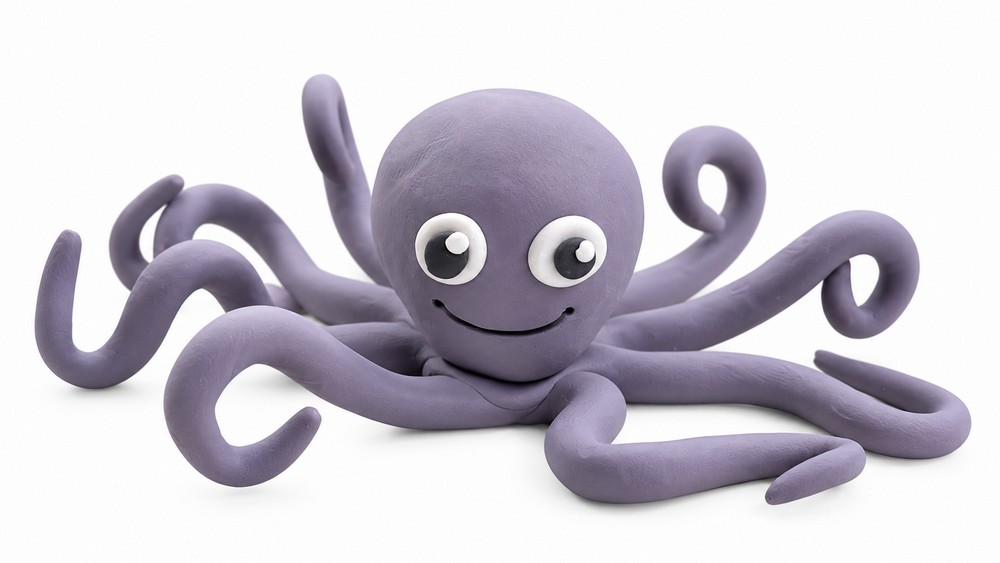
DIY Polymer Clay Octopus is a colorful sea creature with a large round head, eight flexible arms, and a cute little face. Its bright body gives it a lively appearance, while the arms spread around it in different directions. The curved ends give the figure a playful style, almost as though it is moving along the ocean floor.
A special feature of this model is the row of tiny suckers underneath each arm. These small circles help give the octopus its familiar appearance. Purple, pink, or orange clay can suit the body, while small black eyes and a tiny mouth complete its expression. The arms can curl in different ways, giving the animal an interesting shape from every side.
This little octopus can decorate a child's room, a school desk, or a small shelf. It is also a nice gift for someone who likes sea animals.
With its unusual arms and cheerful colors, the finished figure offers a fun example of ocean life in miniature form.
How to Make a Cute Plasticine Octopus: A Simple Beginner’s Tutorial
This easy and fun plasticine project! Today, we will make a plasticine octopus in a quick and simple way. This guide will take you through the process step by step, so you can create your own adorable octopus using just a few colors of plasticine.
Why I love this project
I love this plasticine octopus project because it is simple, fun, and creative. The materials are easy to find and work with, making it perfect for beginners like me. Shaping the colorful plasticine into the octopus’s head and tentacles allows me to practice my hand skills and imagination. Adding small details like the eyes, smile, and wavy tentacles makes the octopus come to life, which is very satisfying. Overall, this project brings joy and a sense of accomplishment as I create a cute little creature from just a few colorful balls of plasticine.
Materials and Tools Needed
- Plasticine colors:
- Purple
- Black
- White
- A clean flat surface or table to work on
- A tool or pencil (to draw the smile and details)
Step-by-Step Instructions
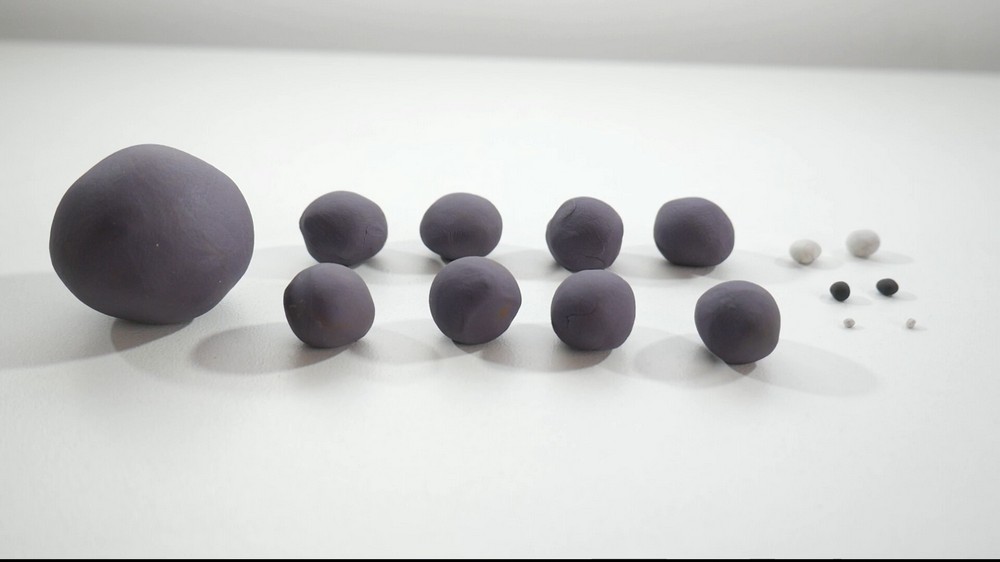
1. Prepare the Plasticine Balls
- Take the purple, black, and white plasticine.
- Divide each color into several balls of different sizes.
- For reference, you will need:
- One largest purple ball for the head
- Medium and small balls for the eyes and pupils
- Several medium sized purple balls for the tentacles
- Take your time shaping the balls nicely. You can pause and check sizes as needed.
2. Shape the Octopus Head
- Take the largest purple ball.
- Shape it into an egg form by rolling and gently pressing to elongate one side.
- Flip the egg shape over, keeping the widest part facing upwards.
- This will give the head a nice rounded top.
3. Add the Eyes
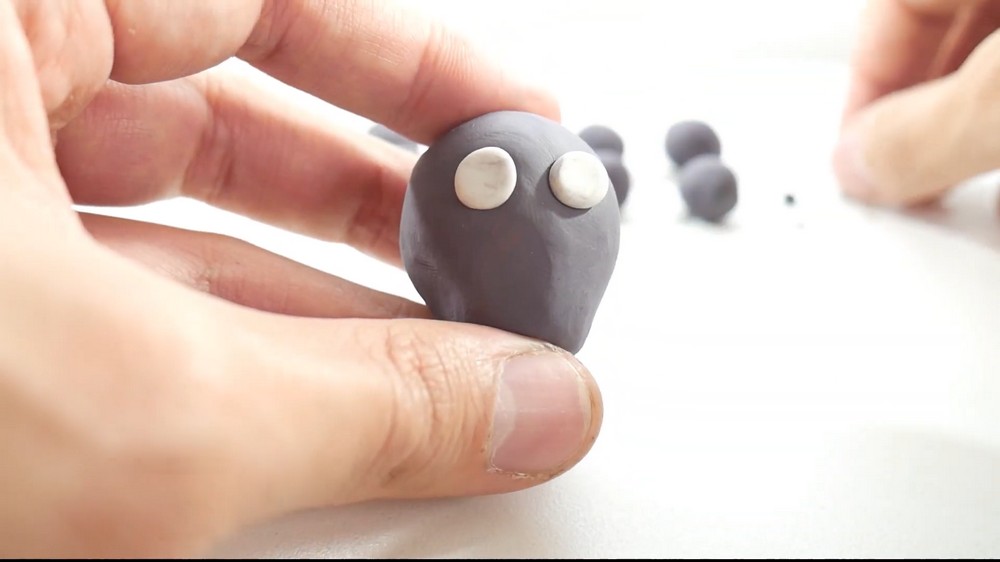
- Take two balls of white plasticine and place them on the widest part of the head — these are the eyes.
- Then, take two smaller black balls and place them on the white balls for pupils.
- To add a cute shine effect, place a small dot of white plasticine on each pupil.
4. Draw the Smile
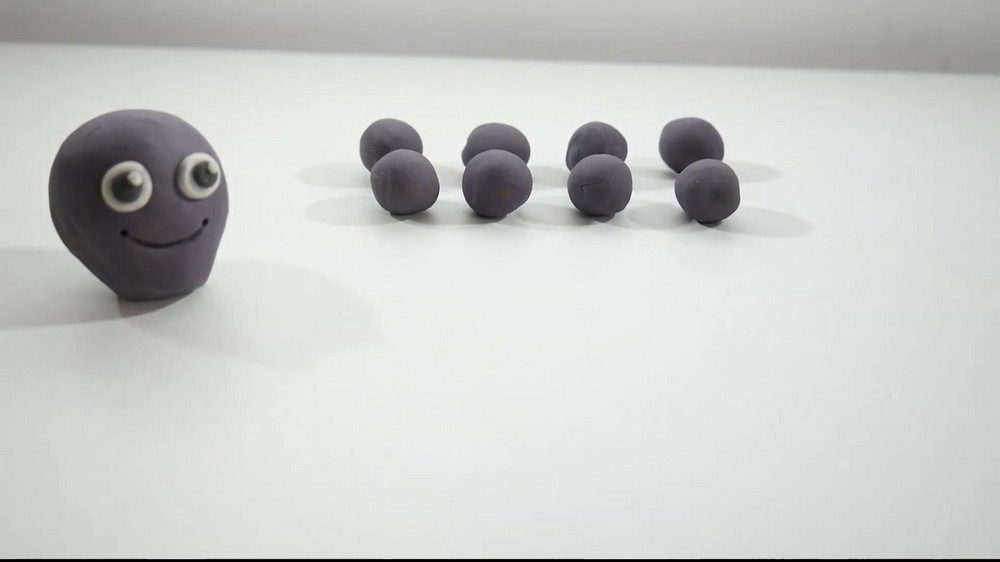
- Using a pencil or any pointed tool, draw a big, happy smile on the octopus’s face.
- This simple detail will make your octopus look friendly and cheerful.
5. Make the Tentacles
- Take a purple ball of plasticine for the tentacles.
- Roll it on the table and press it to form a long strip that is thicker at one end and thinner at the other.
- Make sure the tentacle strip tapers nicely from thick to thin.
- Repeat this process to make 8 identical strips (one for each tentacle).
6. Arrange the Tentacles
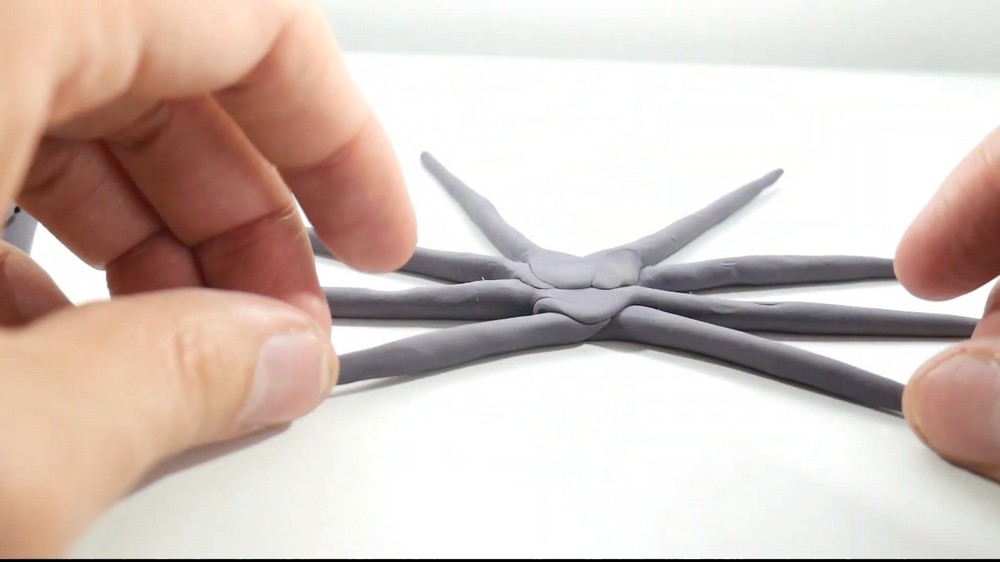
- Place the 8 tentacle strips on your table in a star shape, with the thicker ends all grouped together at the center.
- Press the thicker ends gently to join all tentacles together at the center.
7. Attach the Head
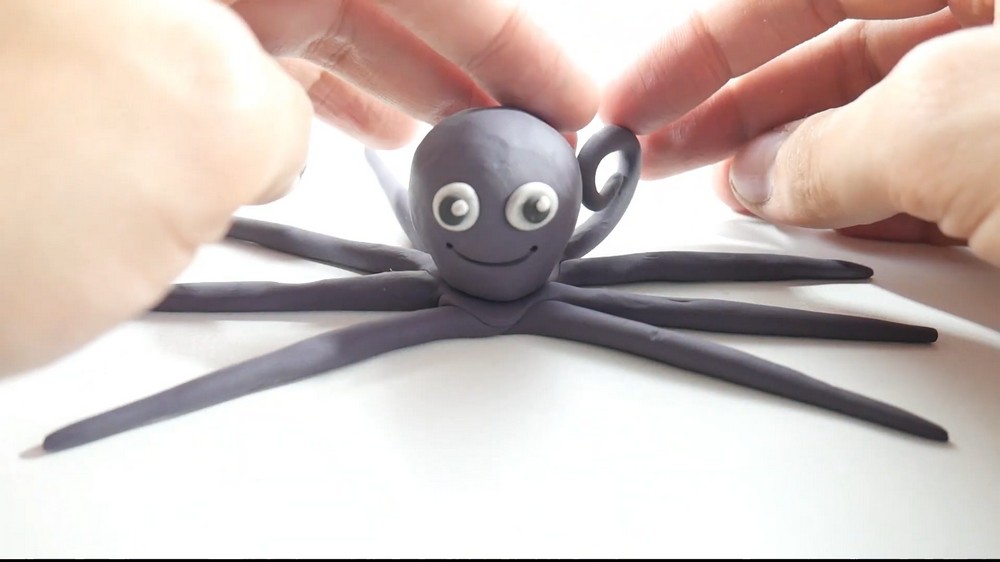
- Place the octopus head you made earlier in the middle of the tentacle star (on top of the joined thicker ends).
- Press the head down gently so it sticks well to the tentacles.
8. Add Realistic Details to Tentacles
- To give the tentacles a more natural look, gently press, fold, and curve each tentacle strip to create waves and folds.
- Make sure each tentacle has a gentle curve and fold to mimic the look of a real octopus’s tentacles.
Final Notes
And that’s it! You now have a cute and easy plasticine octopus with a happy face and lifelike tentacles. This project is perfect for beginners and can be done quickly with just a few simple steps.
Tips for Success
- Make sure to roll the plasticine smoothly to avoid cracks.
- Handle the tentacles gently when shaping waves and folds to prevent breaking.
- Use the pencil or tool lightly when drawing the smile so you don’t press too hard.