Learn how to craft a stunning DIY Polymer Clay Cake that looks good enough to eat, perfect for decor, miniature collections, or creative gifts.
Who doesn’t love cake? Now imagine making a cake that lasts forever and it’s small enough to fit in your hand. Crafting tiny, adorable cakes with polymer clay is a super fun DIY project for anyone who enjoys playing with colors and designs. You can create your own mini masterpiece, complete with layers, frosting, and colorful decorations. It’s like baking a real cake, but without the mess or the oven.
Fun DIY Polymer Clay Cake with a Playful Design
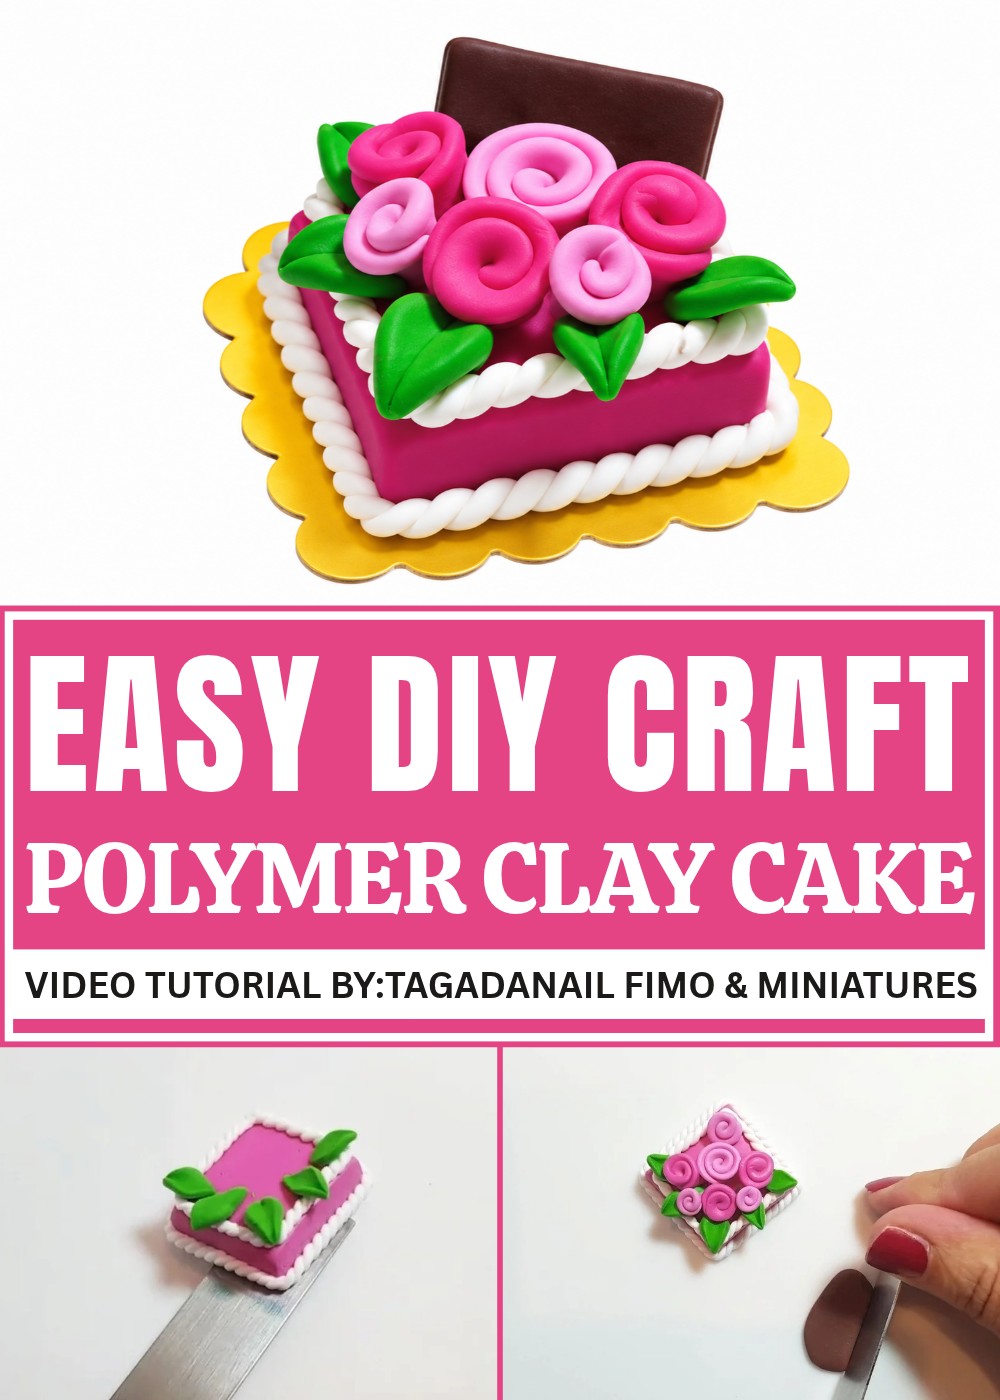
The DIY Polymer Clay Cake project is exciting because it gives you endless creative freedom. You can design classic chocolate layers, vibrant rainbow cakes, or even whimsical creations like unicorn or galaxy-themed desserts. Once you shape and bake your miniature cake, it hardens into a durable little charm. These tiny cakes are perfect for turning into keychains, jewelry, or even cute decorations for your room.
This project is easy to follow, so it’s great for beginners and also fun for kids (with adult supervision, of course). It’s the perfect way to relax, be creative, and make something super cute. By the end, you’ll have a delightful mini cake that looks good enough to eat! Whether you make one for yourself or as a gift, this project is a sweet way to share your crafty side with the world. Have fun creating your tiny treats.
Project Overview
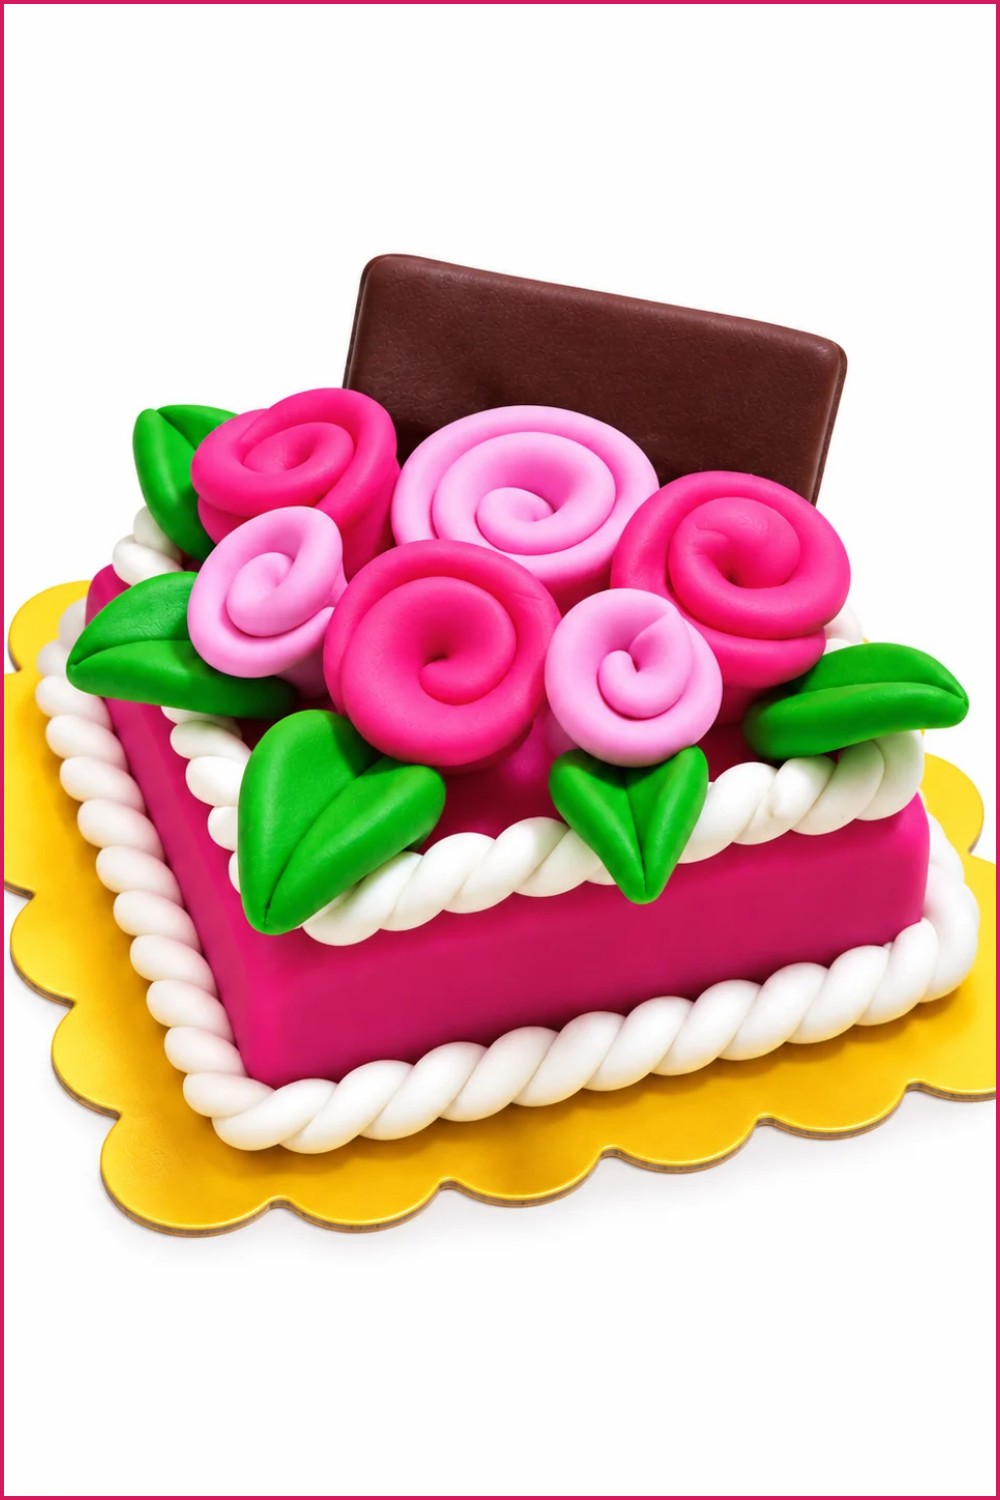
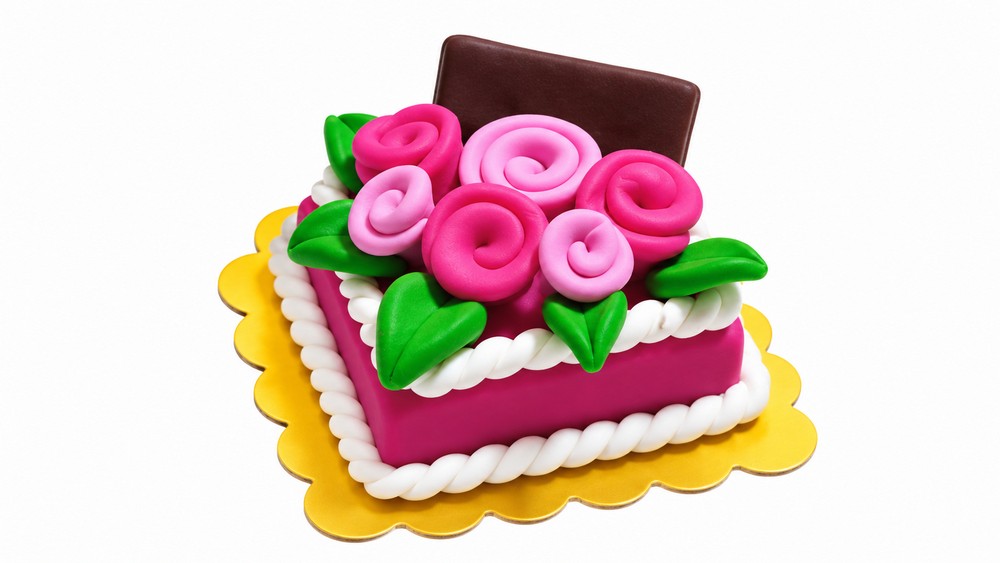
This tutorial guides you through making a miniature decorative cake from polymer clay. The project produces a neat, layered pastry-style piece that can be used as a charm, magnet, display prop or embellishment for mixed-media crafts. The method focuses on simple shaping, color layering, textured leaves and flowers, and a decorative chocolate plaque. Steps include preparing thin sheets, building layers, shaping roses and leaves, assembling decorations, baking, and optional finishing touches.
Supplies and Equipment
- Polymer clay in chosen cake color (red or any base tone)
- White polymer clay for frosting and decorations
- Green polymer clay for leaves
- Brown polymer clay for the chocolate plaque
- Small amounts of darker or lighter colors for accent petals or centers (optional)
- Roller or brayer for even sheets
- Ruler or straight edge for measuring and cutting squares
- Sharp craft blade for trimming and slicing
- Toothpick or needle tool for detailing and removing excess clay
- Small round tools or stylus for shaping roses and impressions
- Work surface (glass, tile, or smooth board)
- Oven for baking following clay manufacturer’s instructions
- Fine brush and white acrylic paint for post-bake chocolate detailing (optional)
- Sandpaper and gloss varnish for finishing (optional)
Measurements and Specifications
- Base cake thickness: approximately 0.5 cm (half a centimeter) as in the demonstration.
- Starting square: cut from flattened clay; size varies by desired final cake diameter. Typical miniature cakes range from 2 to 4 cm across.
- Leaf slices: thin enough to flatten and pinch into petal-like forms; about 1–2 mm thick before shaping.
- Flower rolls: several tight wraps produce small rosettes; number of wraps determines flower size.
- Baking: follow manufacturer’s temperature guideline (commonly 110°C / 230°F) and bake for 25–30 minutes for this thickness, or as recommended by your clay brand.
Getting Everything Ready
- Condition each color by warming and kneading until soft, pliable, and free of visible seams. Proper conditioning prevents cracking and ensures easy shaping.
- Work on a clean surface to avoid debris embedding in clay. Keep color batches separated to prevent cross-contamination.
- Gather tools within reach and pre-cut any paper or guides you’ll use to measure squares.
- If you plan to paint or varnish after baking, have brushes and varnish ready for final steps.
Making Instructions
Step 1: Prepare the Cake Base
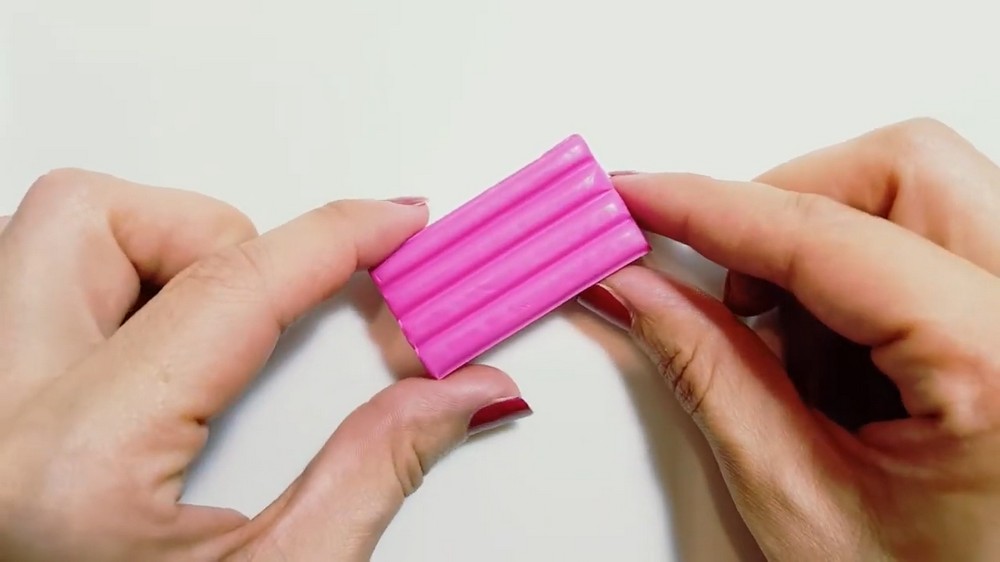
- Flatten a piece of base-color clay to approximately 0.5 cm thickness using a roller or fingers.
- Use a ruler or straight edge to trim a clean square. Take your time to create straight edges for a neat appearance.
- Smooth edges and top lightly with a fingertip or roller to remove fingerprints while maintaining the square profile.
- Reserve any trimmings; saved scraps can be used for small decorations or blended into matching colors later.
Step 2: Add Frosting and Internal Layers
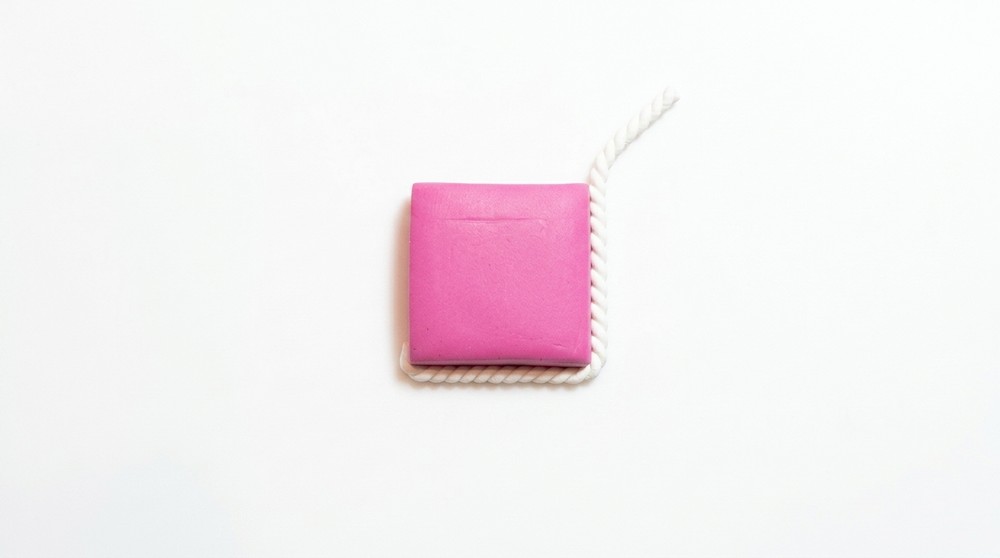
- Roll white clay into a strip or sheet and wrap it around the cake base’s sides if you want a frosted look; alternatively place a thin white disk on top for a frosted top layer.
- Blend edges of frosting pieces gently into the base to avoid visible seams but keep decorative ridges if desired.
- If you prefer layered appearance, repeat with alternate colored thin sheets to simulate tiers, ensuring each layer adheres well.
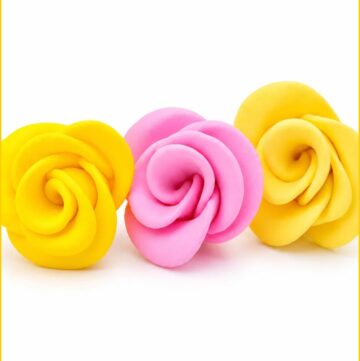
Step 3: Create Roses and Small Flowers
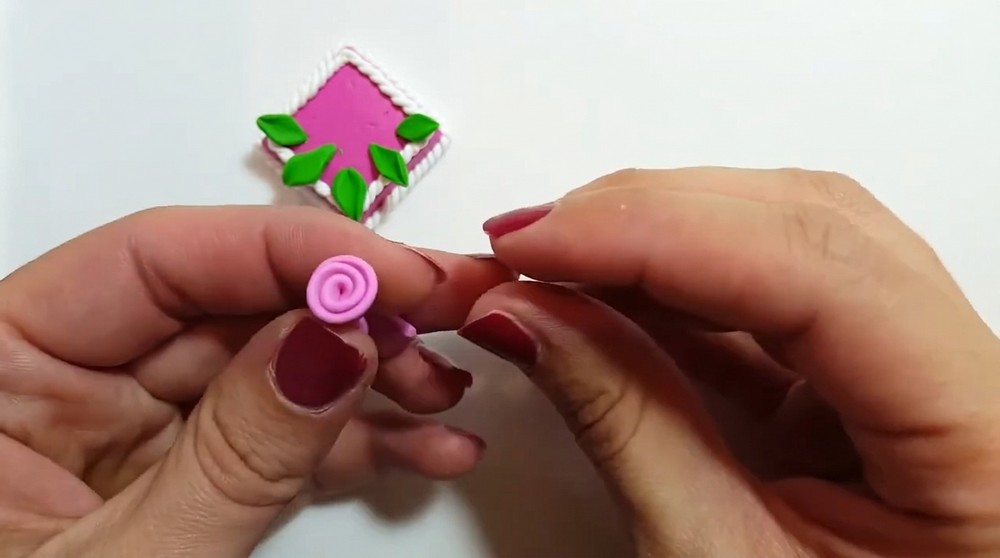
- Roll a small amount of white or colored clay into a long sausage. Fold it in half and twist lightly to form two thin tubes joined together, then roll between fingers to smooth and elongate.
- Coil the thin strip around itself to form a miniature rose; tighten or loosen the coil to adjust flower size.
- Trim the base of the coil to create a flatter underside for adhering to the cake.
- Make several roses of varying sizes to compose a clustered floral decoration. Keep some tiny buds by using fewer wraps.
Step 4: Shape Leaves and Arrange Foliage
- Roll green clay into thin sheets and cut into small rectangles or thin wedges.
- Flatten each piece between fingers and pinch one end or both ends to create a leaf shape; add light vein impressions using a needle tool or toothpick.
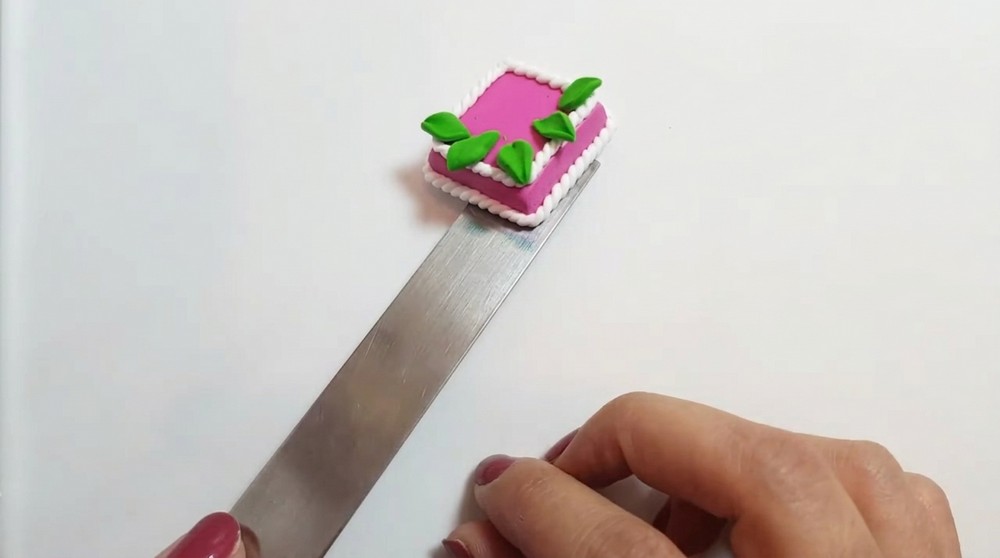
- Slightly curl or bend leaves for a natural look before attaching them to the cake surface.
- Arrange leaves around roses and flowers, alternating sizes and directions to create depth and realism.
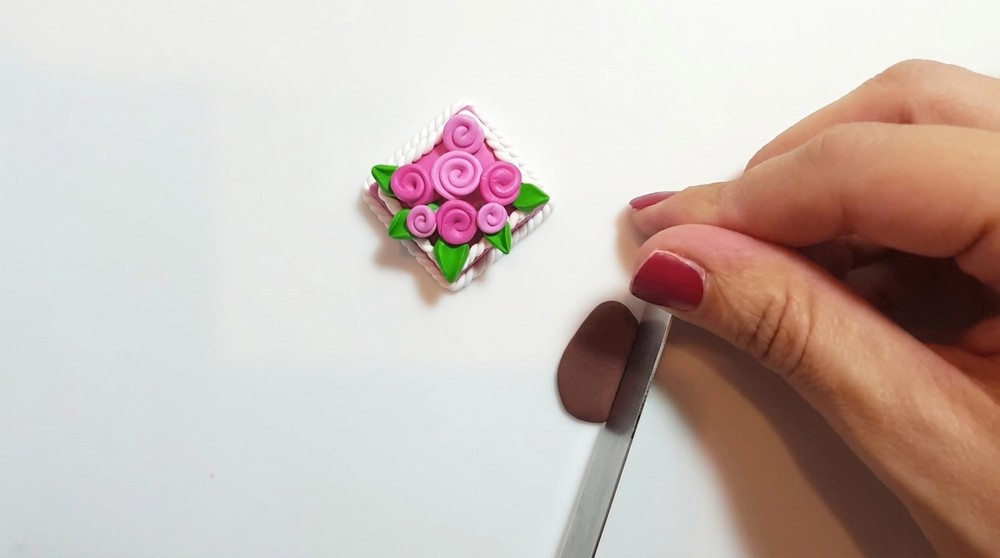
Step 5: Make and Add the Chocolate Plaque
- Flatten brown clay and cut a neat rectangular or oval plaque sized to your cake top.
- Neaten edges by trimming and pressing lightly with a ruler or flat tool for clean sides.
- Position the plaque between floral groups or at the front; press gently to adhere without crushing surrounding decorations.
- After baking, highlight plaque detail by painting a small inscription, border, or texture with white acrylic paint using a fine brush.
Assembly
- Arrange flowers, leaves, and the plaque on the cake top before baking to confirm placement and balance.
- Remove any excess clay with a toothpick to maintain crisp edges and avoid lumps.
- If necessary, re-adjust proportions by making additional small petals or leaves from reserved scraps to fill gaps.
Final Touches
- Bake the assembled cake according to polymer clay manufacturer’s temperature and time recommendations for the overall thickness. Allow the piece to cool completely on the baking surface.
- After cooling, sand any rough edges if desired and apply a thin coat of gloss varnish for shine or a matte varnish for a more realistic fondant appearance.
- Paint details on the chocolate plaque with white acrylic paint and seal if needed.
Tips for Better Results
- Work slowly when blending layers to keep clean seams and a professional finish.
- Keep spare thin strips for quick repairs or additions during assembly.
- Practice rose sizes on scraps so final decorations match proportions.
- Use even pressure when pressing decorations to avoid flattening delicate forms.
Troubleshooting
- If seams show after baking, sand lightly and apply a tiny amount of varnish to smooth.
- For cracked pieces, ensure clay was properly conditioned and avoid overbaking.
- If elements detach after baking, reattach with suitable adhesive or rebake if using uncured clay parts.
Creative Variations
- Change colors for seasonal themes, add edible-look sprinkles from tiny colored dots, or bake several sizes to create a cake set.
- Combine with charms, magnets, or wire stems to convert into wearable accessories or decorative pins.
- Mix in mica powder or metallic accents for a special finish.
This compact, stepwise approach will help you make a polished miniature cake with layered flowers, leaves and a chocolate plaque. Work methodically, keep proportions consistent, and customize colors and details to suit your style.