Cute pocket sized Pluto with glossy nose and playful silhouette serves as a shelf worthy keepsake in DIY Polymer Clay Pluto Tsum Tsum guide for fans.
A morning sunbeam finds a tiny yellow companion tucked among notebooks, its button eyes and rounded silhouette promising a quick smile. This DIY Polymer Clay Pluto Tsum Tsum captures Pluto’s playful spirit in a compact, pocket-sized form that reads as both toy and miniature sculpture.
Easy DIY Polymer Clay Pluto Tsum Tsum for Beginners
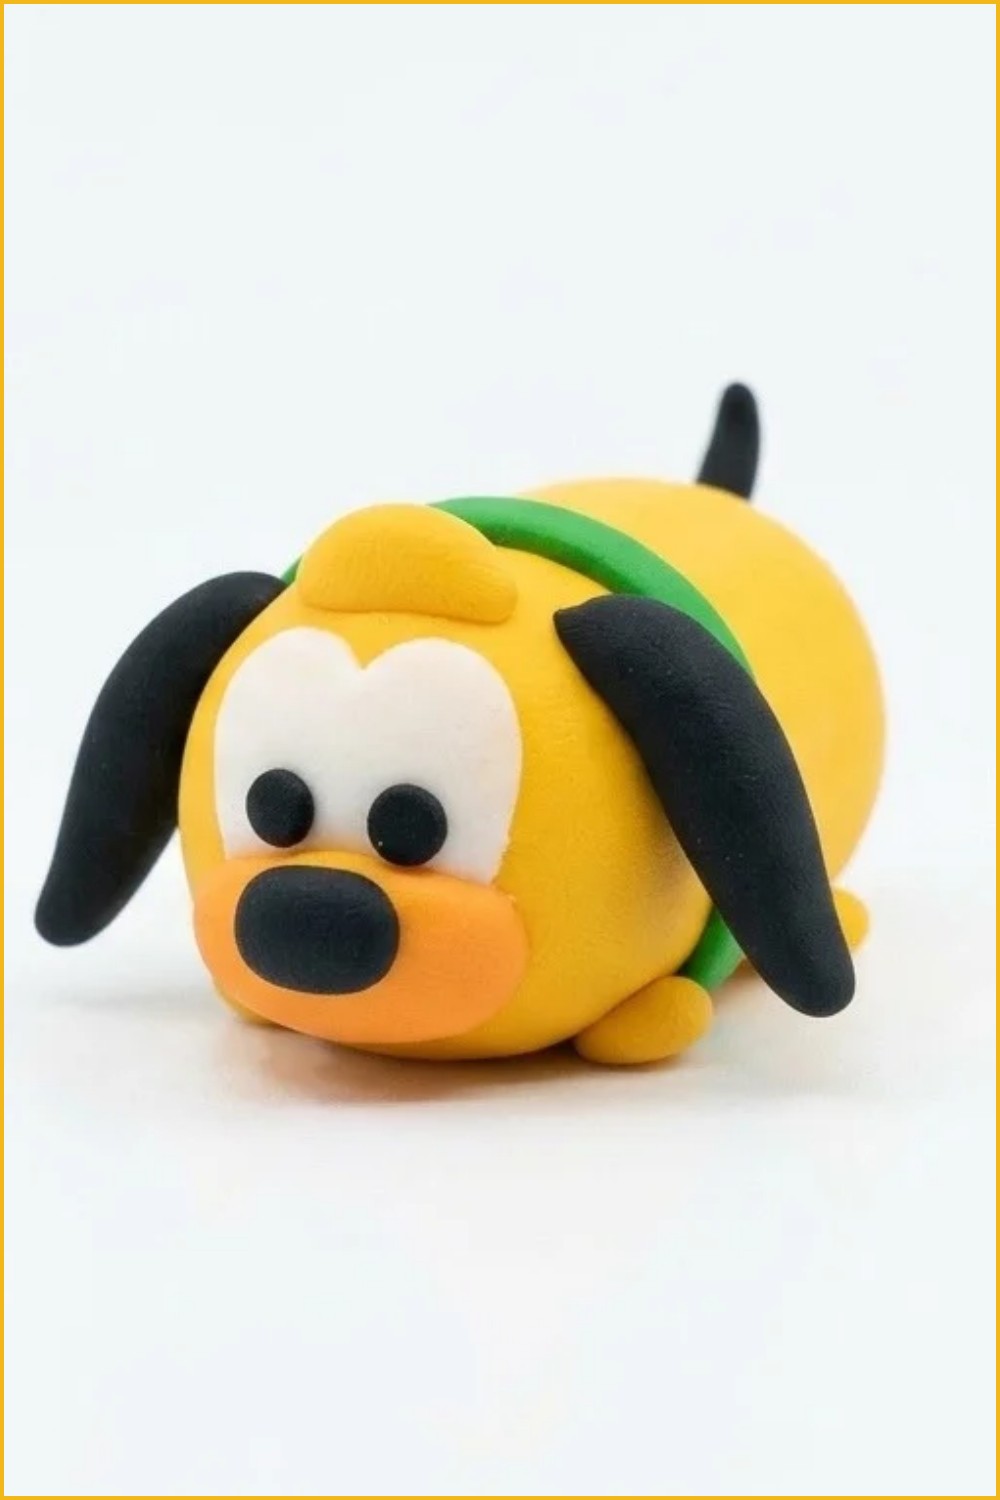
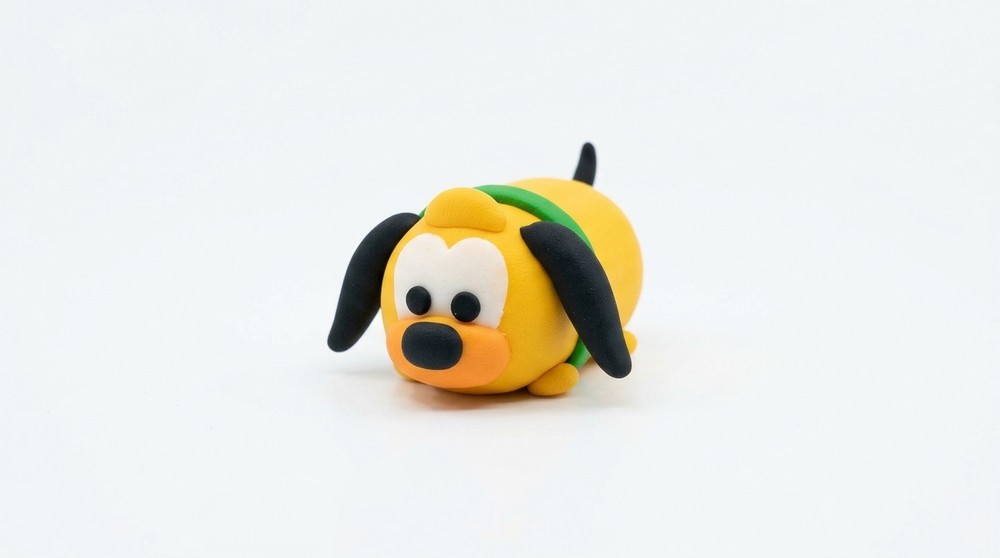
The finished piece is smooth and inviting: a single rounded block serves as body and head, softened by a pale heart-shaped face patch, a small raised snout with a glossy black nose, and two simple black eyes that convey curiosity. A slim green stripe along the back gives an unexpected accent, while tiny, flattened paws and a short tail keep the profile balanced and stable. The stylized ears, gently pinched at the top, add just enough character without cluttering the clean silhouette.
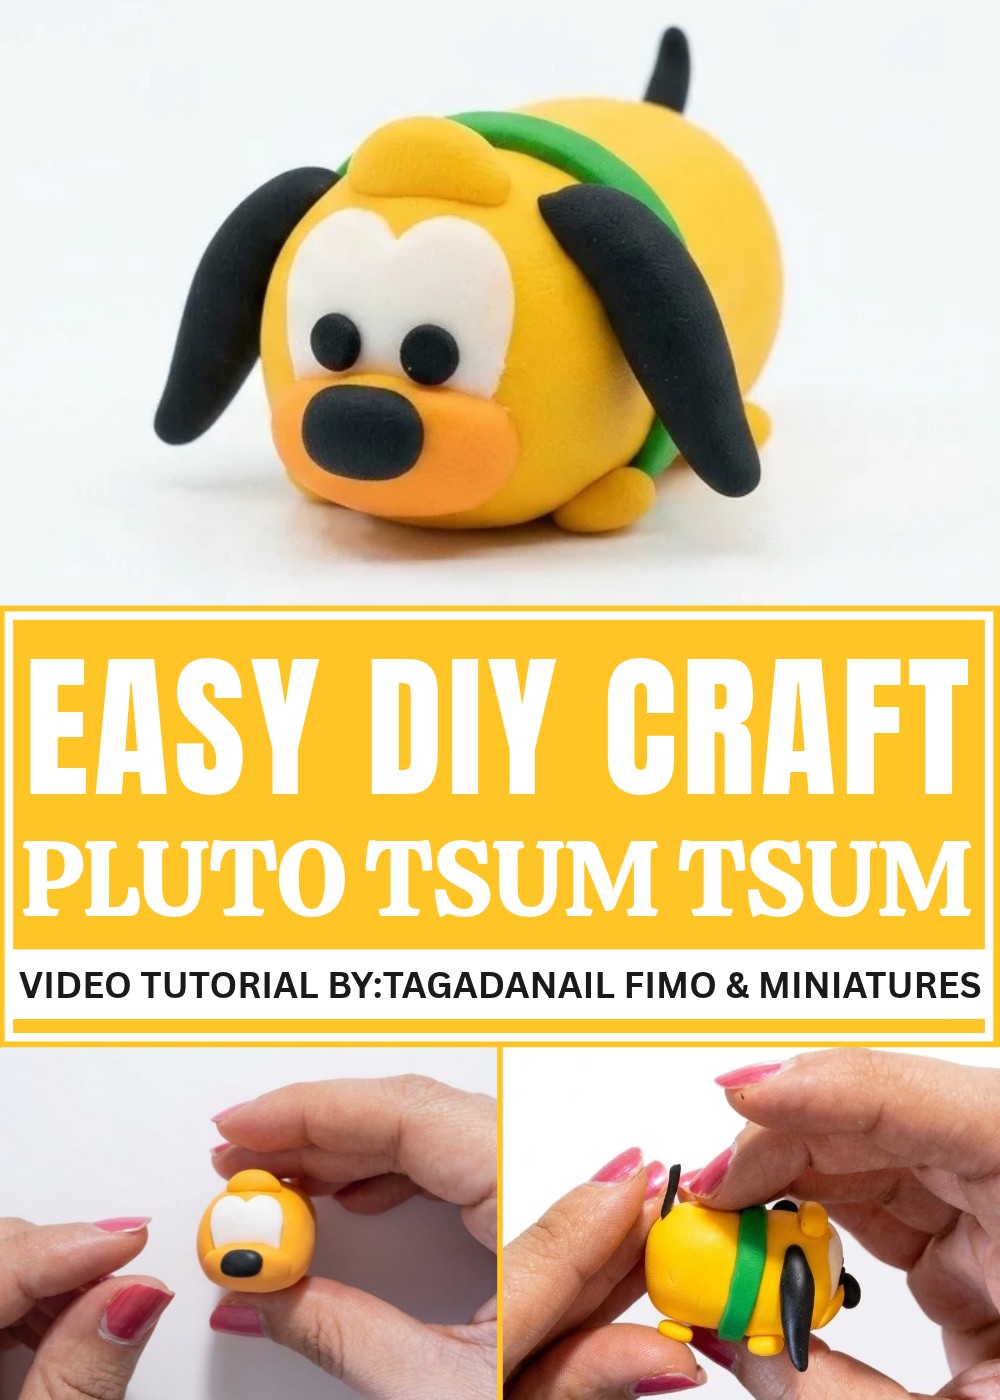
Made as a collectible charm or shelf accent, the design feels modern and playful—perfect for desks, gift bundles, or themed displays of pocket-sized Disney figures. What makes this piece interesting is its economy of detail: a few well-placed shapes and colors immediately read as Pluto, combining nostalgia with tidy, contemporary design. The result is an approachable, handcrafted object that looks polished without losing the warmth of something made by hand, appealing to both casual fans and small-item collectors.
DIY Polymer Clay Pluto Tsum Tsum
This tutorial explains how to create a small Disney-style Tsum Tsum figurine (a little Pluto-inspired character) from polymer clay. The design is rounded and compact: a single chunky body-head block with a pale face patch, expressive nose and eyes, small ears, a green back stripe, a short tail, and four tiny paws.
- Simplified Tsum Tsum silhouette that is beginner-friendly.
- Basic techniques used: rolling, flattening, cutting, attaching, and light texturing.
- Finished piece is a small decorative miniature suitable for display or as a charm.
Gather Materials
Using the right materials and simple tools makes shaping easier and gives a cleaner final result. Quality polymer clay conditions and bakes predictably, helping small parts hold detail without cracking. The correct tools let you cut precise shapes, create symmetry in facial features, and attach delicate pieces securely before baking. Following baking instructions prevents discoloration or warping.
Materials & Tools
Materials:
- Yellow polymer clay (main body and head)
- White polymer clay (face patch)
- Black polymer clay (nose, eyes, small accents)
- Green polymer clay (back stripe)
- Optional: pink or flesh-tone clay for subtle inner ear or cheek detail
Tools:
- Craft scalpel or sharp blade (for clean trimming)
- Toothpick or needle tool (for making small holes, aligning pieces)
- Small roller or smooth dowel (to flatten patches)
- Non-stick work surface (baking paper or ceramic tile)
- Oven and baking tray (to cure polymer clay)
- Optional: small smoothing tool or silicone shaper, fine sandpaper for finishing
Important Tips Before Starting
- Condition clay by kneading until it is soft and an even color; this prevents cracks and makes shaping smoother.
- Work on a clean surface to avoid dust or fibers embedding in the clay.
- When joining pieces, slightly flatten the contact areas and press or blend gently so parts adhere well before baking.
- Keep symmetry in mind for facial features—place eyes and eyebrows while the head is still freely adjustable.
- Bake following the clay manufacturer’s temperature and time recommendations and allow full cooling before handling.
Pattern — Step-by-step Instructions
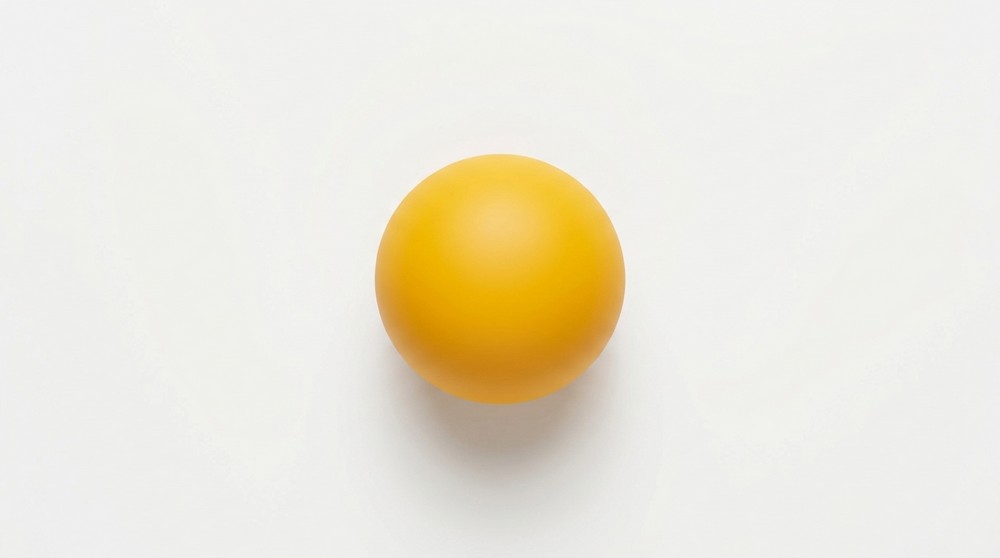
Round 1: Shape the Main Yellow Body
- Roll a medium-sized ball of yellow clay until smooth.
- Shape it into a rounded dome that will act as both the body and head (Tsum Tsum style). The front should be slightly flattened to accept the face patch.
- Make sure the base is flat enough so the figure will sit stable once the paws are added.
Round 2: Create the White Face Patch
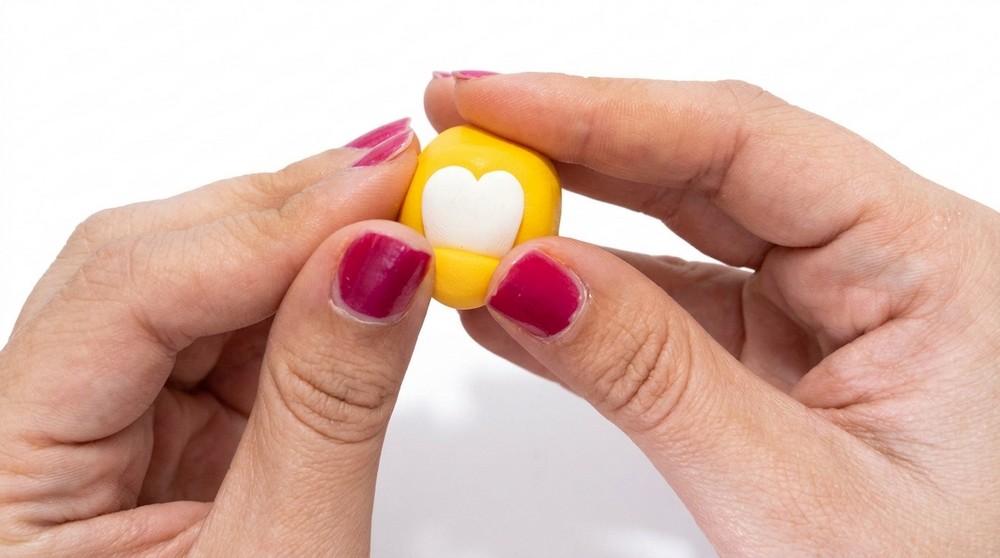
- Take a sheet of white clay and shape a piece that looks like the top of a heart pointing downward (a heart-top shape).
- Place this white piece on the front of the yellow dome and gently press and smooth with your fingers until the edges blend.
- Use the scalpel to trim excess and refine the edges for a clean, neat seam.
Round 3: Add Dimensional Face Elements
- Roll a small yellow ball, flatten slightly and place it above the white patch as a raised muzzle or snout area. Stretch gently so it blends with surrounding clay.
- Use the scalpel to pull or stretch a small area downward from this raised muzzle to create a subtle volume under the nose. This gives a three-dimensional face detail.
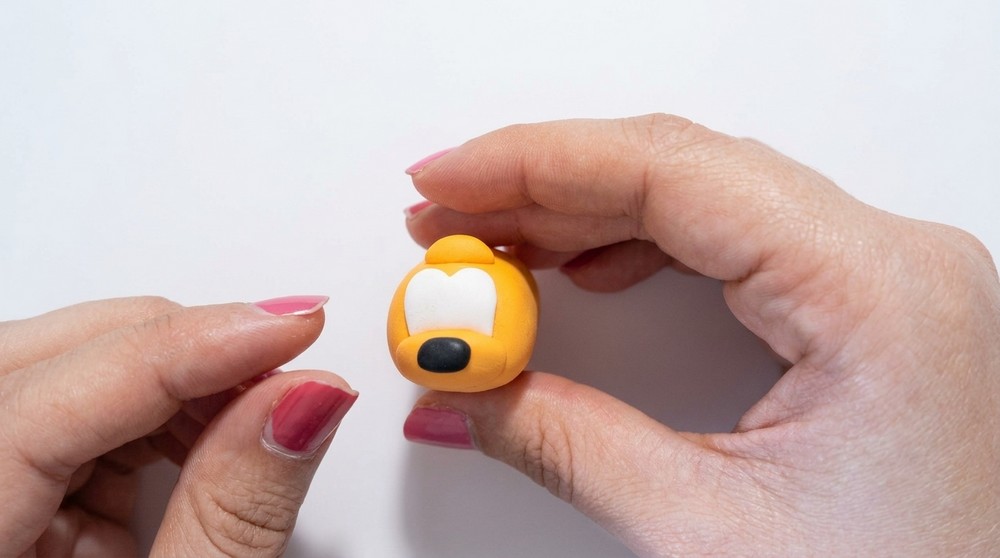
Round 4: Form the Nose/Tic-Tac Shape
- Roll a small amount of black clay into a shape that resembles a tic-tac: rounded and slightly elongated.
- Place it at the tip of the muzzle to form Pluto’s nose area. Press gently to secure but keep its rounded look.
Round 5: Make the Eyes
- Roll two small black balls and flatten them slightly between your fingers to create eye bases.
- Place them symmetrically above the nose on the white patch. Check for matching size and equal spacing.
- Use the scalpel to tidy edges and ensure the two eyes look identical. Symmetry is key for a cute Tsum Tsum expression.
Round 6: Add the Green Back Stripe
- Roll a thin flat strip of green clay and cut a band to the length that fits the back of the dome.
- Place it along the top-center of the back, smoothing the edges into the yellow so it sits flush. Trim any excess.
- Blend the strip lightly at the edges to avoid raised seams while keeping the color contrast crisp.
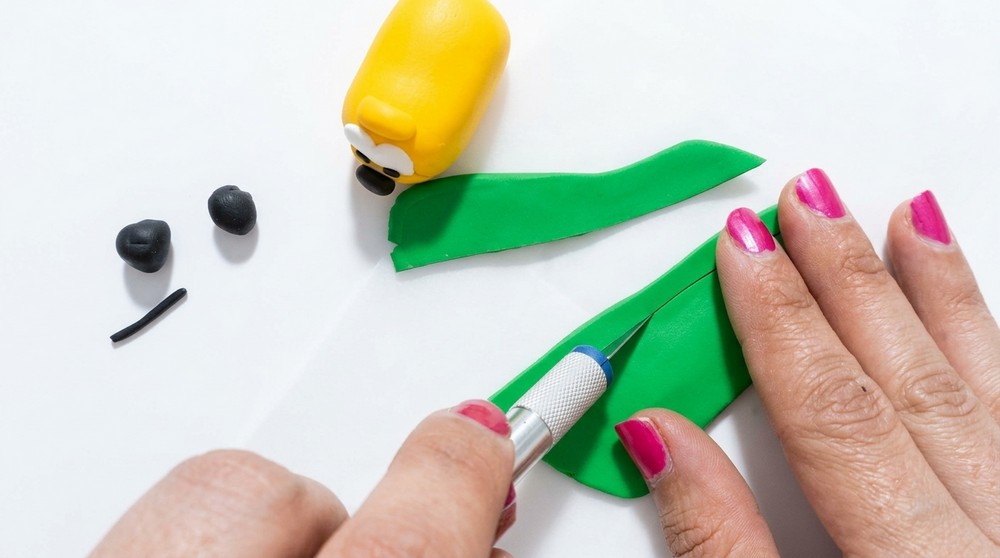
Round 7: Attach the Tail
- Roll a very small thin black (or dark) boudin for the tail.
- Poke a small hole or indentation in the rear of the body with a toothpick, insert the small tail piece and press surrounding yellow clay to hold it in place.
- Make sure the base of the tail is secured and blended so it won’t detach during baking.
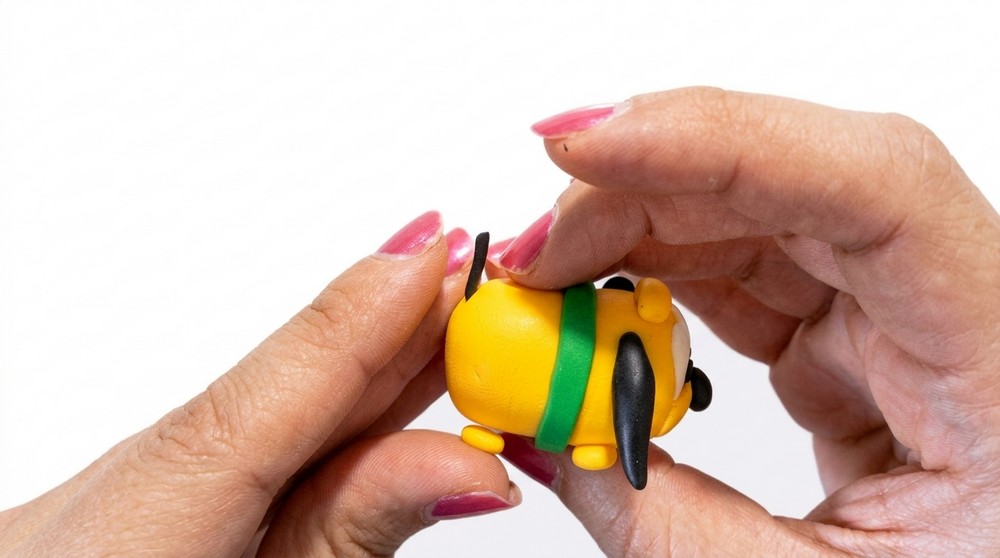
Round 8: Create and Attach Ears
- Roll two small tapering yellow pieces shaped like elongated olive kernels, slightly thinner at one end.
- Insert the thicker end into the upper sides of the head to form ears and press gently to secure.
- If desired, add a small inner ear patch of white or pink and press into the ear center. Position ears symmetrically for balance.
Round 9: Form the Four Tiny Paws
- Divide a small portion of yellow clay into four equal little balls. Flatten each slightly between your fingertips to create paw shapes.
- Place two paws at the front base and two at the back under the body to support the figure.
- Ensure the figure sits flat and stable; adjust paw positions before baking.
Round 10: Final Cleaning and Baking
- Recheck all joins and smooth fingerprints or seams with gentle rolling or a silicone shaper. Use the scalpel to trim any remaining rough edges.
- Place the assembled figure on a lined baking tray and bake according to the polymer clay instructions—typically around 110°C (230°F) for 30 minutes for a small piece. Do not exceed recommended temperatures.
- Let the piece cool fully before handling. After cooling, sand lightly if needed and add any finishing paint or varnish details.
Conclusion
Once the figure has cooled and been refined, it will be a compact, stable Tsum Tsum-style Pluto with clear facial features, a neat back stripe, and small paws. Keep a notebook of what you adjusted and how colors looked after baking to improve future miniatures. With practice you can vary expressions, colors, and accessories to create a whole collection.