Brighten your collection with a colorful miniature treat that combines charm and creativity for a delightful handmade accent everyone will love.
Full credit is given to Tagadanail Fimo & Miniatures for the tutorial used as a reference.
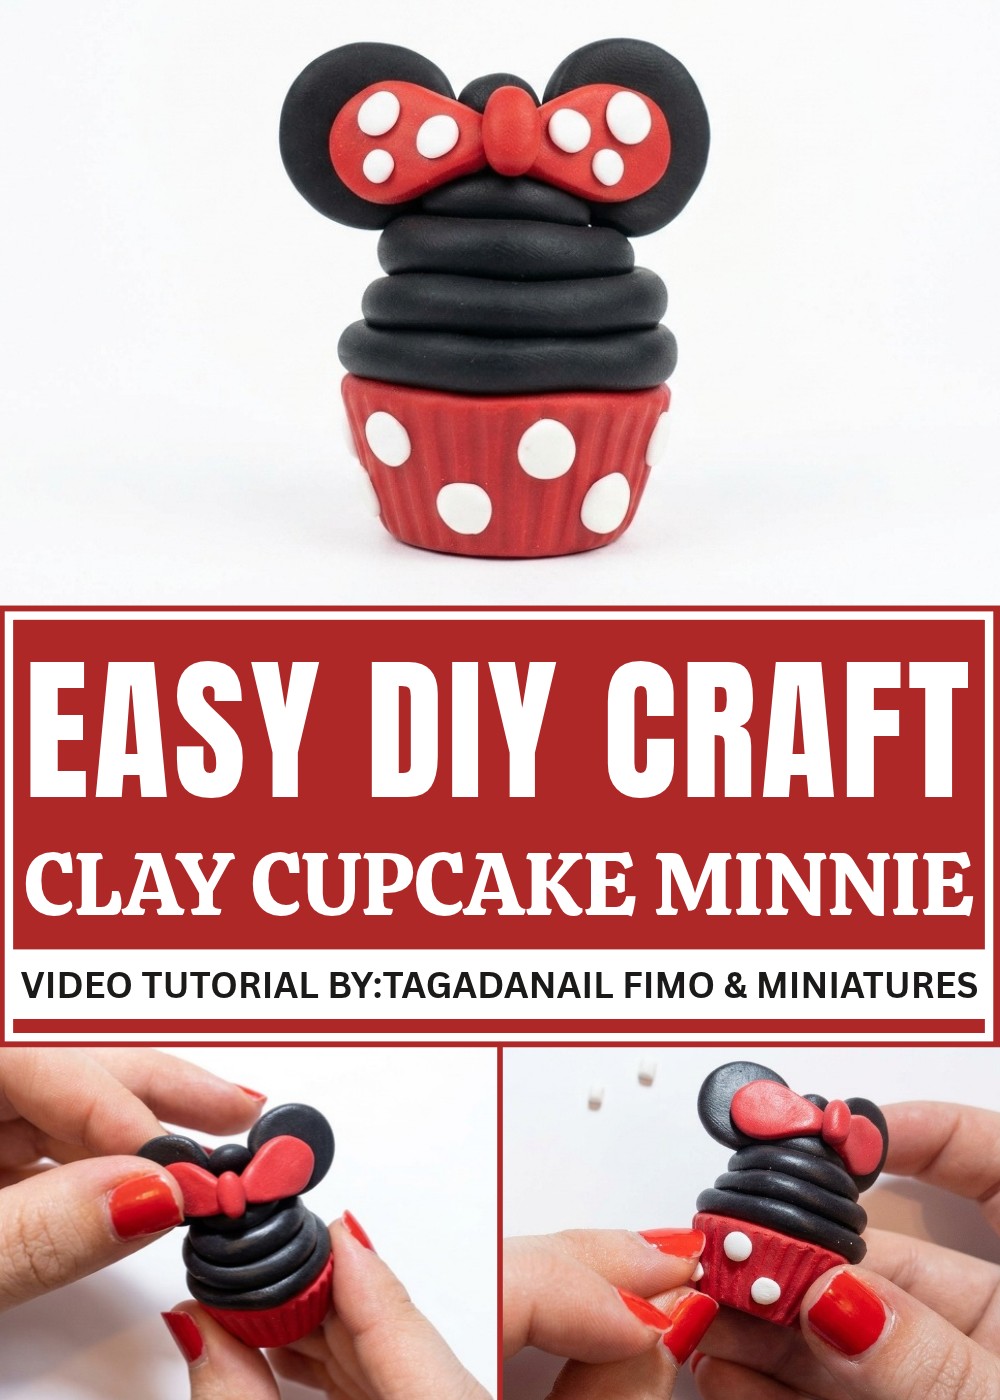
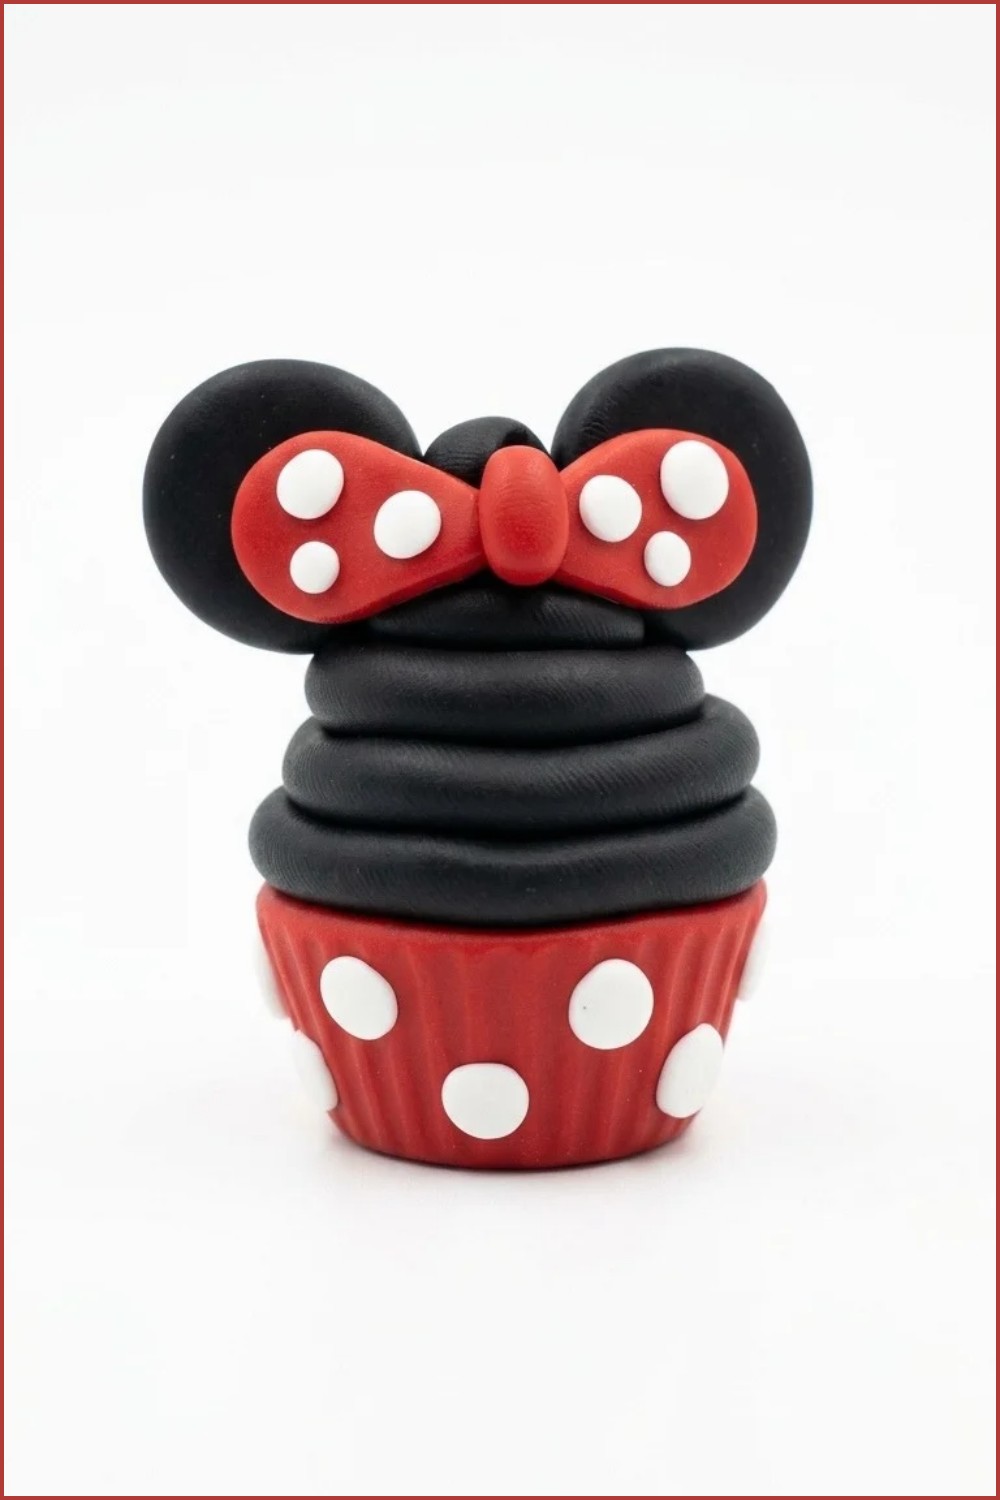
This charming miniature showcases bright colors and smooth, polished design that instantly catches the eye. The DIY Polymer Clay Cupcake Minnie combines the playful spirit of a beloved character with the sweet look of a frosted treat, making it a perfect collectible or decorative piece for fans of handmade art. Its carefully crafted details and clean lines bring a fresh, lively feel to any desk, shelf, or gift display.
Handmade Polymer Clay Cupcake Minnie Craft Perfect for Gifts
Small yet full of personality, this design balances simplicity with thoughtful touches to create an inviting look that appeals to all ages. The cheerful vibe and unique style make it a wonderful accent that brightens everyday spaces without overwhelming them. This creation shows how imagination and skill can turn familiar ideas into delightful keepsakes worth sharing.
By blending creativity with character, this piece stands out as a playful and lovable art object. Its colorful, friendly design makes it ideal for adding charm to collections and inspiring smiles wherever it is placed.
How to Make a Mini Cupcake Craft with Polymer Clay
Creating a mini cupcake using colored dough or polymer clay is an enjoyable craft that adds a touch of sweetness to your handmade collection or décor. This particular cupcake design features a vibrant red base with delicate bows, cute Minnie-style ears, and tiny white polka dots that bring charm and detail to the piece. The project is structured so beginners can follow along easily, step by step, while developing sculpting and decorating skills.
Design Overview of the Mini Cupcake
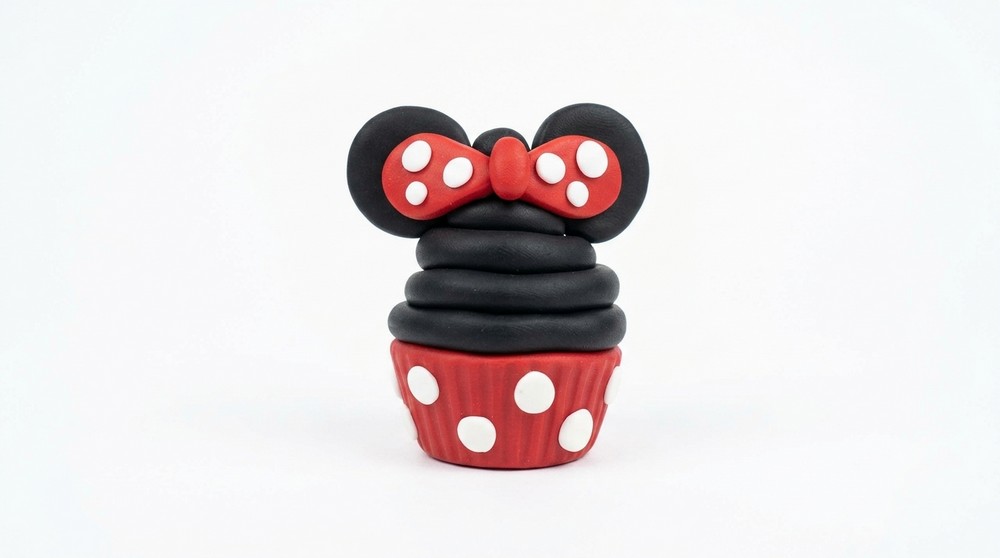
- Vibrant Red Base: A beautifully molded cupcake shell in bright red draws attention.
- Black Minnie Ears: Two symmetrical, small, round ears add a playful character.
- Decorative Bow: Red bows positioned atop the cupcake enhance its cute theme.
- White Polka Dots: Tiny, evenly spaced white dots cover the cupcake base and bow, adding contrast and detail.
The Importance of Gathering Materials and Tools
Having all materials and tools prepared beforehand is essential for a flawless crafting process. Proper materials, such as quality colored clays, make shaping easier and provide a more polished finished product. Tools enhance precision when cutting, shaping, and applying small details such as the polka dots and bows. Being organized before you begin helps you stay focused and avoid disruptions during critical sculpting stages, especially for delicate parts.
Materials and Tools Needed
- Red polymer clay or modeling dough (for cupcake base and bows)
- Black polymer clay or dough (for Minnie ears)
- White polymer clay or dough (to create tiny polka dots)
- Silicone mold (optional, to shape the cupcake base effectively)
- Rolling surface and clean workspace
- Baking sheet lined with parchment paper (for baking the assembled cupcake)
- Knife or clay cutting tool (for slicing clay pieces)
- Finger or clay shaping tool (for crushing and flattening small pieces into disks)
- Oven (for baking and solidifying the clay)
Important Tips Before Starting Your Project
- Work on a clean, dry flat surface to avoid dust or debris from sticking to your clay.
- Always handle clay gently, especially small pieces, to prevent deformation.
- Use clean and dry hands; slightly moist hands can cause the clay to become sticky.
- Follow the manufacturer’s instructions for baking temperature and duration to avoid burning or undercooking.
- Let your work cool fully after baking before handling to maintain its shape.
- Take your time when working with symmetrical parts like ears and bows to ensure consistency.
Detailed Step-by-Step Pattern for the Mini Cupcake Craft
1. Forming the Cupcake Base
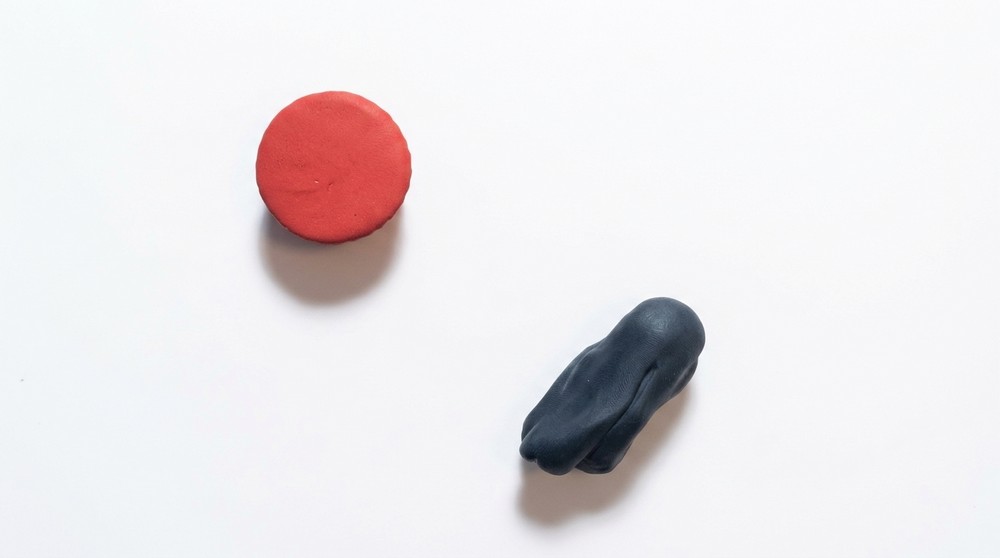
- Start with a piece of red dough.
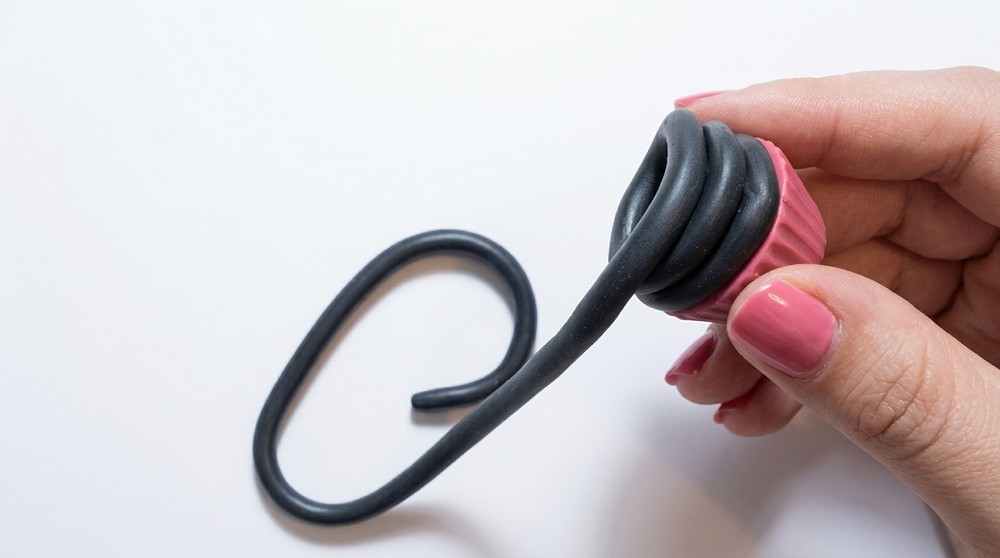
- Press this dough firmly into a muffin or cupcake-shaped mold to form the base shape.
- Carefully remove the molded base and place it on your parchment-lined baking sheet.
- Important: Make sure the base has a smooth top edge and a nice form to build decorations on.
2. Making the Black Minnie Ears
- Take a ball of black clay and cut it into two equal halves.
- Roll each half into a small ball.
- Crush each ball slightly between your fingers to form small flat discs—these will be the ears.
- Ensure both ears are of equal size for symmetry.
- Attach each ear by pressing it firmly onto the top left and right sides of the cupcake base.
- Hold gently for a moment to ensure the ears stick well.
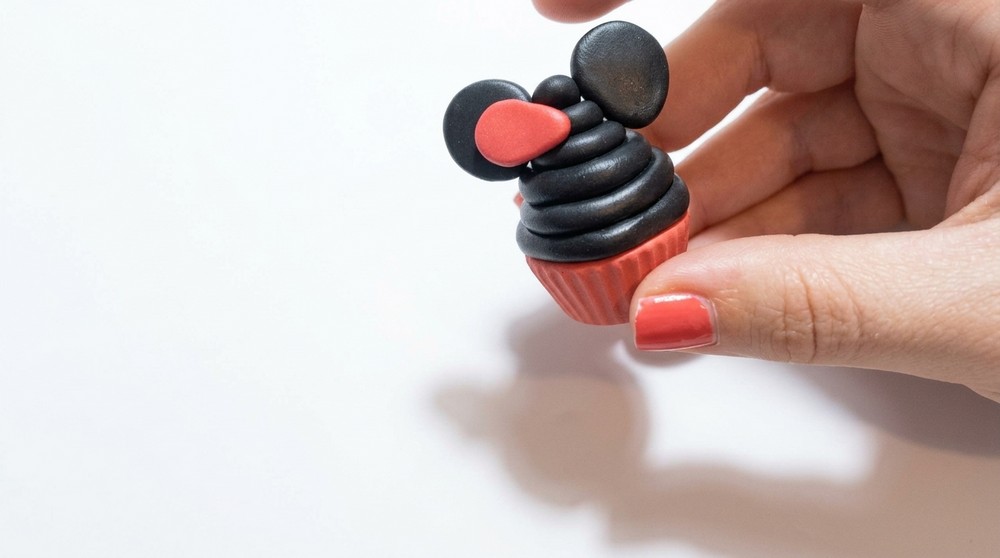
3. Creating the Red Bows
- Take another ball of red dough.
- Cut it again into two equal parts.
- Roll each part into a small ball.
- Similar to the ears, flatten each ball gently into a small disc with your fingers.
- Attach these discs on top of the cupcake, right next to each black ear, positioning one on each side.
- This creates the appearance of Minnie’s iconic bow sides.
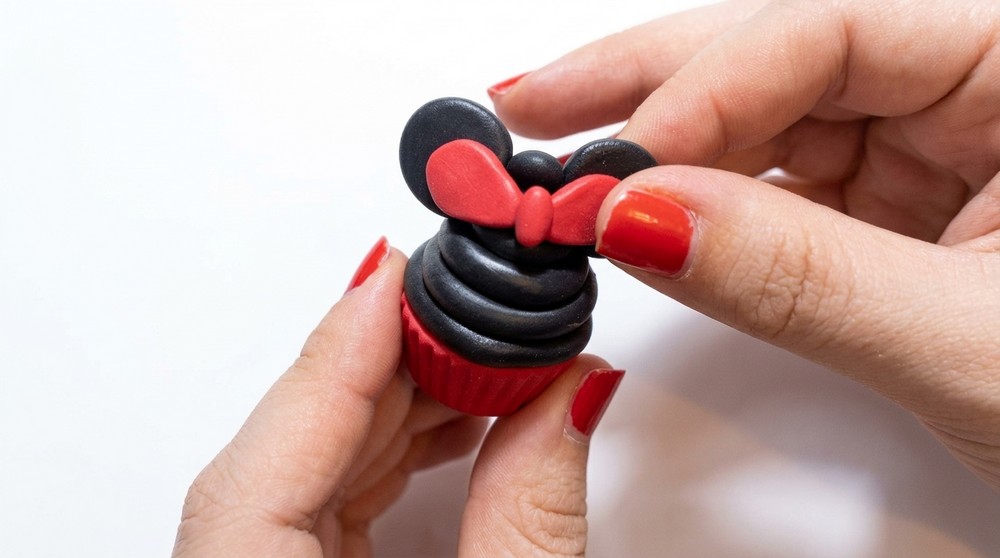
4. Adding the Bow Knot
- Form a very small piece of red dough into an elongated tic-tac shape or tiny oval.
- Place this small piece centrally between the two red bow discs on top of the cupcake.
- Press gently so the knot adheres securely, completing the bow structure.
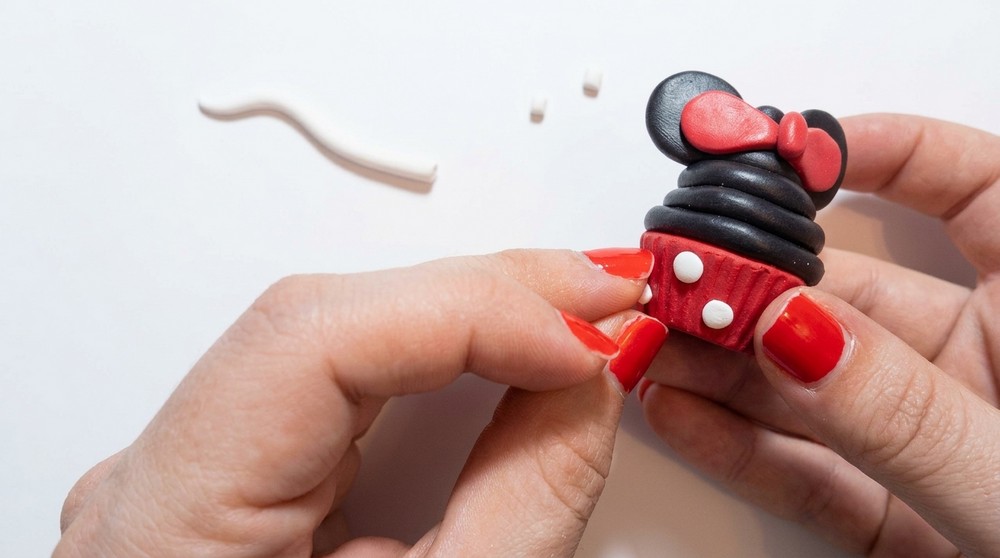
5. Making White Polka Dots
- Roll the white dough into a thin sausage.
- Cut this into many small, equal-sized pieces.
- Crush each small piece between your fingers one by one to create tiny, flat, circular dots.
- Carefully attach these white dots all around the base of the cupcake evenly spaced for a polka-dot effect.
- Also decorate the red bow discs by sticking some white dots onto them.
- Take your time to spread them neatly, which will add delicate detail and contrast.
6. Baking the Mini Cupcake
- After all pieces are attached and positions verified, place the cupcake carefully on a baking sheet lined with parchment paper.
- Bake at 110°C (230°F) for 30 minutes or as recommended by the clay manufacturer.
- Avoid opening the oven multiple times during baking to maintain consistent heat.
- Once baking is complete, allow the cupcake to cool fully before touching to ensure it hardens perfectly without cracks.
Conclusion
This mini cupcake craft is an excellent way to practice fine detail work such as shaping bows, ears, and applying small decorative dots. By following the above methodical steps, the final product will showcase a vivid, playful theme inspired by iconic Minnie Mouse style, perfect for decoration or gifts. The crafting process builds skills in symmetry, shaping, and assembling delicate parts while producing a lasting, charming miniature cupcake that stands out.