Make delightful miniature cupcakes that brighten your décor with colorful details and charming handcrafted touches perfect for any setting.
Special thanks to Tagadanail Fimo & Miniatures for kindly giving me permission to use her video.
On a sunny afternoon, a tiny cupcake sat on a windowsill, catching the light just right—its colors warm and inviting, as if waiting to brighten someone’s day. This charming piece is a DIY Polymer Clay Cupcake that beautifully balances simplicity with a touch of whimsy. Its golden-brown base looks freshly baked, topped with a swirl of pastel frosting and sprinkled with delicate, colorful dots that instantly spark joy.
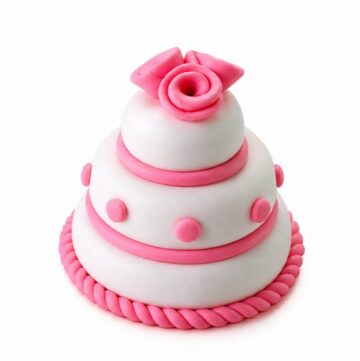
Unique DIY Polymer Clay Wedding Cake Ideas for Personalized Gifts
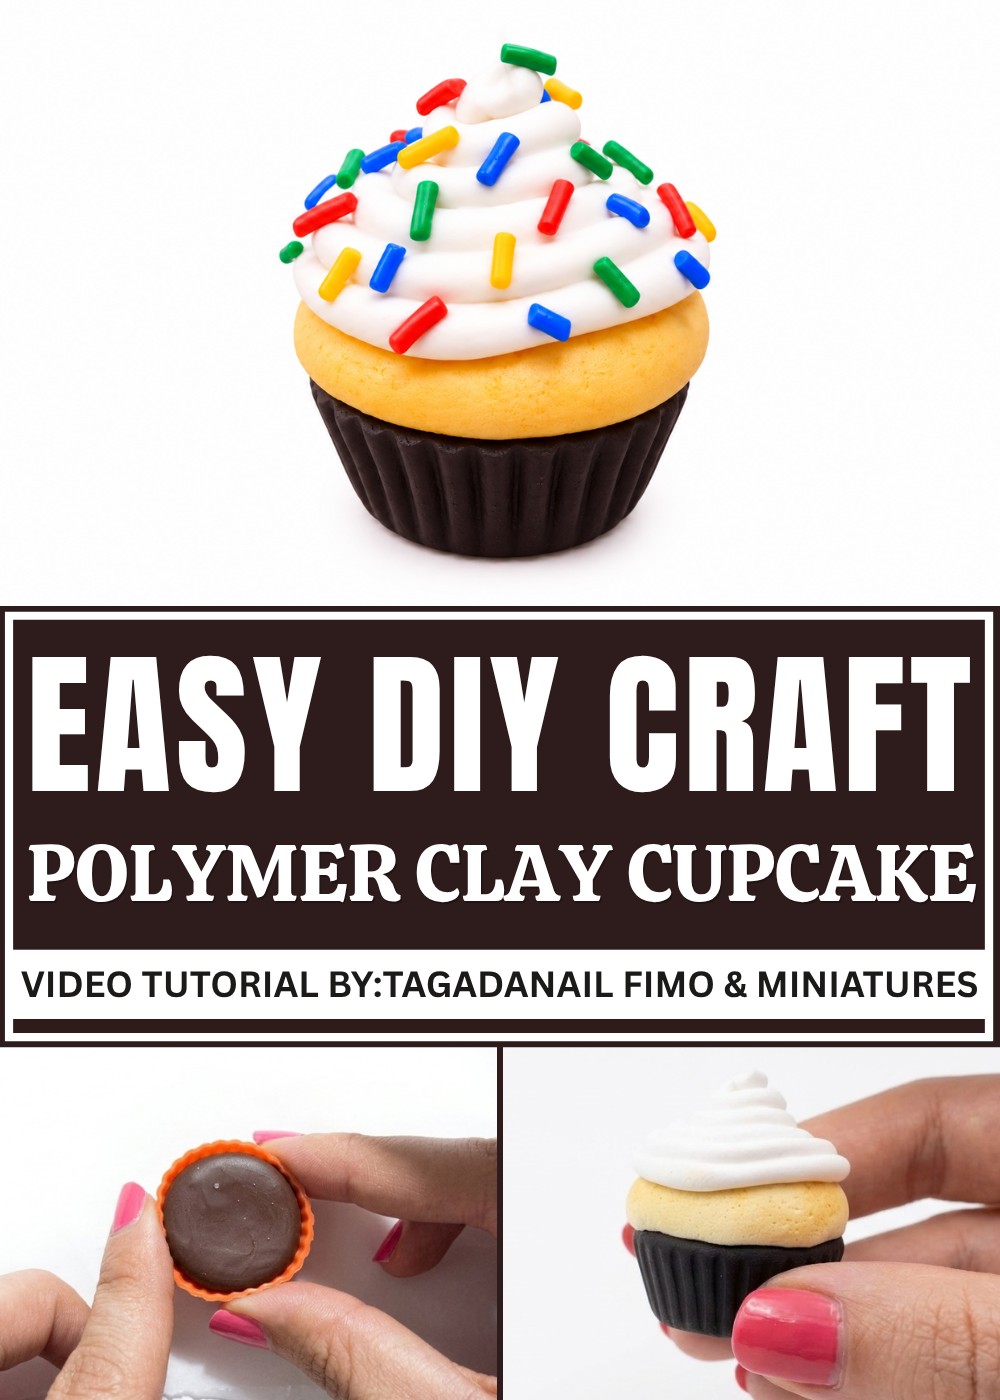
Perfectly miniature yet full of character, this cupcake feels both playful and cozy, making it a delightful addition to any collection or craft display. Its handcrafted appearance invites you to appreciate the subtle imperfections that give it unique personality, making every angle interesting to observe.
Whether used as a decorative charm, a gift that shows thoughtfulness, or a small piece of art that sparks creativity, this DIY Polymer Clay Cupcake adds a touch of sweetness and charm to everyday moments. Its unassuming style and cheerful details make it stand out, proving that tiny handmade treasures can hold plenty of heart.
How to Make a Polymer Clay Kawaii Cupcake
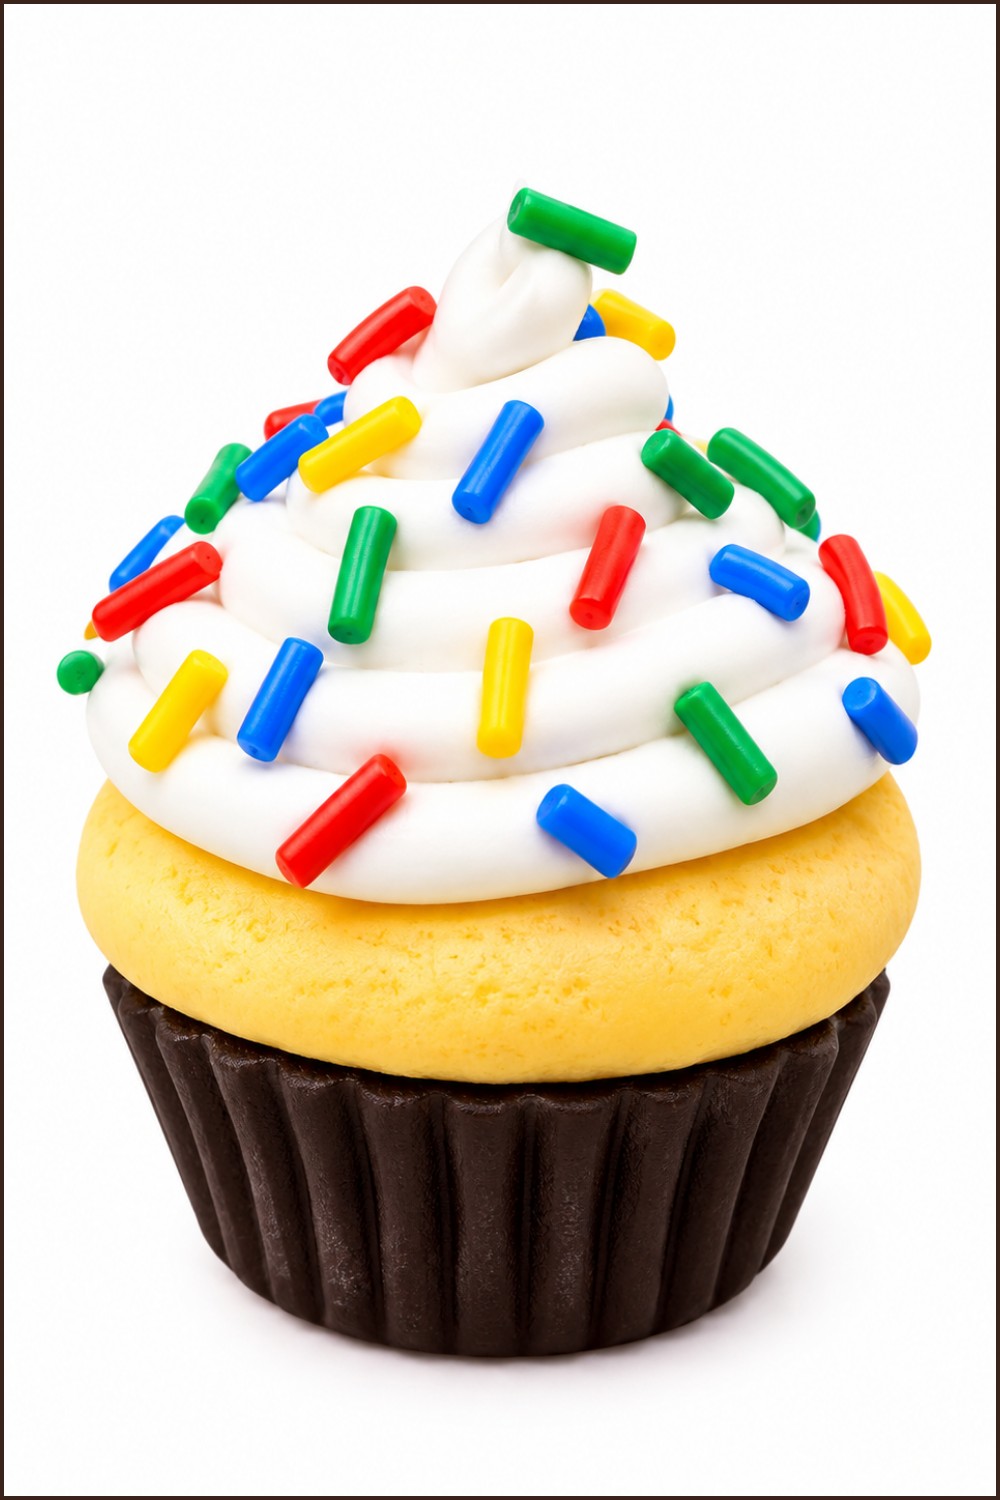
Creating miniature polymer clay food items is a delightful craft project that blends simple shaping techniques with charming details. This tutorial guides you through making a cute, textured cupcake featuring a brown base, a domed white frosting top with sprinkles, and subtle coloring effects to add realism. The stepwise instructions are designed to help beginners develop essential sculpting and decorating skills, resulting in a charming collectible or gift.
Features of the Kawaii Cupcake
- Brown cupcake base: Created using a mold for consistent shape and gentle flattening.
- Domed white frosting: Slightly rounded top with textured surface for realistic cake effect.
- Light ochre coloring: Gently applied pastels add a baked-doe look.
- White clay ribbon: A coiled strip of clay wrapped around the base mimics icing or decorative band.
- Colorful sprinkles: Thin vermicelli from various colored clays scattered over the frosting for playful detail.
Importance of Quality Materials and Tools
Good quality polymer clay ensures smooth shaping and neat finishing, allowing your project to look polished and feel durable after baking. Using a mold for the cupcake base saves time and guarantees consistency, which is helpful for beginners. Pastel chalks or powders add subtle shading effects that bring depth and realism without requiring painting skills. Precision tools such as a small scalpel help you make clean cuts and shape coils neatly. Proper baking supplies and a clean surface keep your piece pristine throughout the process.
Materials and Tools Needed
- Brown polymer clay (for the cupcake base)
- White polymer clay (for frosting and decorative ribbon)
- Various colored polymer clays (for sprinkles/vermicelli)
- Pastel chalks or powdered pigments (ochre color, optional)
- Small silicone or plastic mold with shell-like shapes (or any cupcake base mold)
- Toothbrush or small stiff brush (to texture frosting)
- Small scalpel or craft knife
- Rolling surface and tools (acrylic roller or smooth work surface)
- Oven or polymer clay oven
- Clean workspace free of dust
Important Tips Before Starting
- Condition your polymer clay thoroughly by kneading to soften it and improve pliability.
- Use a suitable mold for consistent cupcake bases, especially useful for beginners.
- Apply pastel chalk or powdered pigment gently, building color gradually.
- Keep tools sharp and clean to avoid rough or uneven cuts.
- Don’t overwork the clay, particularly for fine details like vines or sprinkles.
- Bake according to package instructions to avoid cracking or discoloration.
- Work patiently, smoothing surfaces with fingers or tools for a neat finish.
- Test texturing techniques (such as brushing) on scrap clay before applying.
Step-by-Step Instructions for the Kawaii Cupcake
Step 1: Making the Cupcake Base
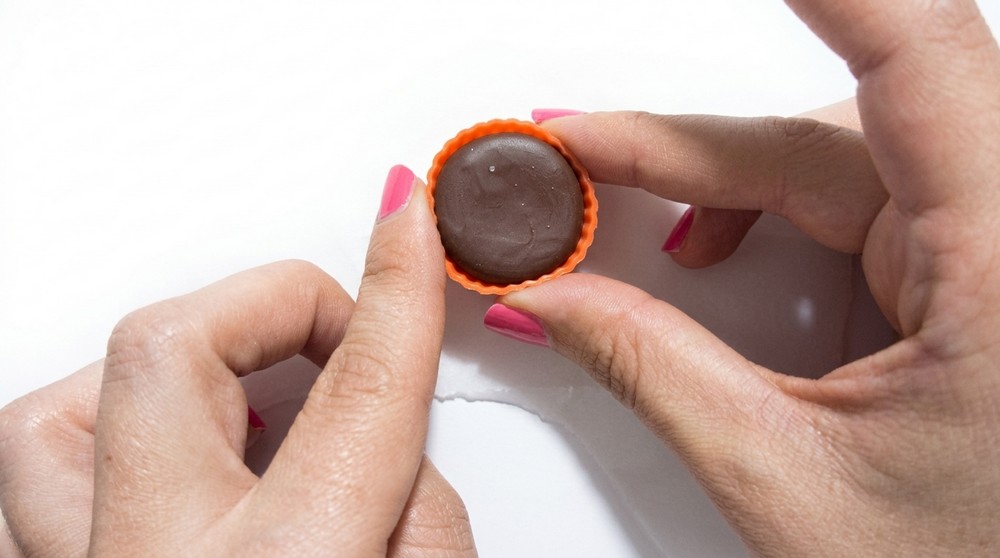
- Condition a ball of brown polymer clay until soft and even in texture.
- Push this ball into your mold, ensuring it fills the cavity evenly.
- Flatten the clay inside by pressing gently with your fingers, creating a smooth, concave shape resembling a cupcake base.
- Remove the clay piece carefully from the mold once shaped.
Step 2: Creating and Texturing the Frosting
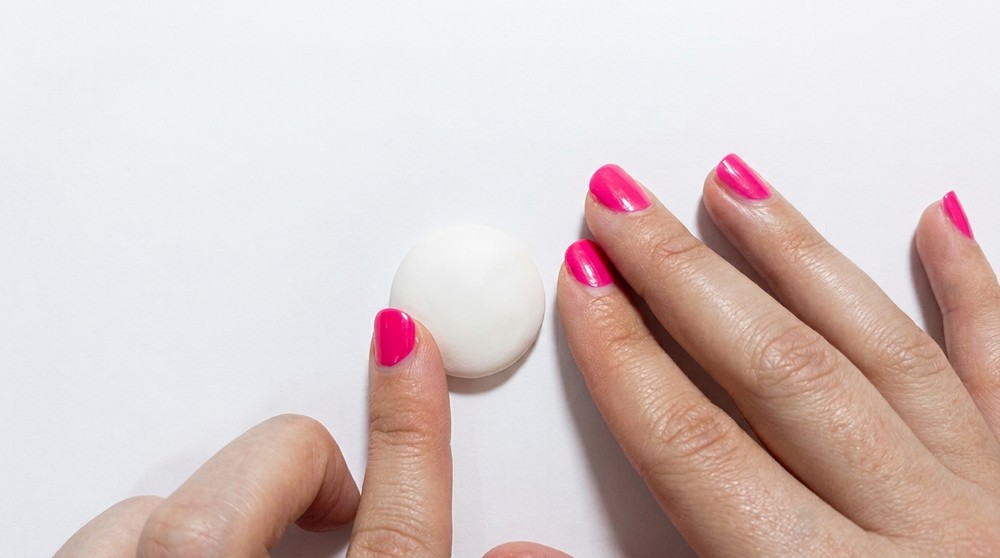
- Take white polymer clay and roll it into a ball.
- Flatten the ball into a disc while making the top portion slightly domed to simulate frosting height.
- Use a toothbrush or stiff small brush to lightly tap and texture the surface all over the frosting, creating tiny dimples and irregularities for a realistic cake effect.
Step 3: Adding Color to the Frosting
- Using an ochre pastel or chalk, gently scratch and apply color on the domed frosting to reflect a light baking tint.
- You may also add a little pastel color along the sides of the cupcake base for added realism.
- Blend colors softly without pressing too hard to maintain texture.
Step 4: Attaching Frosting to Base
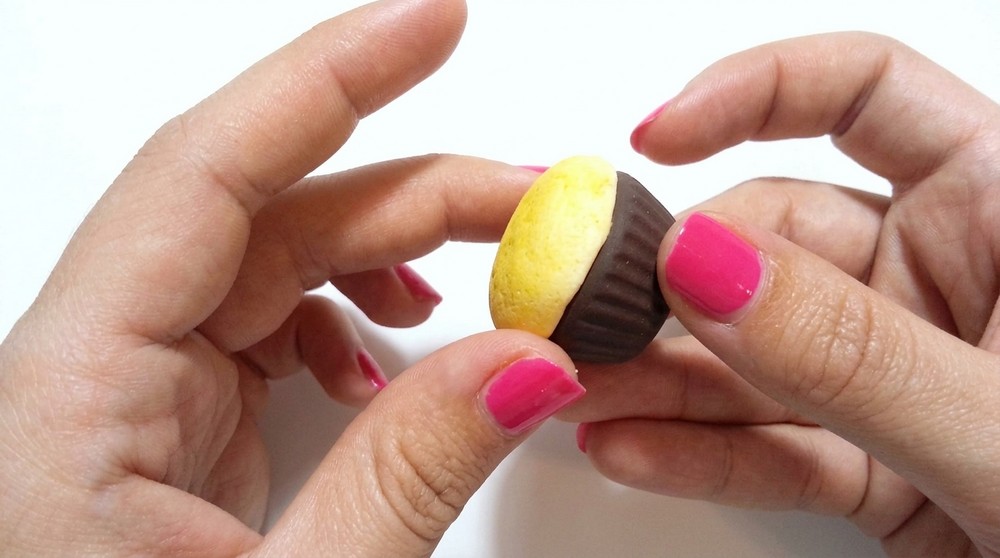
- Place the textured, colored frosting disc onto the flattened side of the brown cupcake base.
- Press the two pieces together lightly along the joining edges, making sure they adhere without gaps or cracks.
- Don’t worry about absolute precision—imperfections add character as real cupcakes aren’t perfectly neat.
Step 5: Creating a White Clay Ribbon
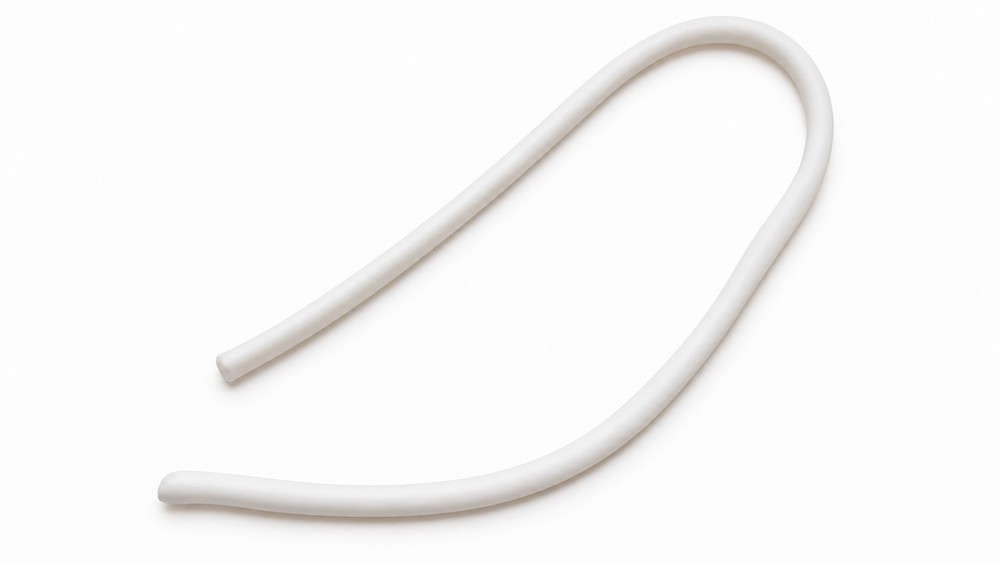
- Roll a slender sausage of white clay using your fingers.
- Trim the ends cleanly with a scalpel.
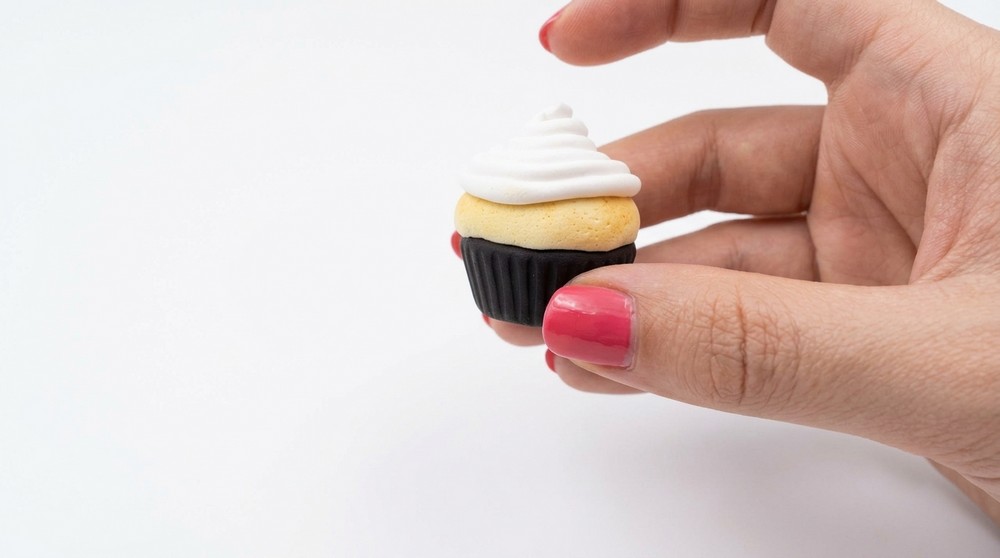
- Wrap this thin white clay coil snugly around the seam where the frosting meets the cupcake base, allowing the ends to slightly overlap.
- Press lightly and smooth the edges of the coil to fuse it with the base and frosting.
Step 6: Making and Placing Sprinkles
- Choose several colors of polymer clay for your sprinkles.
- Roll each color very thinly into long, fine vermicelli-like strands (sausages).
- Break or cut these into very small lengths, mimicking tiny sprinkles.
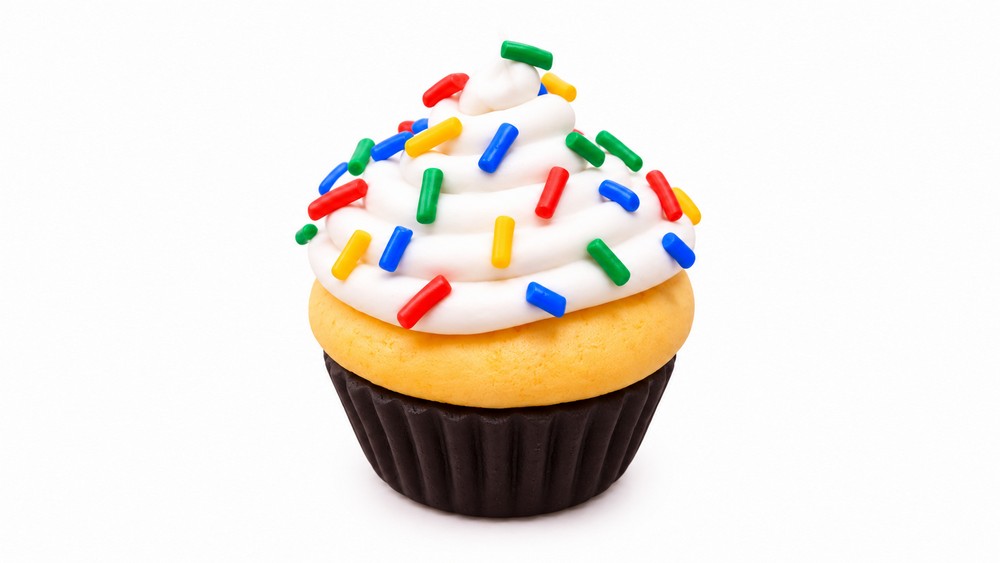
- Gently scatter the colored pieces over the frosting surface, pressing lightly so they stick.
- Cover the frosting uniformly, layering sparingly for a nice balance of color.
Step 7: Baking and Final Touches
- Place your assembled cupcake on a baking tray.
- Bake according to your polymer clay’s manufacturer guidelines (usually at 110°C/230°F for about 30 minutes).
- After baking, allow your cupcake to cool fully to avoid damage.
- Optionally, apply a gloss varnish or glaze to protect the surface and give a subtle sheen.
Summary Perspective
This kawaii cupcake project combines basic molding with delicate detailing techniques to achieve a charming miniature dessert. The use of texturing, pastel color enhancement, and miniature sprinkles introduces hands-on experience with multiple clay crafting skills. Developing precision in layering and shaping builds foundational expertise valuable for more complex food or object miniatures. With focused effort, the outcome is a cute, realistic polymer clay cupcake perfect as a collectible or gift accent.