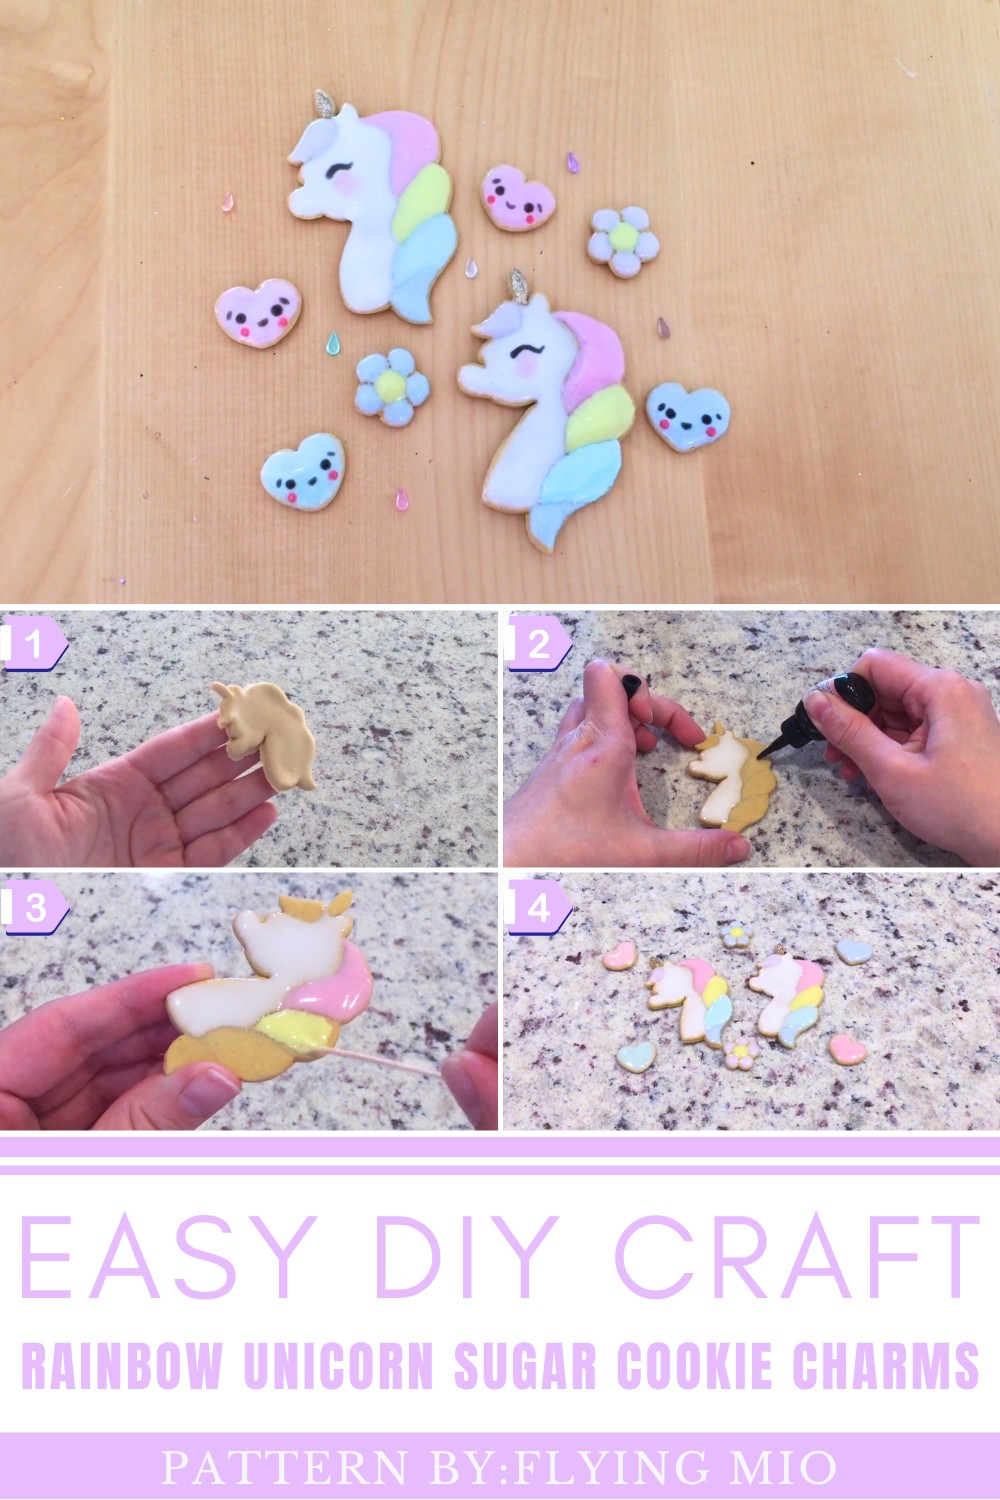
Create a delightful unicorn sugar cookie charm with this vibrant pattern that adds a fun and magical touch to your accessories and gifts.
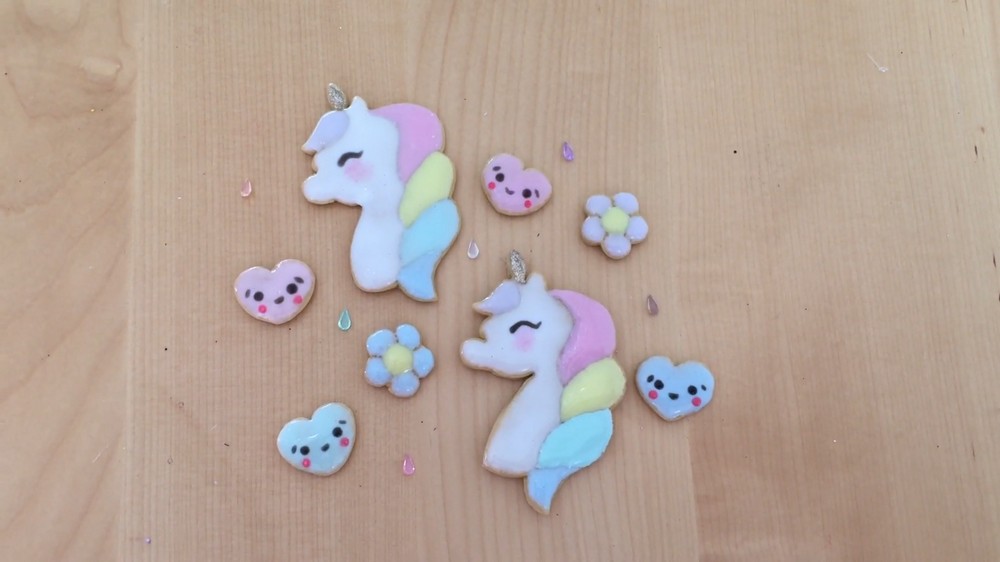
Celebrate the magic of fantasy and sweetness with this enchanting unicorn charm, designed to captivate with its vivid colors and delightful form. The DIY Rainbow Unicorn Sugar cookie charm Pattern brings to life a playful rainbow swirl atop a cookie-shaped base, reminiscent of sugary treats and childhood dreams. The charm’s smooth, glossy finish and compact size make it a versatile accessory perfect for bags, jewelry, or keychains. Its cheerful expression and pastel palette convey a sense of whimsy and happiness, adding a sparkling touch to everyday style.
Easy DIY Rainbow Unicorn Sugar Cookie Charm Pattern for Beginners
Good Words For Designer!
Flying Mio, the artist behind this charming design, shares a passion for creative projects that inspire and delight. Her YouTube channel offers a rich variety of unique craft tutorials that engage both beginners and seasoned makers alike.
Explore more of Flying Mio’s imaginative works at: Flying Mio YouTube Channel.
What sets the DIY Rainbow Unicorn Sugar cookie charm Pattern apart is its clever fusion of a beloved mythical creature with the comforting imagery of a sugar cookie. This combination results in a design that is both sweet and spirited, with subtle gradients and fine details that bring warmth and character without clutter. The charm serves as a joyful celebration of imagination, making it a perfect gift or collectible for anyone who loves colorful and fanciful creations.
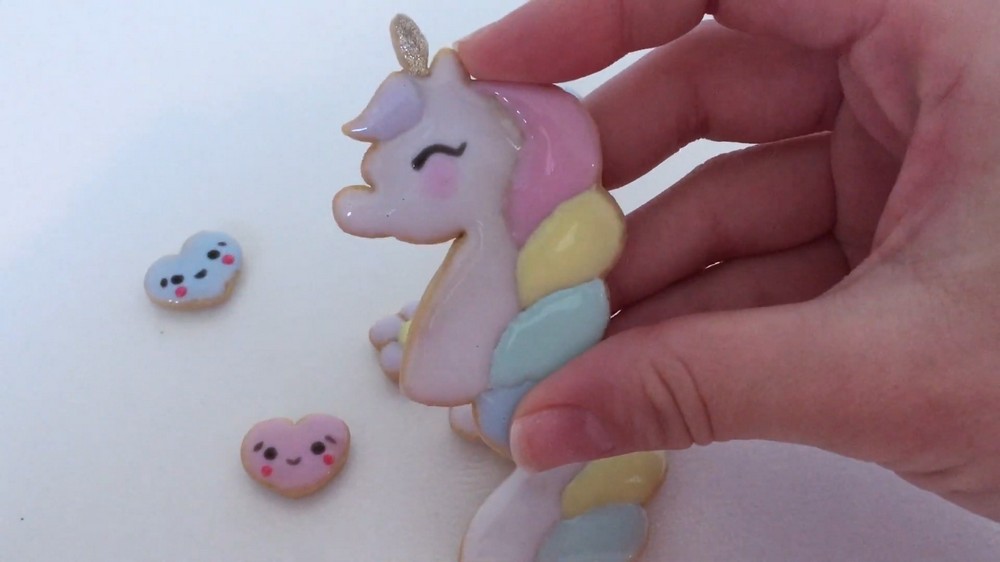
How to Make Rainbow Unicorn Sugar Cookie Charms
This project will guide you through creating adorable Rainbow Unicorn Sugar Cookie charms using polymer clay and UV resin. These tiny charms are inspired by sweet fairy-tale treats, combining intricate texturing and colorful resin decoration. Ideal for beginners and crafting enthusiasts alike, this step-by-step tutorial breaks down each phase to ensure your miniature unicorn cookies look enchanting and professional.
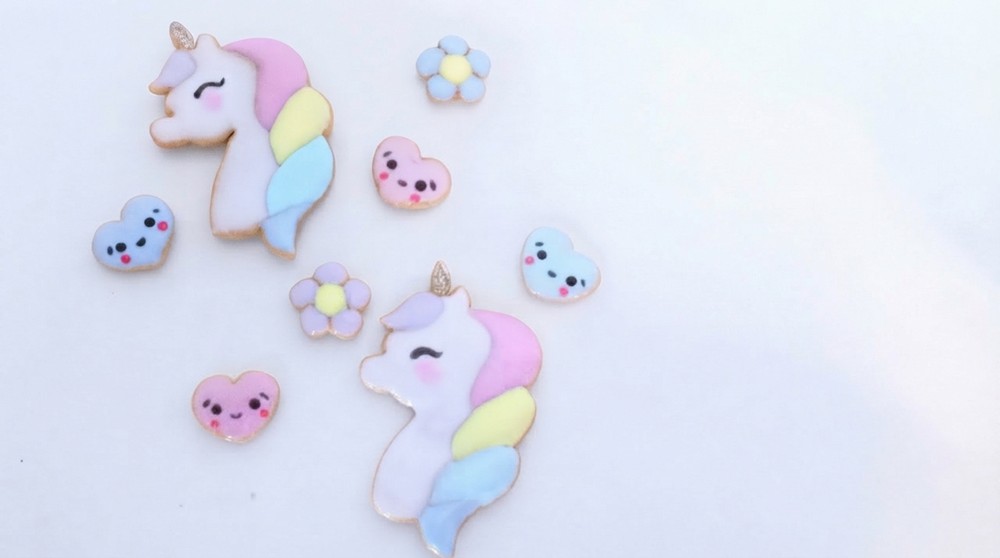
Design Concept and Highlights
- Whimsical and Charming: The charms capture the playful spirit of unicorns decorated as sugar cookies with vibrant colors and texture.
- Mixed Materials: Combines soft polymer clay with shiny, durable UV resin for a realistic frosting effect.
- Miniature Detail: Includes subtle shading and fine detail work to make each charm unique and lifelike.
Importance of Gathering the Right Materials
Choosing the correct materials is crucial for achieving the best results. Polymer clay provides the perfect base to sculpt and shape your cookie charms, offering smoothness and flexibility before baking. UV resin brings a glossy, realistic finish to the frosting and decorations that traditional painting cannot imitate. Using chalk pastels for shading adds depth and color variation, creating a natural baked effect on the cookies. Investing in quality tools ensures smooth shaping, precise texturing, and professional curing, elevating your charm-making experience.
Materials & Tools Needed
- Polymer clay (for the cookie base)
- UV resin in white, pink, and black (for frosting and details)
- Chalk pastels in yellow, brown, and red (for shading)
- Unicorn-shaped cookie cutter (or a similar small cutter)
- Old paintbrush (for texturizing)
- Pencil (for outlining details)
- Rolling pin or smooth roller (to flatten clay)
- Oven (for baking polymer clay)
- UV lamp (for curing resin)
Important Tips Before You Start
- Make sure to condition the polymer clay well to soften it and make it easier to work with.
- Keep your working space clean and dust-free to avoid unwanted particles settling on your clay or resin.
- Use thin, even layers when rolling the clay to ensure uniform thickness and better baking.
- When using chalk pastels, apply shading gently and build up color gradually to achieve a natural look.
- Cure resin under the UV lamp for the recommended time to prevent tackiness and ensure durability.
- Handle your charms carefully during and after curing since the resin and clay parts can be delicate until fully set.
Step-by-Step Instructions
Step 1: Prepare the Polymer Clay Base
- Condition the polymer clay by kneading it thoroughly until soft and pliable. This prevents cracking during baking and helps achieve a smooth surface.
- Using a rolling pin or smooth roller, roll the clay out evenly to a thickness of approximately 3-4 millimeters.
- Ensure the surface is flat and smooth to serve as a consistent base for your cookie shape.
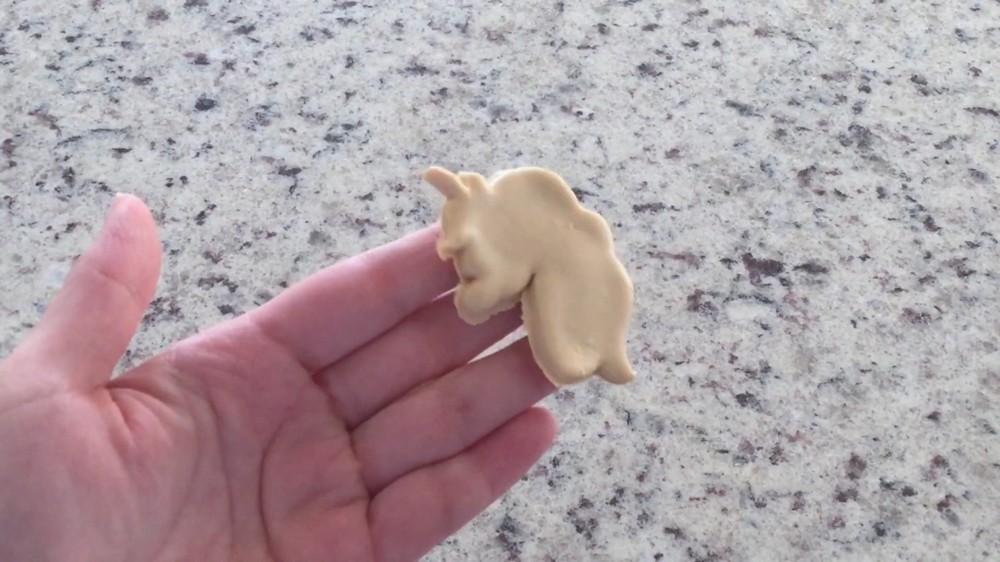
Step 2: Cut Out and Texturize the Cookies
- Select a unicorn-shaped cookie cutter or a similarly sized cutter for your design.
- Press the cutter gently into the flattened clay to cut precise shapes for all charm bases.
- Using an old paintbrush, lightly tap or brush the surface of each clay piece to add texture, mimicking the porous look of real sugar cookies.
- Be gentle to avoid deforming the shape while creating natural-looking surface imperfections.
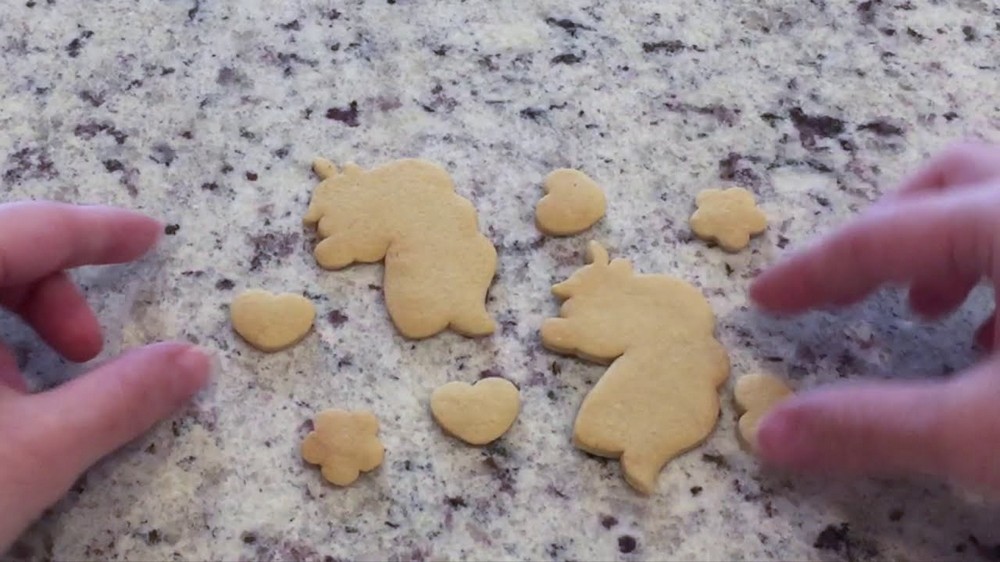
Step 3: Color the Cookie Surface
- Choose chalk pastels in yellow, brown, and red to shade the clay cookies realistically.
- Gently rub or apply pastel dust over the cookie surfaces, focusing on the edges and certain spots to create a warm, baked appearance.
- Blend the colors smoothly, gradually building depth in shading for a subtle gradient effect.
Step 4: Bake Your Cookie Charms
- Preheat your oven to 250 degrees Fahrenheit (about 120°C).
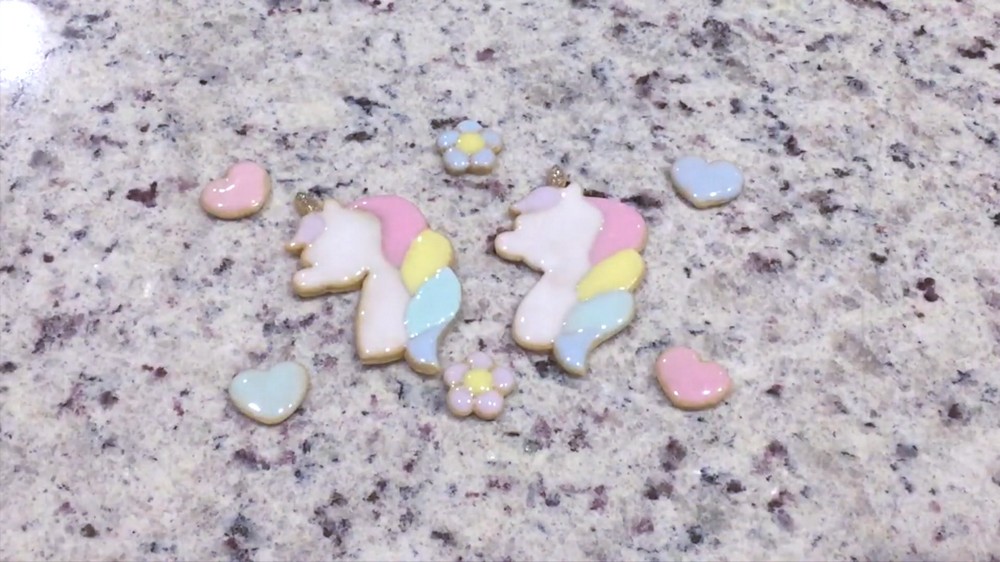
- Place the prepared polymer clay charms (including unicorns, flowers, hearts, or any shapes desired) on a baking tray lined with parchment paper.
- Bake for 20 minutes according to your clay’s package instructions.
- After baking, let the charms cool completely before handling to maintain their shape and texture.
Step 5: Outline Details on the Cooled Base
- Using a pencil, gently sketch the outlines of the details you want to add frosting and facial features onto.
- Light outlining helps guide resin application and ensures precision in your decorative work.
- Avoid pressing too hard to prevent damaging the clay surface.
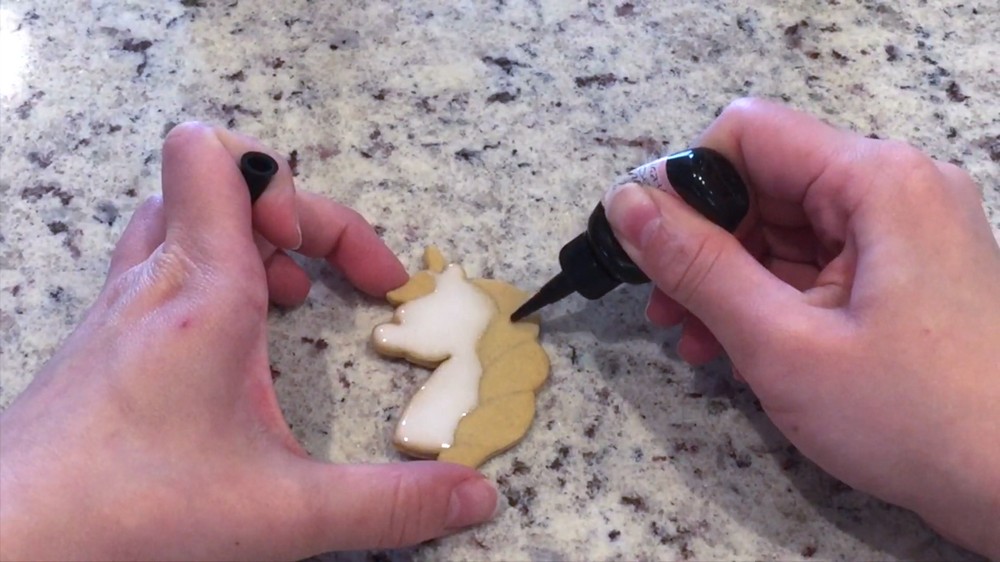
Step 6: Apply and Cure White UV Resin as Frosting Base
- Carefully apply a thin, even layer of white UV resin over the areas designated as frosting on the cookie charm.
- Use a toothpick or small brush to spread the resin smoothly.
- Cure the resin under your UV lamp for 1 minute or as directed by your resin manufacturer to harden the frosting base.
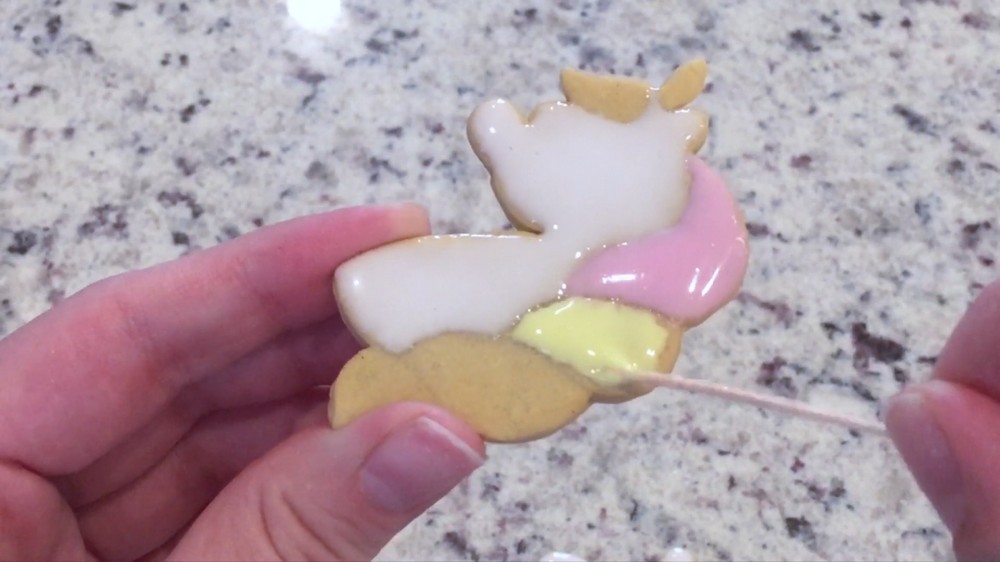
Step 7: Mix and Apply Pink UV Resin for the Mane
- Mix white UV resin with pink resin in a small container to create a custom pink shade for the unicorn’s mane or frosting details.
- Paint the pink resin carefully over the designated areas such as the mane or decorative frosting stripes.
- Cure the pink resin layer under the UV lamp until fully set.
Step 8: Add Final Details with Black UV Resin
- Use black UV resin to draw fine details like eyes, nostrils, and other facial features for your unicorn cookie charm.
- Work slowly and precisely, using a very fine tool such as a toothpick or needle to place the resin.
- Cure these final details under the UV lamp to complete your charm’s design.
Conclusion
Creating Rainbow Unicorn Sugar Cookie charms is a rewarding project blending tactile clay work with detailed resin artistry. The textured, shaded polymer clay provides a realistic cookie base, while layers of colored UV resin bring frosting and facial features to life with glossy vibrance. Each step is designed to build your skills incrementally, from shaping and coloring to delicate resin decoration. When finished, you’ll have beautifully crafted miniature charms as delightful as the real treats they’re inspired by, suitable for jewelry, gifts, or decoration.