Celebrate spooky season with vibrant Halloween cupcakes featuring tombstone toppers, vampire lips, and playful frosting perfect for festive gatherings.
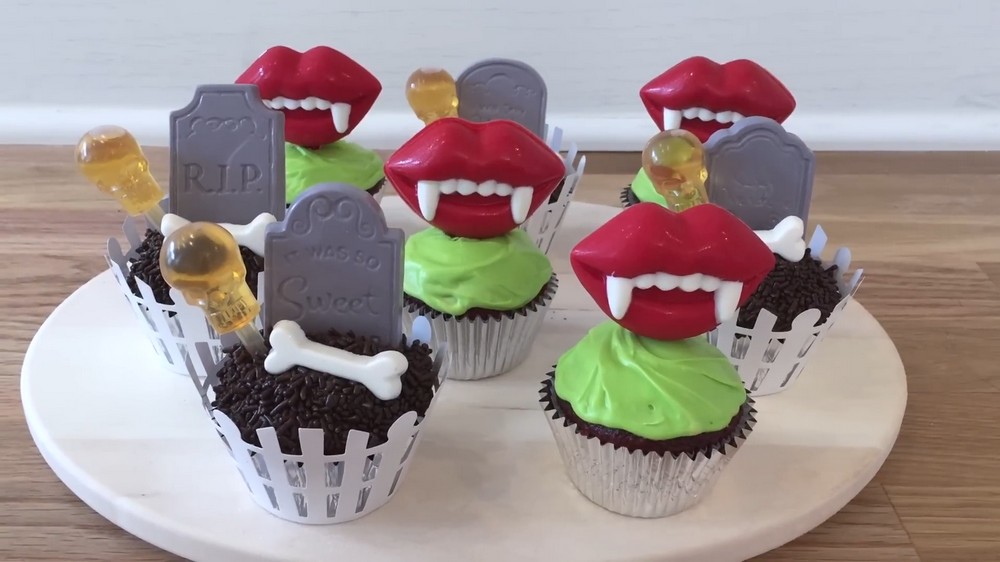
These Halloween party cupcakes are a perfect balance of fun and spooky with their eye-catching designs. Featuring two creative themes – a graveyard tombstone cupcake topped with rich chocolate dirt, sprinkles, and a detailed skull shot topper, or a quirky vampire lips cupcake complete with radiant red "lips" and spooky green frosting – these finished treats are festive, bold, and packed with character. DIY Halloween Cupcakes not only stand out for their playful designs but also for their ability to set the tone for any Halloween gathering. The mix of eerie decorations and vibrant colors makes these treats a show-stopping addition to dessert tables, whether for adult parties or kid-friendly festivities.
Top DIY Halloween Cupcake Decorations for a Festive Treat
Know The Designer!
This creative cupcake design is brought to life by the talented creator behind Flying Mio on YouTube. From festive inspiration to Halloween-ready flair, Mio’s channel offers an array of creative tutorials to elevate your DIY dessert game.
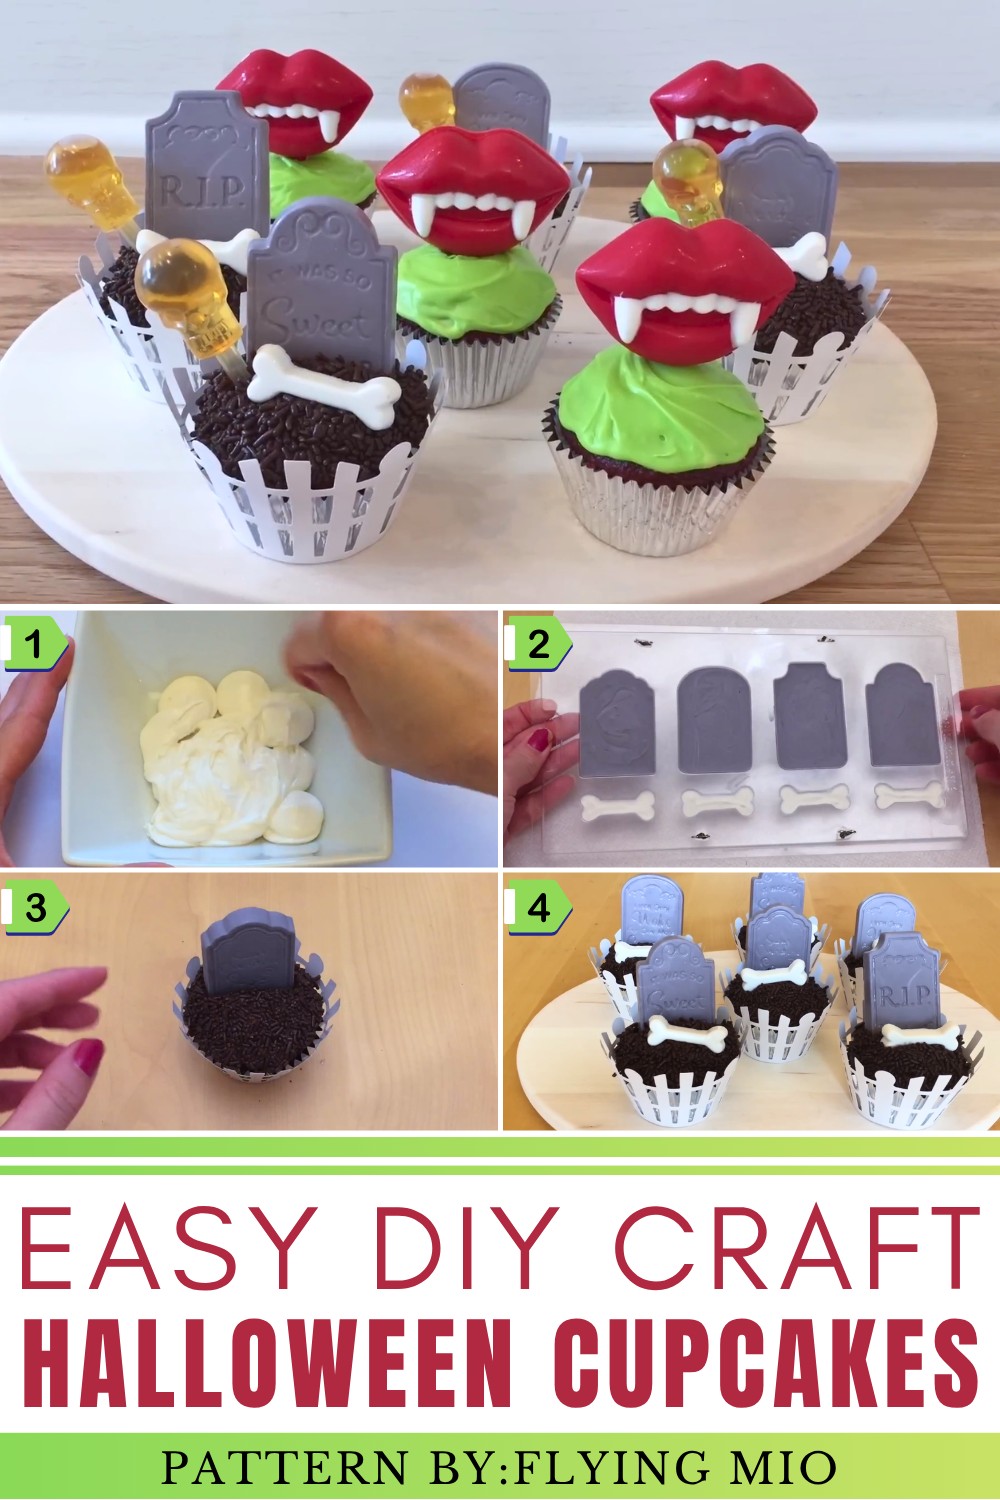
What sets these cupcakes apart is their versatility: they allow for fun personalization, such as adding a touch of “moisture” with drink-filled shot toppers or adjusting frosting colors to fit any festive vibe. The tombstone cupcake captures a haunting aesthetic with its detailed edible decorations, while the green frosted vampire cupcake makes a bold statement that’s perfect for any vampire-themed party or Halloween costume event.
Both designs are a testament to the delight of themed desserts—simple, stylish, and a conversation starter for any celebration. These cupcakes effortlessly double as decoration and dessert, making them an ideal addition to your autumn entertaining.
DIY Halloween-Themed Cupcakes
Get ready for a festive and spooky treat! In this tutorial, you'll learn how to make two creative Halloween-inspired cupcakes: a cute graveyard tombstone design and a playful vampire lips design. These cupcakes are perfect for any Halloween celebration and easy to prepare.
Materials You'll Need
Basic Cupcake and Frosting Supplies
- Cupcakes (flavor of your choice, such as red velvet)
- Chocolate frosting
- Sprinkles or crushed Oreos (for "dirt")
- Cream cheese or white frosting (for coloring and vampire cupcakes)
- Green food coloring (optional, for frosting color)
For Tombstone Cupcakes
- Chocolate candy melts (white, black, and dark chocolate-colored)
- Tombstone-shaped chocolate mold (available at craft or baking stores)
For Vampire Lips Cupcakes
- Chocolate candy melts (white and red)
- Vampire lips-shaped chocolate mold
- Popsicle sticks
Optional for Adult Versions
- Plastic shot toppers (in skull shapes or other designs)
- Liquor or sweet beverages
How to Make Halloween Cupcakes: Step-by-Step
Part 1: Tombstone Cupcakes
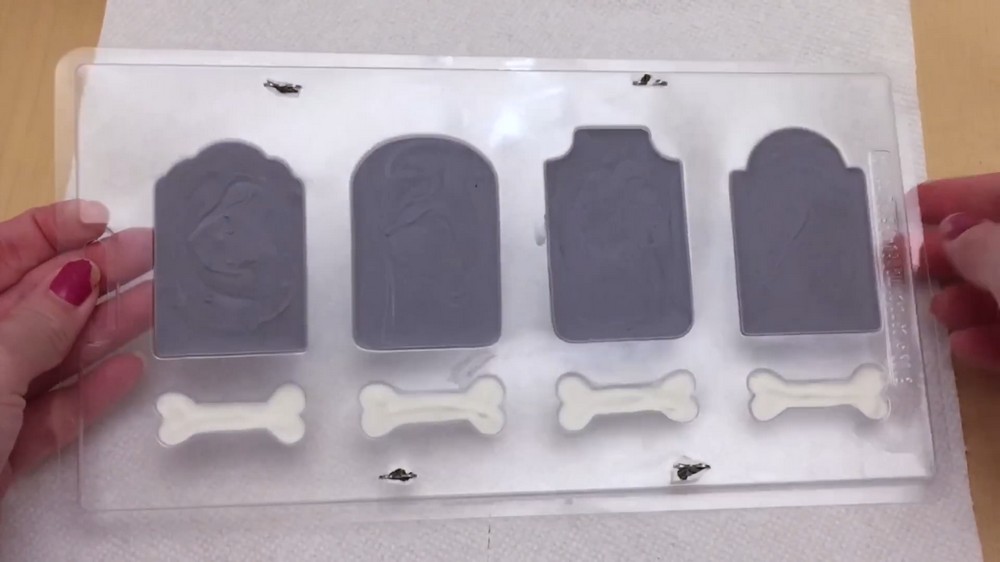
Step 1: Make the Chocolate Tombstones
- Prepare the Mold:
- Use a tombstone chocolate mold (available online or in craft stores).
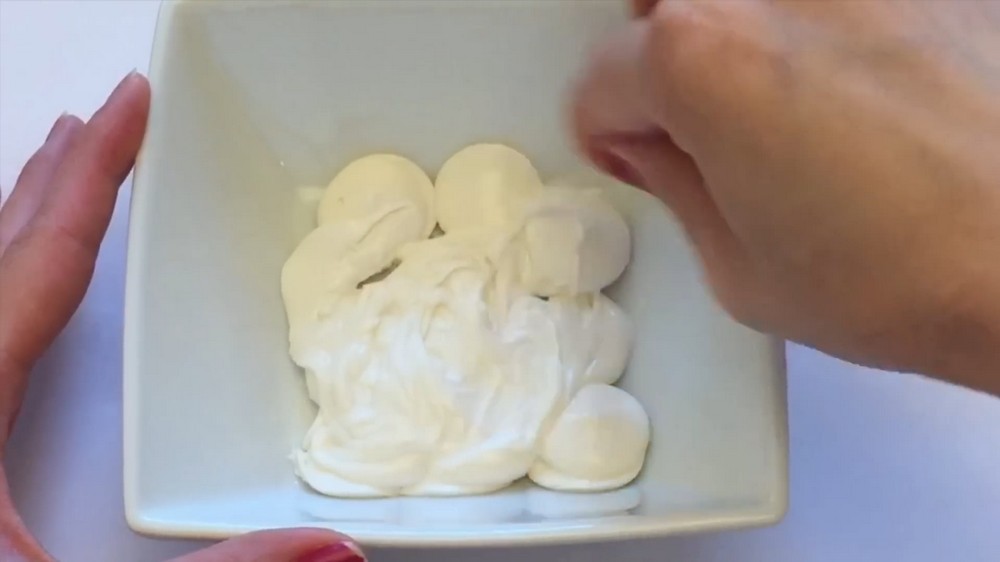
- Melt white chocolate candy melts in a microwave-safe bowl for 1 minute, stirring every 10–20 seconds to avoid burning.
- Fill Details:
- Dip a toothpick into the melted white chocolate and carefully fill in the bones or details of the tombstone mold.
- Let this set for a few minutes.
- Make Gray Tombstones:
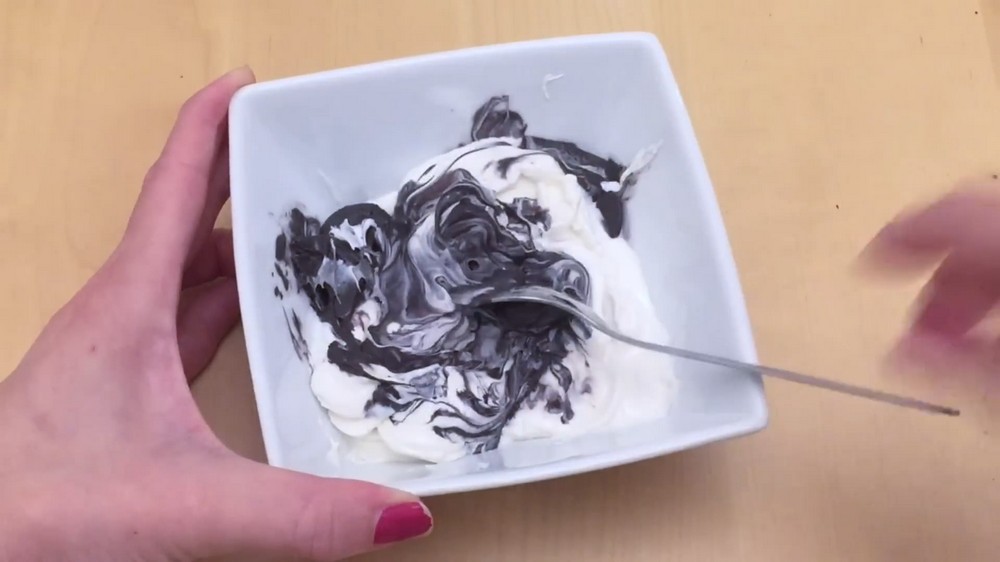
- Mix melted white candy melts with a small amount of melted black candy melts to create a gray color.
- Use a spoon to fill the rest of the tombstone mold with this gray chocolate.
- Freeze and Remove:
- Place the filled mold in the freezer for 5 minutes.
- Gently tap or pop the chocolate pieces out onto a clean surface.
Step 2: Prepare the Cupcake Base
- Add Dirt Frosting:
- Spread a layer of chocolate frosting over the surface of each cupcake to create a smooth base.
- Make the Dirt Look:
- Dip the frosted cupcakes into chocolate sprinkles or crushed Oreos. Ensure the frosting is completely covered to mimic dirt.
Step 3: Assemble the Graveyard Scene
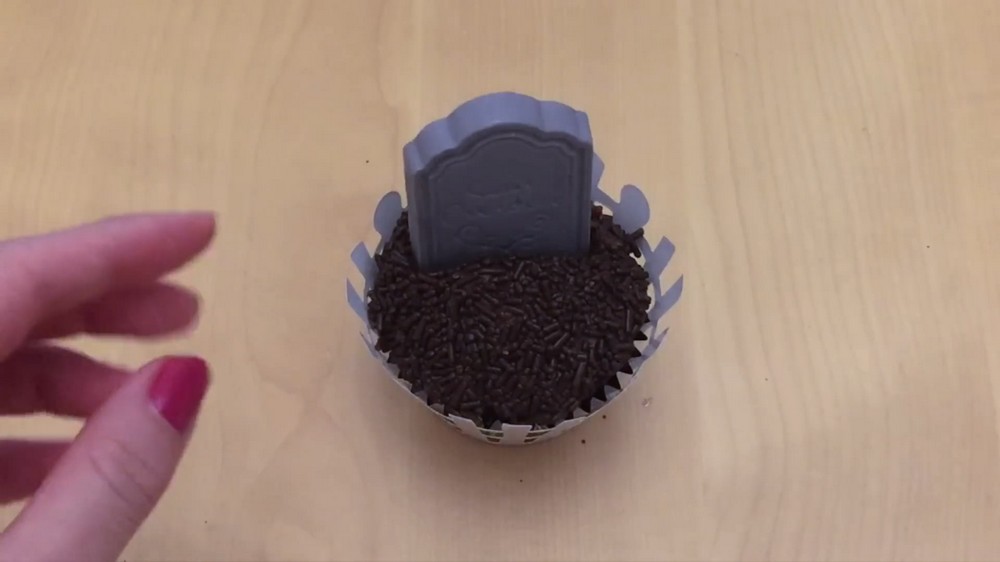
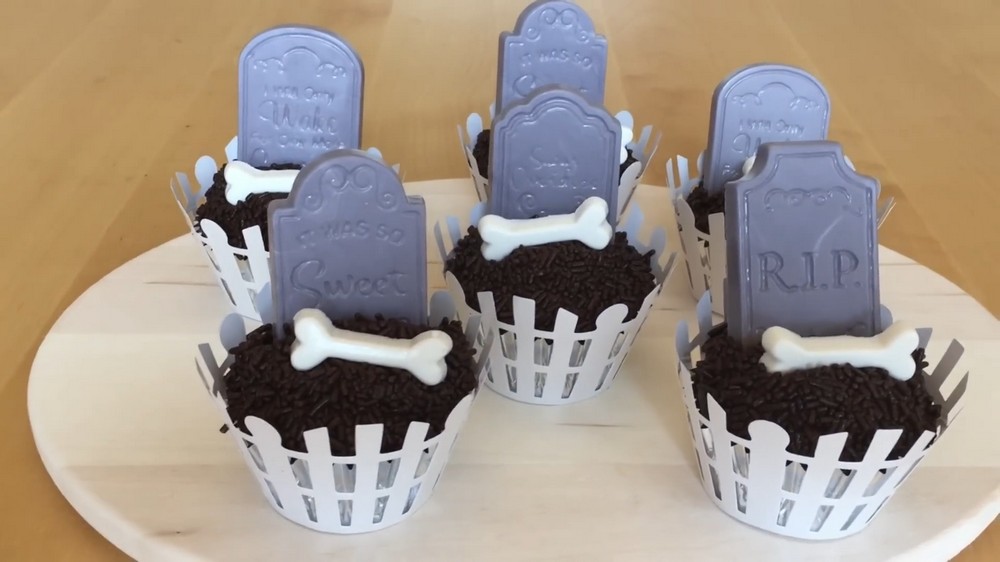
- Add the Tombstone:
- Take one chocolate tombstone piece and gently press it into the back of the cupcake.
- Optional Bone Accent:
- If your mold included bones, place one in the "dirt" near the base of the tombstone.
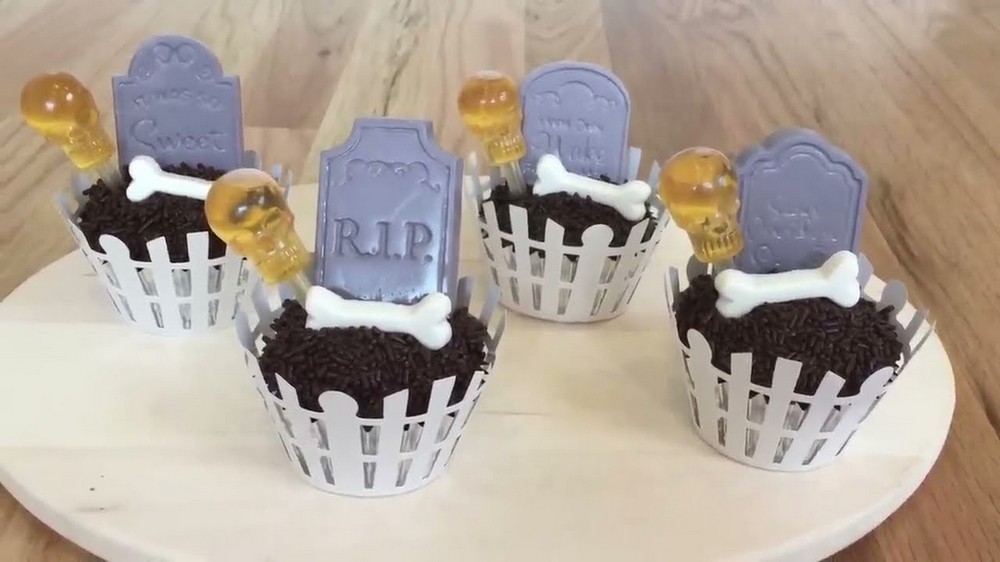
- Optional Shot Topper:
- If desired, fill a skull-shaped shot topper with liquor or a sweet drink of your choice. Insert the topper into the cupcake for a fun, moist twist.
Part 2: Vampire Lips Cupcakes
Step 1: Make the Vampire Lips
- Prepare the Mold:
- Use a vampire lips chocolate mold.
- Melt white chocolate candy melts, as done for the tombstones.
- Fill the Details:
- Use a toothpick to fill in the small teeth details with melted white chocolate. Take your time to ensure the chocolate stays within the teeth shapes.
- Fill the Lips:
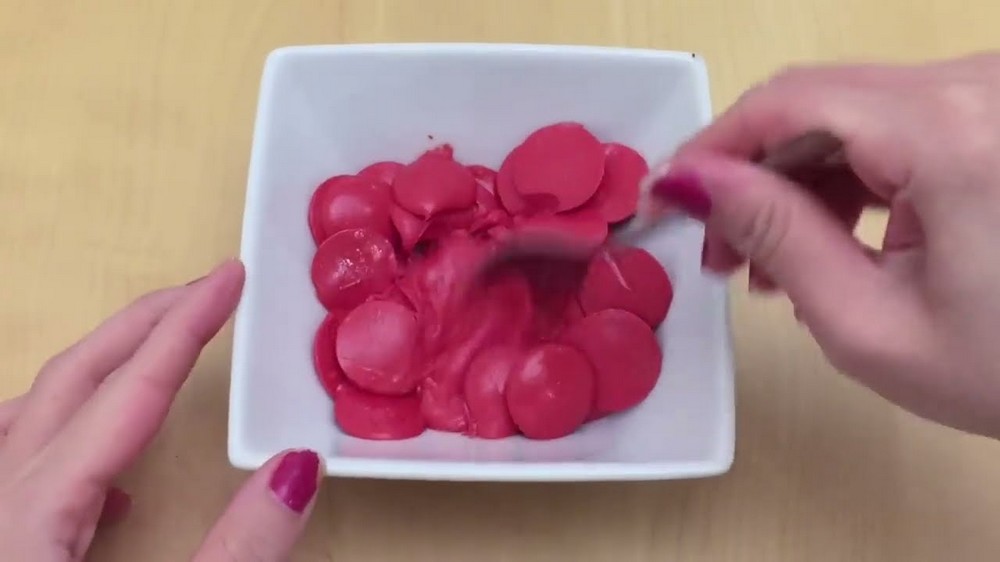
- Melt red chocolate candy melts and spoon it into the lips section of the mold. Tap the mold gently on a surface to remove air bubbles.
- Insert Popsicle Sticks:
- While the chocolate is still melted, insert popsicle sticks into the base of the lips mold.
- Freeze and Remove:
- Place the mold in the freezer for 5 minutes, then gently tap out the finished vampire lips.
Step 2: Prepare the Cupcake Base
- Color the Frosting:
- Add a few drops of green food coloring to cream cheese frosting or any white frosting.
- Mix thoroughly until the color is even.
- Frost the Cupcakes:
- Spread or pipe the green frosting onto each cupcake.
Step 3: Assemble the Vampire Cupcakes
- Add the Lips:
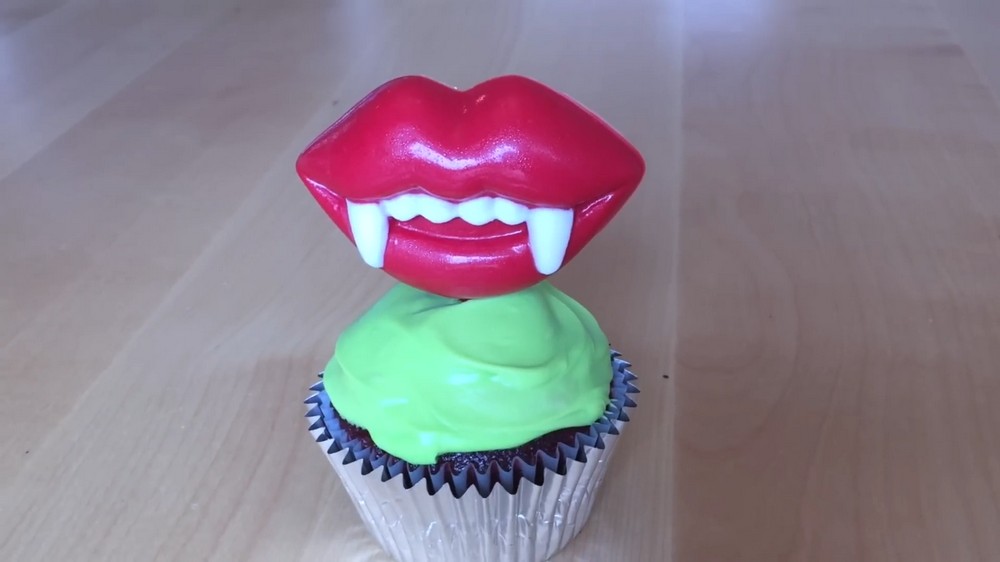
- Cut the popsicle stick of the vampire lips to the desired length. Insert the stick upright into the center of the frosted cupcake.
- Optional Decorations:
- Add sprinkles or spooky-themed toppers for extra flair.
Final Tips
- Adjust Colors to Suit Your Theme: If you’re not a fan of green frosting or gray tombstones, experiment with purple, orange, or classic black.
- Substitute Candy: If chocolate molds aren’t available, you can substitute decorative candies, cookie cutouts, or fondant to create similar designs.
- Serve Creatively: Use themed wrappers, display stands, or small props to elevate the appeal of your cupcakes for Halloween parties.
These DIY Halloween Cupcakes are simple, festive, and perfect for all kinds of celebrations. Whether you're hosting a spooky get-together, attending a costume party, or enjoying a quiet night with themed treats, these cupcakes are a great choice!