Make the holiday season special with a simple guide to making an adorable Christmas bear mini plushie using needle felt for a heartfelt touch.
This enchanting creation captures the essence of holiday cheer in one compact design. The DIY Christmas Bear Mini Plushie with needle felt is a cuddly and festive handmade figure perfect for spreading cozy holiday vibes. Featuring a cute bear donning a classic Santa hat, a vibrant red scarf, and an adorable, gently smiling expression, this plushie exudes warmth and charm. Its tiny size makes it an ideal decoration for a Christmas tree, a heartfelt handmade gift, or even a cheerful desk companion to brighten up your workspace during the holiday season.
DIY Needle Felt Mini Plushie: Christmas Bear Idea for Holiday Gifting
This project’s standout appeal lies in its attention to detail, from the bear’s delicately rounded features to the vibrant seasonal colors that make it truly eye-catching. It’s a lovely fusion of artistry and the spirit of Christmas, perfect for craft lovers who appreciate unique, heartfelt designs.
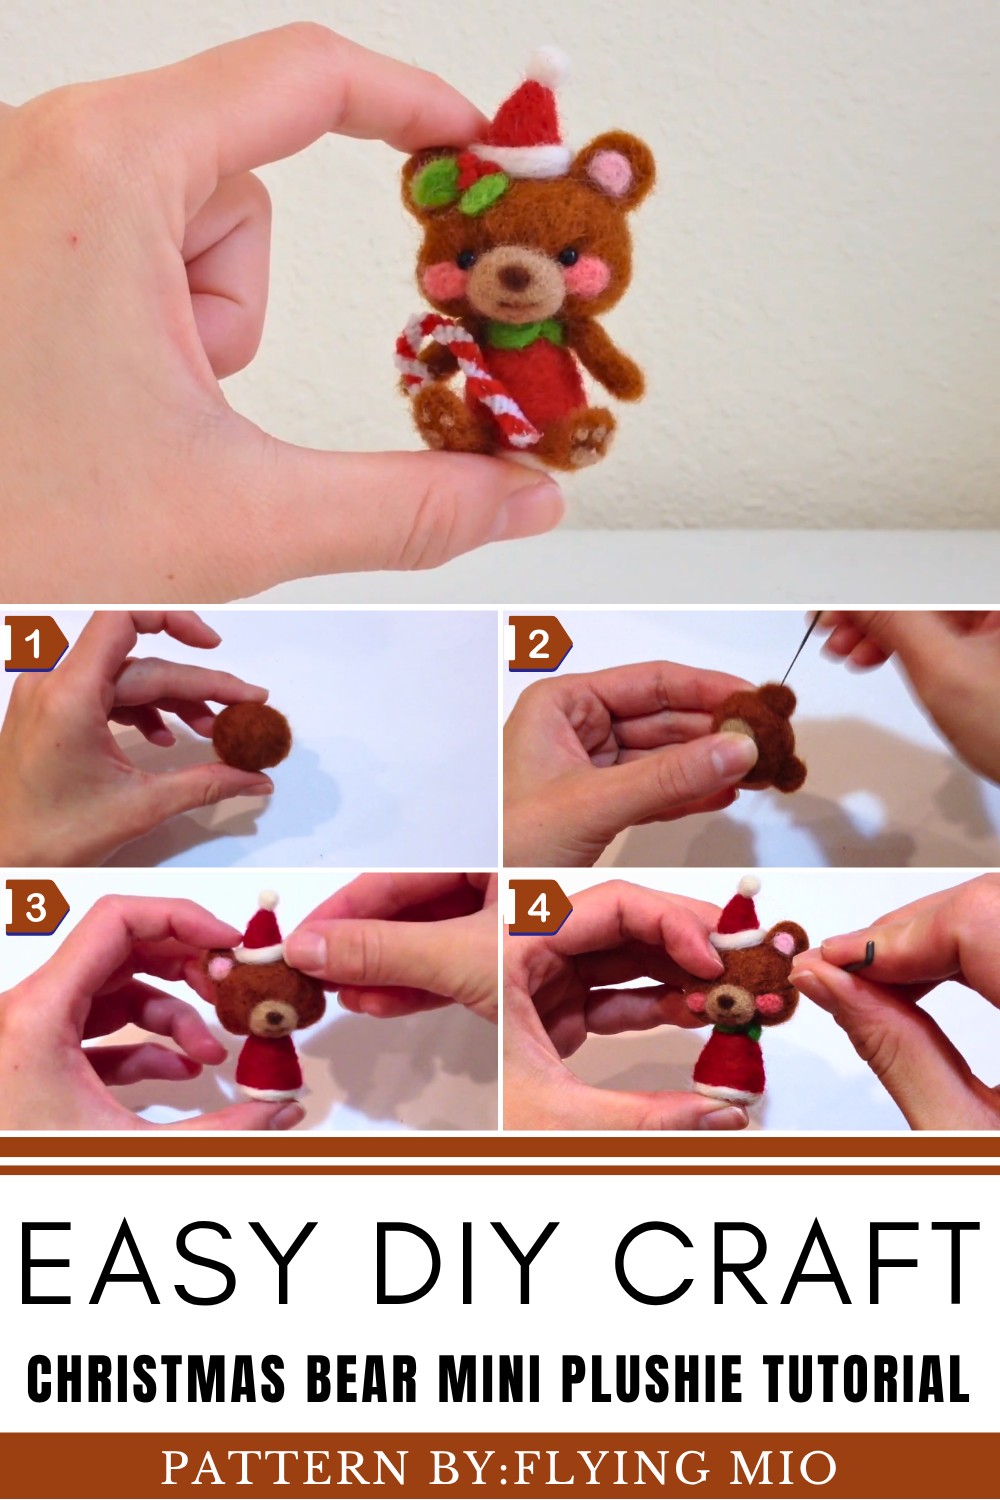
Flying Mio, the creative talent behind this precious handmade bear, regularly shares inspiring DIY projects on her YouTube channel Flying Mio. If you’re a fan of whimsical, handmade crafts, her tutorials are a must-watch!
Features of the DIY Christmas Bear Mini Plushie
The DIY Christmas Bear Mini Plushie with needle felt is an adorable holiday-themed creation designed to capture the warmth and joy of the festive season. Here’s a closer look at what makes it special:
1. Charming Holiday Design
The mini bear is decked out in a festive Santa hat and a snug red scarf, perfectly embodying Christmas cheer. Its soft, rounded features and sweet smile add a lovely sense of warmth and friendliness.
2. Compact and Versatile
This tiny plushie is perfectly sized to suit a variety of uses. It can serve as a tree ornament, a seasonal decoration, a heartfelt handmade gift, or even a desk accessory to keep your spirits high during the holidays.
3. Vibrant Holiday Colors
The combination of classic Christmas colors—red, white, and brown—makes this plushie pop in any holiday arrangement, adding a delightful touch to your decorations.
4. Handmade Personality
The handcrafted nature of the plushie lends it a unique, one-of-a-kind appeal. Every detail, from its soft curves to its bright accessories, reflects the care and creativity of its creator.
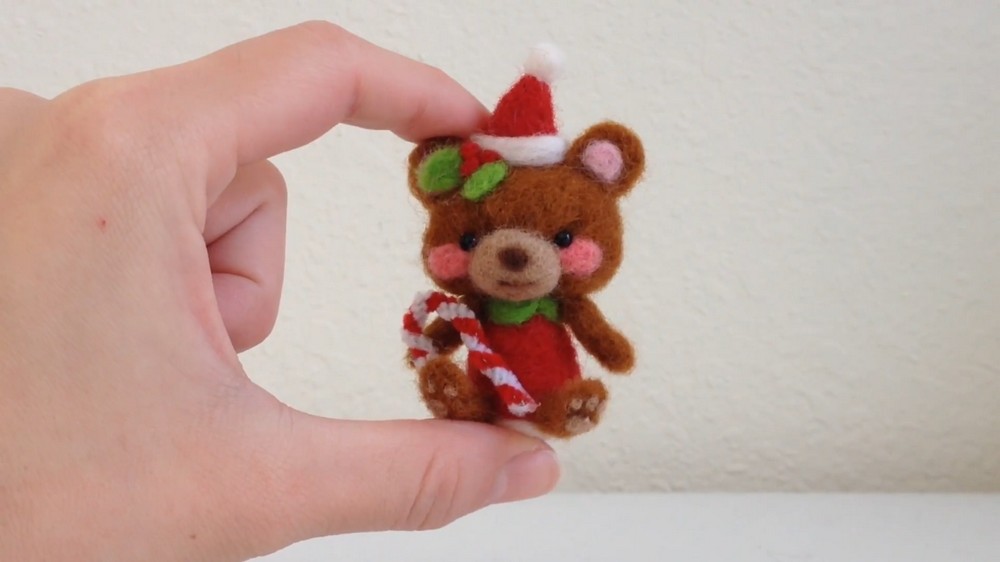
How to Make a Needle-Felted Holiday Teddy Bear
Transform soft wool into a cuddly, holiday-themed teddy bear with this needle-felt tutorial! Perfect for the festive season, this bear can be used as an ornament, decoration, or a thoughtful handmade gift. Don’t worry if you’re new to needle felting—it’s a simple and forgiving craft. Follow these easy steps to make your own adorable bear.
Materials You'll Need:
- Brown felting wool (for the bear’s body, head, arms, legs, and tail)
- Light brown/tan felting wool (for the bear’s face details and footpads)
- Pink felting wool (for cheeks and ear centers)
- Dark brown felting wool (for nose and mouth)
- White felting wool (for holiday outfit details)
- Red and green felting wool (for holiday accents like the hat and mistletoe)
- Animal eyes (from craft stores or online, or you can use black felting wool to create simple eyes)
- Felting needle
- Foam board or kitchen sponge (helps prevent damage to surfaces)
- Scissors (optional for trimming stray wool)
- Pipe cleaners in red and white (optional for the candy cane accessory)
- Hot glue gun (optional for attaching accessories)
Step 1: Making the Teddy Bear’s Head
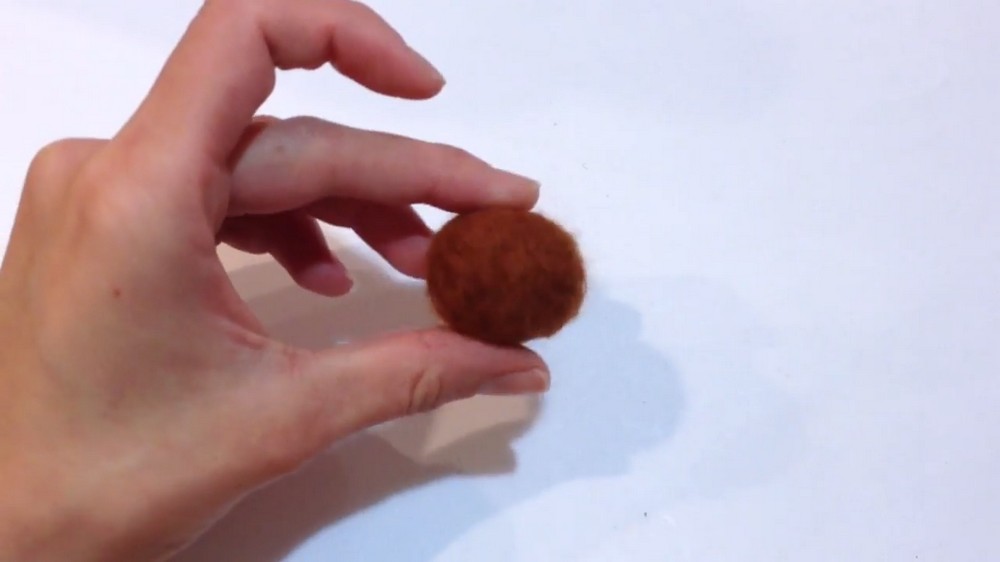
- Start by taking some brown felting wool and rolling it into a rough circle or ball shape. Place it on your foam board.
- Use your felting needle to poke the wool repeatedly. This step compresses the fibers and creates a solid, well-shaped ball. Rotate the wool as you poke to ensure the ball stays even and round.
- Once you’re happy with the shape of the head, set it aside for a moment.
Step 2: Adding the Face Details
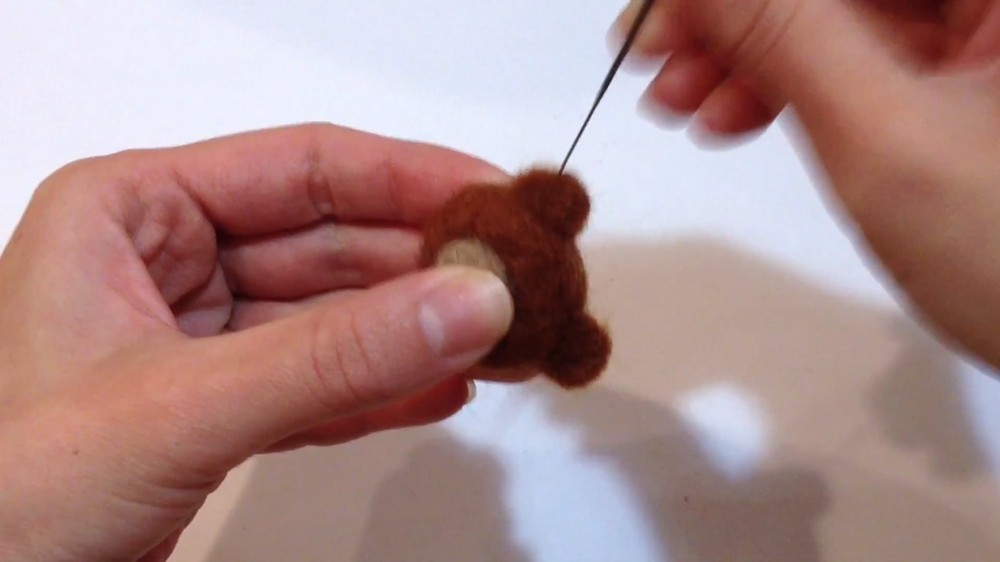
- Roll a small piece of light brown/tan felting wool into a circular shape for the bear’s face. Position it in the center of the head.
- Use your needle to poke the light brown wool into place, blending the edges until it’s firmly attached. Don’t worry about using glue—the fibers will hold together securely.
Step 3: Making the Nose and Smile
- For the nose, roll a tiny piece of dark brown wool into a ball and attach it to the center of the light brown face part with your felting needle.
- Roll another piece of dark brown wool into a thin “snake” shape. Attach this beneath the nose to form a smile. You can customize the expression if you like.
Step 4: Adding the Cheeks and Ears
- Roll two small balls of pink wool for the bear’s cheeks. Position them on either side of the face and needle felt each one into place.
- For the ears, roll two balls of brown wool and compress them into semicircle shapes. Add a small ball of pink wool to the center of each ear for a pop of color. Carefully attach the ears to either side of the head using your felting needle.
Step 5: Creating the Body and Holiday Outfit
- Roll red felting wool into a cylinder shape for the body. Compress it with your felting needle, creating a tapered “cone” shape with a wider base and narrower top.
- Use white felting wool to outline the bottom of the red body. Needle felt this into place, making the base look like the trim of a holiday Santa outfit.
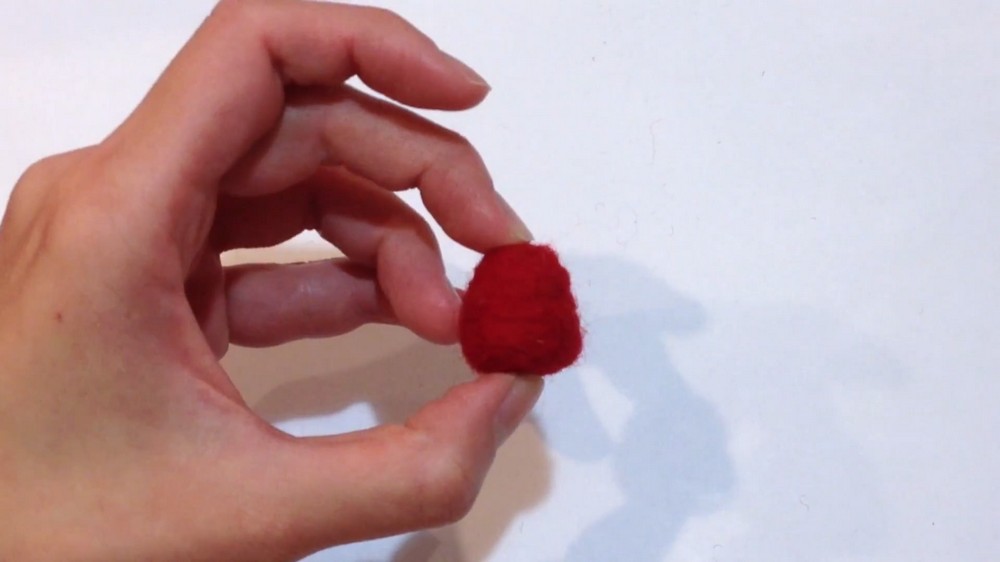
Step 6: Crafting the Holiday Hat
- Take red felting wool and roll it into a cone shape for the bear’s hat. Compress the wool with your needle until it holds its shape firmly.
- Roll a small ball of white wool to create the pom-pom at the tip of the hat. Attach it carefully using your felting needle.
- Attach the hat to the top of the bear’s head at a slight angle to give it a charming look. Use white felting wool to add a fluffy brim at the base of the hat for extra festive flair.
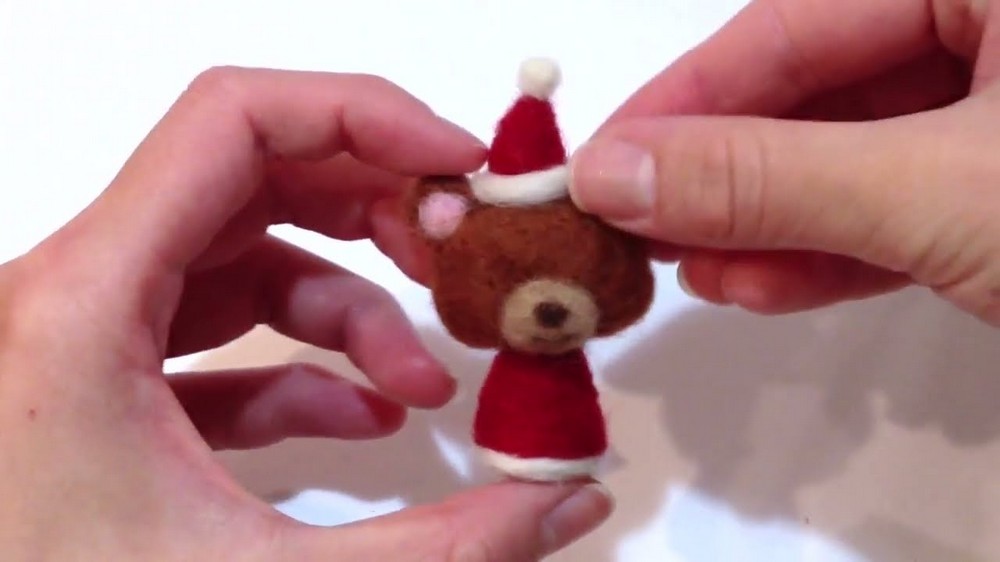
Step 7: Adding the Collar and Mistletoe Decoration
- Take green felting wool and roll it into a thin strip. Needle felt this around the neck area as the collar for the bear’s holiday outfit.
- Shape two tiny teardrops from the green wool to create mistletoe leaves. Attach them to one side of the hat using your needle.
- Roll a small ball of red wool for each berry on the mistletoe. Attach them next to the green leaves.
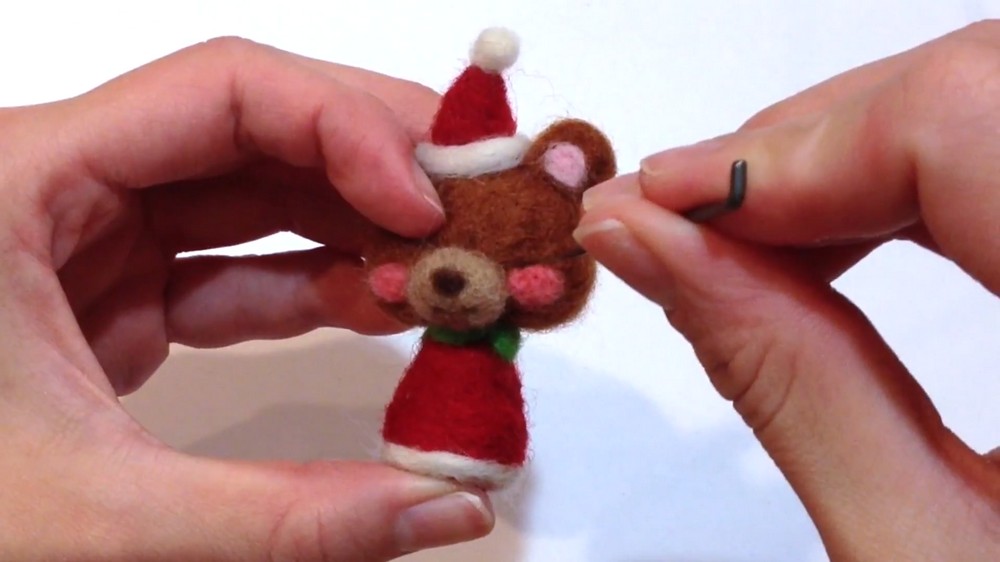
Step 8: Finishing Touches – Arms, Legs, and Tail
- For the arms, roll two small cylinders out of brown wool. Position them on either side of the bear’s body near the neck and use your felting needle to attach them.
- For the legs, roll two longer cylinders out of the brown wool. Shape them into slight “L” shapes to create the appearance of the bear sitting.
- Add light brown patches to the footpads. For each foot, shape a larger circular patch at the base and three small circles above to represent the toe pads. Attach the feet to the base of the body.
- Create a small brown wool ball and attach it to the bottom of the back to form a cute bear tail.
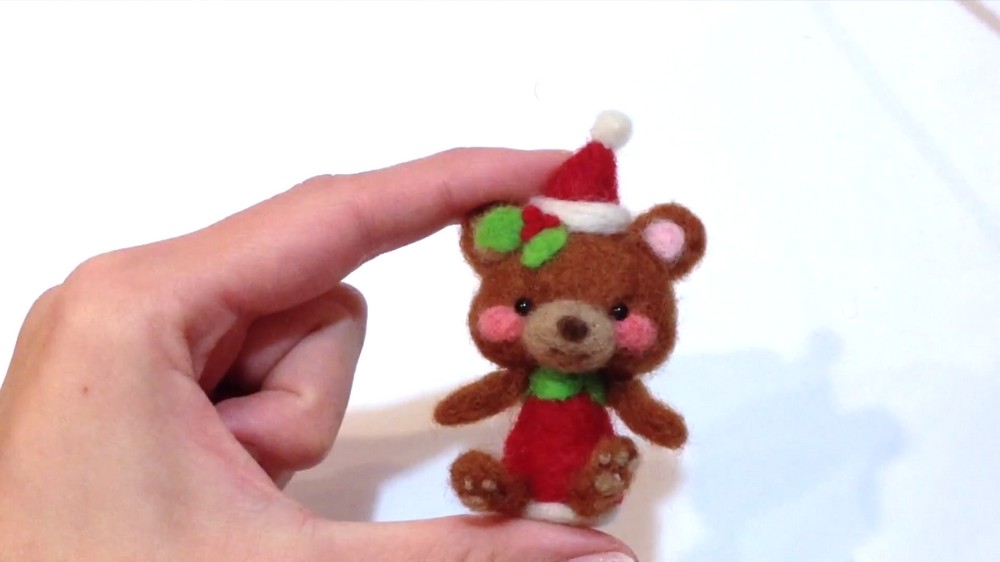
Step 9: Candy Cane Accessory (Optional)
- Take red and white pipe cleaners and twist them together tightly to create the iconic striped appearance of a candy cane.
- Bend the twisted pipe cleaners into a candy cane shape and trim the excess length.
- Attach the candy cane to the bear using a hot glue gun or your felting needle. Position it in one of the bear’s hands for an extra festive touch.
Step 10: Trimming and Tidying Up
- Examine your finished bear for any stray fibers sticking out. Use scissors to carefully trim these away to give your bear a neater appearance.
This holiday-themed teddy bear is the perfect way to add handcrafted charm to your festive decorations or create a unique gift. Regardless of the color or outfit you choose, your bear will surely become the centerpiece of your holiday crafting collection.