Add a whimsical touch to your decor with a Totoro-themed DIY EOS terrarium, combining creativity and charm for fans of the beloved character.
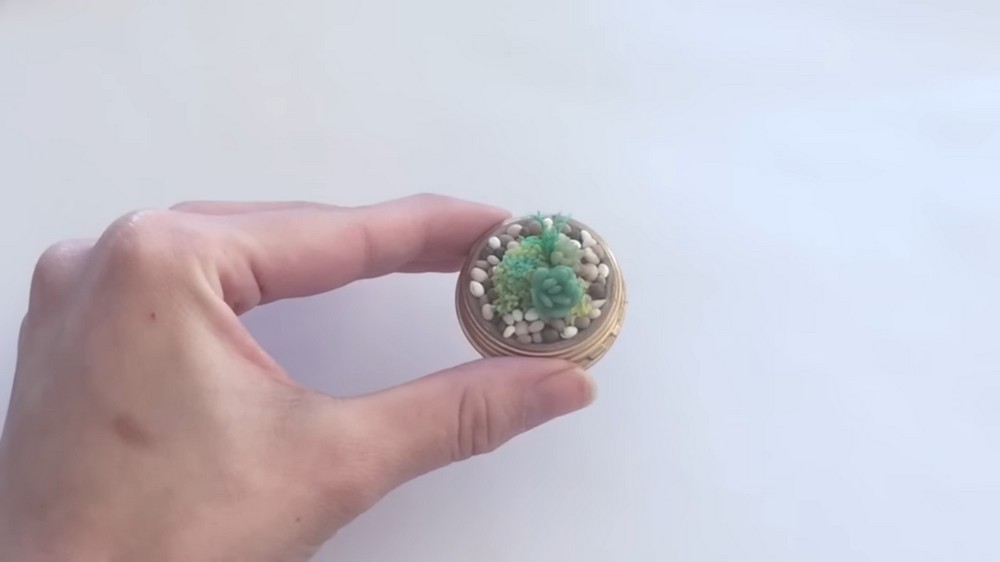
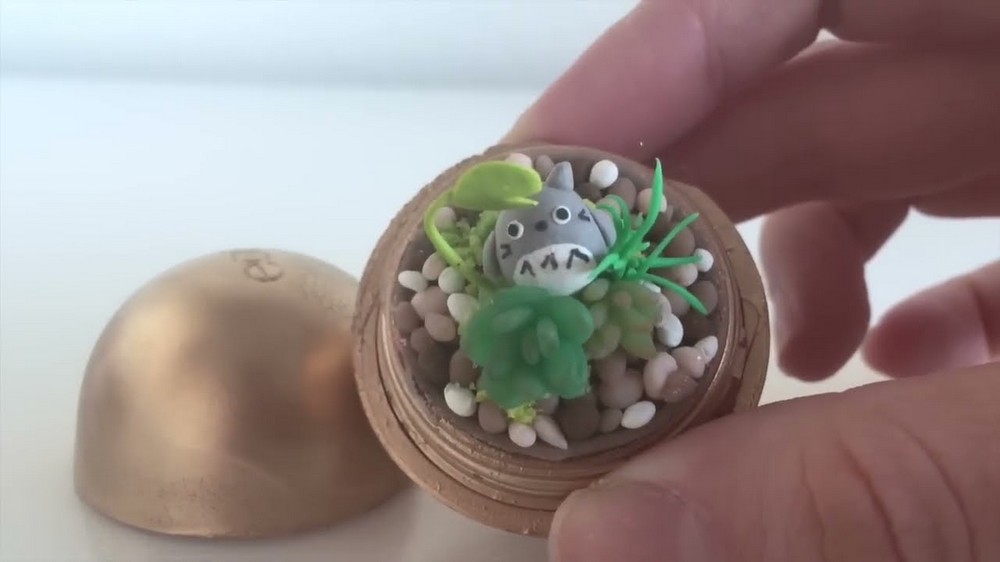
Transform an ordinary EOS lip balm container into an enchanting miniature terrarium with Totoro peeking out from a lush, vibrant display of greenery. The finished DIY EOS Terrarium with Totoro is a charming piece filled with character and whimsy, featuring realistic polymer clay succulents, moss, and colorful details that create a lifelike, layered habitat. Highlighted by Totoro’s adorable design nestled among the leaves, this terrarium adds a magical, playful touch to your desk or home decor. Its compact size makes it perfect as a creative gift for fans of Studio Ghibli or as a unique collectible that feels personal and handcrafted. The element of surprise—replacing lip balm with this petite masterpiece—makes it even more delightful.
Beautiful Totoro EOS Terrarium DIY You’ll Want to Try
Flying Mio, known for her creative DIYs, delivers a tutorial filled with imagination and careful craftsmanship. Be sure to explore more of her charming projects on her channel to spark your next creative endeavor!
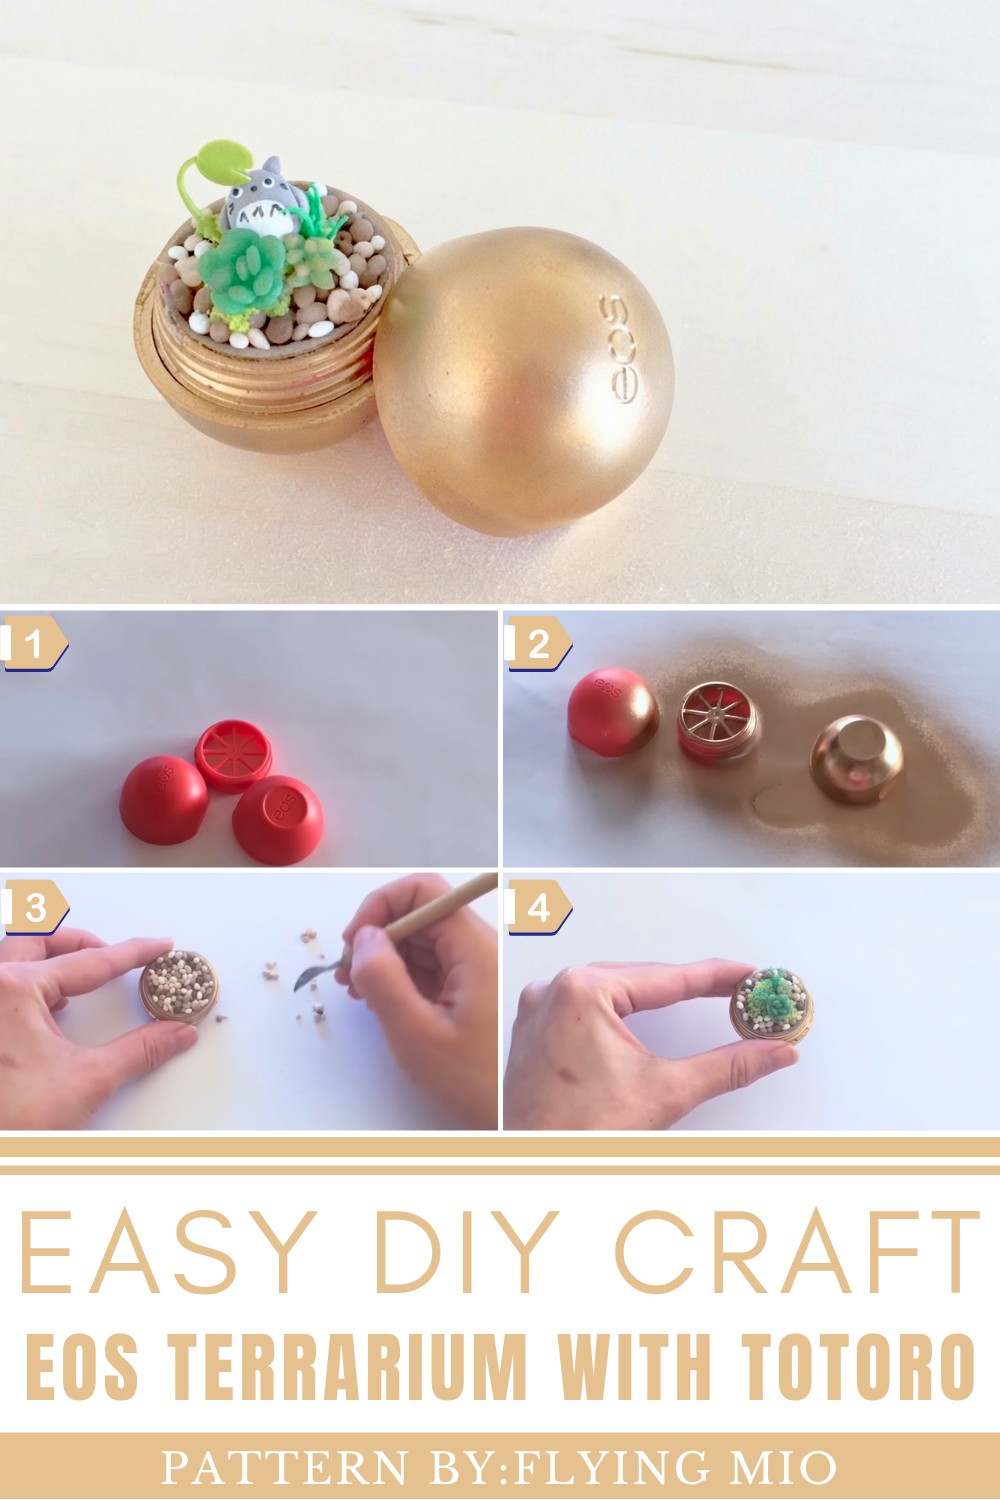
Whimsical Design of the DIY EOS Terrarium with Totoro
The DIY EOS Terrarium with Totoro is a captivating miniature masterpiece that blends creativity and charm into a tiny, unexpected package. The design features intricate polymer clay succulents and moss-like textures, perfectly arranged to mimic a miniature garden. Nestled within this lush scenery is Totoro, bringing his unmistakable charm and a touch of whimsy to the piece. The spherical shape of the repurposed EOS container enhances the terrarium’s aesthetic, resembling a magical little world encased in glass. Compact, colorful, and full of personality, this unique design doubles as playful decor and a delightful collectible for Studio Ghibli fans. It’s a perfect example of how everyday objects can be transformed into something extraordinary!
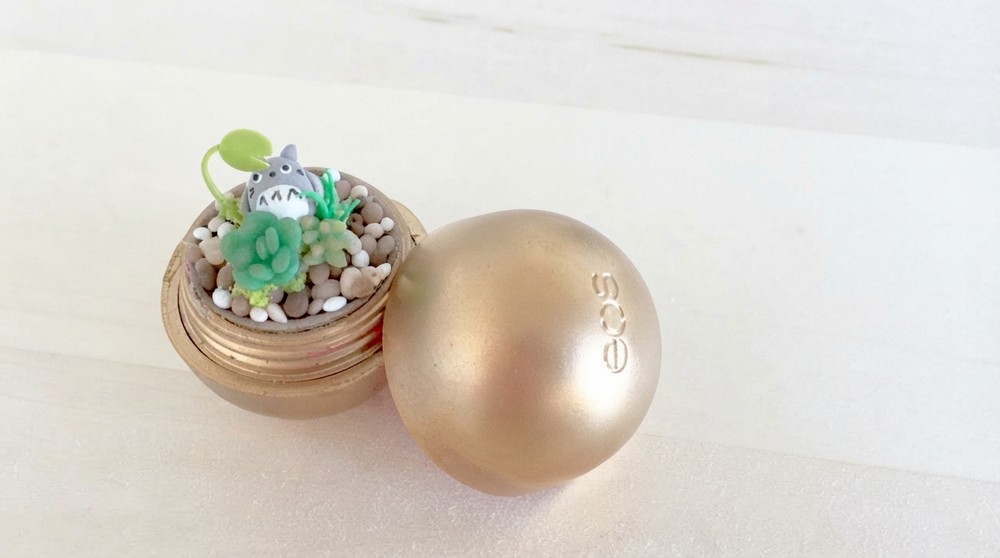
Transform an Empty Lip Balm Container into a Terrarium DIY Craft
Imagine turning an empty EOS lip balm container into a charming miniature terrarium, complete with polymer clay greenery and a little Totoro peeking among the leaves. This project is a fantastic way to upcycle a container destined for the trash or elevate your crafting game with a unique, desk-friendly decor item. By the end of this tutorial, you’ll have an adorable craft piece that can make a thoughtful gift or brighten your living space. Follow these beginner-friendly steps to make your very own miniature terrarium.
Materials You’ll Need
- An empty EOS lip balm container
- Gold spray paint (or any color of your choice)
- Polymer clay in various colors:
- Light brown (base soil layer)
- Browns, whites, and nudes (rocks and pebbles)
- Greens (moss and succulents)
- Gray, white, black (for Totoro)
- Red chalk pastel (for succulent tips)
- Green chalk pastel (optional for moss shading)
- Craft tools (blade, rolling pin, or anything for shaping/smoothing clay)
- Hot glue gun
- A clay tool or needle
- An oven (to bake the polymer clay)
Step 1: Prepare the Lip Balm Container
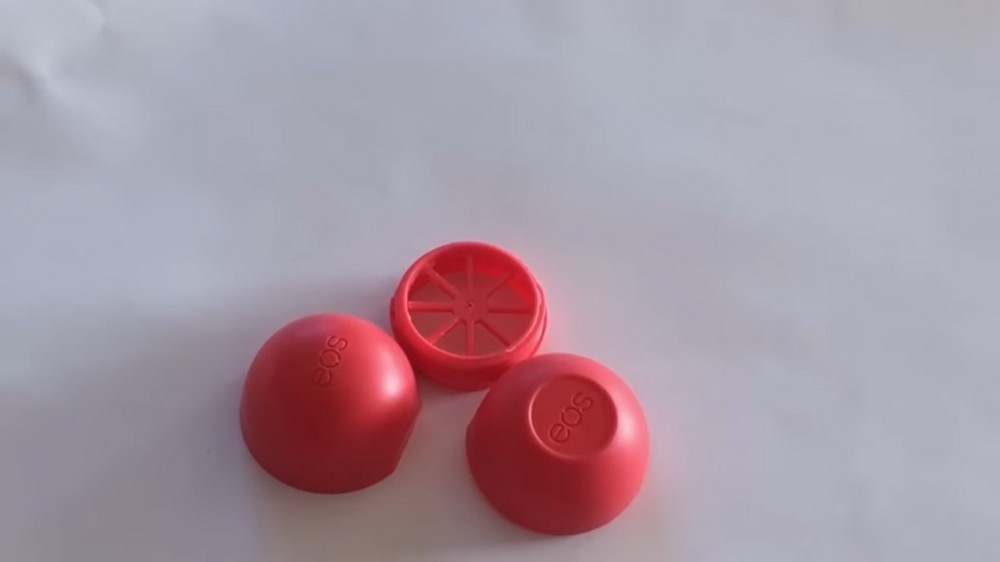
- Start with an empty EOS container. If you haven’t already, remove all the remaining lip balm inside and clean it thoroughly.
- Carefully pop out the plastic grate from the top layer of the container. This will give you space to create your terrarium.
- TIP: Use a sharp knife or tool to loosen it, but proceed cautiously to avoid injuries. If you find it difficult, consider leaving the grate intact for a smaller terrarium.
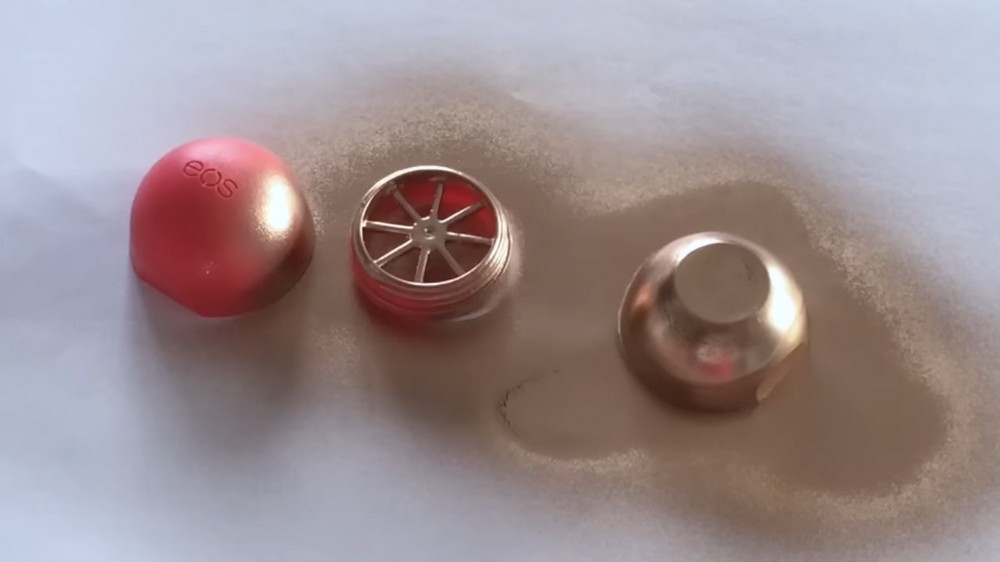
- Spray paint the container in your desired color (gold was used in the tutorial).
- Apply an even coat and let it dry completely. If you prefer the original color of the container, you can skip this step.
Step 2: Make the Soil Base
- Roll out a thin, smooth sheet of light brown polymer clay. It should be thick enough to hold the weight of all the decorations later.
- Use the plastic grate as a guide to cut the clay into the correct size and shape. Place the clay into the bottom of the eos container.
Step 3: Add Pebbles and Decoration Layers
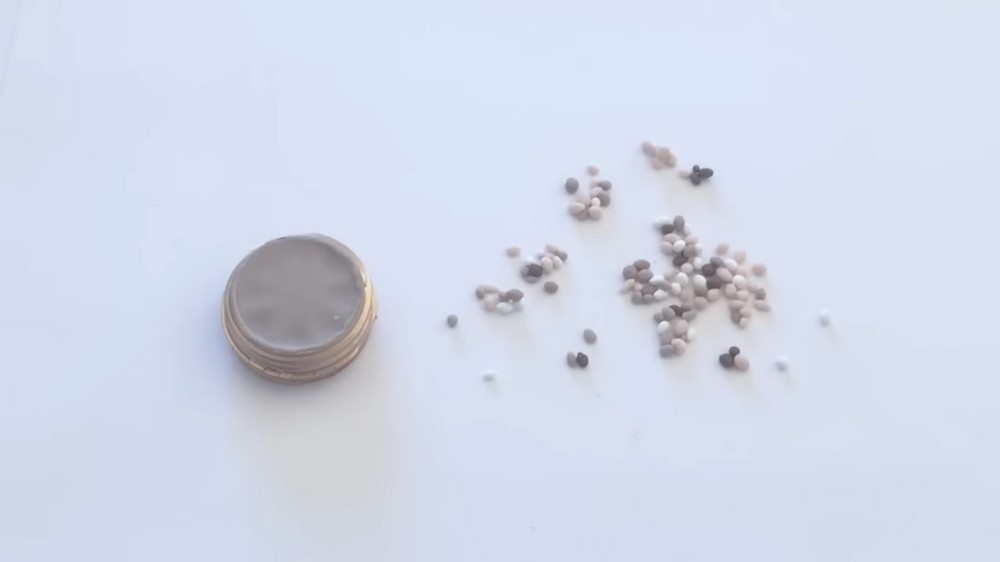
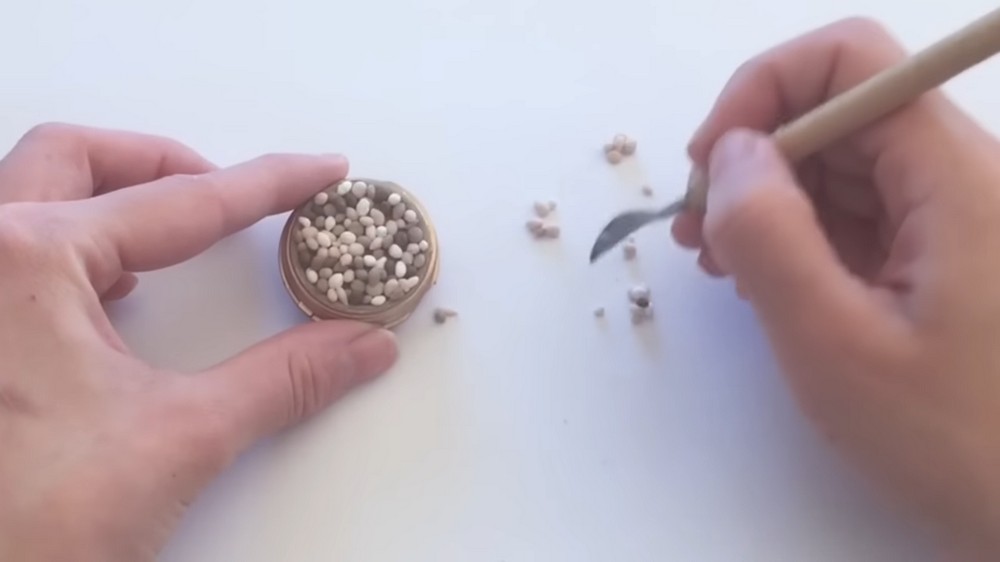
- To create a realistic texture, roll small pieces of polymer clay (in shades like brown, nude, white, and gray) into tiny balls to resemble pebbles.
- Arrange these miniature pebbles along the bottom rim of the EOS container. Layer them carefully on top of each other to add depth.
- You can opt for additional soil or sand layers for a more elaborate base if your container has extra space.
Step 4: Create Miniature Moss
- Use lime green clay to make moss by scraping it with a needle or craft tool into small textured pieces. These pieces will look like tiny moss dust.
- Gently group the green clay dust together into clumps to mimic moss appearance.
- Using green and brown chalk pastels, rub a soft layer of color onto the top edges of the moss pieces to add depth and realism.
Step 5: Sculpt Succulents
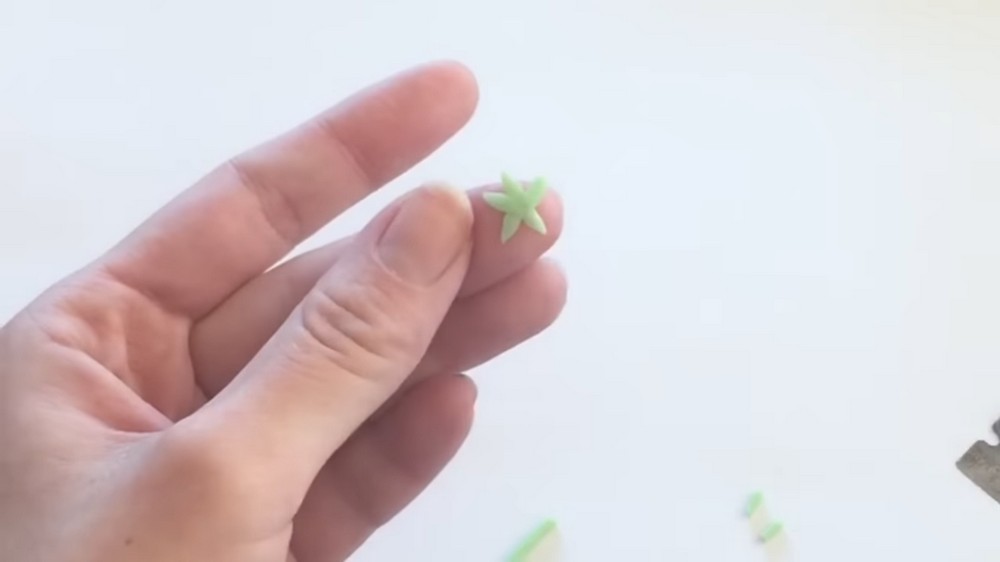
- Roll green polymer clay into a thin snake-shaped piece. Cut it into small sections to form leaves for your succulent plant.
- Shape each piece into a pointed triangle and arrange them in a star-like pattern, attaching at least five or six leaves.
- Add another layer of smaller leaves to give the succulent a three-dimensional look. Curl these slightly upward toward the center.
- Using a small brush or cotton swab, lightly dust the tips of the succulent leaves with red chalk pastel to make them even more lifelike.
- Repeat the process to create multiple succulents in various shades of green and sizes.
Step 6: Make Totoro
- Roll a small oval shape out of gray polymer clay for Totoro's body.
- Add a white oval patch to his belly and use tiny pieces of black and white clay for his eyes.
- Create Totoro's signature triangular nose using black clay.
- Sculpt details such as ears, arms, and belly markings for a simplified version of Totoro that can nestle among the greenery in your miniature terrarium.
Step 7: Assemble the Terrarium
- Arrange the moss, succulents, and Totoro inside the EOS container. Layer the components thoughtfully to mimic the look of a real terrarium.
- For a polished finish, use a hot glue gun to secure larger pieces, like moss or Totoro, into place.
Step 8: Bake the Polymer Clay
- Carefully remove all polymer clay elements from the EOS container.
- Preheat your oven to 250°F (120°C) (or follow the temperature instructions on your clay package).
- Place the clay elements on a baking tray and bake them for 20 minutes.
- Allow everything to cool completely after baking.
Step 9: Final Assembly
- Once everything is baked and cooled, place the polymer clay pieces back into the EOS container. Secure them with a hot glue gun if necessary.
- Screw the lid on to ensure a snug fit. If desired, you can leave the lid off for a more open terrarium look.
Step 10: Add Finishing Touches
- If your Totoro feels incomplete, you can always add small details like a leaf or additional markings on his body using polymer clay. Bake the extras and carefully glue them into place afterward.
- Inspect your terrarium for any gaps or uneven areas. Adjust or add more moss or succulent pieces to make it look perfect.
This project transforms something simple into a beautiful, lasting creation that doubles as art and decoration. It’s a fun way to preserve your love for plants and characters like Totoro, and it’s sure to spark conversations. Keep crafting and enjoy the process.