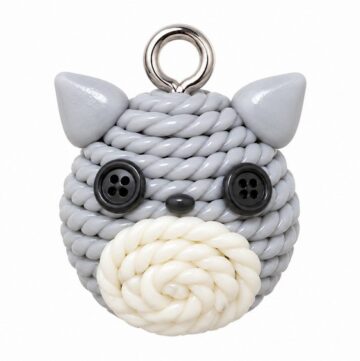
Small decorations can be even more interesting when they have a surprise feature. DIY Dinosaur Glowing With Polymer Clay turns a friendly prehistoric animal into a little figure that stands out both as a display piece and for its glowing effect.
Playful Polymer Clay Dinosaur That Glows in the Dark
The dinosaur theme gives this project an instantly recognizable shape. A rounded body, short legs, a tail, and a cheerful face can help it look sweet instead of scary. Smooth clay surfaces keep the figure tidy, while little details around the head or back give it more personality. The glowing finish is the part that makes this idea different from an ordinary animal miniature.
Meet the Featured Channel
Another place to browse after this sea-animal project is PolymomoTea. The channel features crochet-related content, which is different from the polymer clay work described above. Readers interested in trying varied hobbies can explore its soft yarn designs and see how simple animal themes translate into different handmade decorative gift items.
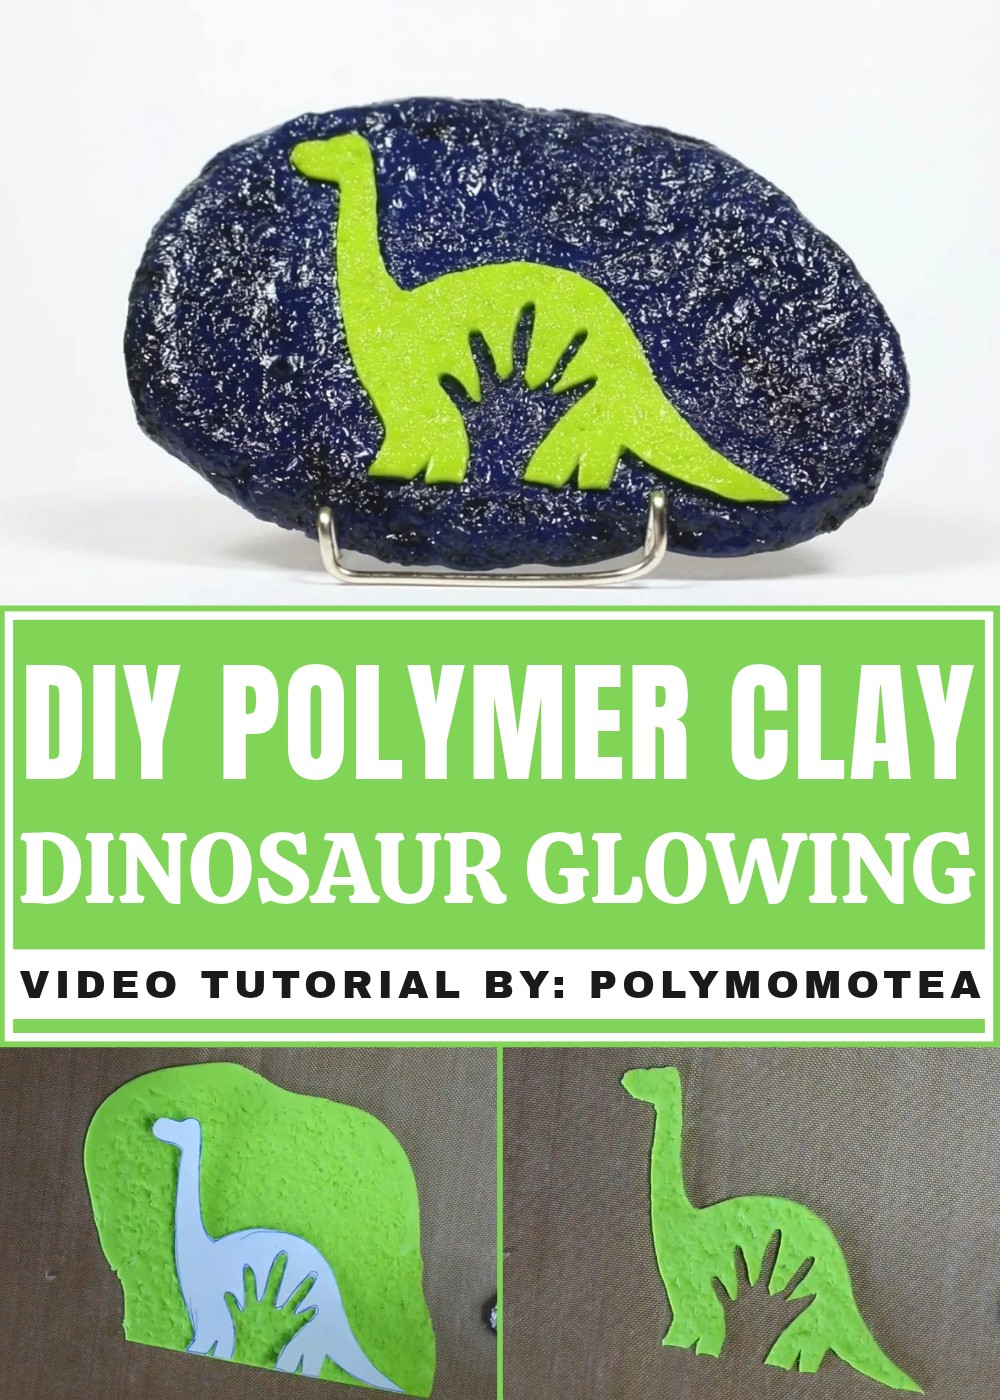
During the day, a small dinosaur can look lovely among books, toys, or other handmade decorations. Its glow adds a playful surprise when the lights are low. That makes it an appealing idea for a bedroom shelf or a dinosaur-themed collection. It also works as a thoughtful present for someone who likes unusual animal figures.
Polymer clay is useful for shaping the body and attaching small details before the figure is hardened according to the clay instructions. Keeping the proportions simple helps the character stay neat and recognizable. Whether displayed alone or beside other tiny creatures, this glowing dinosaur adds a fun touch without needing a large space.
Glow-in-the-Dark Arlo Silhouette Polymer Clay Art Tutorial
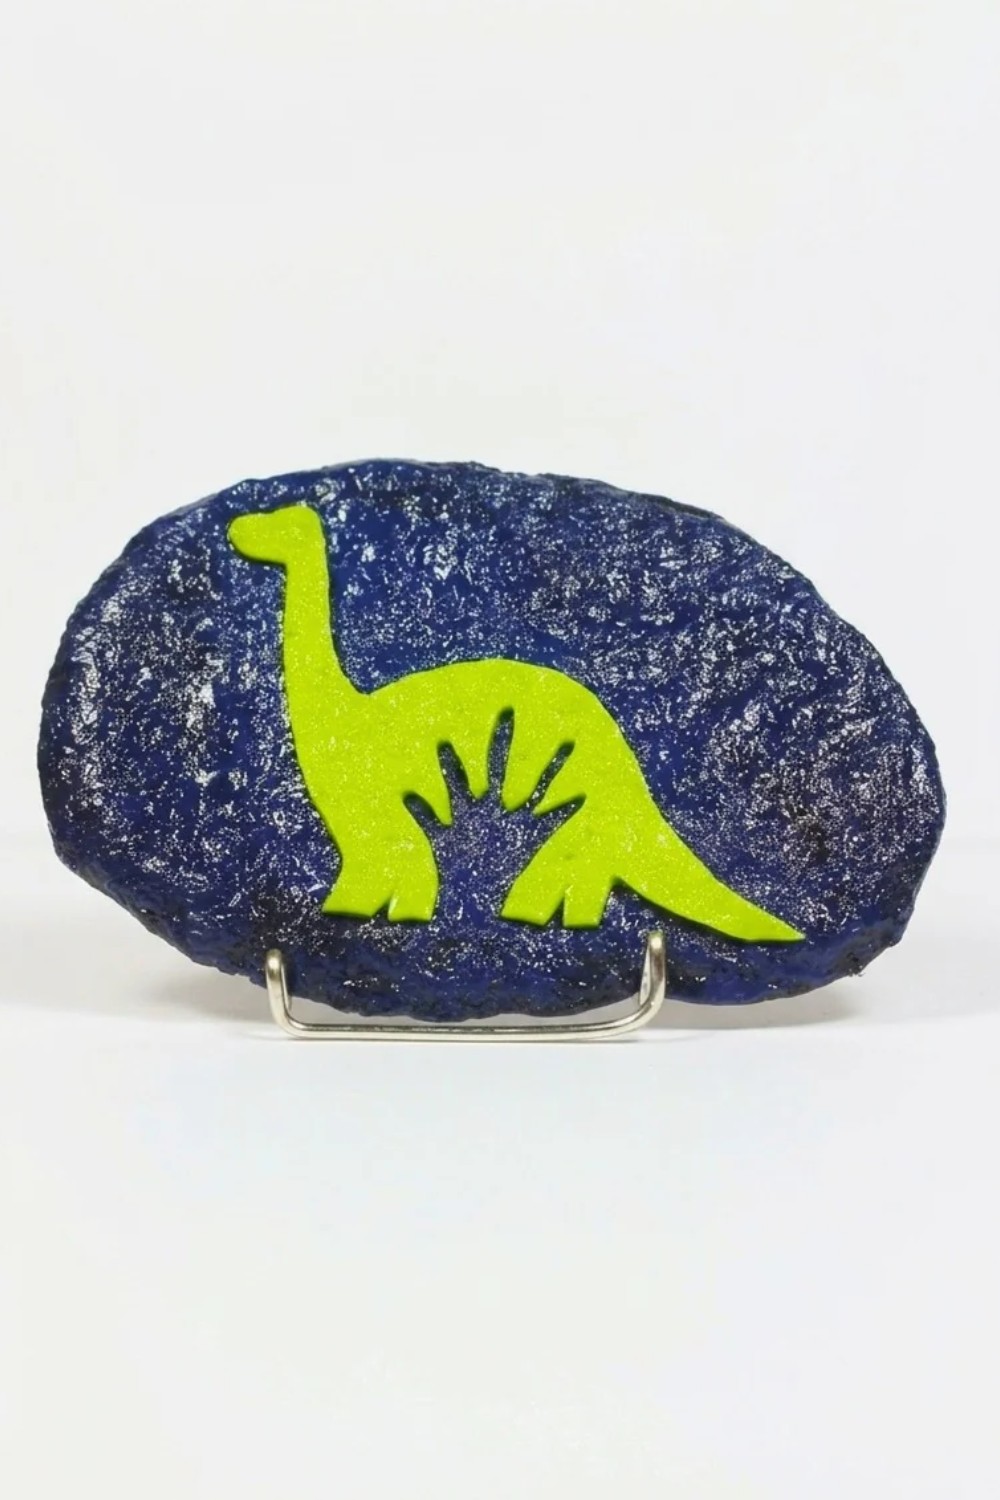
Ever been inspired by the beautiful visuals in Pixar’s “The Good Dinosaur”? In this project, you’ll create your own glowing Arlo silhouette art piece, capturing the magic of the movie’s star dinosaur. With glow-in-the-dark polymer clay, paint, and a custom wire stand, this craft is not only fun and beginner-friendly but also results in a unique art piece perfect for display. Follow this step-by-step guide to learn about basic clay techniques, using textures, layering colors, and building a simple wire frame for professional-looking results.
Essential Materials & Tools
Before starting, gather the following supplies for best results:
Materials
- Polymer Clay:
- Dark blue clay (background)
- Scrap gray clay (support layer)
- Glow-in-the-dark clay
- Green clay (optional, for mixing)
- Neon yellow clay (optional, for mixing)
- Aluminum foil (tin foil)
- Acrylic paint:
- Black (for borders and shading)
- Paper and pencil (for making the Arlo silhouette template)
- Clear glaze or polymer clay varnish
- Wire (18–22 gauge, for the frame)
Tools
- Clay blade or sharp craft knife
- Rolling pin or acrylic roller
- Blending tools or fingers
- Paintbrush
- Wet paper towels or tissues (for paint effects)
- Oven (to bake clay—follow brand instructions)
- Pliers (to bend and shape the wire)
- Clean work surface
- Baking tray + parchment paper
- Scissors
Step-by-Step Instructions
Chapter 1: Creating the Clay Background
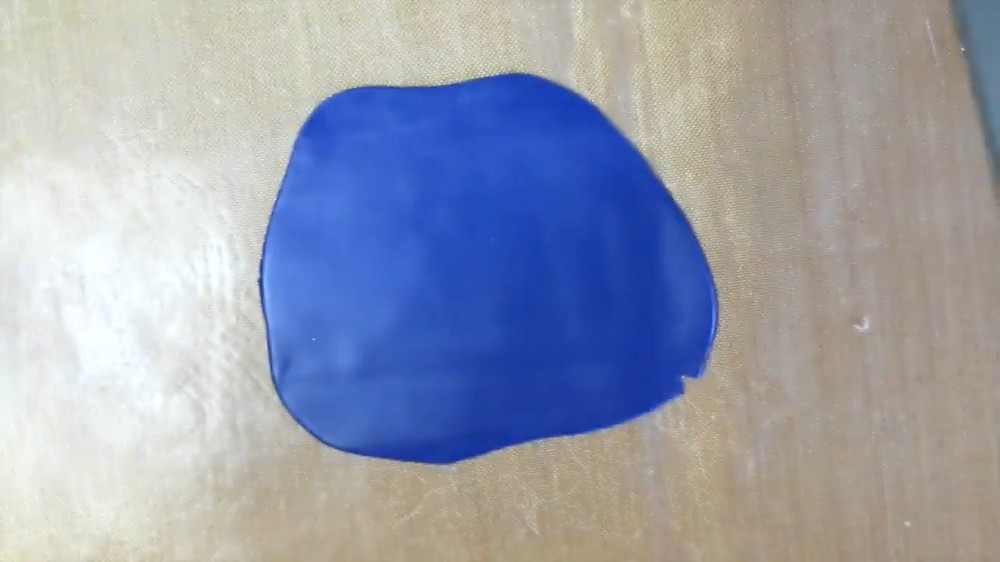
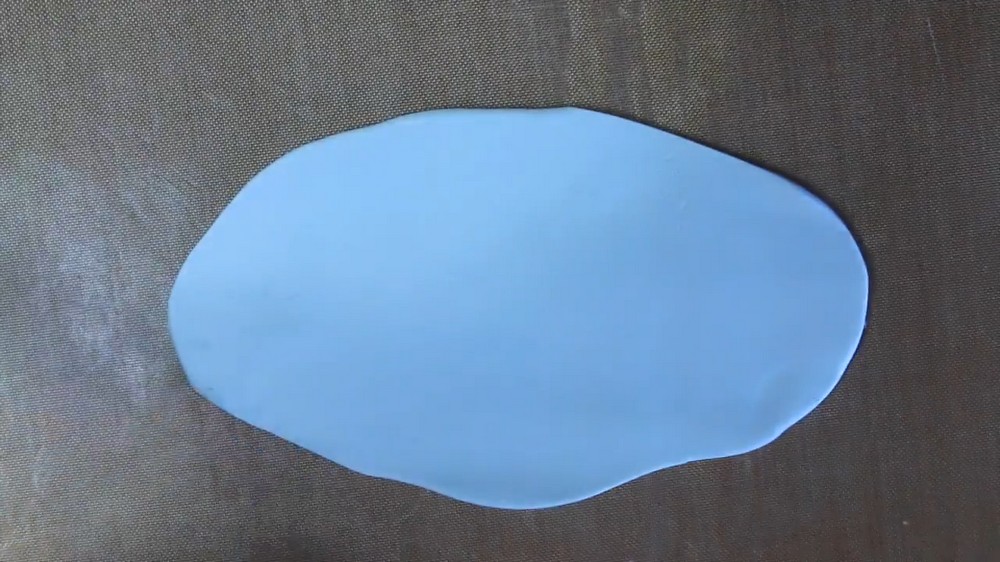
- Roll the Background Layer:
- Start with some dark blue polymer clay.
- Use a rolling pin to roll it out as flat and even as possible. The piece should be large enough to fit your Arlo silhouette plus a border around it.
- Add Support:
- Roll out some scrap gray clay. Place this underneath your dark blue sheet.
- Press the blue clay gently onto the gray layer. This adds strength and ensures your piece won’t be too thin or fragile.
- Create a Rock Wall Texture:
- Crumple up a small ball of aluminum foil.
- Gently roll or dab the foil over the blue surface to add texture. This mimics a stone or rock wall, adding dimension and realism to your background.
Tip: The more randomly you press, the more natural your stone effect will look.
Chapter 2: Crafting the Arlo Figure
- Prepare the Glow-in-the-Dark Clay:
- Take a lump of glow-in-the-dark clay, add a bit of green, and a little neon yellow.
- Knead and blend together until you get a vibrant glowing green that looks bright by day and glows at night.
- Shape the Clay:
- Roll this green mixture out as flat as possible, just like you did for the blue background.
- Make sure the area is large enough for your Arlo silhouette template.
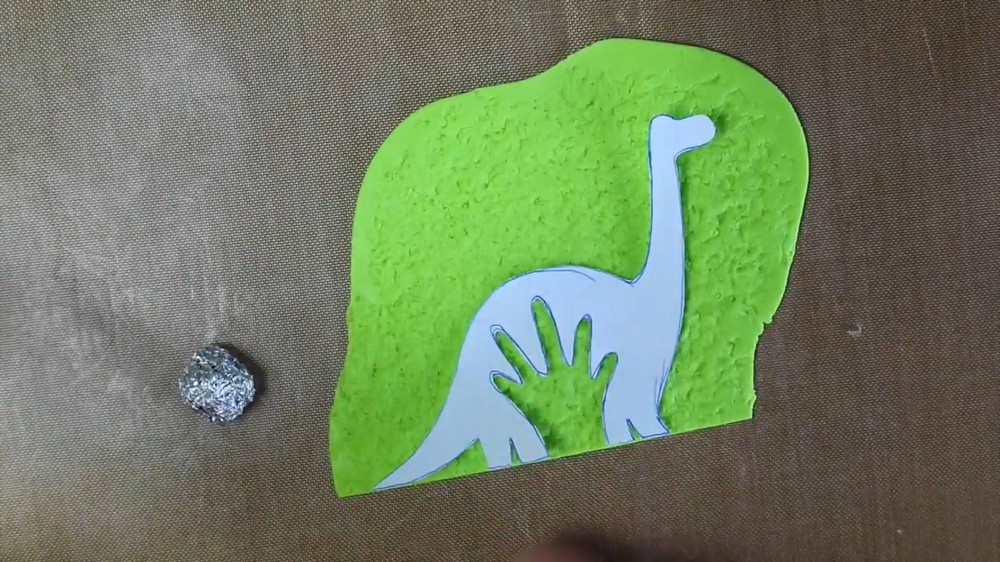
- Make and Trace Your Arlo Template:
- Use paper and pencil to draw Arlo’s outline (or print a simple silhouette from online).
- Cut out your paper template to size.
- Place the template over your green clay sheet.
- Texture the Silhouette:
- Before cutting, create the same textured effect on the green clay using the crumpled foil.
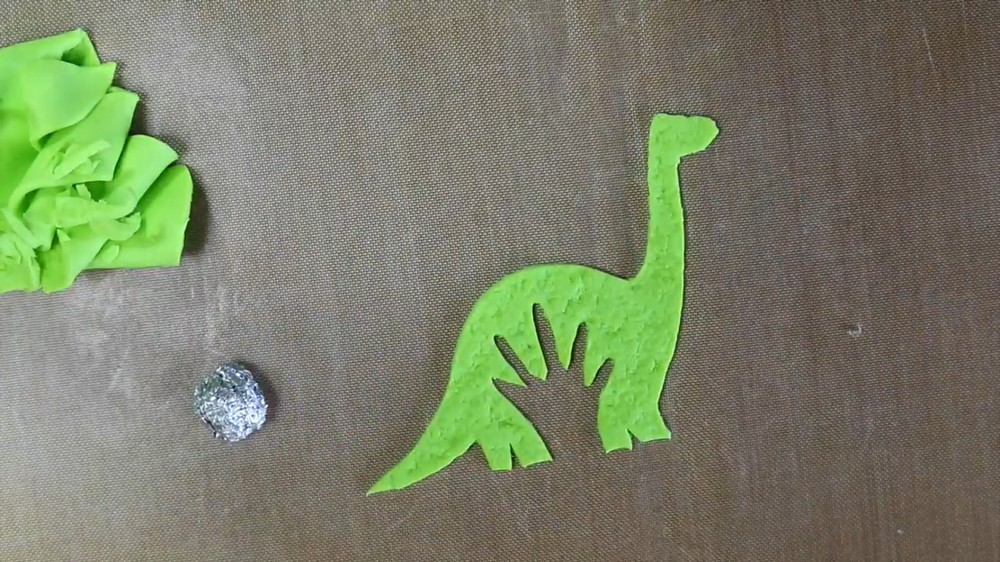
- Cut Out the Arlo Shape:
- Carefully trace around your template with a sharp blade to cut out your Arlo shape.
- Take your time for clean lines and smooth edges.
Chapter 3: Assembling the Piece
- Attach the Silhouette:
- Gently lift your Arlo cutout and place it onto the middle of your blue-rock clay background.
- Press it down lightly for good contact, but be careful not to distort the shapes.
- Double-Check Edges:
- Use a blade or sculpting tool to tidy up edges, ensuring Arlo stands out cleanly against the rock texture.
Chapter 4: Painting and Detailing
- Bake the Clay Piece:
- Preheat your oven as per your polymer clay brand’s instruction (commonly 265–275°F/130°C).
- Bake the assembled piece until set, typically 15–30 minutes.
- Let it cool completely before moving on.
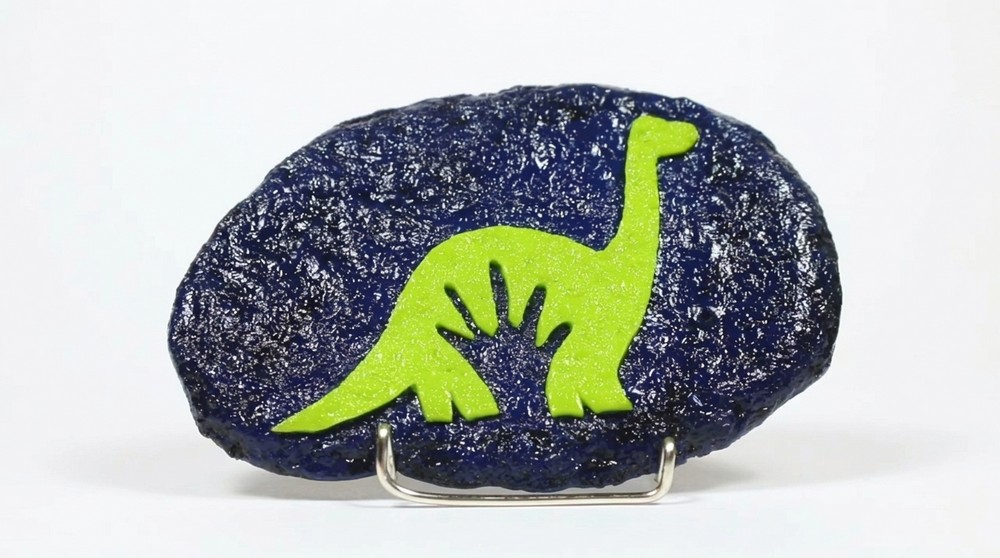
- Add Depth with Black Acrylic Paint:
- Take some black paint and brush it onto the borders of the rocky background, focusing on the edges and textured areas.
- Create a Gradient:
- On the original poster, the background moves from dark to light. Mimic this by using a nearly dry brush to feather a bit of black paint away from the edge and blend toward the center. This gives a gradient, shaded effect.
- Remove Excess Paint:
- While the black paint is still a little damp, use a wet paper towel or tissue to gently wipe across the top. This removes black from the raised areas, leaving it in the indents and crevices for a realistic stone look.
Tip: Don’t wipe too hard—you want to keep some paint in the texture lines!
Chapter 5: Applying Glaze
- Seal the Piece:
- Once the paint is completely dry, use a clear polymer clay glaze or varnish to give your art a finished shine and protect the surface.
- Apply in a thin, even layer using a clean brush.
- Let the glaze cure fully according to the directions.
Chapter 6: Building the Wire Frame
- Shape the Frame:
- Cut a long piece of wire (about 12–14 inches).
- With pliers, bend the wire into a square or rectangular shape that will serve as the base.
- Add Decorative Bumps:
- Gently create bumped or wavy edges along the top of the square. Imagine the tip of a sled; this adds visual interest and an artful vibe.
- Create a Stand:
- Bend the square slightly upward at the back, so your clay piece will be displayed at a slant, instead of lying flat.
- Make a Support Arm:
- Bend the wire halfway down at a downward angle to create support for the back.
- Tuck or twist the ends inward to stabilize the piece and keep everything even.
- Final Adjustment:
- Check stability and adjust angles as needed. The frame should hold your finished clay piece securely and at a displayable tilt.
Chapter 7: Final Reveal & Glow Effect
- Assemble for Display:
- Once the glaze is totally dry, place the clay art into your wire stand.
- Enjoy the Glow:
- For best glow-in-the-dark results, leave your piece under a bright light for a few minutes—then turn off the lights and watch Arlo shine!
Tip: This makes a perfect nightlight display, shelf decoration, or a fun movie-room accent!
Tips for Success
- Texture matters: Foil gives an authentic rocky look and hides fingerprints.
- Cleaning up edges: Use a fine clay tool after assembly for crisp lines.
- Customize: Try different silhouette shapes, colors, or backgrounds for your own unique movie-inspired art piece.
- Wire safety: Always tuck wire ends away from the display piece so they won’t scratch your surfaces or your art.
Conclusion
You’ve created a magical “The Good Dinosaur”-inspired Arlo silhouette that glows in the dark. You learned how to layer and texture clay, mix custom colors, create gradients with paint, and even build a sturdy, attractive wire stand. With a little imagination, you can use these techniques to craft all sorts of silhouette art or clay projects.