Celebrate your love for Neko Atsume with this DIY Plush Tubbs project that captures the quirky charm of the fan-favorite feline in perfect detail.
This chubby, lovable plush cat perfectly captures the essence of Tubbs, the fan-favorite rare kitty from Neko Atsume. The DIY Plush Tubbs From Neko Atsume recreates Tubbs’ iconic laid-back style, complete with his round body, stubby arms, and snack-filled food bowl, making it an endearing keepsake for fans of the mobile app.
The soft, plush design stays true to Tubbs’ character, emphasizing his love for lounging and snacking, with adorable details like his protruding paws, a neatly shaped tail, and the signature food crumbs near his face. This handmade creation offers a charming addition to any gaming fan’s collection or a cute display for lovers of quirky and whimsical characters.
Create Your Own Tubbs Plushie Inspired by Neko Atsume
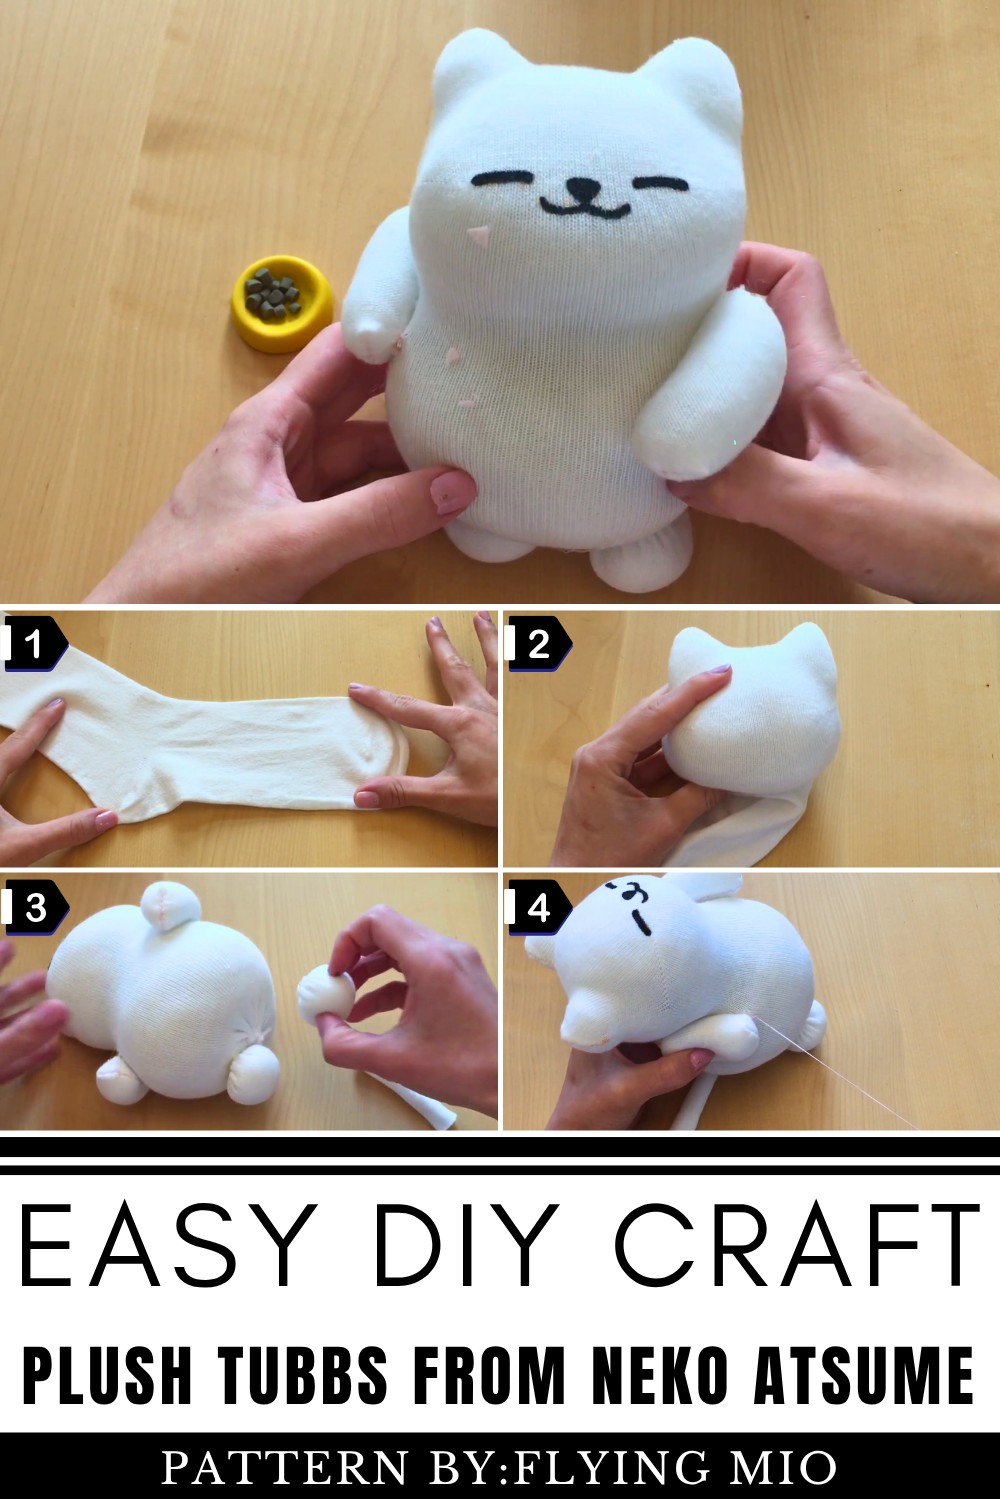
Instead of being just another plush, this Tubbs plush reflects the charm of the game it comes from, embodying the humor and relaxed vibe of the Neko Atsume experience. Its thoughtful design and delightful realism make it standout—whether as a cuddly collectible or as a fun decorative piece to brighten up your space. Fans of Neko Atsume will surely appreciate its likeness to the character’s in-game appearance, down to his adorable tail and playful post-meal food bowl.
This creative plushy is brought to life by the talented YouTuber behind the channel Flying Mio. Known for crafting unique DIY projects with clear and practical tutorials, Flying Mio showcases her passion for handmade creations with detailed attention to fandom favorites like Tubbs.
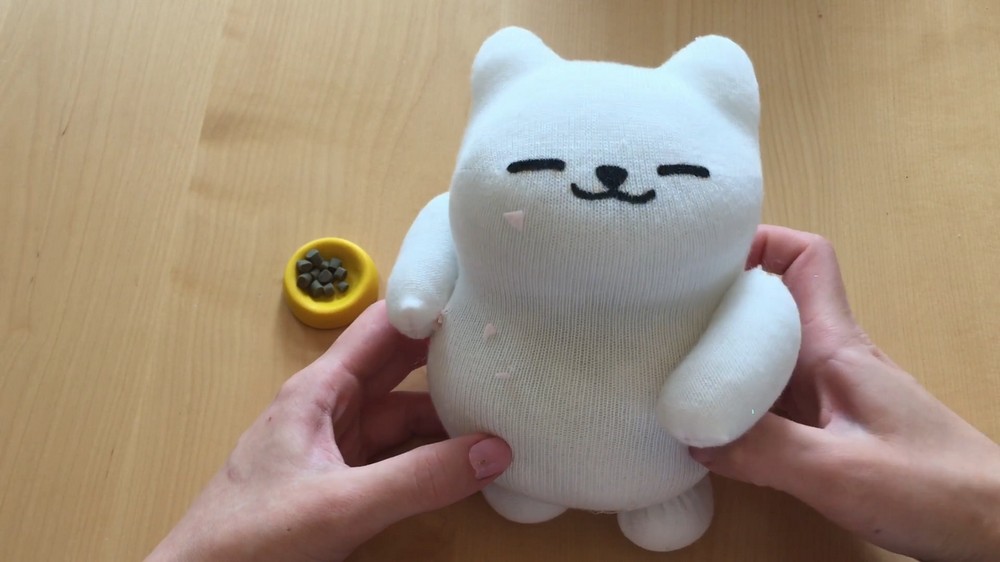
DIY Tubs Sock Plushy from Neko Atsume
Turn a simple sock into "Tubs," one of the most charming rare cats from the popular game Neko Atsume! This step-by-step tutorial will guide you through the process of making this delightful and cuddly character with ease. Whether you’re a crafting beginner or a pro, you’ll enjoy creating your very own Tubs.
Materials You’ll Need
Sock and Stuffing
- 1 plain white sock (standard size)
- Polyester stuffing (readily available in craft stores) or clean pillow stuffing
Sewing Supplies
- Needle
- Thread (white works best for a clean look)
- Scissors
For the Face and Details
- Black fabric paint (for facial features)
- Pink felt (for food dribbles on Tubs’s cheeks)
For Arms, Feet, and Tail
- Extra sock fabric or white felt for additional body parts
For the Food Bowl and Food
- Polymer clay in yellow, brown, and other colors
- Oven (to bake the polymer clay as per package instructions)
Step-by-Step Instructions
Introduction: What You’re Making
You’ll start by shaping Tubs’s body and head from a sock, then decorate it to match his lovable, lazy character. Finally, you’ll create a food bowl with polymer clay to complete the iconic Tubs scene from Neko Atsume.
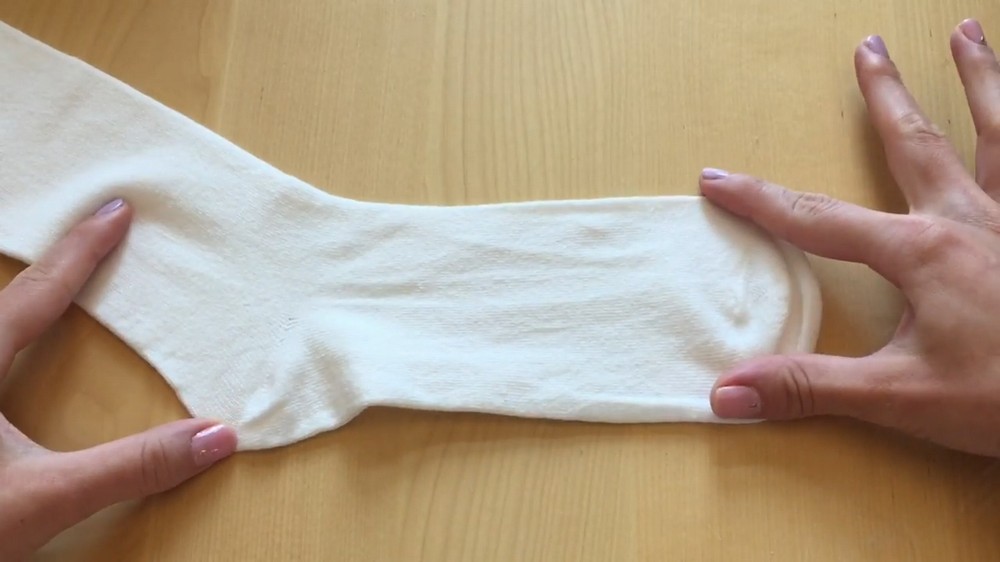
Step 1: Prepare the Sock
- Take your plain white sock and flip it inside out.
- Lay it flat on the table with the heel facing up toward you.
- Use a marker or highlighter to draw Tubs’s ears and the top of his head on the toe side of the sock.
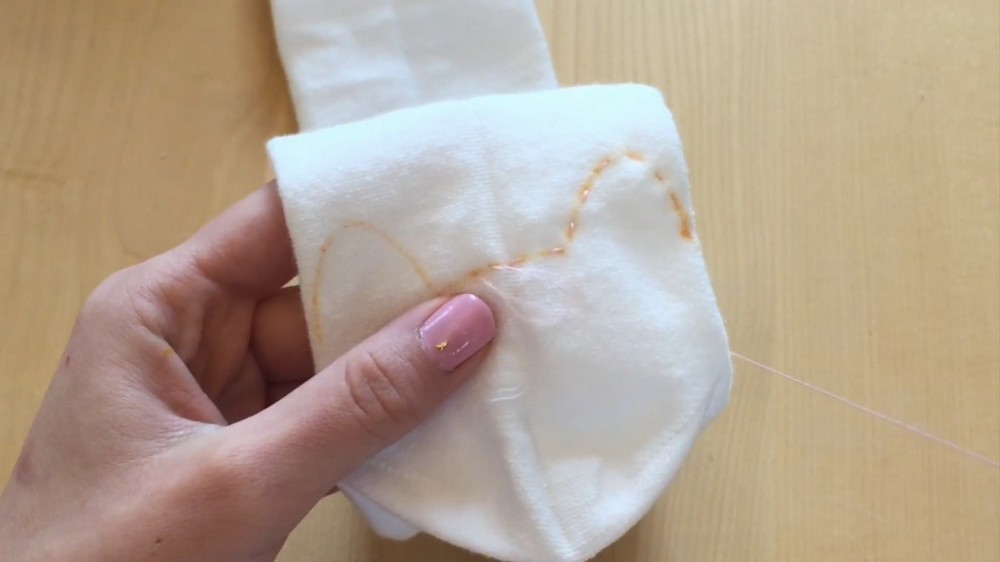
Step 2: Sew and Cut the Sock
- Thread your needle with white thread and use a simple running stitch to sew along the outlines of the ears and the top of the head that you’ve drawn.
- Carefully cut away the excess fabric from the sock, leaving a small margin around your stitching for durability.
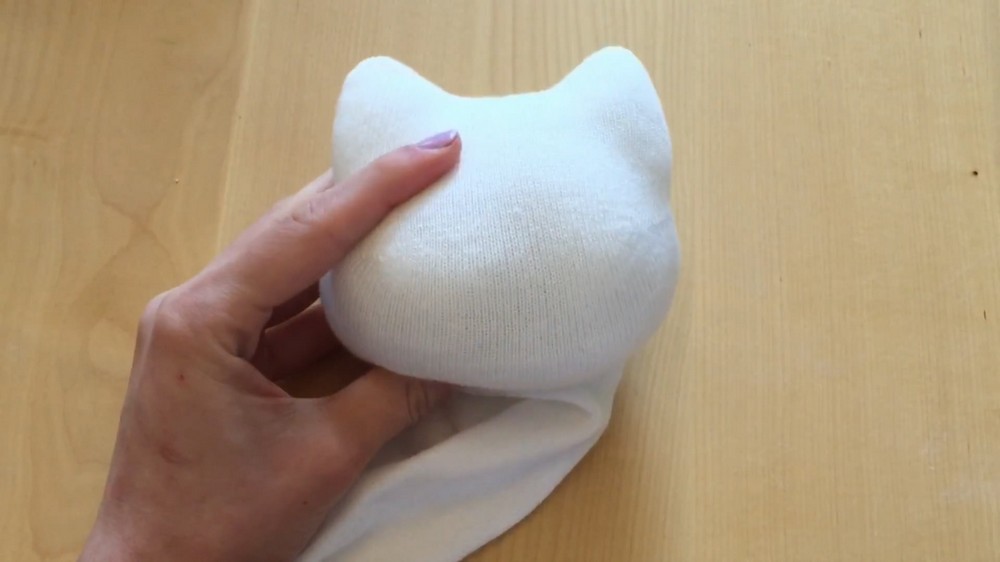
Step 3: Flip and Shape the Sock
- Flip the sock back to the right side, ensuring the stitched edges are safely tucked inside.
- Gently push out the ears so they are sharp and clear. You can use your fingers or a pencil tip to do this carefully.
Step 4: Stuff the Plush
Ears
- Take small pinches of polyester stuffing and gently insert them into the ears to make them firm and stand upright. Adjust the shape as needed.
Head
- Take a larger handful of stuffing, roll it into a ball, and place it into the sock just below the ears to form Tubs’s head.
- Smooth and adjust the shape of the head to make it round and even.
Body
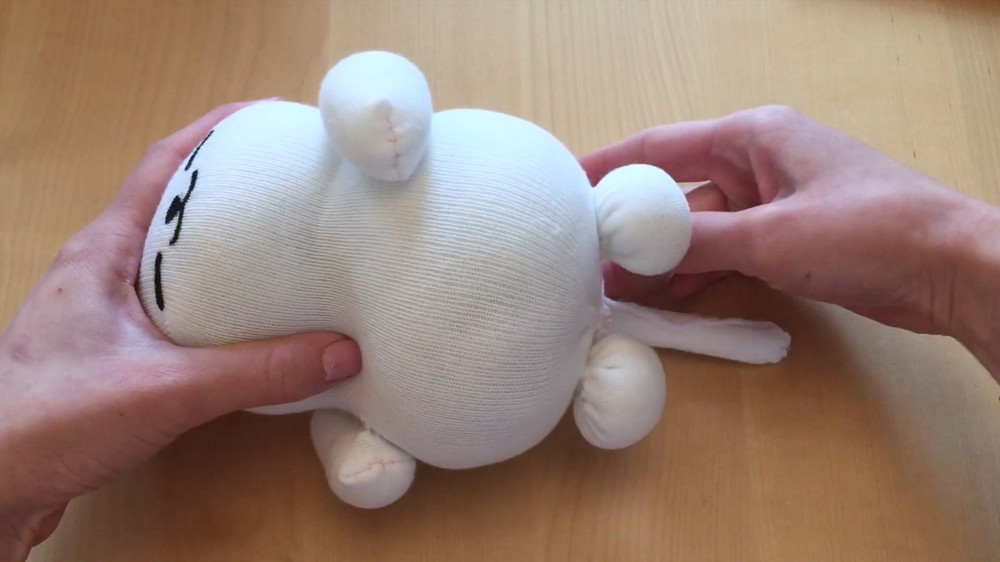
- With an even larger handful of stuffing, fill the sock just below the heel to form Tubs’s iconic plump body shape. The heel of the sock will naturally separate the body from the head, adding definition.
Step 5: Close Up the Sock
- Once you’re satisfied with the shape and stuffing, cut off any extra length at the bottom of the sock. Make sure to leave enough fabric to close the bottom.
- Using your needle and thread, sew a running stitch around the edge of the sock opening.
- Pull the thread gently, creating a drawstring-like closure at the bottom.
- Tie a tight knot to secure the bottom and keep the stuffing in place.
Step 6: Add Tubs’s Face
- Sketch Tubs’s face lightly with a highlighter or pencil for guidance.
- Use black fabric paint and a very fine paintbrush to paint his facial features: eyes, nose, mouth, and whiskers.
- Let the paint dry completely. Fabric paint will give a clean and professional finish.
Step 7: Make and Attach Arms
- From the leftover sock fabric, cut two small rectangles (each approximately 1 inch wide and 2.5 inches long).
- Sew along the edges of each rectangle, leaving one side open to flip and stuff.
- Flip the sewn rectangle inside out to hide the seams, and stuff with a small amount of polyester filling.
- Once stuffed, sew the open side shut. Repeat this for the second arm.
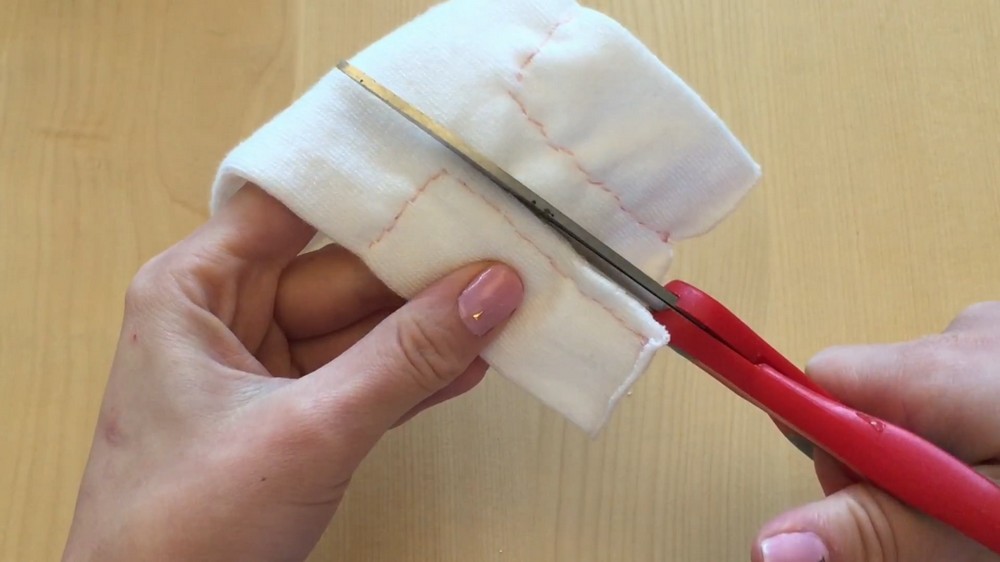
Attach the Arms
- Use a hot glue gun or sew the arms onto the sides of Tubs’s body.
- Position one arm across his belly and the other resting naturally at his side.
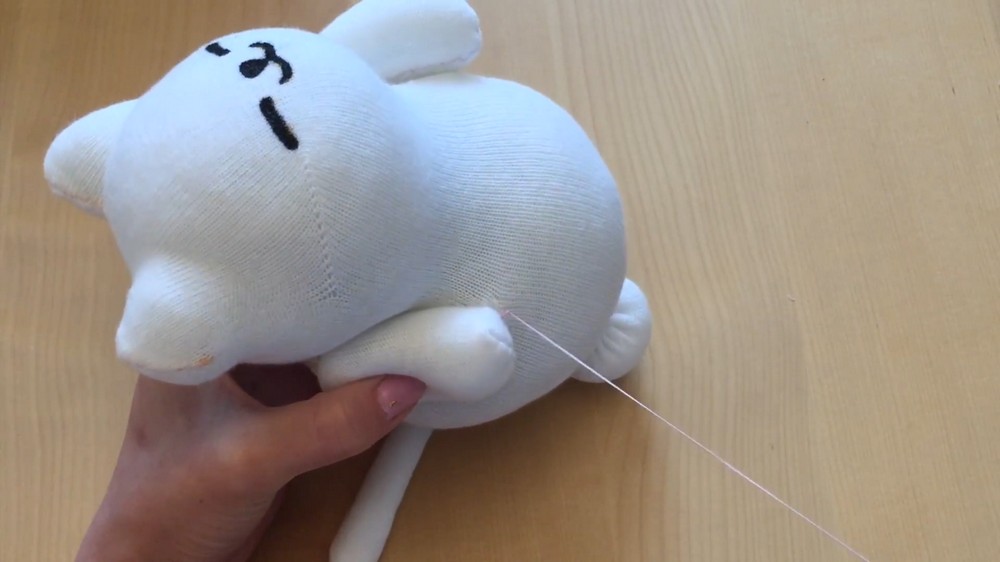
Step 8: Make and Attach Feet
- Cut two small circles from leftover sock fabric or white felt.
- Sew a running stitch around the edge of each circle.
- Before finishing the stitch, place a small pinch of stuffing in the center of the circle.
- Pull the thread tight to create a rounded foot, and tie a secure knot.
- Attach the feet at the base of Tubs’s body using a hot glue gun or by sewing.
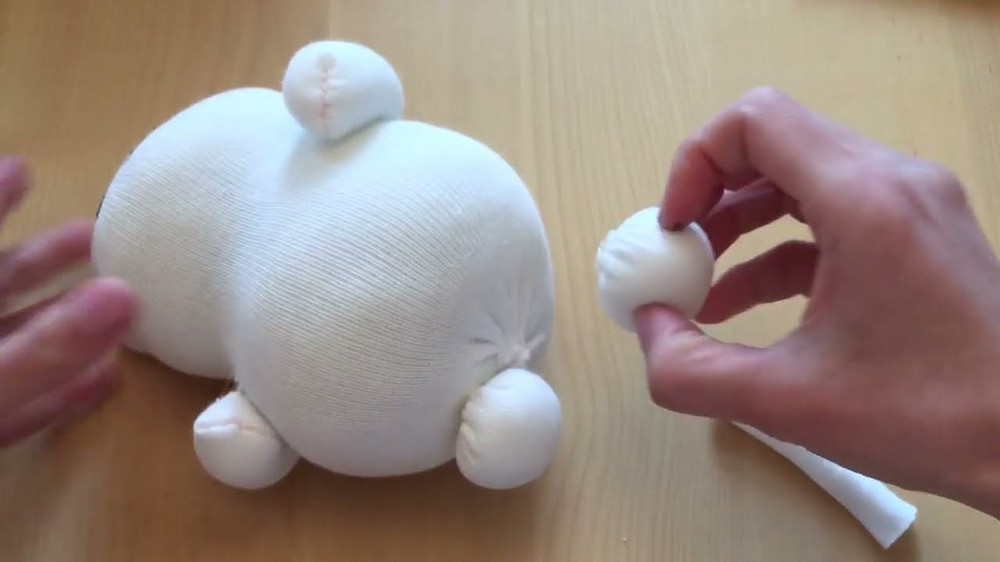
Step 9: Add a Tail
- Roll a thin piece of leftover sock fabric or felt into a cylindrical shape to form a tail.
- Attach the tail to the back of Tubs’s plush using hot glue or stitching.
Step 10: Add Pink Food Stains
- Cut small triangles or irregular dribble shapes from pink felt.
- Glue these onto Tubs’s cheeks and body to mimic his classic messy look from the game.
Step 11: Make the Food Bowl
Bowl
- Take a piece of yellow polymer clay and roll it into a smooth ball.
- Press your finger gently into the center to form an indent that will act as the inside of the bowl.
- Shape the outer edges of the bowl until they resemble a traditional round food bowl.
Food
- Roll a small piece of brown polymer clay into a long, thin snake.
- Cut the snake into small chunks or pellets to create cat food pieces.
Bake
- Place both the bowl and food pieces on a baking sheet.
- Bake at 250°F (120°C) for about 20 minutes (or follow the instructions on your polymer clay package).
- Let the bowl and food cool before handling.
Step 12: Position Tubs and His Accessories
- Arrange Tubs with the food bowl and cat food pieces just like in the game for a fun display.
- You can glue the bowl and food in place if you prefer it to stay fixed.
Final Touches
This Tubs sock plush is a delightful way to bring one of Neko Atsume’s rarest cats to life. With simple steps and easy-to-use materials, you’ve created a soft, plump, and messy Tubs complete with his food bowl accessory. Display him on a shelf, give him as a gift, or make him part of your cozy collection. For anyone who loves crafting and cats, Tubs is here to brighten your day.