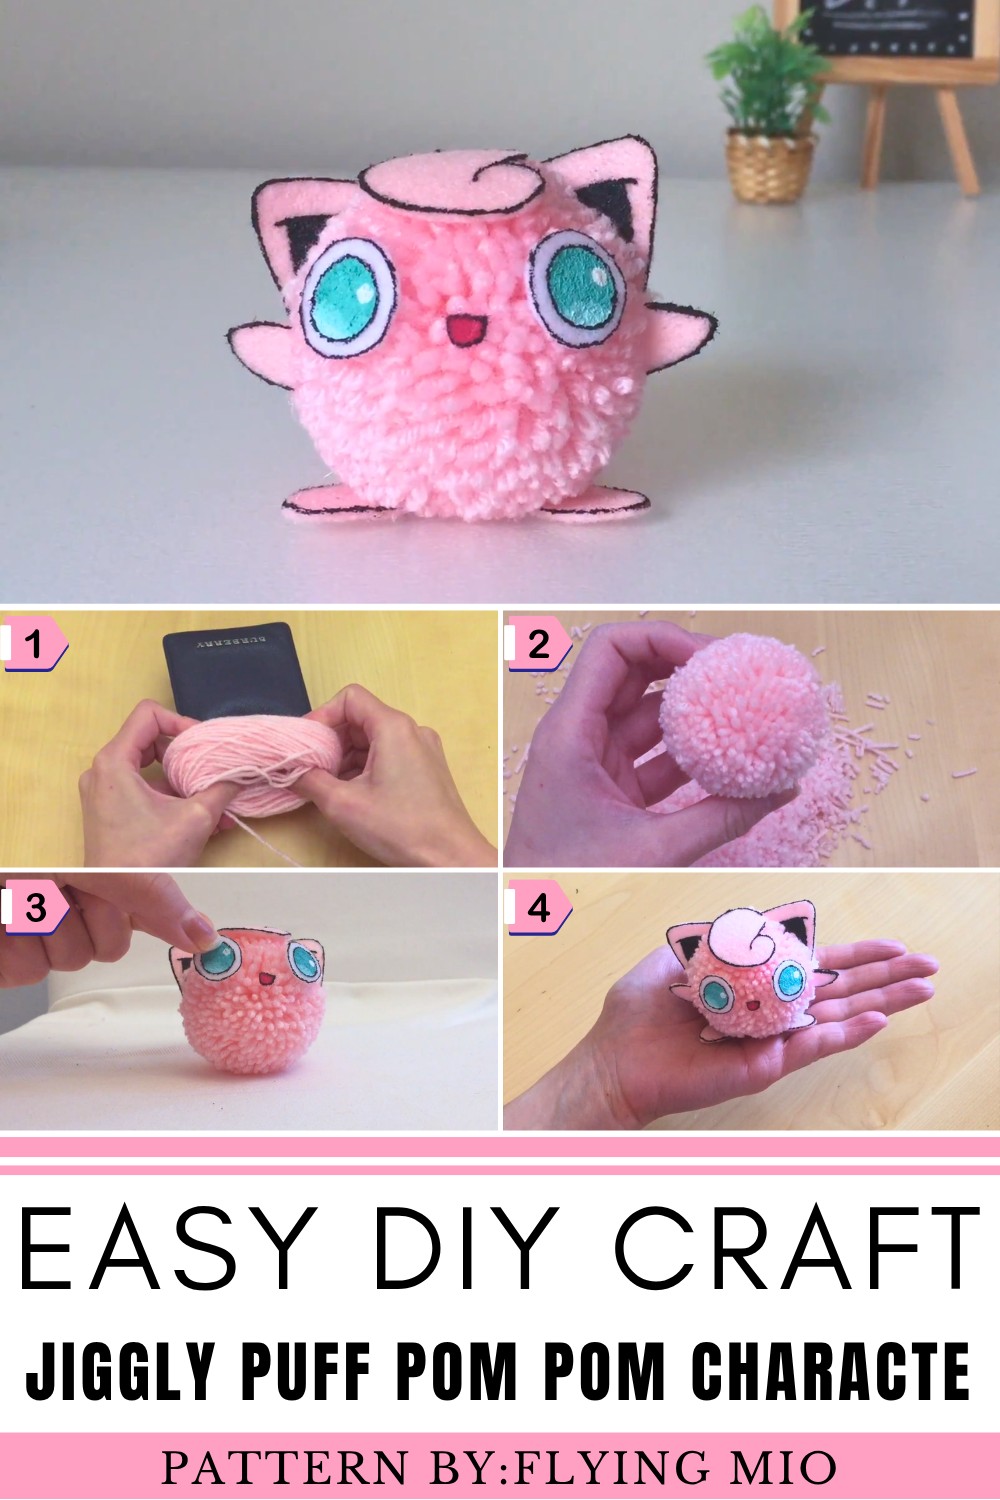
Turn a beloved Pokémon into a charming keepsake with the soft, detailed, and personality-packed DIY Jiggly Puff Pom Pom character tutorial.
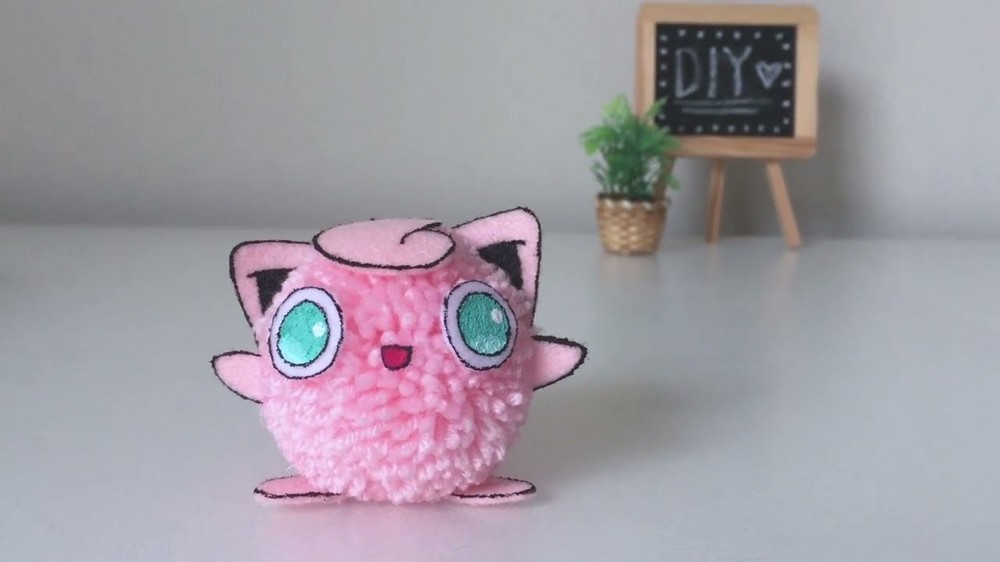
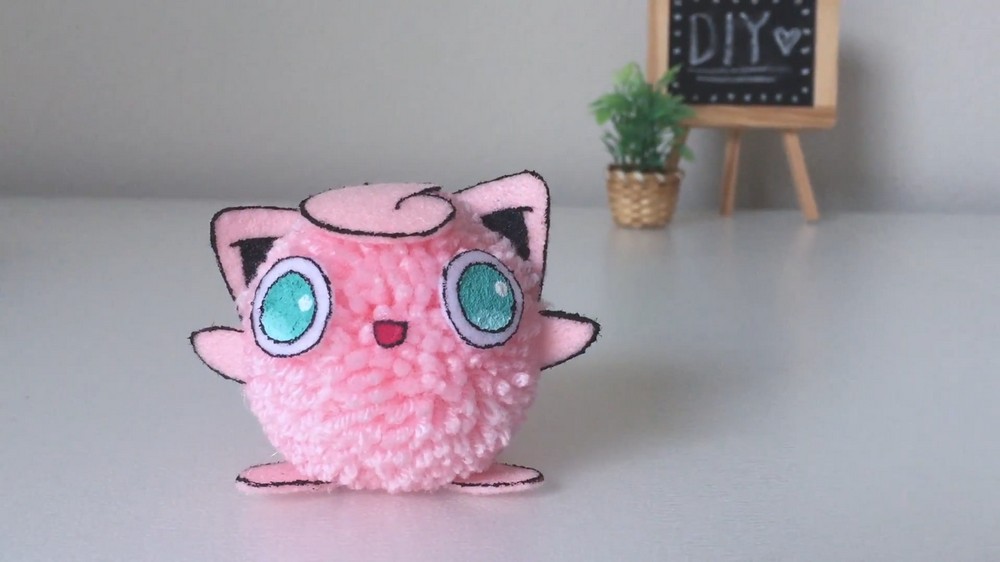
Did someone say adorable? This fluffy creation perfectly embodies the charm of Jigglypuff, transformed into a soft and playful design. The DIY Jiggly Puff Pom Pom character showcases a round and cuddly pom pom body complemented by turquoise eyes, delicate felt ears, and Jigglypuff’s signature curled tuft of hair. It’s more than just a decoration—it’s a tribute to the beloved Pokémon icon that’s sure to win hearts. Simple yet full of personality, this piece makes an ideal desk accessory or a thoughtful handmade gift for fellow fans.
Created by the talented artist behind Flying Mio, this pom pom masterpiece is just one of the charming DIY designs you can find on their channel.
Craft & DIY Jiggly Puff Pom Pom Character with Ease
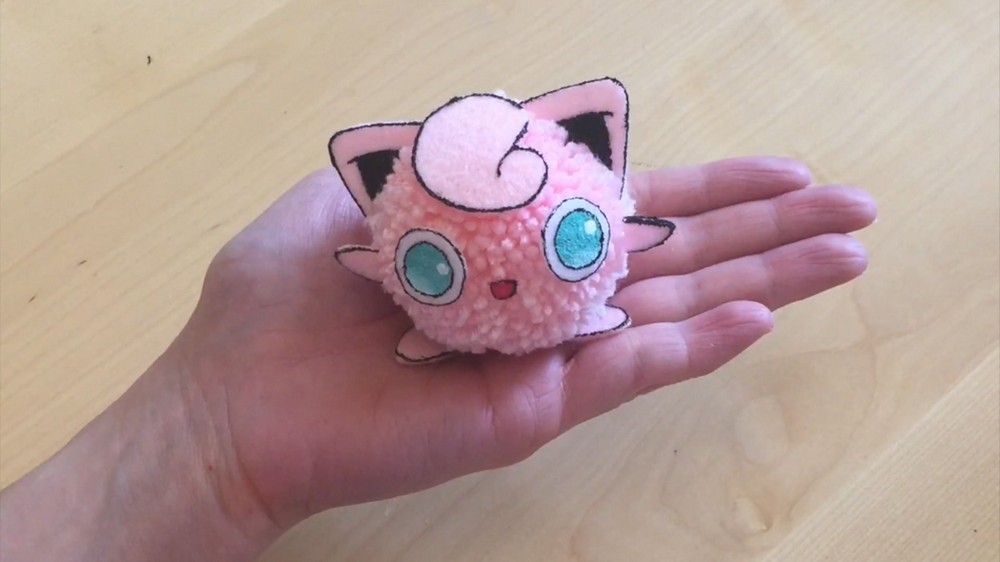
The attention to detail in this pom pom design truly sets it apart. From the smooth texture of the pom pom to the bold and vibrant features, every element captures the essence of Jigglypuff’s playful and melodious nature. Its compact size and whimsical charm make it a one-of-a-kind collectible that celebrates nostalgia and creativity. Perfect for Pokémon enthusiasts who appreciate fine detailing, this DIY project breathes life into Jigglypuff in a delightful way.
How to Make a Jigglypuff Pom Pom from Yarn
Create your very own Jigglypuff from Pokémon with this easy and fun pom pom tutorial! Using simple materials like yarn and felt, you’ll bring this adorable character to life in no time. Jigglypuff’s signature round shape makes it perfect for a pom pom design, and this project is perfect for beginners and Pokémon lovers.
Materials You’ll Need
Pom Pom Base
- Pink yarn
- An object for wrapping the yarn (e.g., a wallet, a small book, or cardboard)
Crafting and Detailing
- White felt (for the eyes)
- Pink felt (for ears and limbs)
- Black fabric paint (for details and outlines)
- Acrylic paint (white and turquoise for eyes, pink or red for the mouth)
- Paintbrushes (thin and fine-tipped for details)
Tools
- Scissors
- Hot glue gun and glue sticks
Step-by-Step Instructions
Step 1: Create the Pom Pom Base
Wrap the Yarn
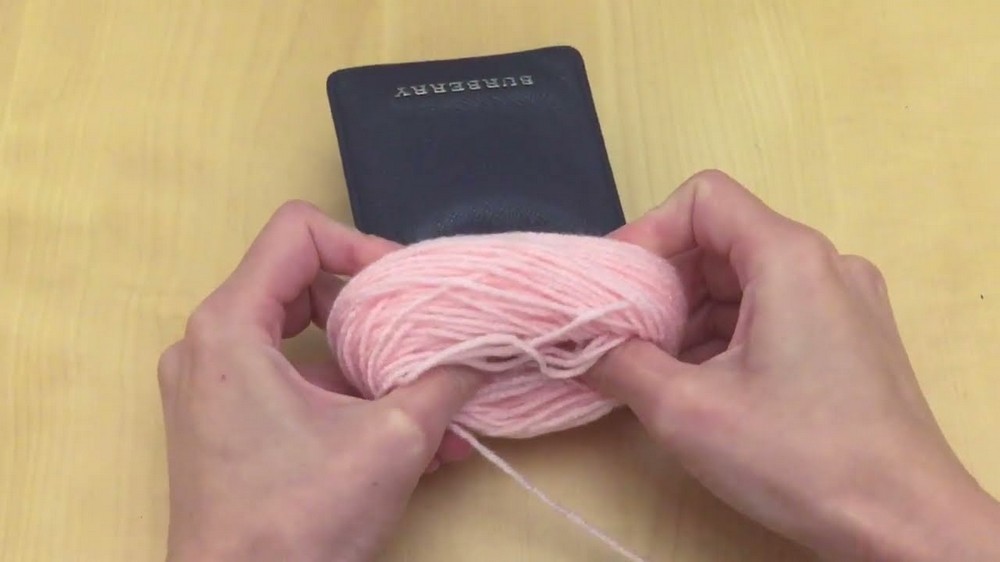
- Take your pink yarn and an object that is 2–3 inches wide. A wallet or small book works great for this step.
- Wrap the yarn around the object at least 200 times. This ensures a full and fluffy pom pom.
- Be sure not to wrap the yarn too tightly, or you may have difficulty sliding it off later.
Tie the Center
- Once you’re done wrapping, carefully slide the yarn bundle off your object while maintaining its round shape.
- Take a separate piece of yarn (about 8 inches long) and tie it very tightly around the center of the bundle. This secures the yarn and creates the base for your pom pom.
- Double-knot the yarn to ensure it’s tight.
Trim the Loops
- With sharp scissors, cut open all the yarn loops on one side of the tied bundle.
- Flip it over and cut open all the loops on the other side as well.
Shape the Pom Pom
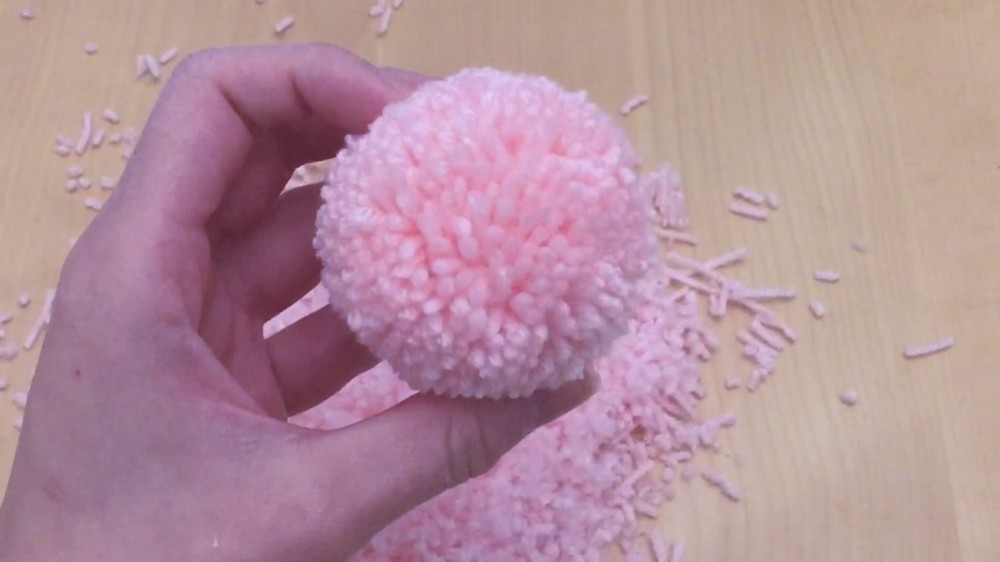
- Your pom pom will likely look uneven and messy at this stage. Use scissors to trim the yarn ends, shaping it into a perfect sphere.
- For a denser and fuller pom pom, trim the yarn shorter. For a shaggier look, keep the yarn pieces longer.
- Rotate the pom pom as you trim to ensure an even and round shape.
Step 2: Make Jigglypuff’s Details
Eyes
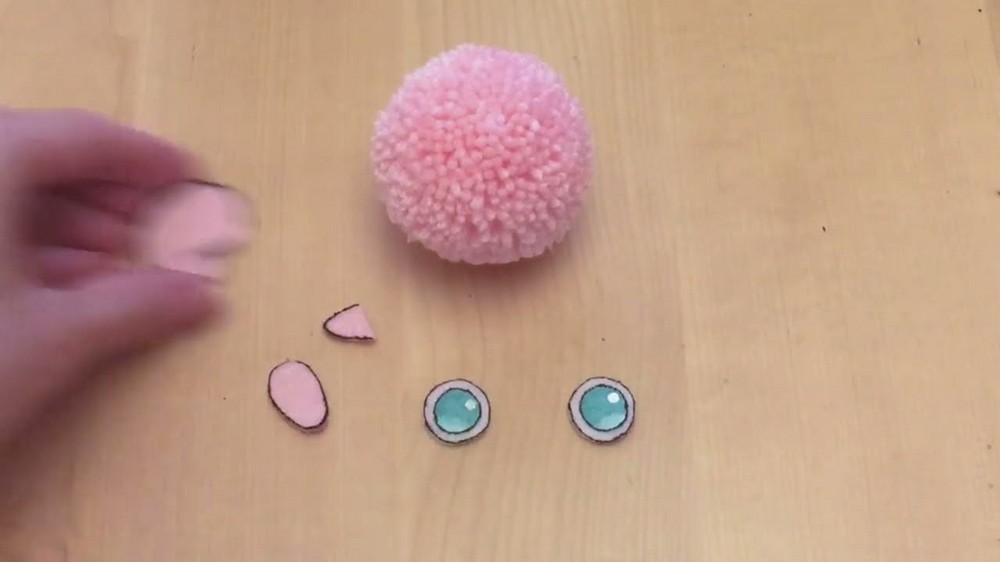
- Cut the Base: From white felt, cut two oval shapes to form the base of Jigglypuff’s eyes.
- Mix Paint: Combine white, blue, and green paint to create a light turquoise shade for the eyes.
- Paint the Eyes:
- Paint the entire white felt oval with a darker turquoise as the base color.
- Once the first layer is dry, paint the bottom half of the oval with a lighter turquoise shade, creating a gradient effect.
- Add Highlights:
- Dip the back of your paintbrush into white acrylic paint and create a small white circle for the reflective light spot in the eye.
- Outline in Black: Finally, use a fine paintbrush and black fabric paint to outline the entire eye for a clean and polished look.
Ears
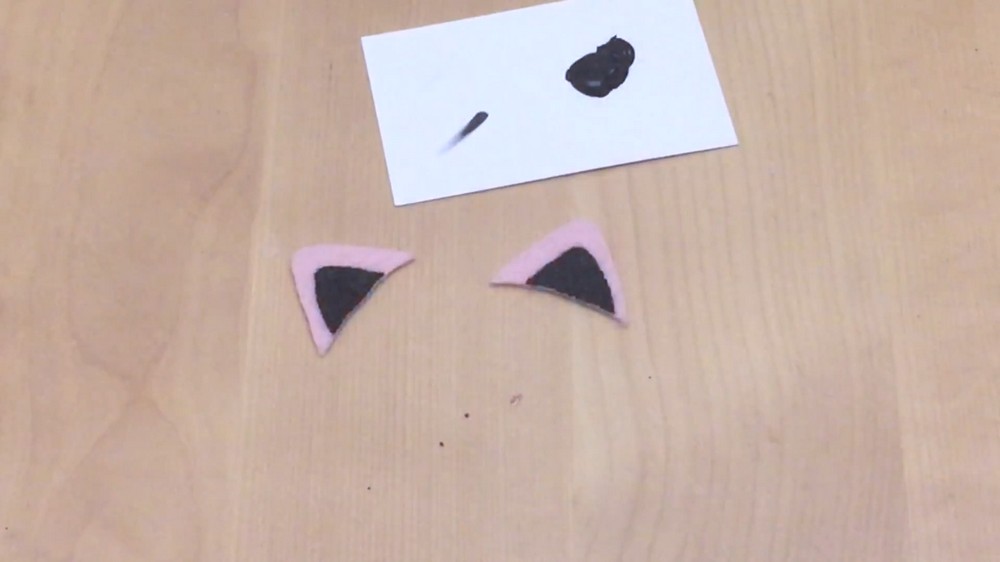
- Cut two small triangular pieces from pink felt for the ears.
- Paint the inner portion of each ear with black fabric paint, leaving the edges pink. Be careful to avoid oversaturating the felt with paint.
- Let the ears dry completely before attaching.
Other Features
- For the arms and legs: Cut four small ovals from pink felt.
- For the curly tuft of hair: Use black fabric paint and a thin brush to create a small curved line on another piece of pink felt.
Step 3: Assemble the Jigglypuff Pom Pom
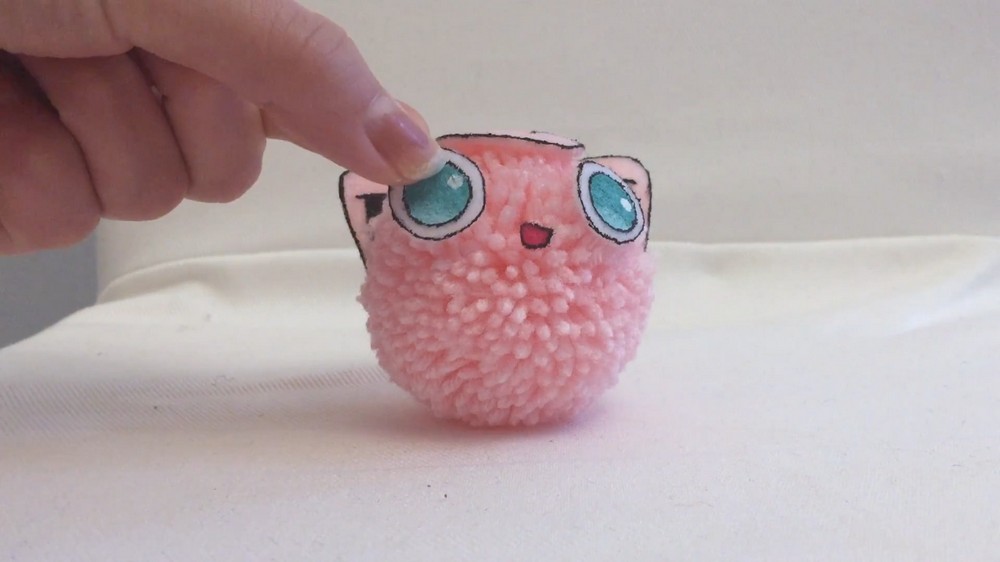
- Plan Your Layout: Arrange all the features—eyes, ears, arms, and legs—on the pom pom without gluing them. This helps you decide the best positioning.
- Glue Everything Securely: Use a hot glue gun to attach each piece:
- Ears: Insert the pointed ends of the ears slightly into the pom pom yarn and glue them in place.
- Eyes: Press the eyes slightly into the yarn and glue them securely.
- Arms and Legs: Glue the limbs onto the sides and bottom of the pom pom.
- Reposition if Needed: If any piece feels slightly off, you can gently shift the yarn to adjust.
Step 4: Add the Final Details
- Create Jigglypuff’s signature tiny mouth using pink or red acrylic paint. Paint a small curved line below the eyes.
- Double-check all the glued pieces to ensure they’re secure.
Tips for Crafting
- Extra Details: If you want, you can add a small handmade microphone to give Jigglypuff her iconic singing pose. Use polymer clay or a string-wrapped dowel to create it.
- Trimming Precision: Take your time trimming the pom pom to make it perfectly round. This is what gives Jigglypuff her fluffy and cartoon-accurate appearance.
- Painting Patience: Allow the paint on all felt pieces to dry completely before attaching them to avoid smudging or uneven textures.
Jigglypuff’s adorable round shape and fun personality are captured perfectly with this plushy pom pom. Whether you use it as a toy, decoration, or gift, this craft makes for a delightful addition to any Pokémon fan’s collection. Let your creativity shine as you experiment with poses and accessories!