Design a charming kawaii penguin with needle felting techniques in this professional guide, offering clear steps for beautiful handmade results.
Are you in search of a delightful craft project that’s simple yet captivating? Look no further than the DIY kawaii penguin – an irresistibly cute creation that’s both fun to make and a charming addition to any space. With the guidance of "Flying Mio" YouTube tutorial, you’ll learn to craft these tiny penguins step by step, making the process enjoyable and accessible, even for beginners. Perfect as a handmade gift or quirky desk companion, these little penguins bring warmth and personality wherever they go.
DIY Needle Felt Kawaii Penguin: Step-by-Step Guide
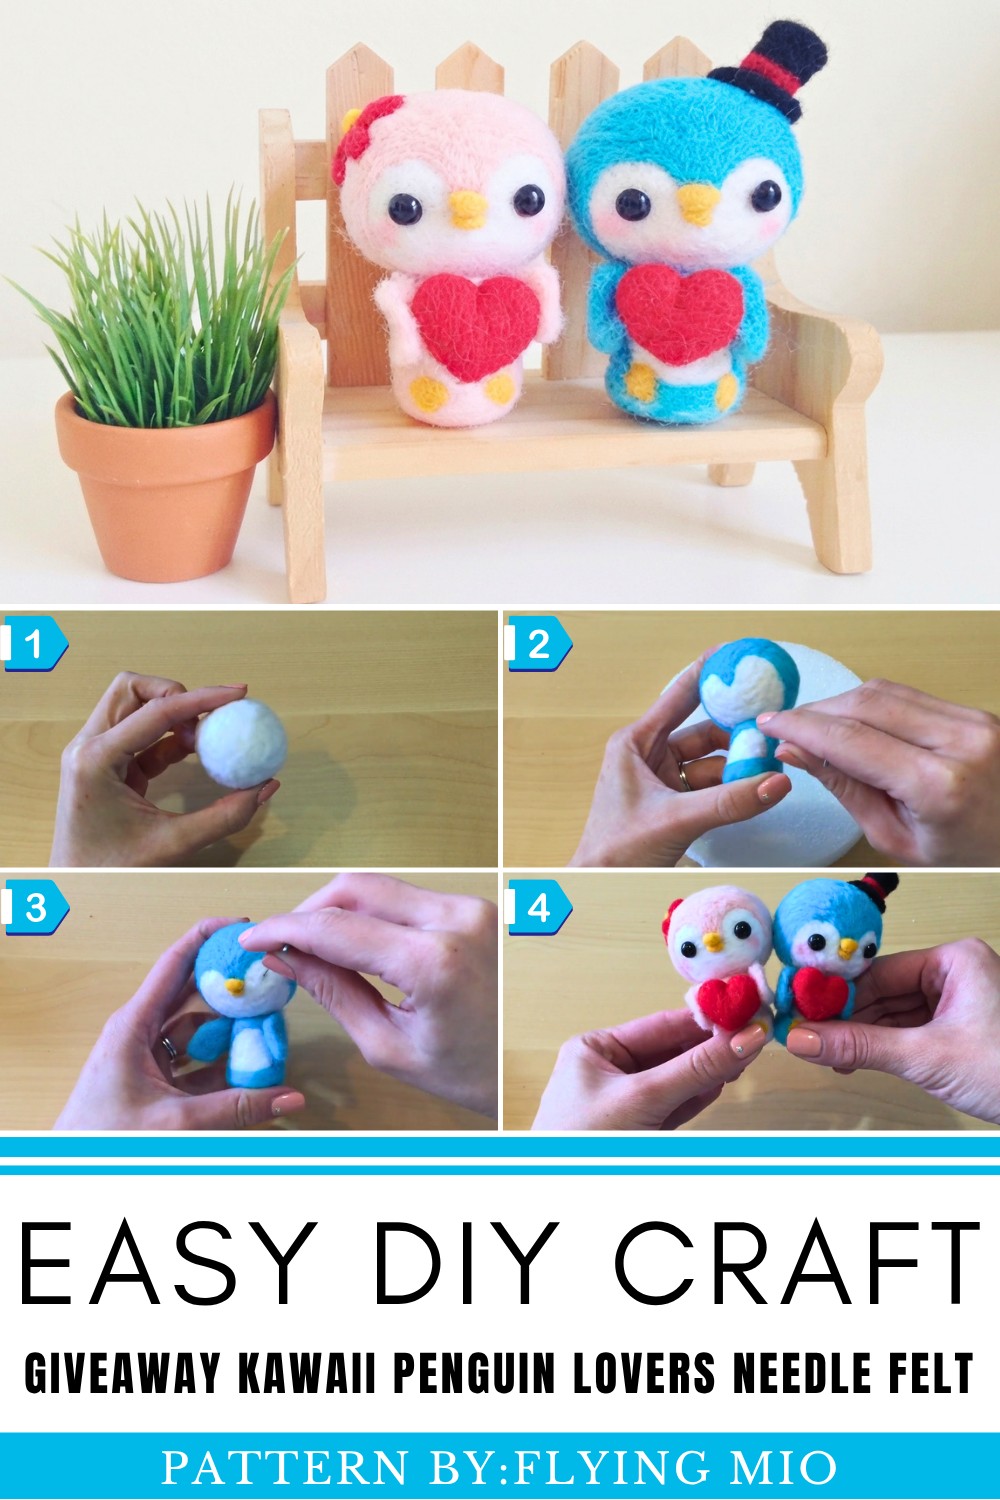
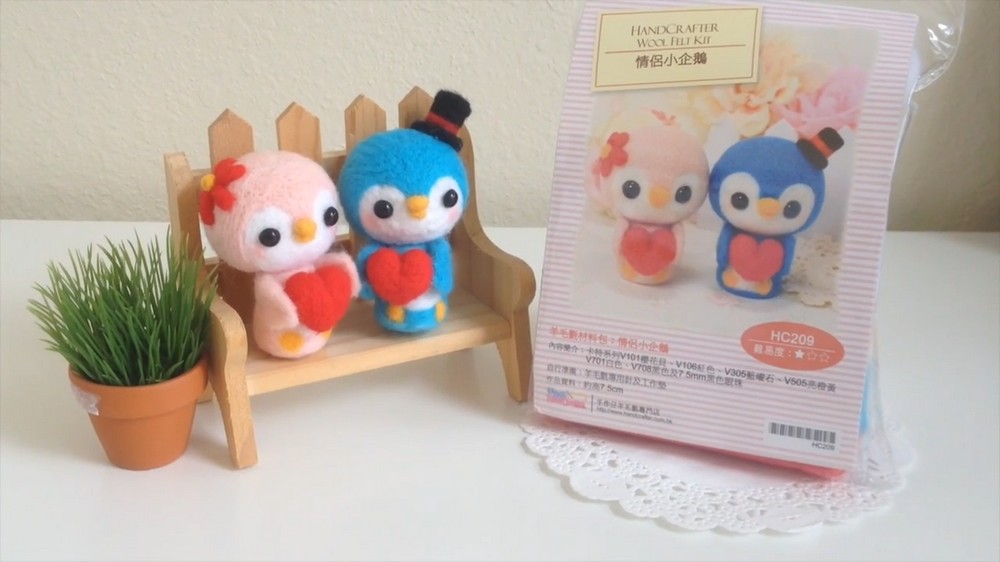
In the TUTORIAL, Mio uses a needle-felting kit provided by Hand Crafter to sculpt the penguins. From creating the foundational shapes—like the spherical head and cone-shaped body, to attaching the wings and feet, she keeps the instructions straightforward and easy to follow. With a clever focus on 3D design, this project not only results in a lovable creation but also teaches the basics of needle felting. The tutorial emphasizes customization, encouraging makers to add charming touches like rosy cheeks, tiny hearts, and accessories such as hats or flowers to make each penguin unique.
Aside from being a creative outlet, crafting these penguins is budget-friendly and incredibly rewarding. They make perfect décor, heartfelt gifts, or sweet seasonal ornaments. To see how it's done and to appreciate Mio’s artistry firsthand, visit Flying Mio’s YouTube channel for the full tutorial. Her well-crafted guidance makes diving into felt art more fun than ever.
Giveaway Kawaii Penguin Lovers Needle Felt Tutorial
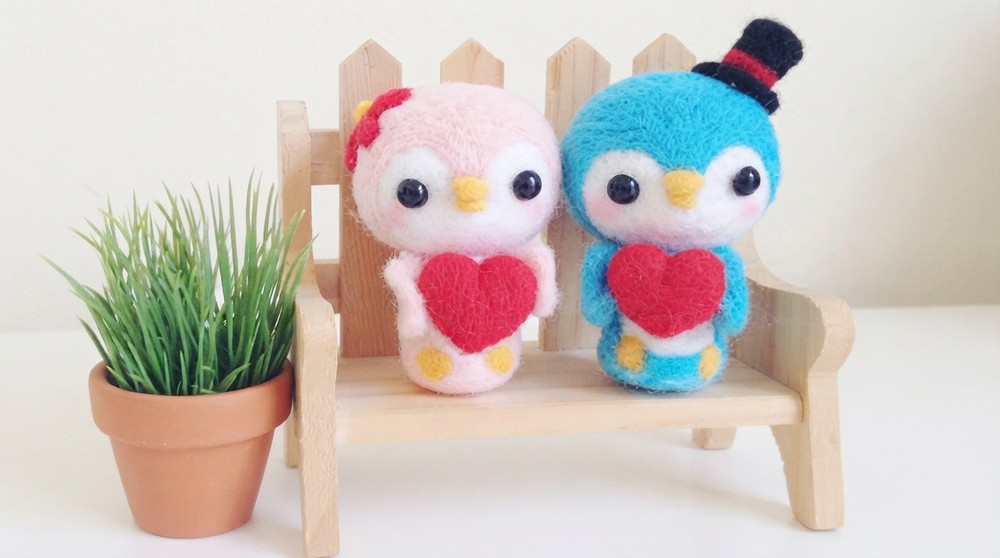
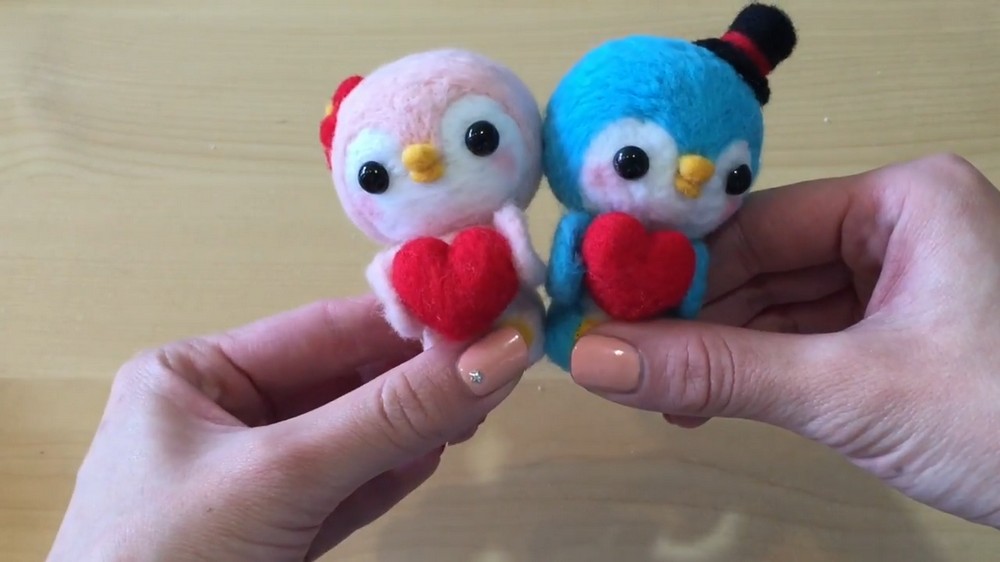
Beginner-friendly, step-by-step guide to making the adorable penguin couple with needle felting. Let’s create these cute penguins for any special occasion, like Valentine’s Day, or just for fun.
Supplies Needed:
Tools:
- Felting needle (a barbed needle specifically for felting)
- Felting board or sponge (protection for your work surface and needle)
- (Optional) Craft glue (to secure small details like eyes)
Materials:
- White felting wool (for the penguin's base)
- Blue felting wool (for the boy penguin)
- Pink felting wool (for the girl penguin)
- Yellow felting wool (for the beak and feet)
- Black felting wool or animal eyes (for the eyes)
- Red felting wool (for the heart and flower)
- (Optional) Pink eyeshadow or blush (for the cheeks)
Step-by-Step Instructions
Step 1: Prepare Your Workspace and Materials
- Set your felting board/sponge on a flat surface.
- Organize your wool and tools.
- To avoid mixing wool, keep each color separate.
Part 1: Making the Penguin Body
Step 2: Make the Head
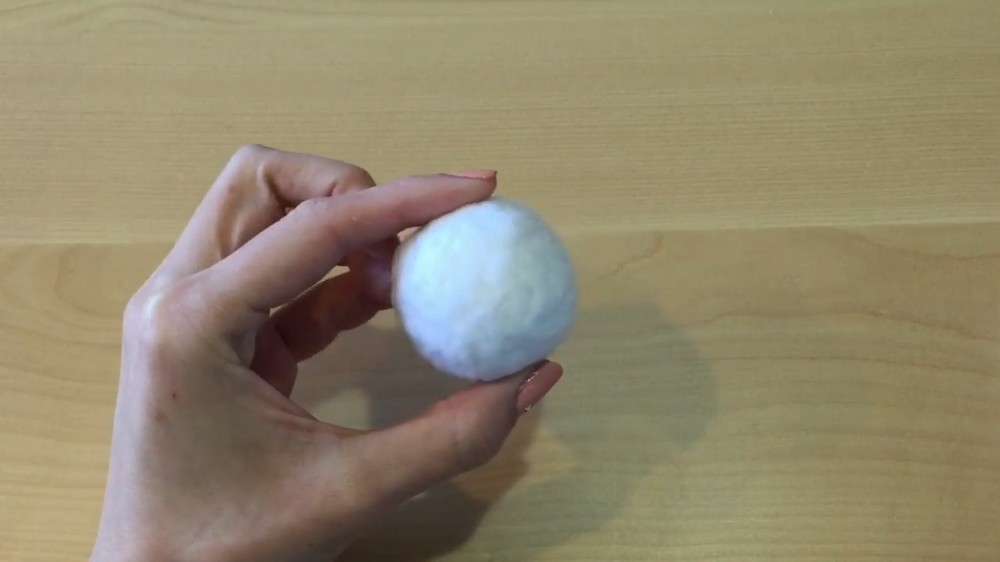
- Take white wool and roll it tightly into a ball shape.
- Place it on your sponge and gently poke it all over with your felting needle.
- Rotate the wool as you poke to ensure it stays round.
- The more you poke, the firmer and smaller it becomes.
- Continue until you form a firm, smooth sphere for the penguin’s head.
Step 3: Make the Body
- Take more white wool and roll it into a cylinder shape (like a chubby cone).
- Begin felting the entire surface, using extra pokes at one end to form a pointed tip (this will be the bottom of the body).
- The body should be longer than the head and have a rounded base.
Step 4: Attach the Head and Body
- Position the head on top of the body.
- Poke around the neck area to join them together.
- Rotate while felting to ensure the two pieces are firmly attached without leaving gaps.
Part 2: Adding Penguin Colors
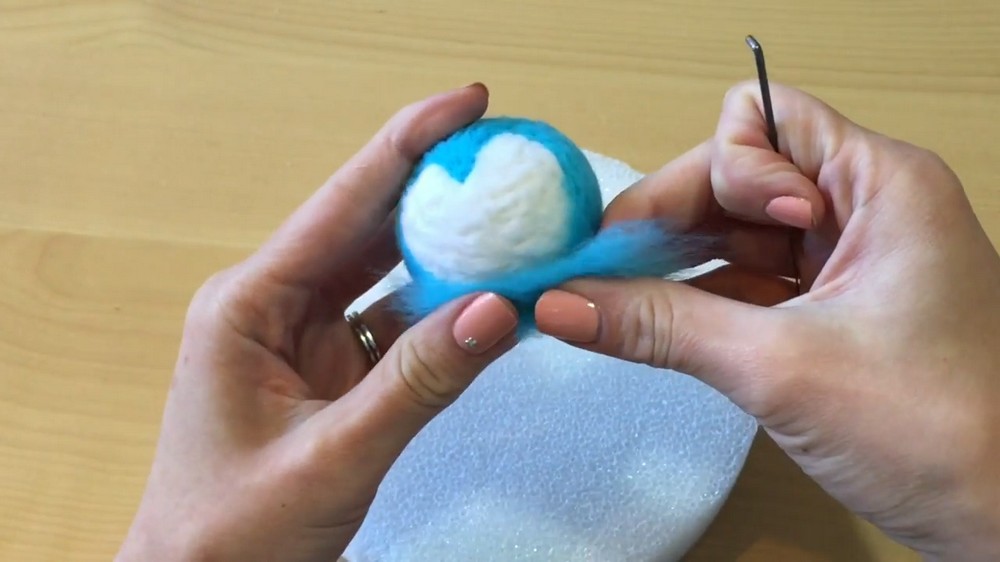
Step 5: Color the Head
- Take blue or pink wool (depending on which penguin you’re making).
- Lay the wool on top of the penguin head.
- Use your felting needle to carefully poke the wool into the head, covering:
- The top and sides of the head in an “M” shape around the face (this leaves the oval face white).
- Cover the back of the head completely in blue or pink wool.
Step 6: Color the Body
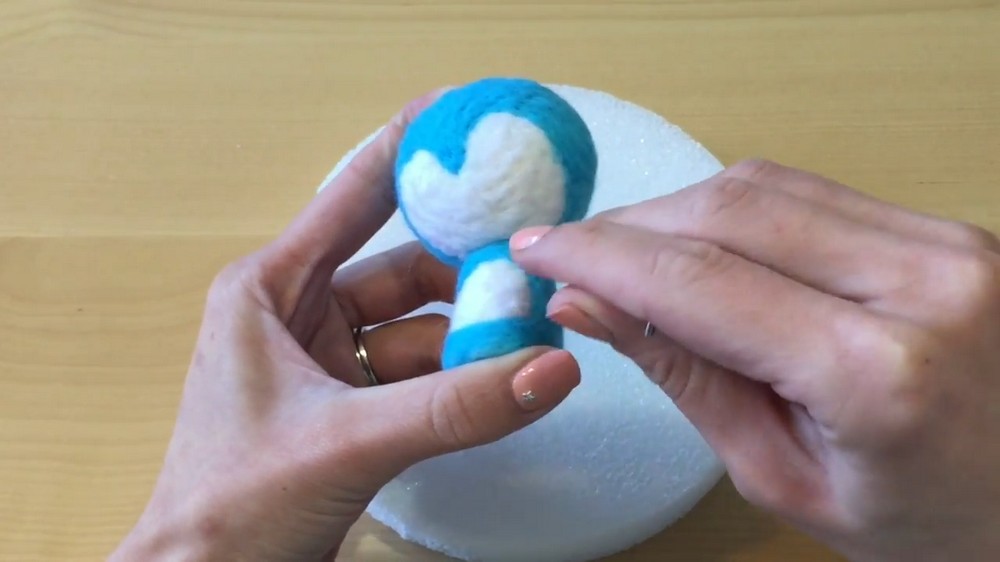
- Take more blue/pink wool, and lay it on the back and sides of the body.
- Needle felt the wool in place carefully to create smooth coverage, leaving the front center white for the penguin’s belly.
- Keep the transition between the blue/pink and white areas neat for a clean look.
Part 3: Adding Wings, Beak, and Feet
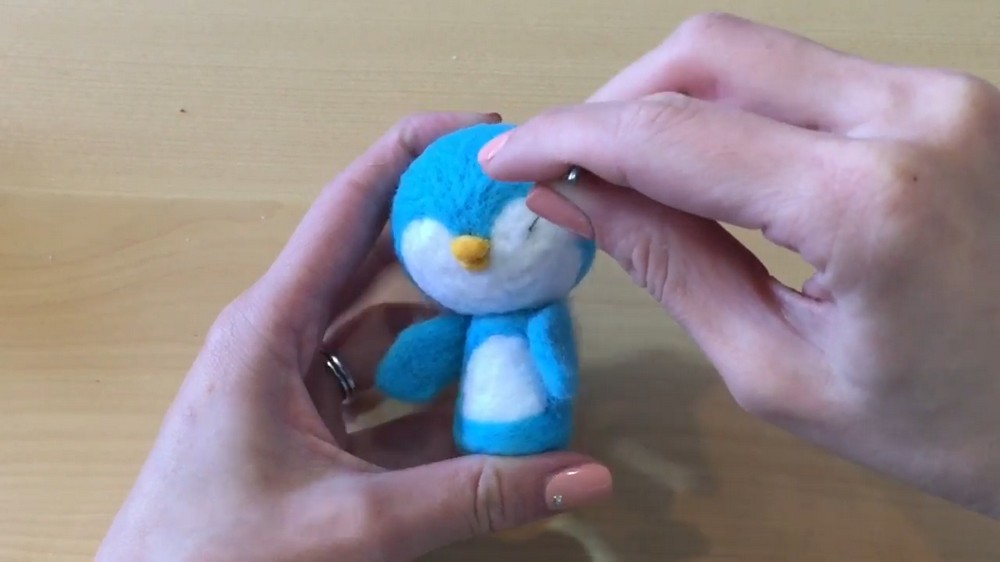
Step 7: Make the Wings
- Take blue or pink wool and roll it into a small flat sheet like a thin diamond.
- Use your felting needle to shape the edges neatly.
- Attach one wing on each side of the body using your needle to poke repeatedly where the wing connects.
Step 8: Make the Beak
- Roll a small amount of yellow wool into a tiny ball.
- Use your needle to felt the wool into a rounded oval shape.
- Attach the beak to the center of the penguin's face using light felting strokes.
- Make sure it’s centered under the “M” outline of color.
Step 9: Make the Feet
- Take more yellow wool and roll two small flat circles.
- Needle felt the circles firmly, keeping the edges smooth.
- Attach the feet to the base of the body at the front.
Part 4: Adding the Eyes
Step 10: Place the Eyes
Option 1: Using Animal Eyes
- Use your felting needle to poke two small holes where the eyes will go.
- Insert the animal eyes into the holes.
- Tip: Add a small drop of craft glue to secure the eyes.
Option 2: Using Black Wool
- Roll a small amount of black wool into two tiny balls for the eyes.
- Needle felt the wool into place on the penguin’s face.
Part 5: Decorating Your Penguin
Step 11: Create a Heart
- Take red wool and roll it into a small cylinder.
- Use your felting needle to shape the wool into a heart:
- Poke a dent into the top center to create the heart curve.
- Shape the bottom into a point.
- Once the heart is done, position it between the penguin’s wings and felt it into place.
Step 12: Add Valentine’s Accessories
- Girl Penguin:
- Create a red flower by felting five small red petals.
- Attach the petals to the side of her head in a cluster.
- Add a yellow wool circle in the middle of the petals as the flower’s center.
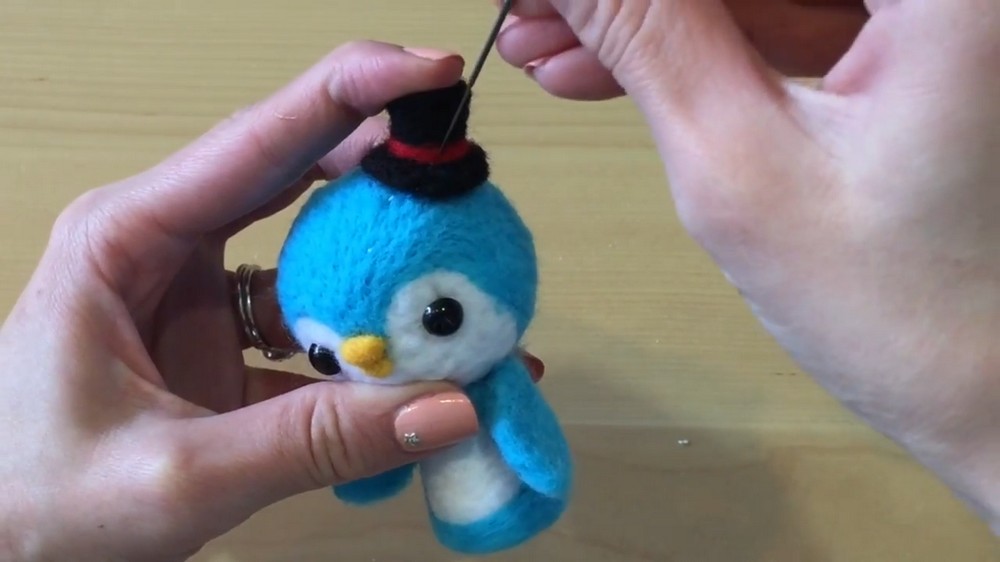
- Boy Penguin:
- Felt a small black cylinder and flat black circle.
- Attach the circle on top of the cylinder to form a top hat.
- Add a red wool “ribbon” around the base of the hat for extra flair.
- Position the hat slightly off-center on his head and felt it on.
Step 13: Add Blushing Cheeks
- Use pink eyeshadow or blush.
- Gently dab underneath the eyes with a cotton swab or a soft brush for a rosy effect.
Finishing Off:
- Recheck your penguins for any loose wool or uneven areas and gently correct them with your felting needle.
- Adjust their accessories for a cute, polished look.
- Admire your cute penguin couple, perfect for Valentine’s Day or as a special gift!