Make charming penguin and polar bear figures through needle felting with this step-by-step tutorial, ideal for both beginners and enthusiasts alike.
Sometimes, the smallest projects leave the biggest impression. If you’ve ever wanted to try your hand at needle felting, crafting an adorable penguin and polar bear duo is the perfect way to start. These handmade creations not only serve as an enjoyable artistic outlet but also add a touch of charm and personality to any shelf or work desk. This tutorial by "Flying Mio" on YouTube walks you through everything you need to know, from basic techniques to adding creative details that truly bring these characters to life.
Adorable DIY Needle Felting: Penguins and Polar Bears Tutorial
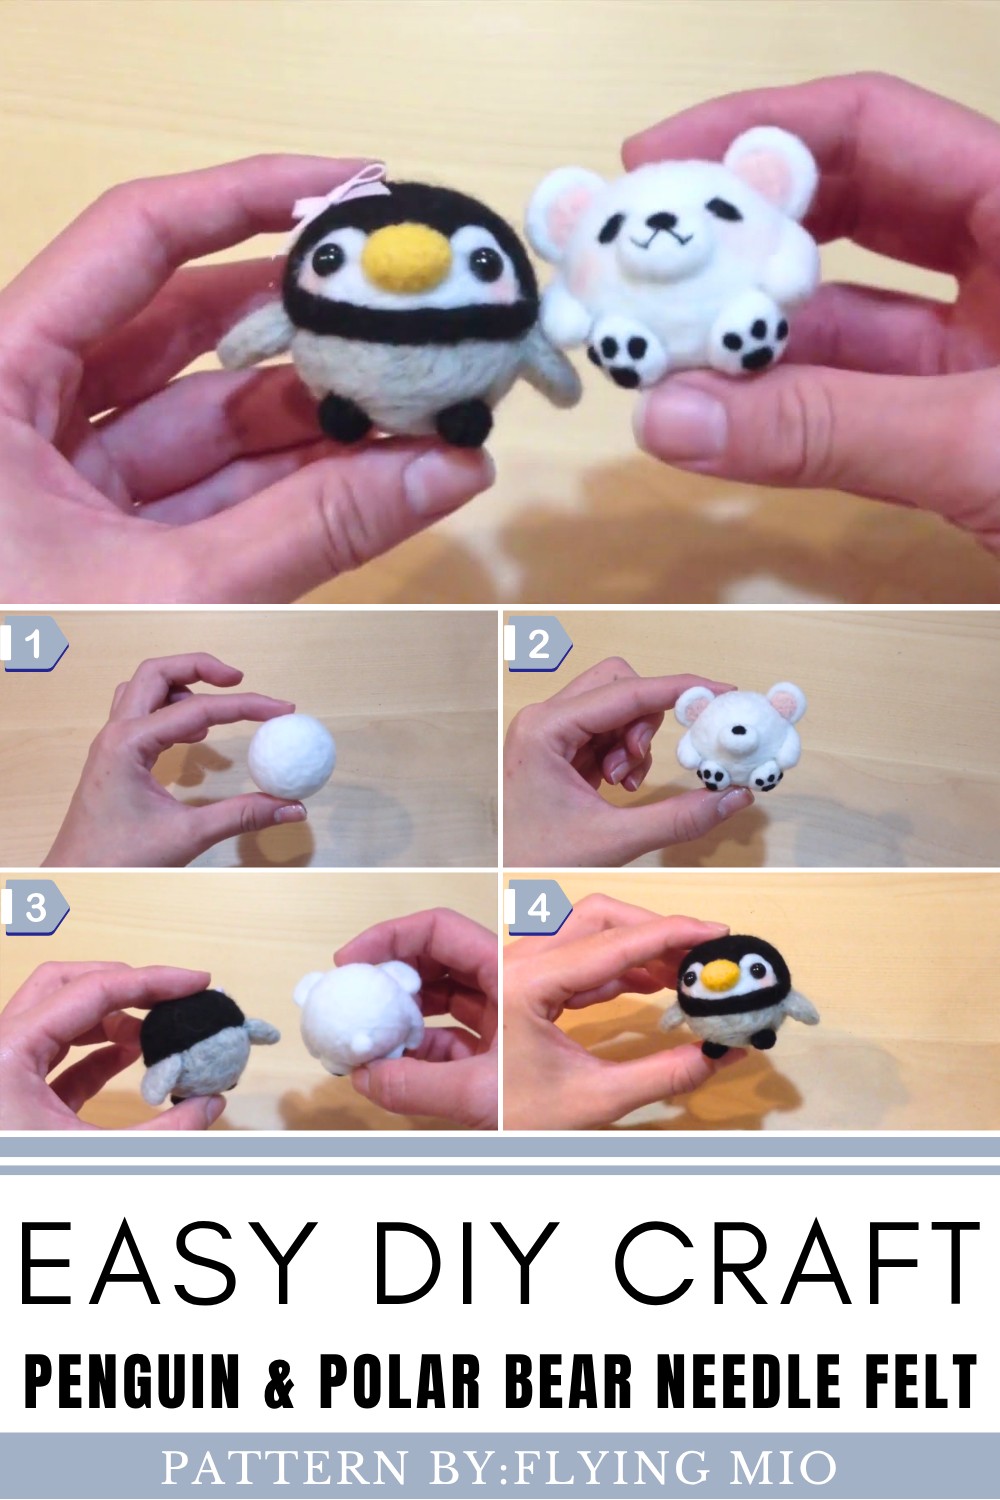
The penguin and polar bear are crafted using simple needle-felting techniques, starting with a handful of wool roving shaped into basic 3D designs—rounded spheres for the body and head. Mio’s tutorial offers step-by-step guidance to help viewers refine details such as expressive faces, floppy bear ears, and tiny wings for the penguin. She also demonstrates how to incorporate decorative elements like scarves, blush details, or miniature props, making these creations fun to personalize based on seasons, occasions, or individual flair.
Practical and affordable, this beginner-friendly craft project is ideal for creating heartfelt gifts or unique décor pieces. The combination of approachable techniques and inventive styling ensures that makers of any skill level can enjoy it without difficulty.
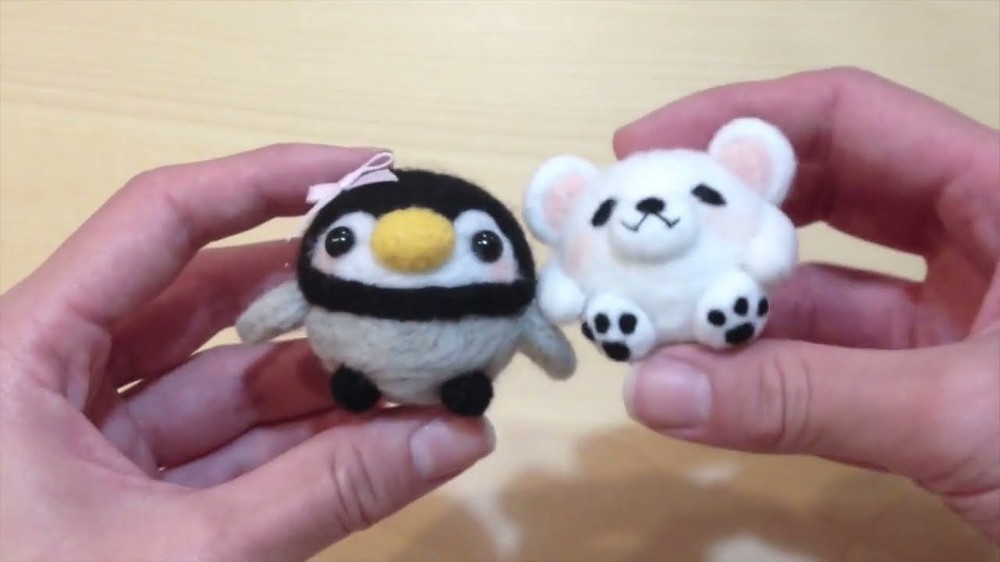
DIY Penguin & Polar Bear Needle Felt Tutorial
Step-by-step guide for creating the adorable polar bear and penguin needle-felt sculptures mentioned in the tutorial. These make for cute decorations, gifts, or keepsakes! Just follow along step by step, and you’ll be amazed at what you can create with needle felting.
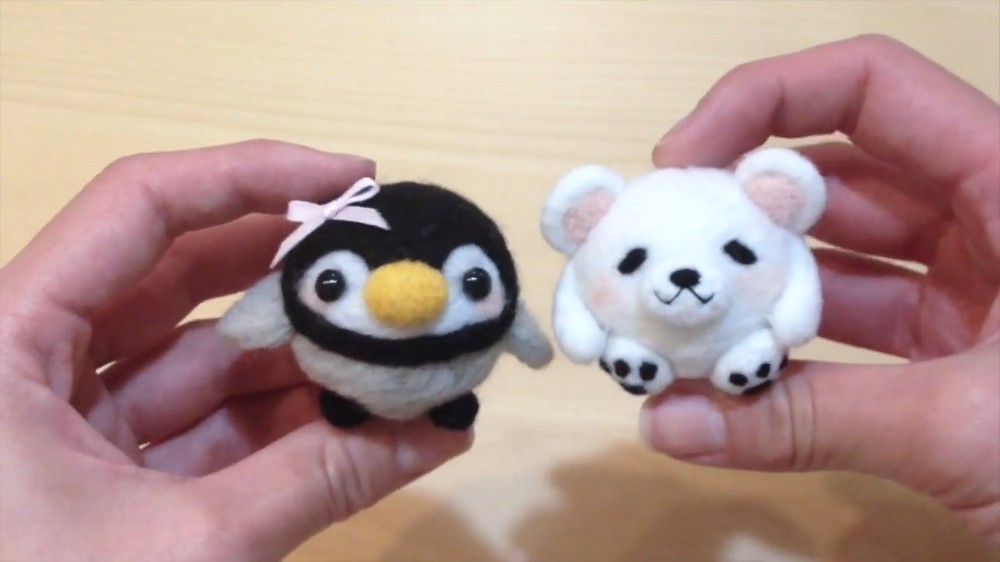
Supplies You’ll Need:
Tools:
- Felting needle (a barbed needle specifically for felting).
- Felting foam board or a sponge (to protect your surface while felting).
Materials:
- White felting wool (for the polar bear’s body and some parts of the penguin).
- Black felting wool (for the polar bear’s eyes, nose, and accents; also for the penguin’s body and eyes).
- Pink felting wool (for the polar bear’s inner ears and blushing cheeks).
- Gray felting wool (for the penguin’s body).
- Yellow felting wool (for the penguin’s beak and feet).
- (Optional) Ribbon or tiny embellishments (for accessories like bows).
- (Optional) Craft glue (if you need extra support attaching parts).
Step-by-Step Instructions
Step 1: Prepare Your Workspace
- Place your felting board or sponge on a stable surface to make sure you’re working safely.
- Gather all your materials and tools within easy reach.
- Wear a thimble or finger guards to protect your hands as the felting needle is sharp!
Part 1: Making the Polar Bear
Step 2: Create the Polar Bear’s Body
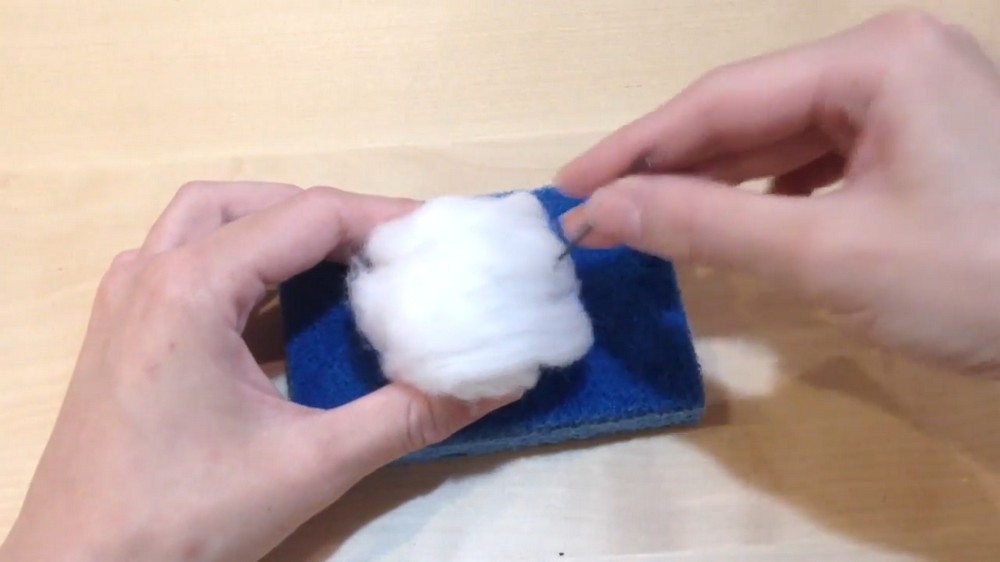
- Take a chunk of white felting wool and roll it into a tight ball with your hands.
- Place it on the felting board and use your felting needle to poke the wool evenly across the surface.
- Rotate the wool as you poke to keep the ball shape.
- Keep felting until the body is firm and smooth with no loose fibers.
Step 3: Make the Polar Bear’s Head
- Take another piece of white wool and roll it into a slightly smaller ball for the head.
- Felt the wool into a smooth, firm sphere by using the same technique you used for the body.
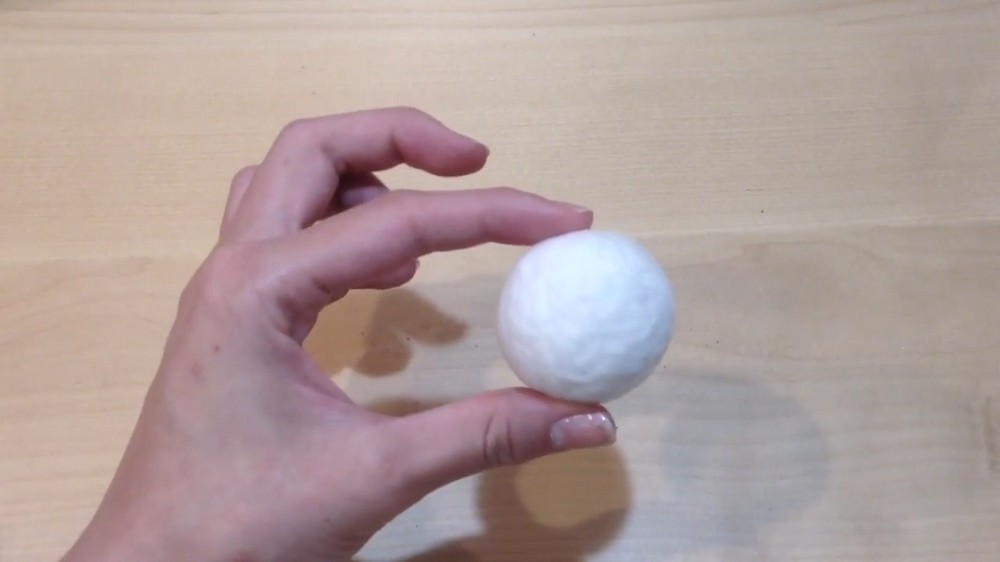
Step 4: Create the Nose and Ears
- Take a small amount of white wool and roll it into an oval shape.
- This will be the bear’s nose! Felt it into a firm oval.
- For the ears, roll two small pieces of white wool into oval or half-circle shapes and felt them into form.
- Be careful while felting small pieces—go slowly to avoid poking your fingers!
Step 5: Create the Arms and Legs
- Take some white wool and roll it into a thin snake-like shape for the arms.
- Roll the snake back and forth on your felting board while poking with your needle to create even cylinders for the arms.
- For the legs, roll tiny circles of white wool and felt them into flat ovals for the padded feet.
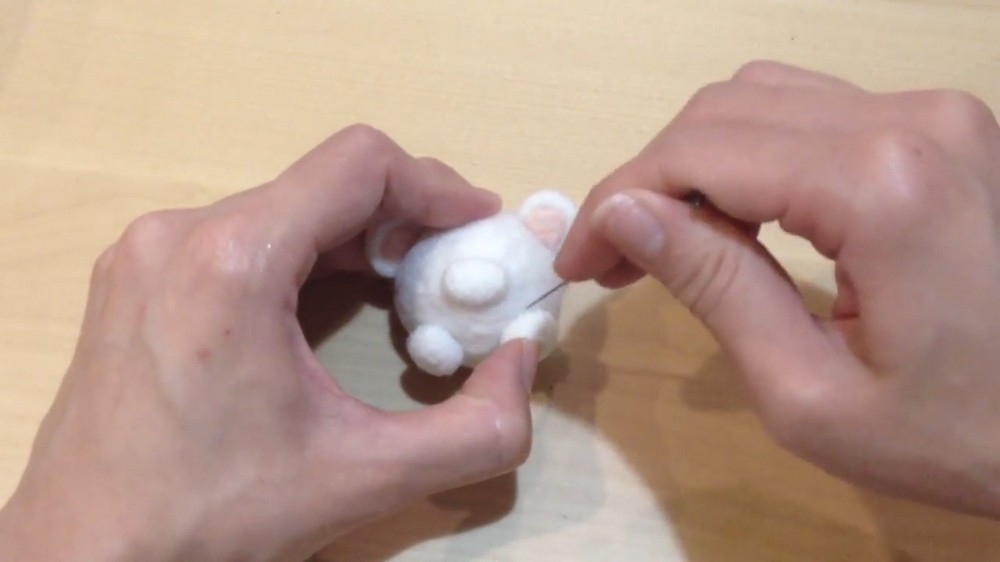
Step 6: Assemble the Polar Bear
- Attach the head to the body:
- Place the head on top of the body and hold it in place.
- Use the felting needle to gently poke around the joining area. The fibers will naturally blend and stick together.
- Be careful not to change the shape of the head or body as you felt them together.
- Attach the arms, legs, ears, and tail by positioning each piece where it belongs and felting gently at the points of contact.
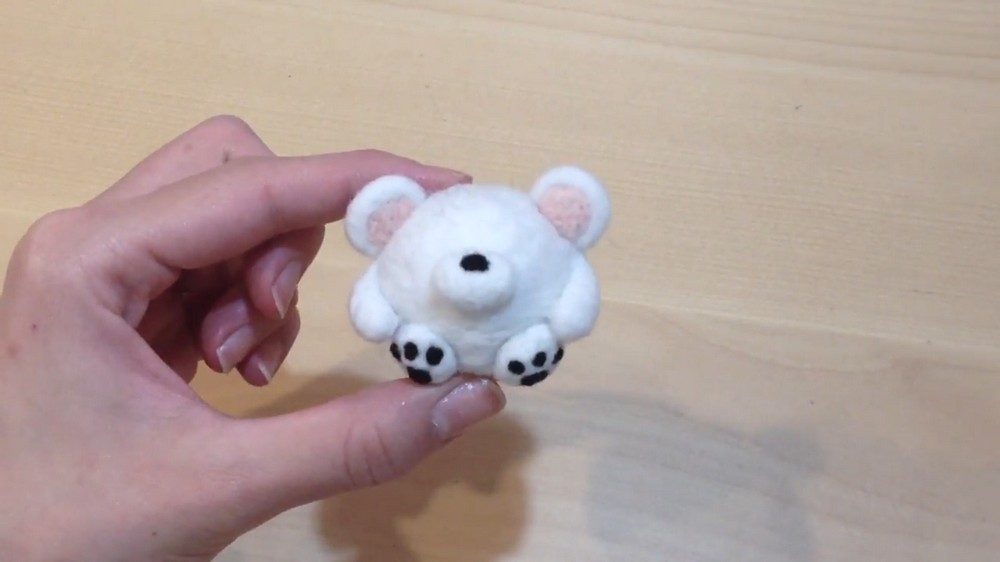
Step 7: Add Facial Features
- Roll a small piece of black wool into a tiny ball for the nose and felt it to the center of the bear’s face.
- Add eyes by either:
- Needle felting tiny balls of black wool onto the face, OR
- Using small animal eyes (just poke holes for placement and glue in the eyes if needed).
- Use black wool to create a tiny smile or “W” shape for the mouth. Roll a thin snake of black wool and felt it onto the face to form the smile.
Step 8: Final Details
- Take pink wool for the ear insides and gently needle felt it onto the center of the ears for the inner pink ear.
- Add small circles of pink wool on the cheeks for an adorable blushing look.
- Don’t forget to attach the small tail at the back of the body for a finishing touch!
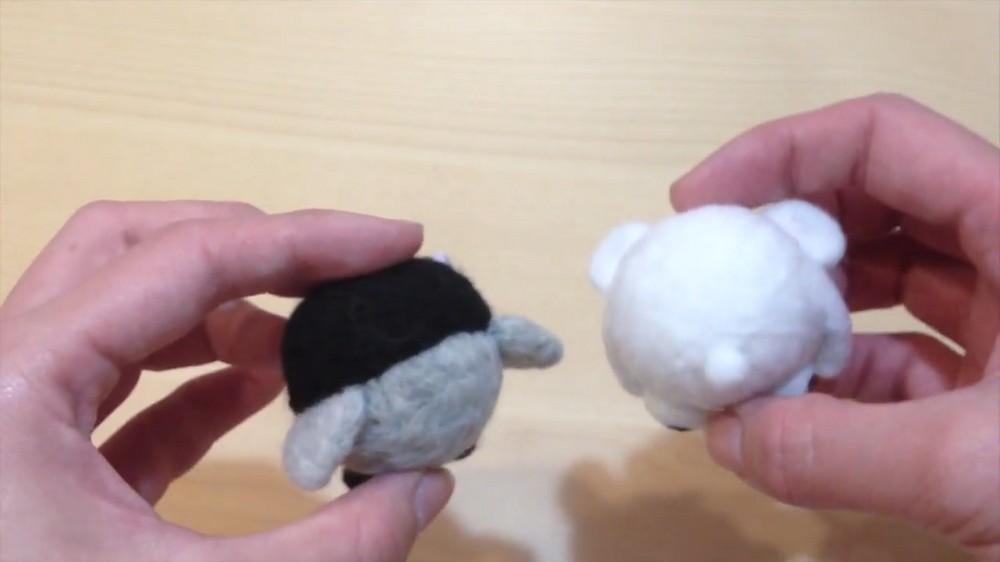
Part 2: Making the Penguin
Step 9: Create the Penguin’s Body
- Start with gray wool and roll it into a ball just like you did for the polar bear’s body.
- Use your felting needle to poke the wool until it’s a firm, smooth round ball.
Step 10: Add Color to the Penguin’s Body
- Take a piece of white wool and needle felt a small, round patch onto the front side of the body to create the belly area.
- Cover the back side of the body with black wool, leaving a distinct line between the black and white sections.
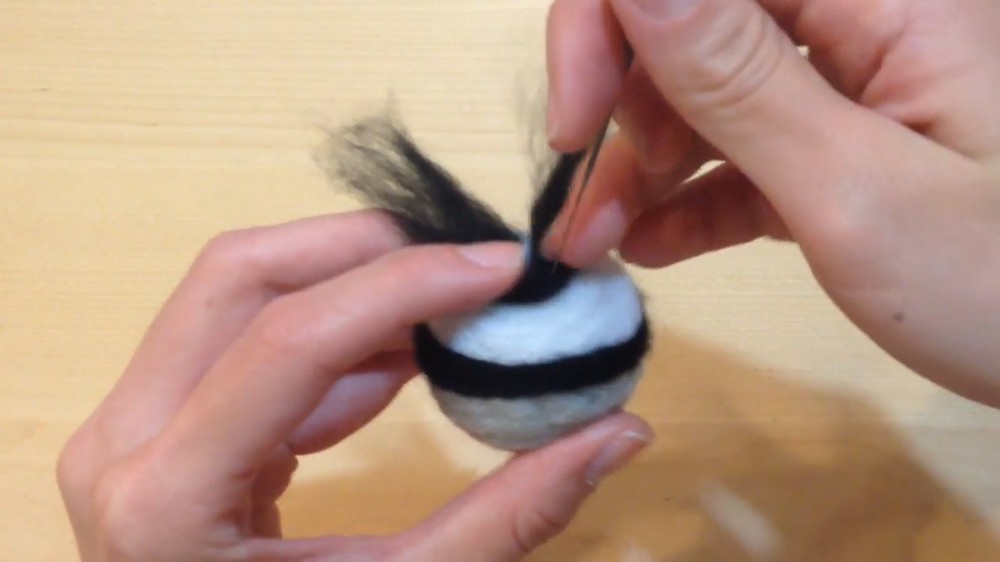
Step 11: Frame the Penguin’s Face
- Using black felting wool, create a wide “M” shape framing the top of the white belly for a face mask.
- Needle felt it carefully to ensure that the edges are even and smooth.
Step 12: Add Penguin Wings
- Roll two thin triangles of black wool and felt them until firm.
- Attach one wing on each side of the penguin by poking with the felting needle at the points of contact.
Step 13: Add the Beak and Feet
- Roll a small piece of yellow wool into a tiny oval shape, then attach it to the middle of the penguin's white face for the beak.
- Make two small yellow oval circles for the penguin’s feet.
- Attach the feet to the bottom of the penguin, right below the belly.
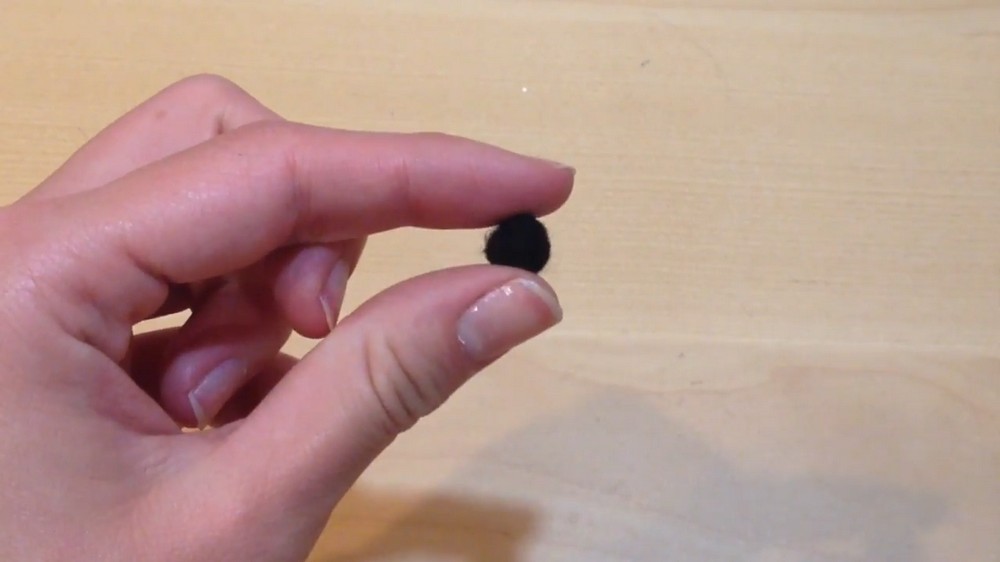
Step 14: Add Eyes
- Like the polar bear, add animal eyes or needle felt small black balls of wool onto the face.
- Use your felting needle to poke tiny holes for eyes. Add glue for extra security.
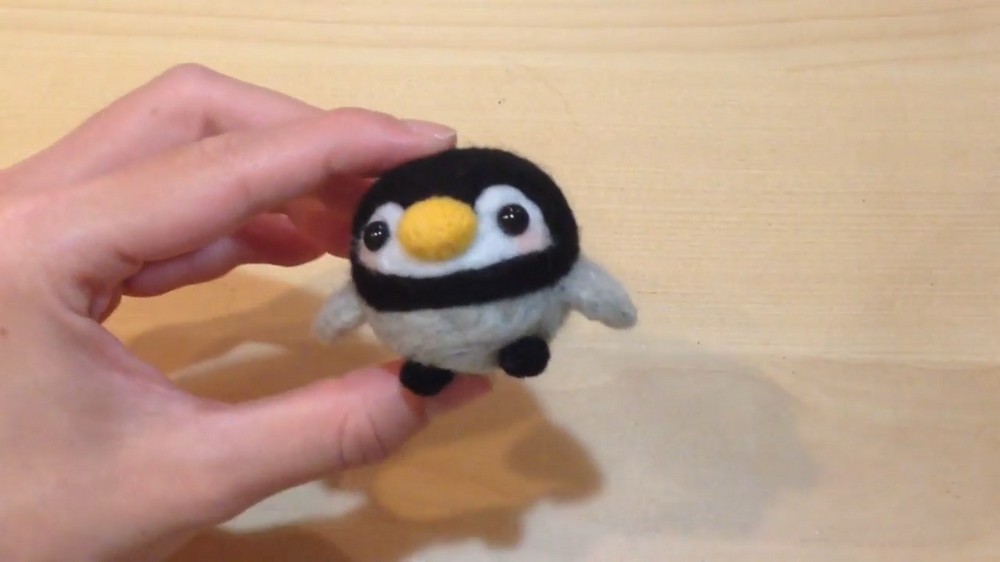
Part 3: Decorating Your Penguin and Polar Bear
Step 15: Optional Accessories
- Bow for the Penguin:
- Tie a pink ribbon into a small bow and trim the excess.
- Glue or needle felt the bow to the top/side of the penguin’s head.
- Blush:
- Add a small amount of pink wool to the cheeks of both the polar bear and penguin.
- Needle felt softly to create a cute, blushing effect.
Tips for Beginners:
- Take your time—needle felting is a slow but satisfying craft.
- If you make a mistake, just add more wool and reshape the piece.
- Be careful with your felting needle. Always work on the foam board/sponge and poke slowly to avoid accidents.