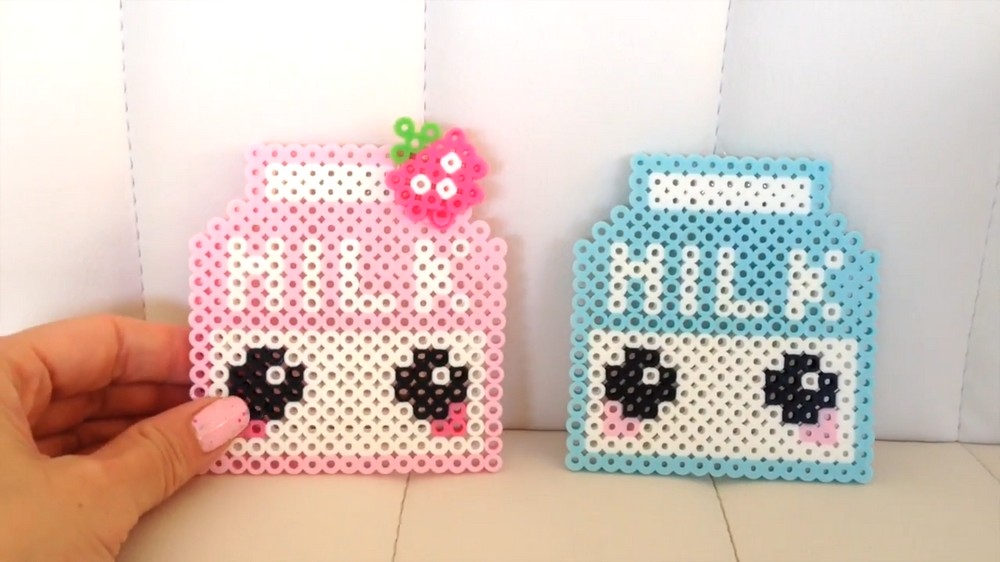
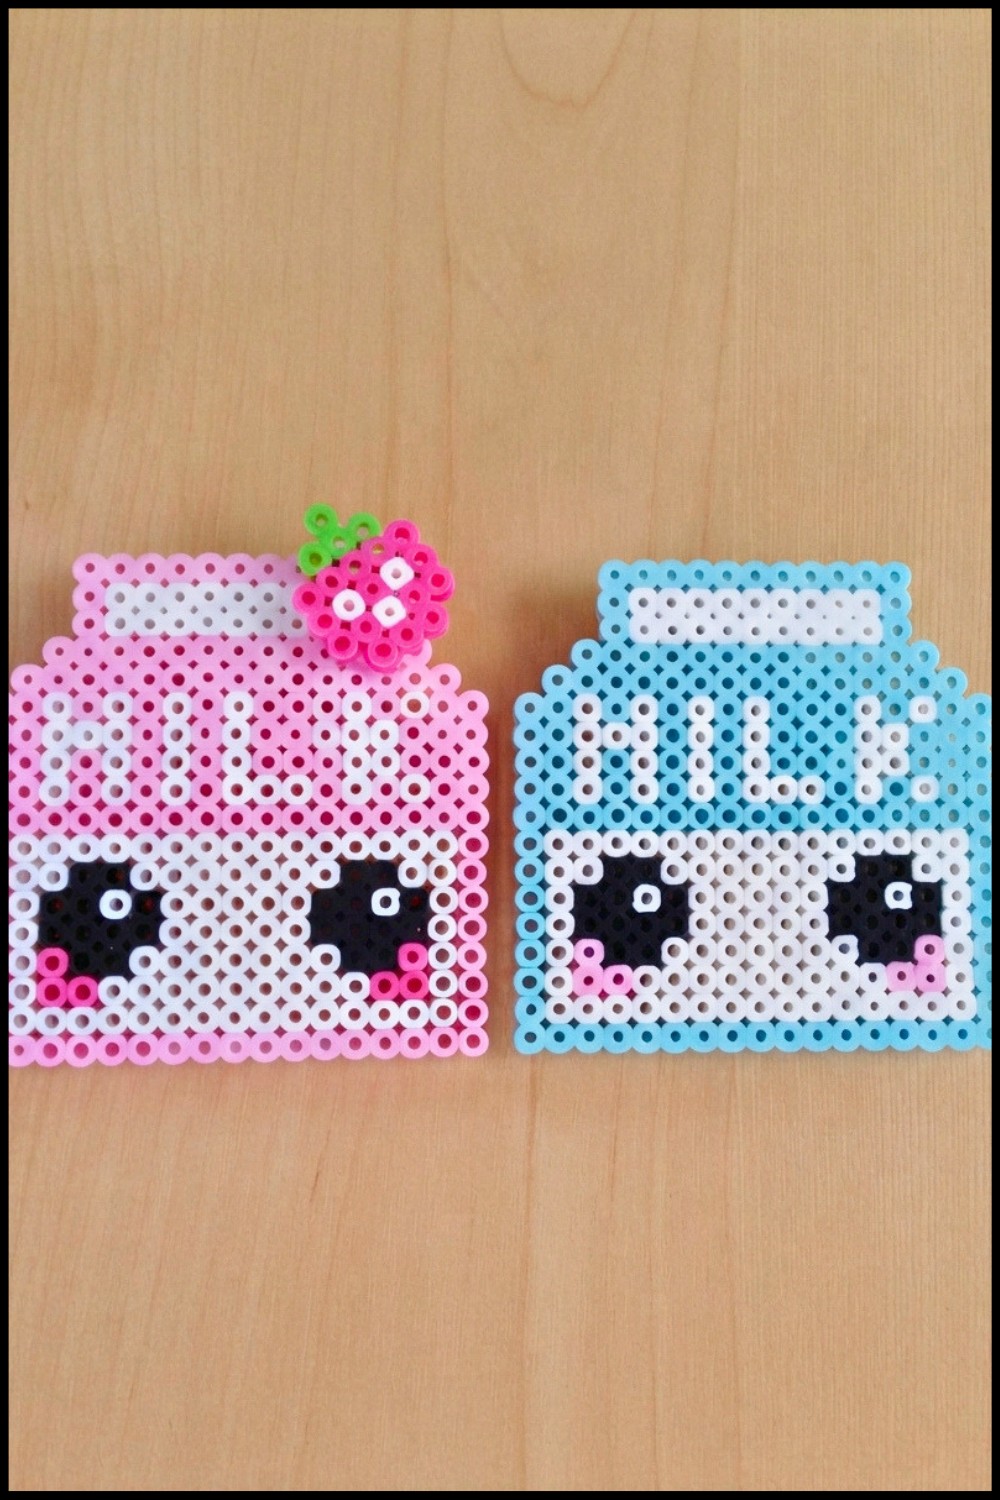
Kawaii Milk Perler Bead Crafting is a fun and creative way to design adorable milk carton crafts, perfect for decor, accessories, or thoughtful gifts.
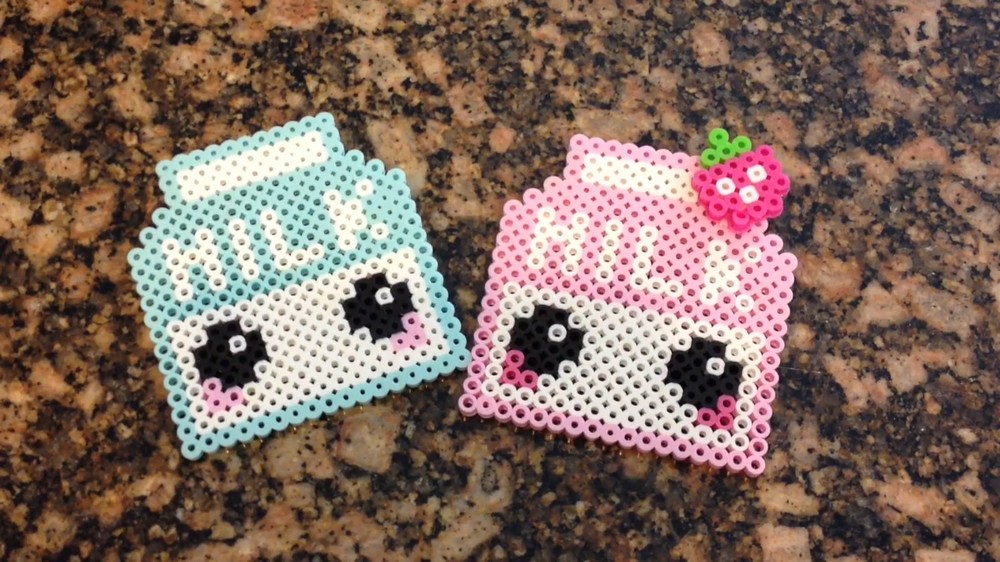
Crafting can be more than just an activity, it can be a gateway to creating something adorable and personal that brightens your day or someone else's. Crafting a mini milk carton that’s not just cute but entirely kawaii! This cheerful DIY project, inspired by the creative minds at Flying Mio, is perfect for beginners and seasoned crafters alike. Using Perler beads, you can make a decorative milk carton featuring bright colors, cute facial details, and even a strawberry flair.
Credit goes to Flying Mio, whose inspiring tutorial on YouTube (check it out here) makes this fun craft easy to follow.
Kawaii Milk Perler Bead Project You Need to Try
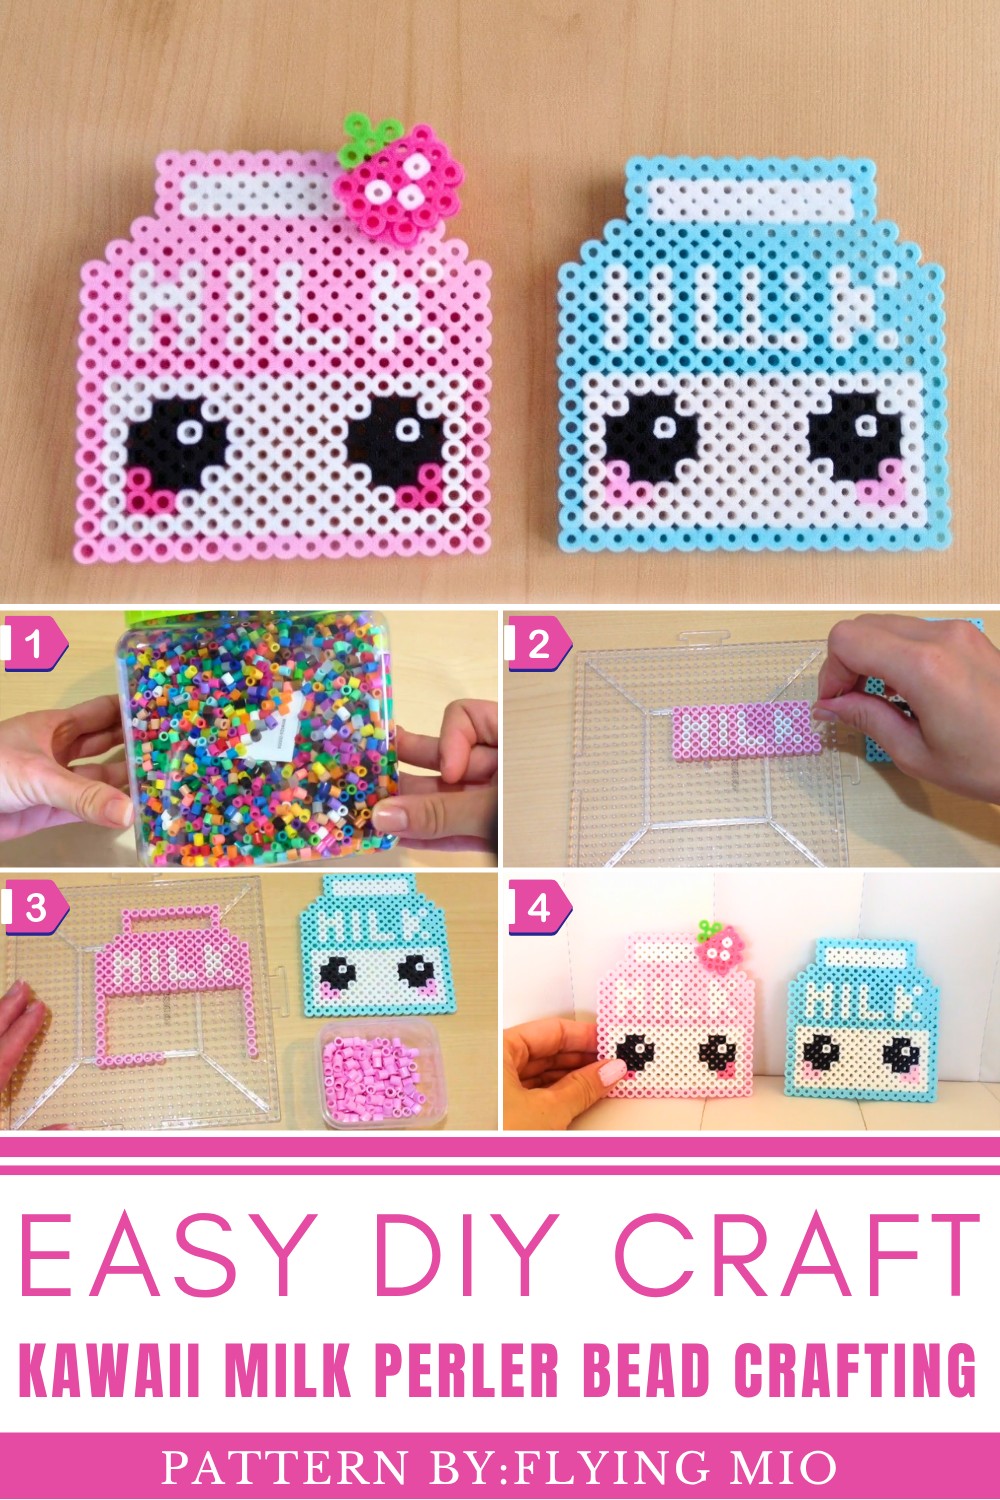
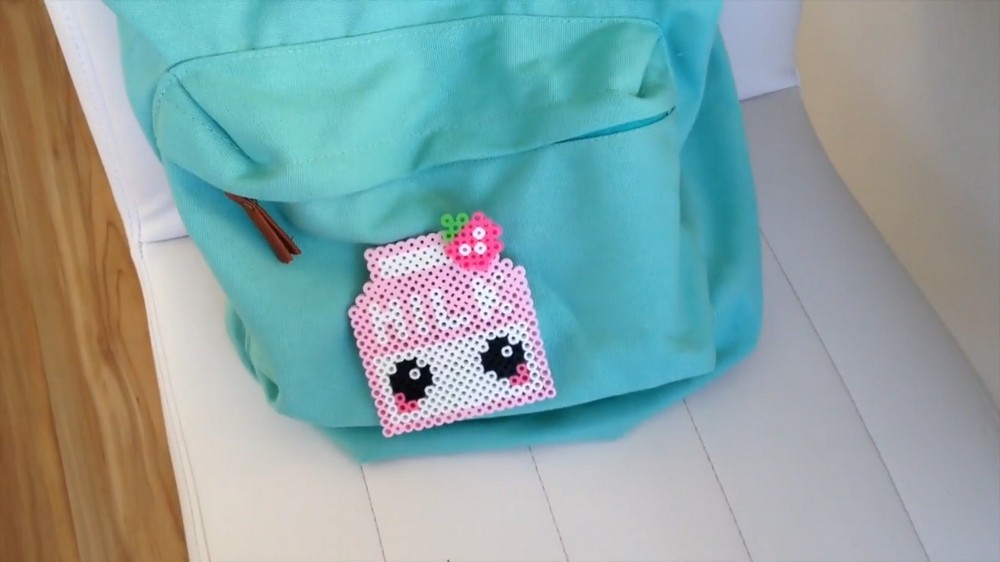
Why make it, you ask? Well, it’s not just fun, it’s purposeful! This craft is perfect for customization and can be turned into pins, brooches, magnets, keychains, or even desk decor. It’s a small-sized gift bursting with personality, making it a thoughtful present for a loved one or a charming addition to your accessories. Plus, crafting with Perler beads is incredibly relaxing, offering you a creative escape anytime you need it.
How to Make a Perler Bead Milk Carton Craft
Materials you will need:
- Perler beads (you can use a kit or buy individual colors)
- Clear pegboard
- A toothpick (optional, to place beads easily)
- Iron
- Ironing or parchment paper (comes with most Perler bead kits)
- Hot glue gun (optional, for 3D elements)
- Optional: A brooch/pin to make it wearable
Step-by-Step Instructions
Phase 1: Gather Your Materials
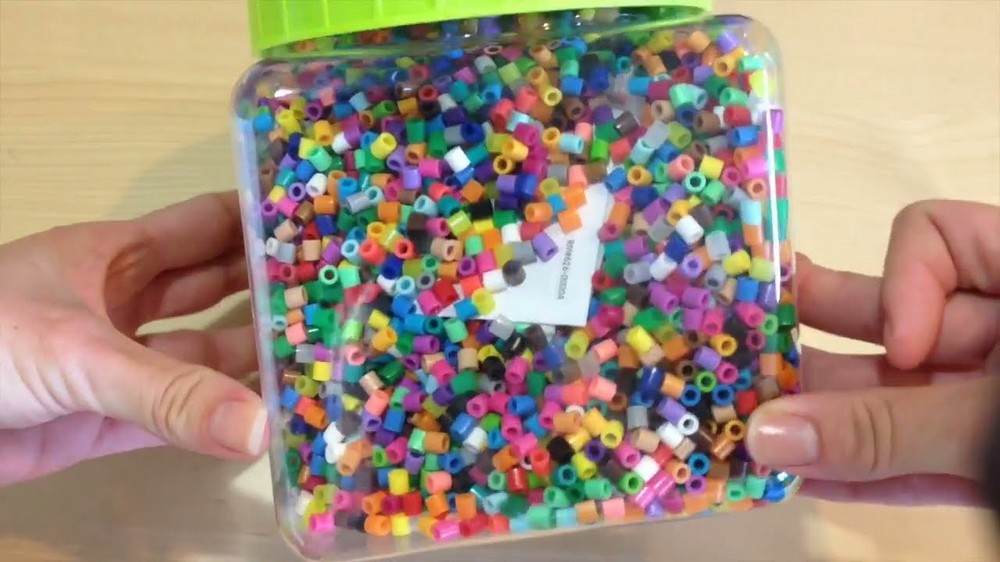
- Purchase a Perler bead set from a craft store like Hobby Lobby or online. Aim for a variety of colors.
- Example colors for a strawberry milk carton: Pink, Black, White, Dark Pink (for blush), Green, Red.
- Use a clear pegboard as your working base. This will help you see a pattern underneath if needed.
- Sort out the beads you will use. You can pour them into small cups or handpick them before starting for easy access.
Phase 2: Create the Milk Carton Design
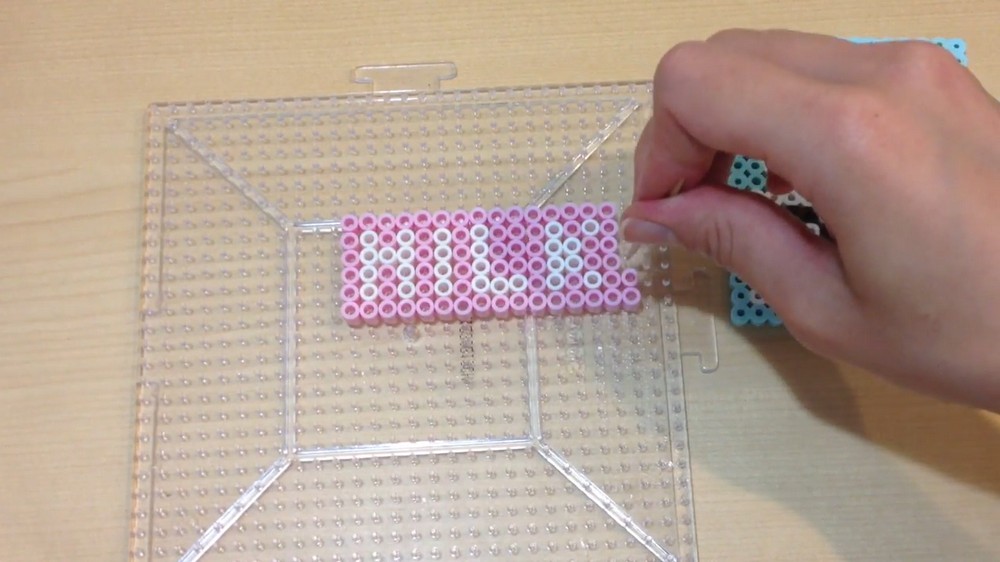
1. Form the "MILK" Text:
- In the center of your clear pegboard, spell out the word "MILK" using white beads:
- Each letter should be 4 beads tall and 3 beads wide.
- Leave 1 bead space between the letters for a neat look.
2. Add the Strawberry Milk Section:
- Surround the "MILK" word with light pink beads to form a rectangle two rows above and two rows below the text.
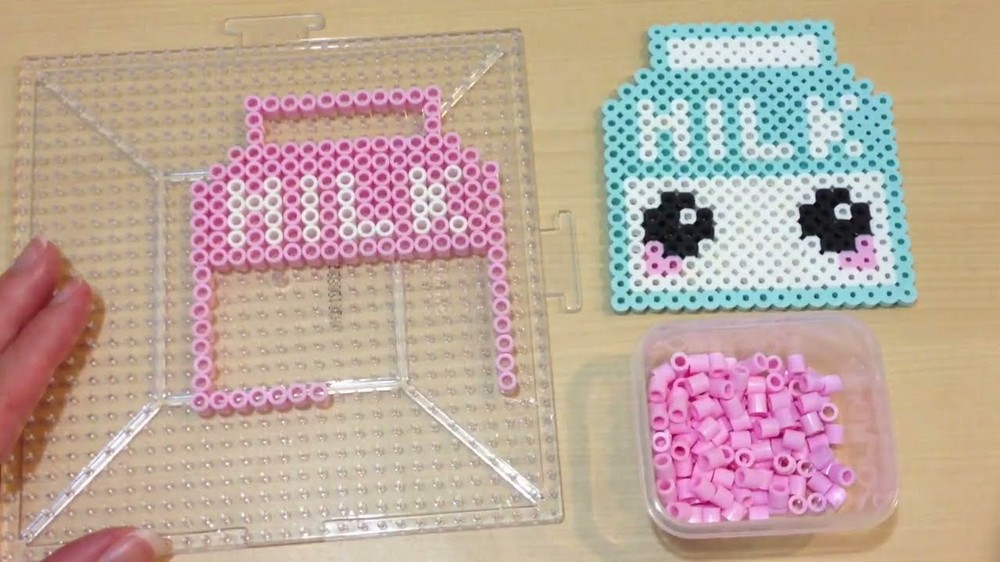
- Add a slight triangle shape on the top of the rectangle to form the "lip" of the milk carton.
- The triangle should be 2 rows tall: each row gets smaller as it reaches the top.
3. Add the Milk Carton "Body":
- Extend the bottom of the pink rectangle downward by filling it with rows of light pink beads.
- Make the "body" at least 8 rows tall underneath the text.
Phase 3: Add Cute Facial Features
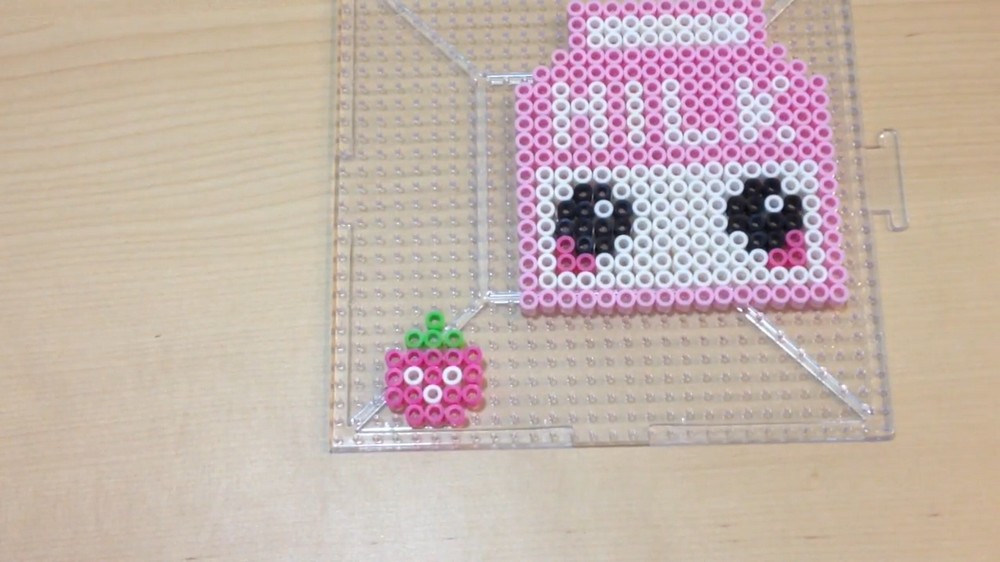
- Use black beads to create eyes:
- Place two beads for each eye about halfway down the carton.
- Add a little shine by leaving one bead off-center from each eye and replacing it with a white bead. (This creates a "sparkle" effect.)
- Add a smile underneath the eyes using black beads.
- For blush, place 3 dark pink beads in a small cluster on either side of the eyes.
Phase 4: Add the Strawberry Accent
- To give it a strawberry milk vibe, add a mini strawberry design in the upper corner or near the top edge:
- Create a small triangle with red beads for the strawberry.
- Add a couple of green beads on top for the stem.
Phase 5: Fuse Your Perler Beads Together
- Carefully place the parchment (or ironing) paper on top of your design.
- Preheat your iron to a medium heat setting (no steam).
- Place the iron on the parchment paper and apply gentle pressure for about 10 seconds or until the beads begin to fuse together. You should see them melting slightly through the paper.
- Flip your design over, cover the other side with parchment paper, and repeat the ironing process for a strong hold.
⚠️ Tip: Be sure not to over-iron, or the beads may lose their shape!
Phase 6: Optional: Add a 3D Strawberry
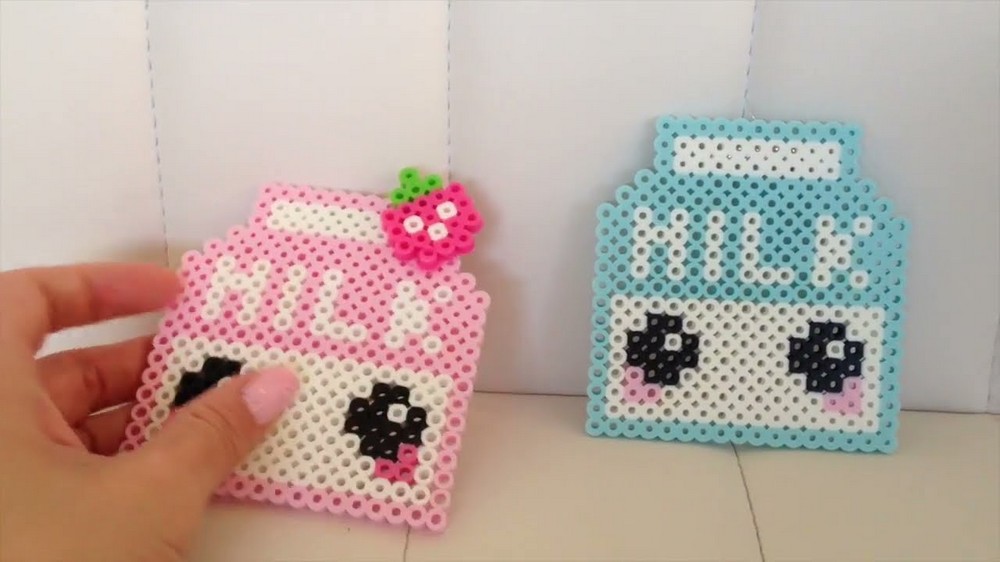
- If you created a separate strawberry, fuse it and let it cool.
- Use a hot glue gun to attach the strawberry to the top corner of the milk carton for a cute 3D look.
Phase 7: Turn It into Something Useful
- Add a pin or brooch backing using hot glue if you'd like to wear it.
- Alternatively, you can use it as wall decor, a magnet (just glue a magnet on the back), or even a keychain.
Final Tips for Success
- For better design accuracy, print out a Perler bead pattern from online and place it under your clear pegboard.
- Be patient when placing beads—small adjustments go a long way.
- Have fun experimenting with colors! Try chocolate or vanilla milk versions by swapping out colors.