Learn how to make a fun and quirky Octopus Mustache Plushie and monocle, perfect for gifts, home décor, or adding personality to your collection.
Have you ever wondered what happens when creativity meets quirky charm? That’s exactly what this handcrafted masterpiece, an elegant octopus sporting a mustache and monocle—is all about! Designed for fun, decoration, and putting a smile on anyone’s face, this delightful plushie is perfect for anyone who enjoys needle felting and loves adding personality to their creations. It’s not just a plushie; it’s a playful statement piece, ideal for gifting, desk decor, or even as a whimsical conversation starter.
Craft Your Own Octopus Mustache Plushie – DIY Project
This creative idea is inspired by Flying Mio, an amazing channel that blends crafting with charm. Mio’s tutorial (found here) walks you through each step, ensuring you’ll feel confident in your ability to craft this whimsical character.
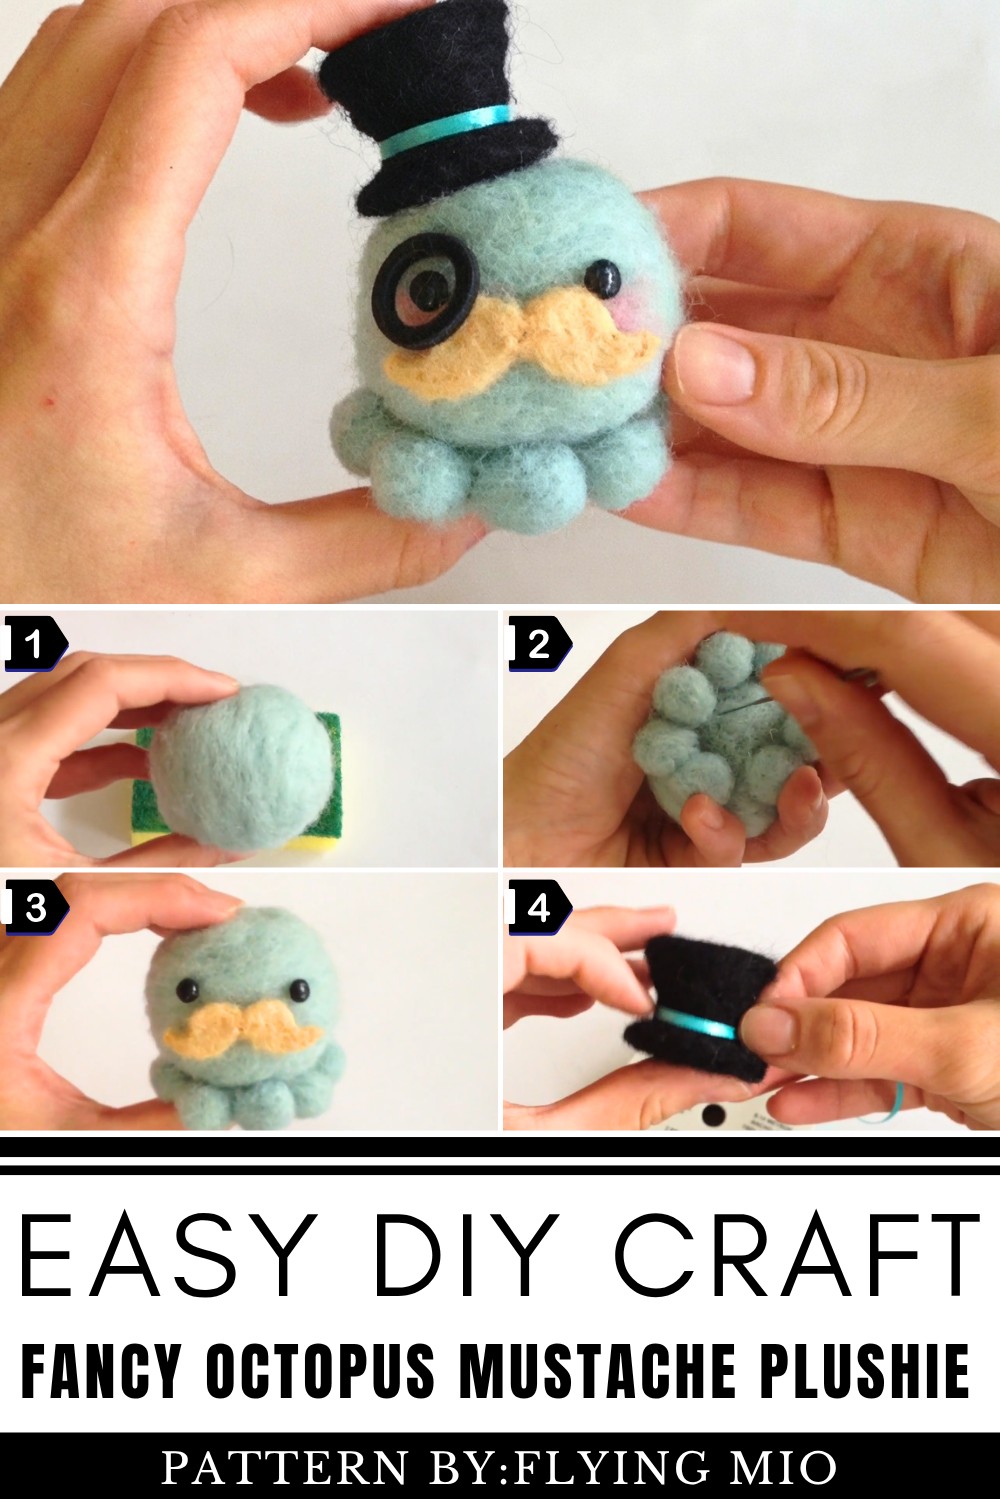
Making this plushie is surprisingly therapeutic and rewarding. Every step, from shaping the octopus body to giving it its personality with a stylish top hat and blush, allows you to immerse yourself in creativity. Whether you’re new to needle felting or a seasoned crafter, this project lets you experiment and build your crafting skills. Plus, who wouldn’t adore a dapper octopus rocking a classic mustache?
Styling possibilities are endless! You can tweak the colors, add accessories like a bow tie, or pair it with similar felted characters for a themed decoration. With its unique mustache and charm, this plushie stands out as a perfect gift for those who love the unusual.
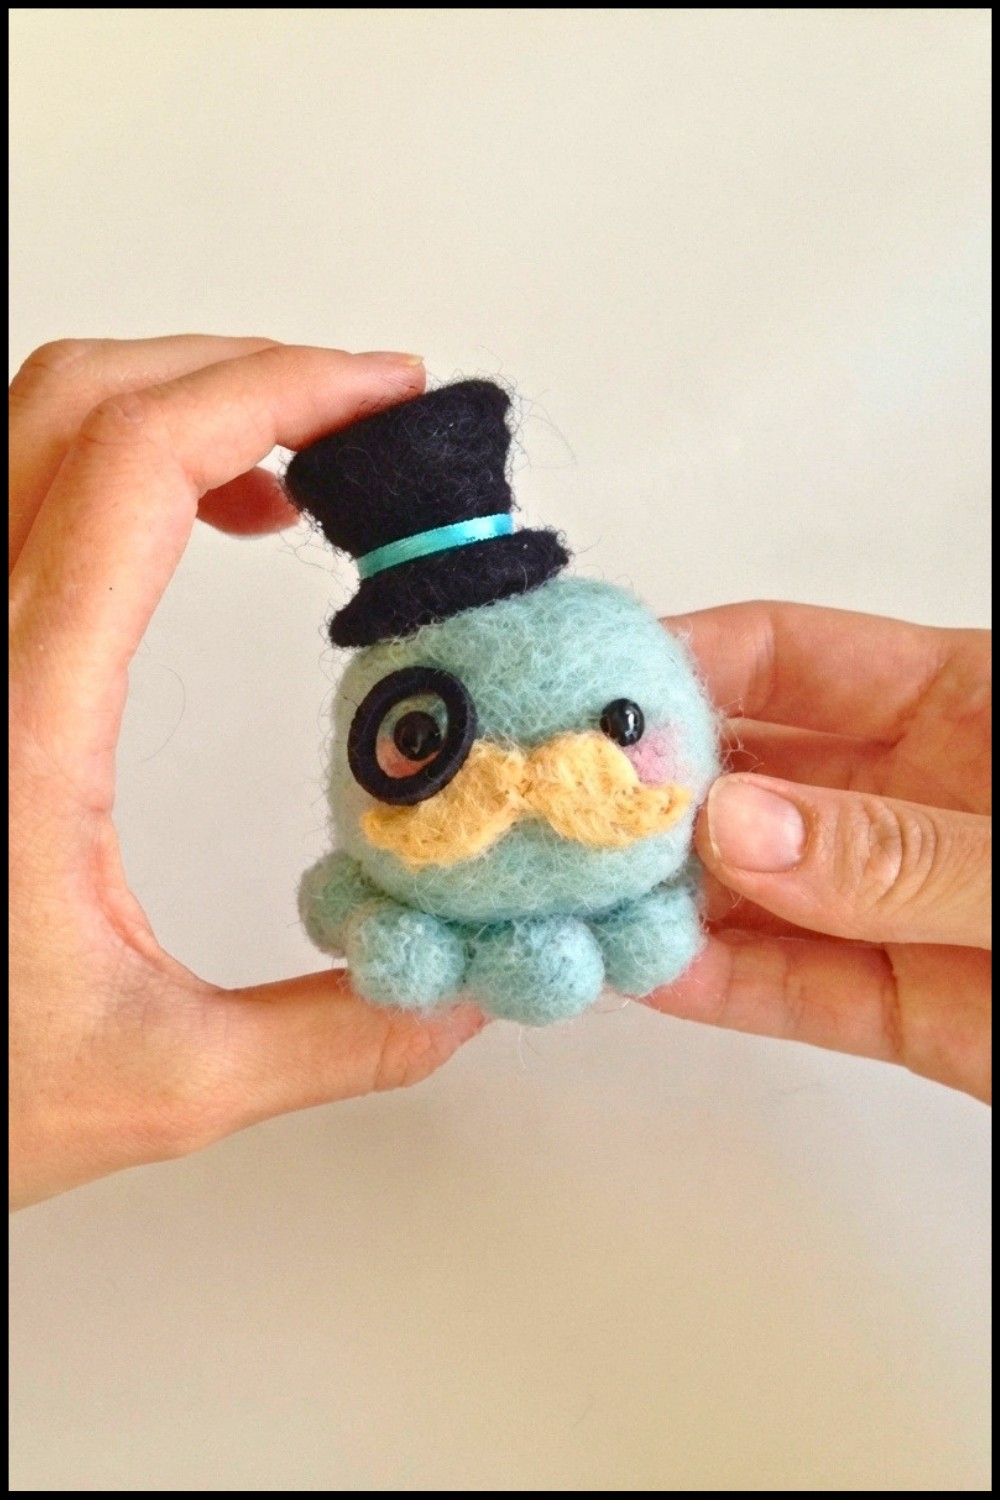
DIY Fancy Needle-Felted Octopus: Step-by-Step Guide
Ready to make an adorably dapper octopus? This fancy little character, inspired by CH and Stitch, is perfect for needle-felting enthusiasts—especially beginners! Follow these easy steps, and you'll have a cute, monocle-wearing octopus with a top hat, mustache, and all the charm in no time.
Materials You’ll Need:
- Light blue felting wool (for the body and legs)
- Orange felting wool (for the mustache)
- Black felting wool (for the top hat)
- Small amount of pink felting wool (for the blush)
- Needle-felting needles
- Foam or sponge board (to work on)
- Polymer clay (optional, for eyes and monocle)
- Animal eyes (optional, can be used instead of polymer clay eyes)
- Ribbon or thread (optional, for top hat decoration)
Phase 1: Creating the Octopus Body
- Shape the Body:
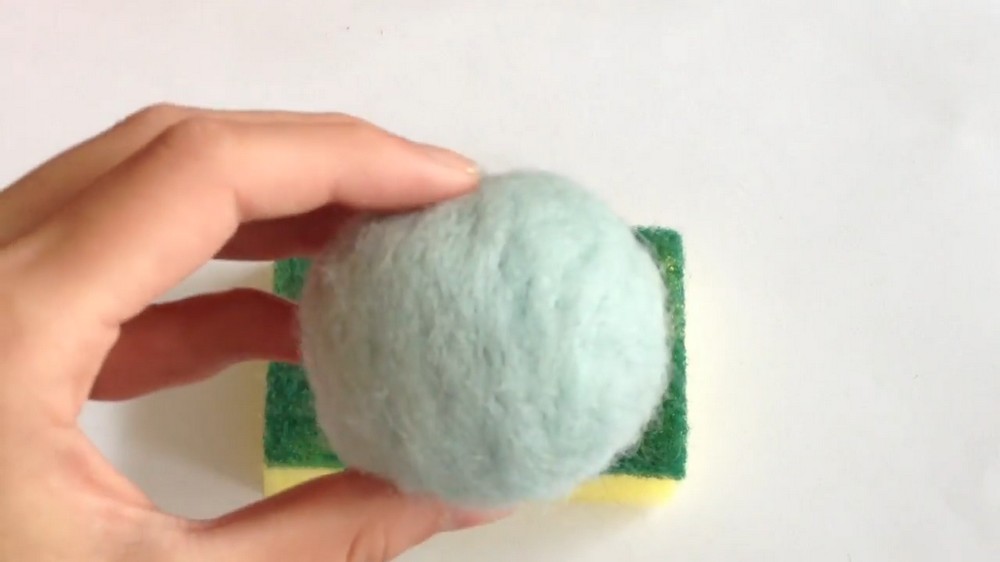
- Take a generous piece of light blue wool and roll it into a rough ball shape.
- Place it on your foam board, and use your felting needle to poke multiple times all over the wool. This process binds the fibers together, cross-linking them to form a firm sphere.
- Rotate and Felt:
- Continuously rotate the sphere while poking to make sure it becomes evenly round and dense.
- Remember: The more you poke, the smaller and firmer the sphere will get.
Phase 2: Making the Legs
- Create Small Spheres for Legs:
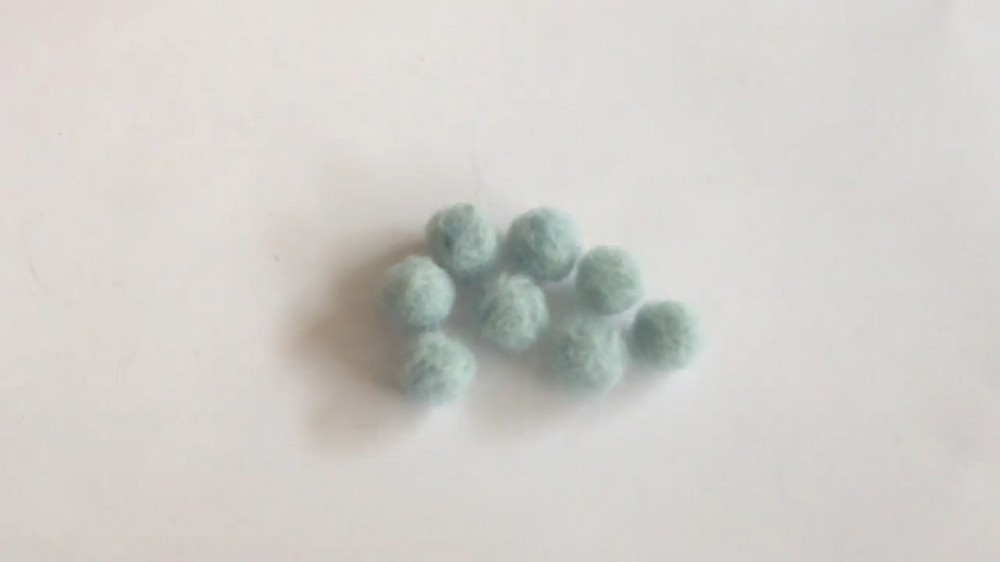
- Take smaller pieces of light blue wool, roll them into tiny ball shapes, and follow the same felting process used for the body.
- Make 8 small spheres (one for each leg of your octopus).
- Attach the Legs:
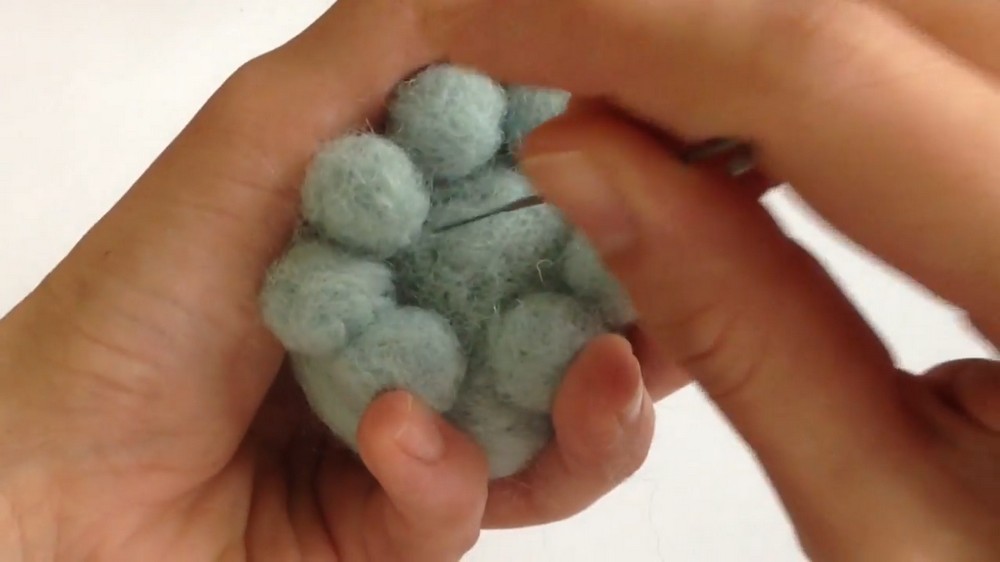
- Position the small spheres in a circle around the bottom of the body where you want the legs to go.
- Use your felting needle to gently poke each leg into the body. This process binds the legs to the body.
- Continue felting the connection points until the legs are securely attached.
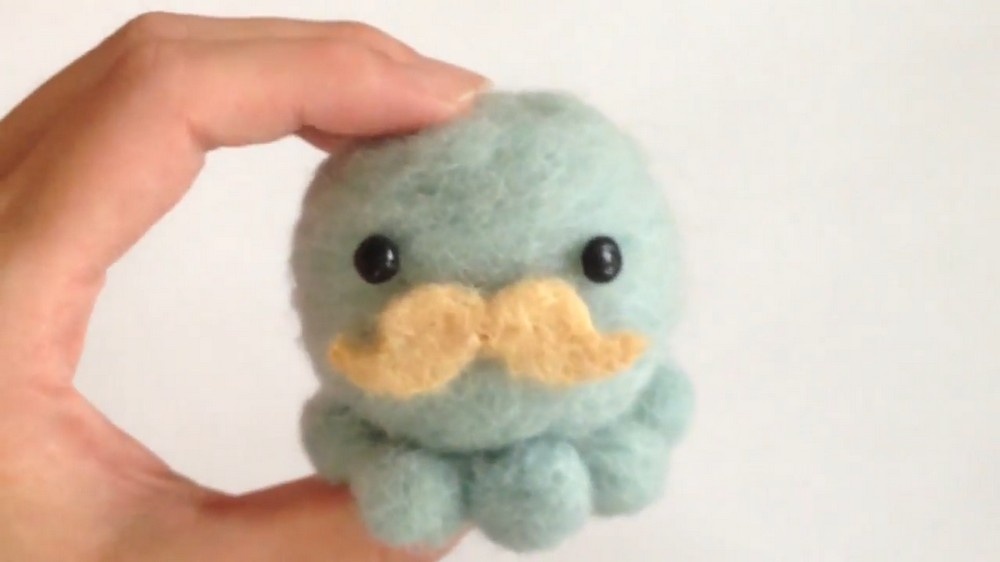
Phase 3: Adding the Mustache
- Create the Mustache Shape:
- Take a small piece of orange felt wool and roll it into a thin, small cylinder (like a tiny sausage).
- Lay it flat on your foam board, and use your needle to shape and flatten it into a mustache.
- Work it into the specific shape you want, curving the ends slightly upward for a fun and fancy look.
- Attach the Mustache:
- Position the mustache in the middle of your octopus's face.
- Gently and carefully felt it into place by poking it into the body with your needle.
Phase 4: Adding the Top Hat
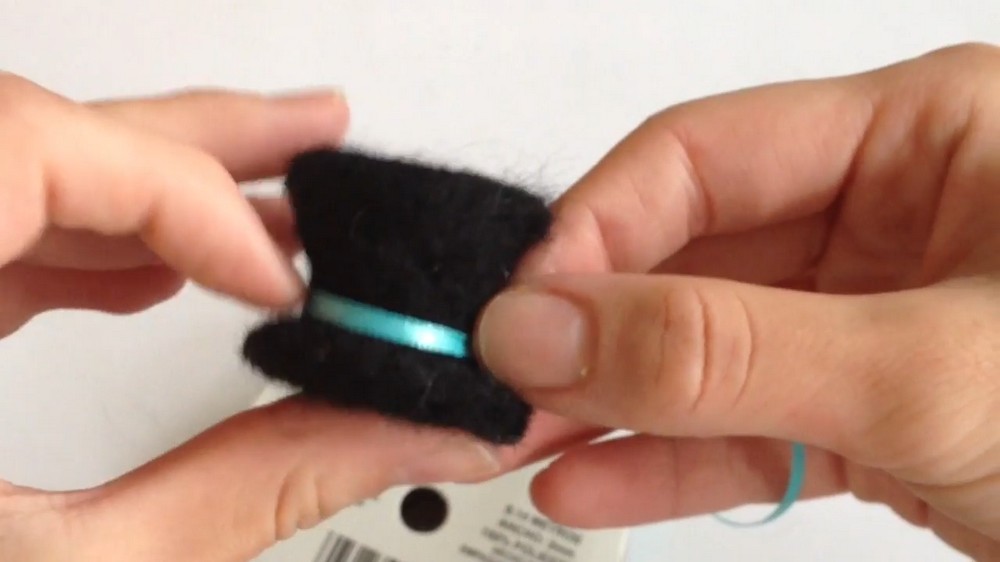
- Make the Rim (Hat Base):
- Take a piece of black wool, and roll it into a larger, flat disc. Think of shaping it like a small pancake.
- Use your needle to poke around the edges to create a clean, circular rim.
- Shape the Hat:
- Take another piece of black wool, and roll it into a cylinder shape.
- Felt it with your needle until it is solid and has one end slightly wider than the other to give the hat a realistic shape.
- Attach the Hat:
- Position the hat cylinder on top of the flattened disc (the rim).
- Felt the two pieces together by poking the connection point until they are secure.
- Optional Decoration:
- Add a small ribbon or accent around the hat to make it extra fancy.
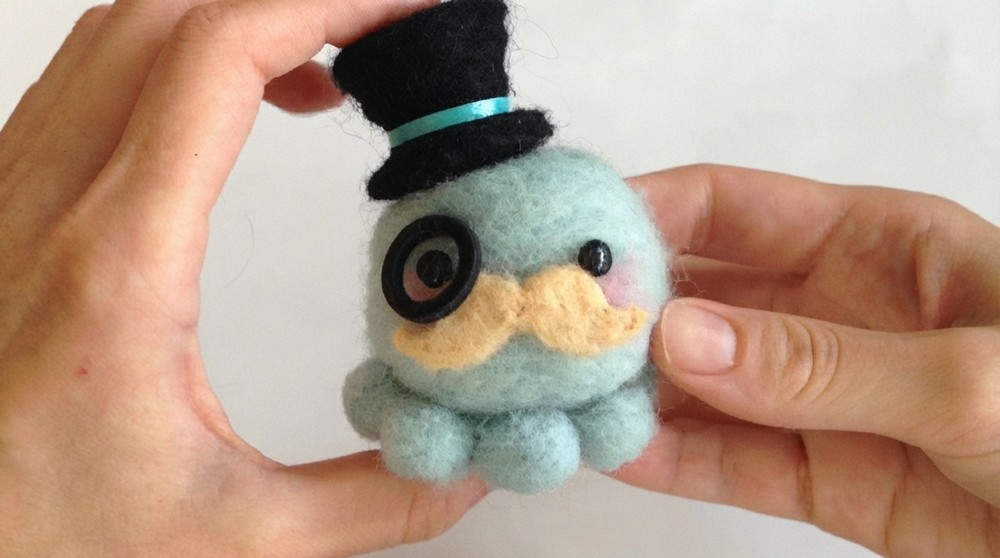
- Place the Hat on the Octopus:
- Once the hat is complete, position it on your octopus’s head and felt it down carefully.
Phase 5: Adding Eyes
- Make the Eyes (Optional):
- You can use polymer clay to create the eyes. Simply shape two small black circles, bake them according to the clay instructions, and attach them to the octopus.
- Alternatively, use craft store animal eyes by positioning and felting them onto the body.
- Add a Monocle (Optional):
- Roll a small piece of polymer clay into a circle to form the monocle. After baking, attach it to the octopus with a pin or felting needle for extra charm.
Phase 6: Adding Finishing Touches
- Blush the Cheeks:
- Take a tiny bit of pink felt wool, position it where the cheeks would be, and gently poke it with your needle until it’s attached. This adds a sweet touch of color to your octopus.
- Final Details and Adjustments:
- Look over your octopus and felt any loose fibers or uneven areas.
- Add extra felt to smooth out shapes like the legs, face, or body, or fix any details you’d like to enhance.
Tips for Beginners:
- Patience is Key: Felting is a slow and steady process—poke gently and gradually to achieve the right shape.
- Use the Foam Base: Never needle-felt directly on a hard surface (you risk breaking the needle or hurting yourself).
- Be Careful of the Needle: Felting needles are sharp! Take your time to avoid accidental pokes.
Optional Accessories:
- Add Fun Clothing: Add a bow tie, scarf, or jacket to your octopus for extra style!
- Experiment with Colors: Feel free to use different wool colors for a unique octopus (e.g., pink, green, or even rainbow).