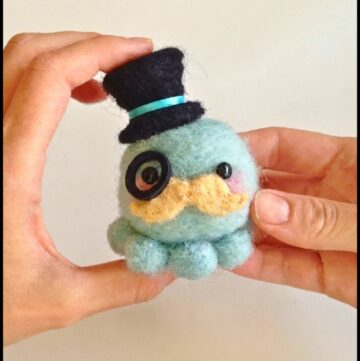
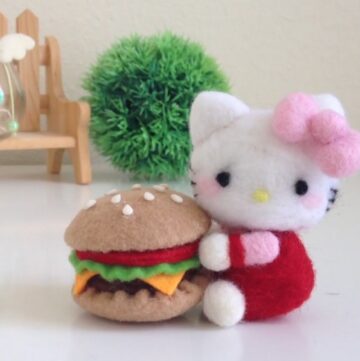
Create a whimsical DIY Felting Star Plushie that’s perfect for adding a touch of charm to your space or gifting something handmade and heartfelt.
Tiny handmade stars have a special kind of magic, and this project lets you hold that magic in your hands. You can make this cute piece to relax, to give as a heartfelt gift, or to brighten up your room with something soft and personal. Its purpose is simple yet meaningful, to bring a little comfort, joy, and warmth into everyday life.
DIY Star Plushie: Sweet and Simple Felting Project
Good Words For Channel & Creator!
Full credit for this wonderful idea and guidance goes to the YouTube channel Flying Mio, whose clear and creative tutorial makes the whole process easy and inspiring for anyone who wants to try felting at home.
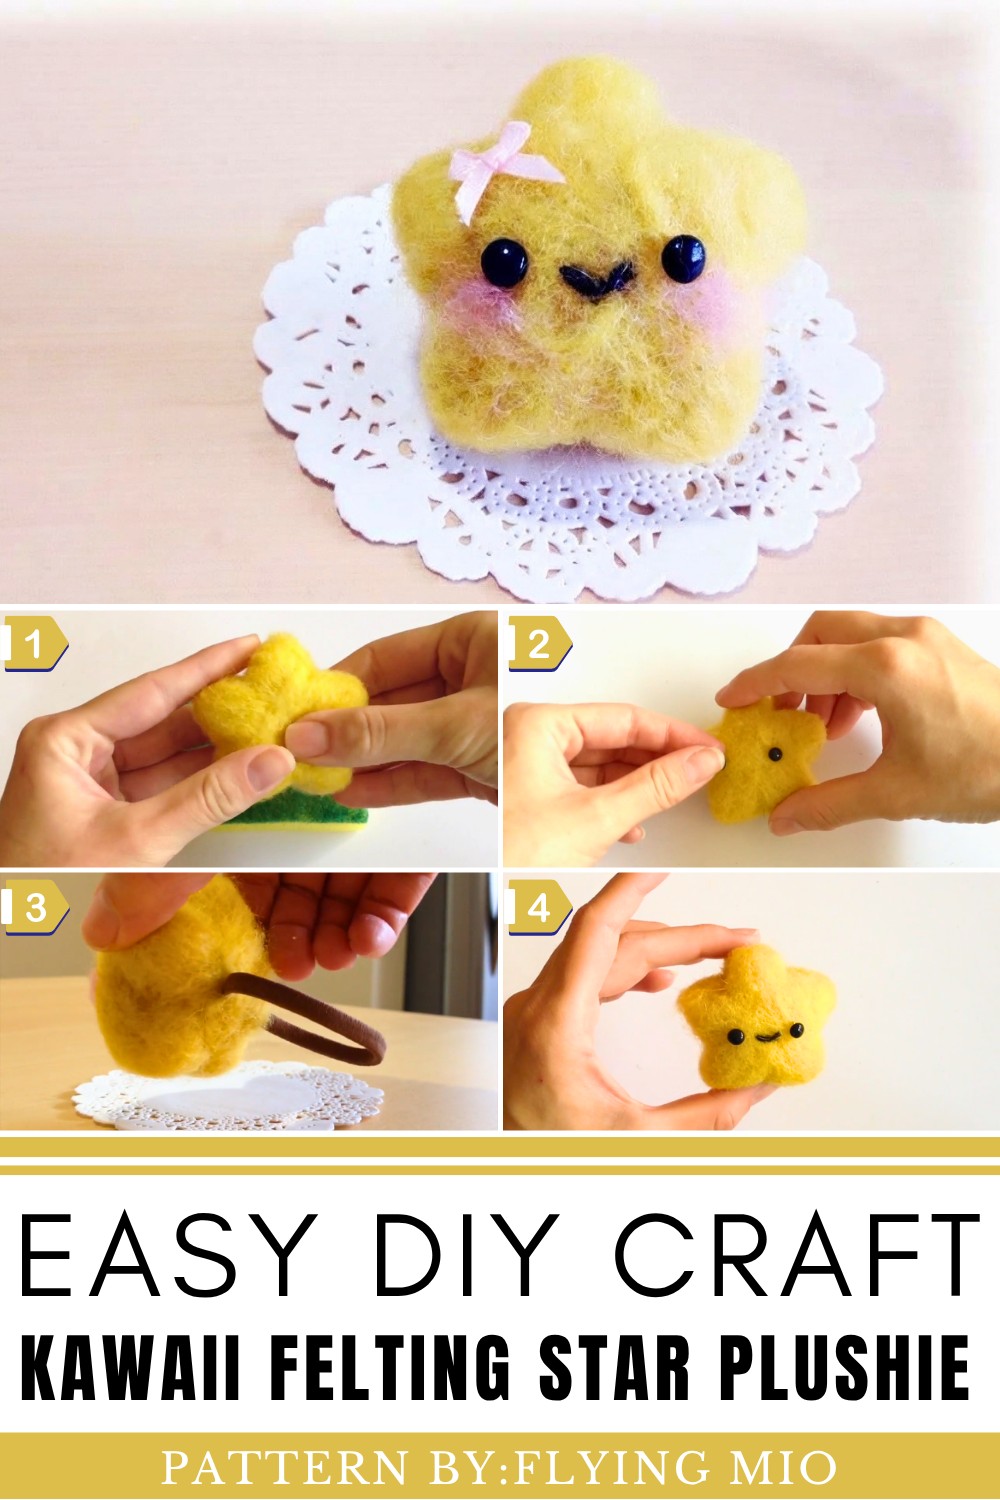
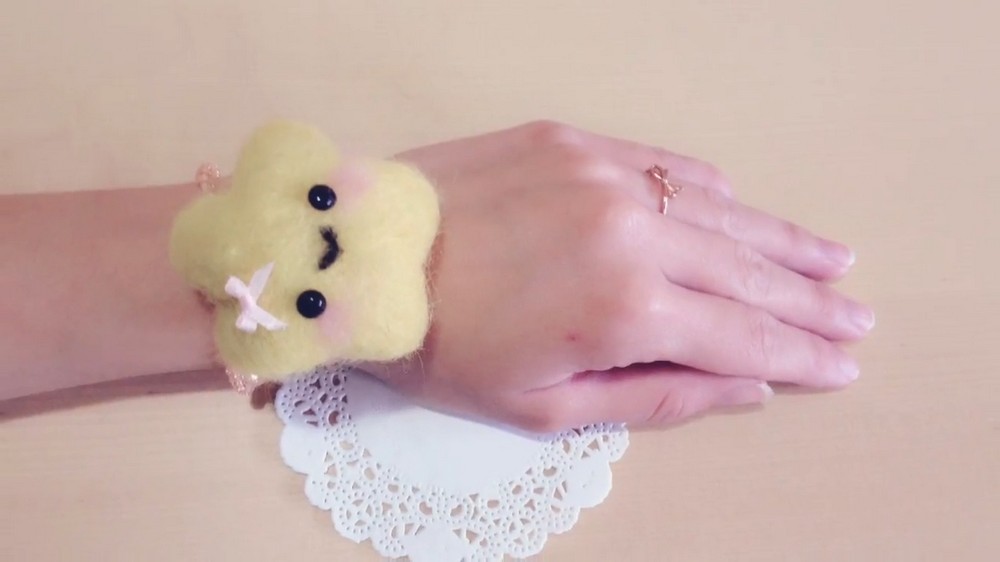
Felting Star Plushie is gentle to touch, light to hold, and easy to love. You can style it as a keychain, bag charm, desk buddy, or hang several together as a sweet garland above your bed or workspace. Use soft pastel wool for a dreamy look, bright colors for a playful vibe, or add tiny faces, blush, and details to match your mood or decor. Each star can tell its own little story.
This kind of felting project is calm and soothing, helping you slow down and focus. It’s beginner-friendly, doesn’t need many tools, and gives a big feeling of achievement in a small, adorable form. You also get a one-of-a-kind item that no store can copy.
Features of a DIY Felting Star Plushie
A DIY Felting Star Plushie is a delightful craft that combines creativity and coziness. Made from soft, high-quality wool, it offers a charming handmade touch that’s perfect for gifts or decoration. Its compact size makes it versatile—use it as a keychain, bag accessory, or a cute desk ornament. You can customize it with vibrant or pastel colors and add unique designs like embroidery or tiny faces. The plushie is lightweight, durable, and easy to craft, even for beginners. Perfect for relaxation, it’s a fun way to express your personality while creating something memorable and unique.
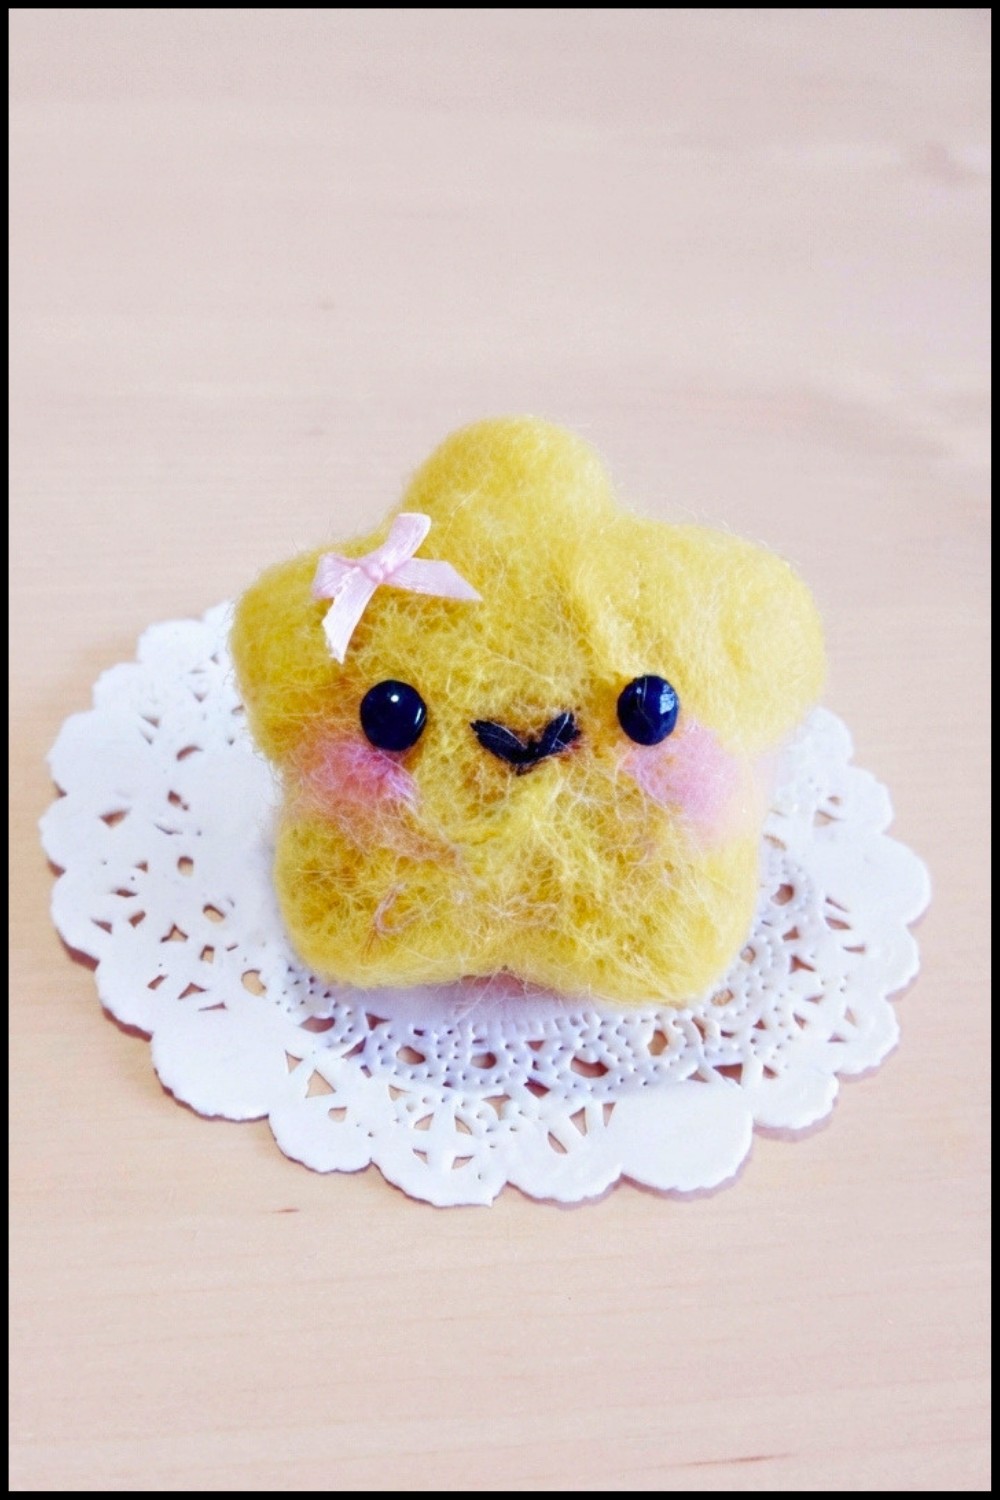
DIY Needle-Felted Star: Step-by-Step Guide
Want to create a cute star plushie that’s perfect for decoration or personal accessories? This beginner-friendly needle-felting tutorial breaks the process into simple, easy-to-follow steps so you can craft your very own adorable star. Let’s get started!
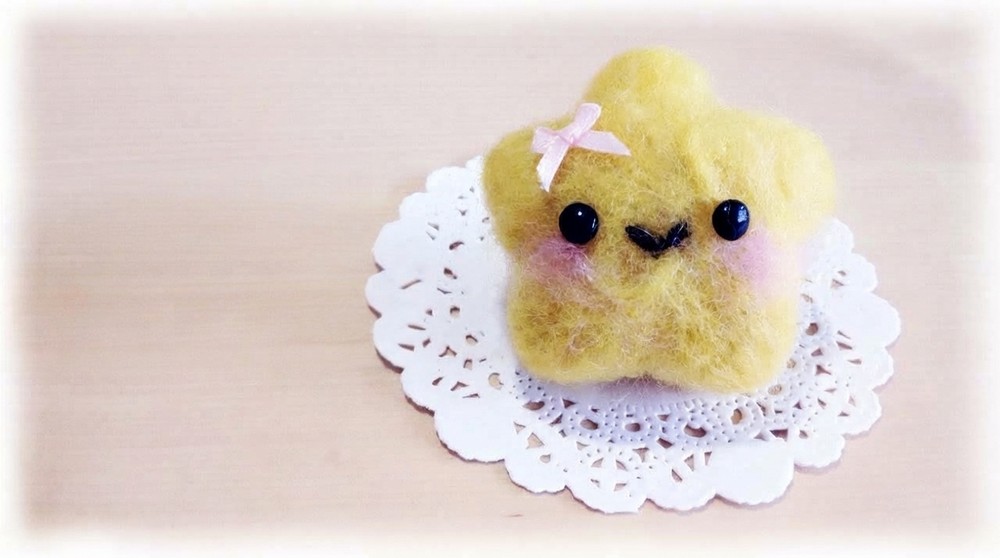
Materials You’ll Need:
- Yellow felting wool (for the star body)
- Black polymer clay or animal eyes (for the eyes)
- Black felting wool (for the mouth)
- Light pink felting wool (for the cheeks)
- Ribbon (optional, for the bow)
- Hair tie (optional) (to turn the star into wearable accessories)
- Felting needle
- Foam or sponge board (to work on)
- Super glue
- Scissors
Phase 1: Shaping the Star Body
- Form the Base Sphere:
- Take a generous amount of yellow wool and roll it into a ball with your hands.
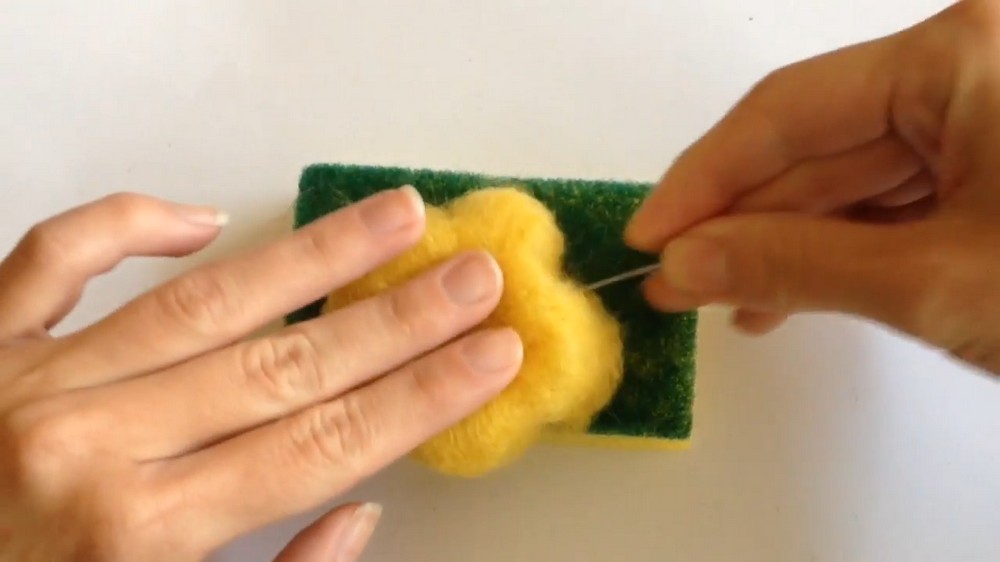
- Place it on your foam board, and use your felting needle to poke all over the ball, rotating it frequently. This helps the wool fibers bind together, shaping it into a dense, solid sphere.
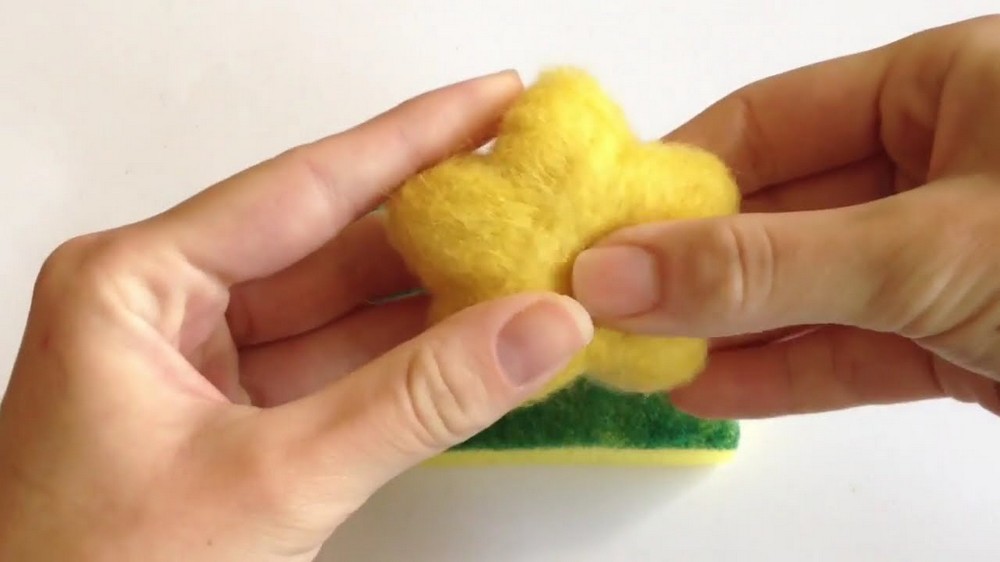
- Create the Star Shape:
- Identify five corners where the star’s arms will be.
- Use your needle to gently poke dents into the sphere at these locations to create the arms of the star.
- Needle-felt each arm carefully by shaping the wool into points while leaving the spaces between the arms curved.
- Perfect the Shape:
- Continue poking and sculpting the star until the arms are symmetrical and firm. Adjust the corners to make the star look well-balanced and polished.
- Remember, needle-felting is forgiving—just keep sculpting until you’re happy with the look!
Phase 2: Adding Facial Features
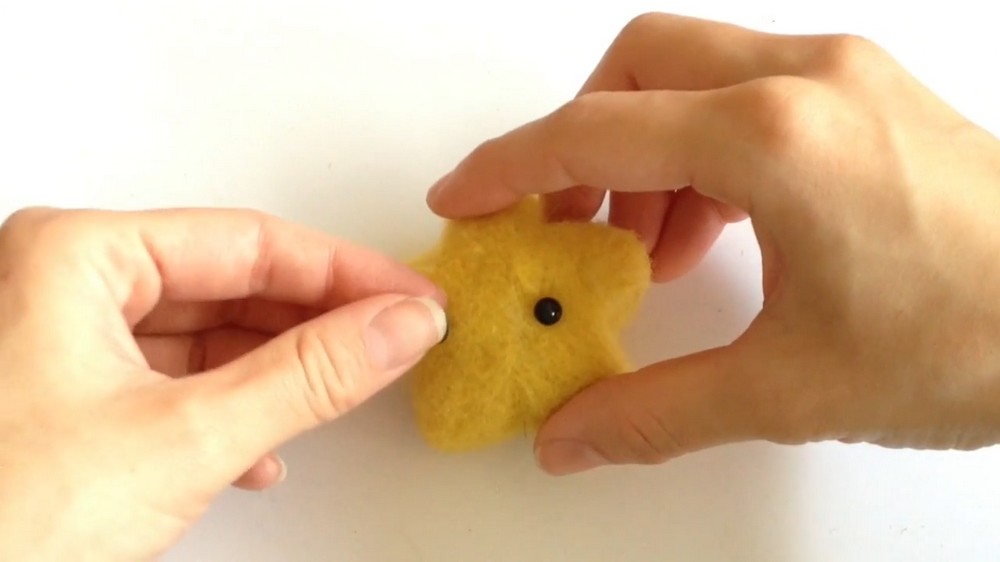
- Create the Eyes:
- If you’re using animal eyes found at craft stores, position them on the star’s face and attach them securely.
- Alternatively, make your own eyes using black polymer clay:
- Roll small, round circles from black clay and bake them according to the instructions.
- Attach them using super glue or small eyelid pins.
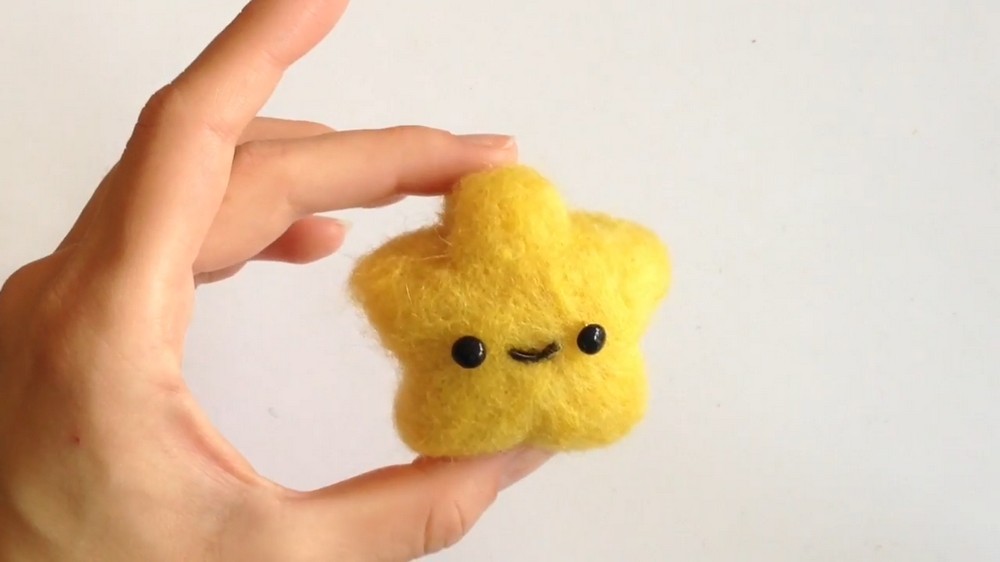
- Form the Mouth:
- Take a small piece of black felt wool and roll it between your fingers into a thin line or shape.
- Carefully felt it onto the star’s face by poking gently until it stays in place.
- Blush the Cheeks:
- Take tiny portions of light pink wool and position them under the eyes where the cheeks would be.
- Gently poke with your needle to attach them—don’t poke too hard, as you don’t want to reshape the star while adding the blush color.
Phase 3: Optional Bow Decoration
- Make the Bow:
- Cut a small piece of ribbon and fold it into a bow shape.
- Use super glue to secure the bow in place to prevent it from unraveling.
- Seal the Ribbon Edges:
- To keep the ribbon from fraying, use clear nail polish to coat the edges lightly. Let it dry completely.
- Attach the Bow:
- Position the bow on the star (e.g., at the top corner or near the face). Use super glue to attach the bow securely.
Phase 4: Turning the Star into Accessories
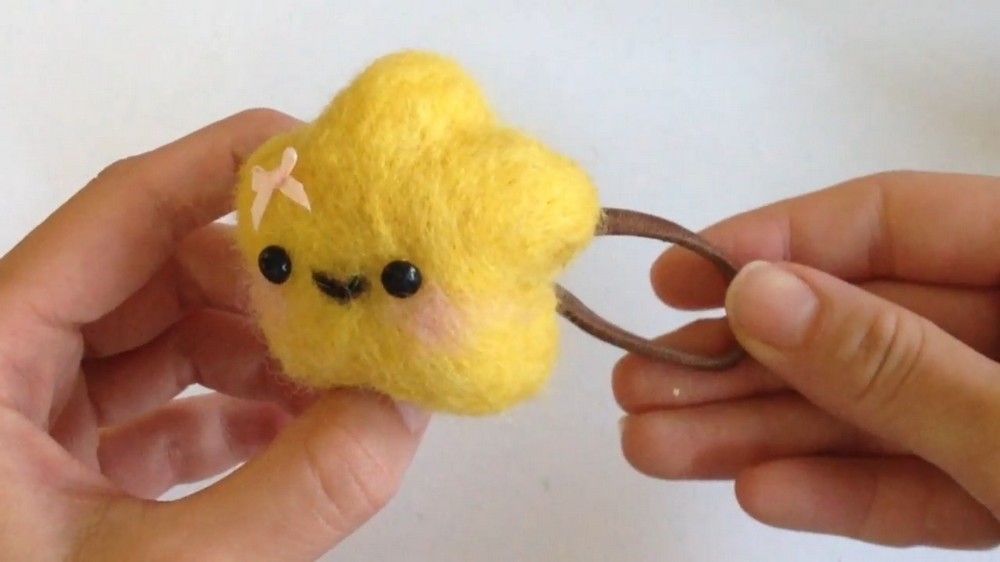
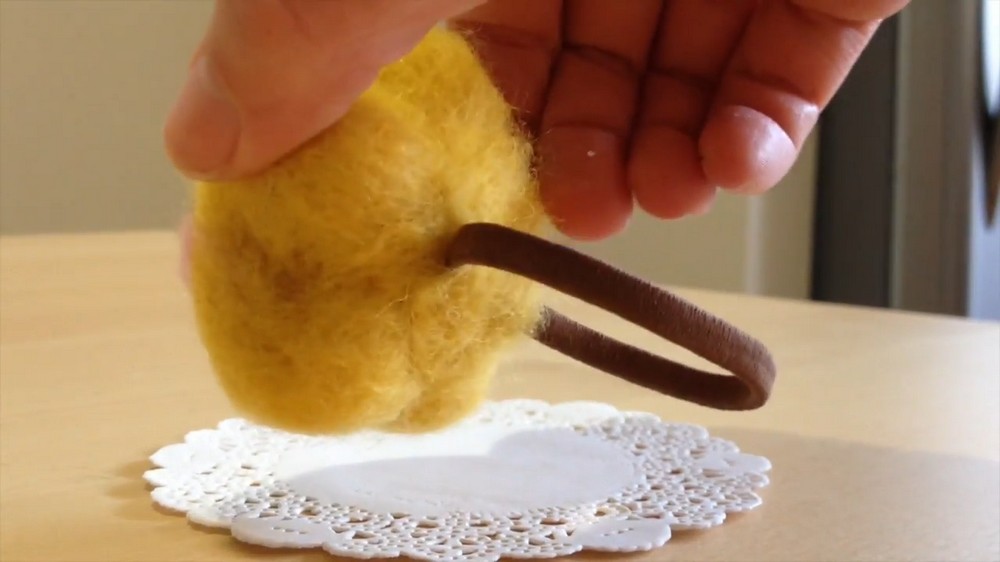
- Add a Hair Tie:
- If you want to turn your star into a wearable piece, take a hair tie and super glue it onto the bottom or back of the star.
- You can also sew it in place for extra durability.
- Alternative Uses:
- Instead of a hair tie, you can use velcro or an elastic band to attach the star to bracelets, necklaces, or keychains for endless customization.
Final Step: Polishing Your Star
Take a final look at your star. Smooth out any loose fibers by gently felting the surface. Adjust the shape if needed, and make sure all attachments (eyes, mouth, cheeks, bow) are well-secured.
Tips for Beginners:
- Start Simple: Needle-felting is all about patience. Don’t rush the poking process; take your time to achieve the desired shape.
- Use the Sponge Board: Always work on a sponge or foam base—it cushions your needle, preventing it from breaking and keeping your fingers safe.
- Precision Matters: Use the very tip of the needle to attach small details like the mouth and cheeks. Work carefully to keep the placement perfect.
- Have Fun: Don’t worry if your star isn’t perfect! Each handmade creation has its own charm and personality.