Turn polymer clay into a spooky-cute DIY Halloween Bunny With Polymer Clay, with fun styling tips and charming ways to make your decor stand out.
A tiny clay bunny can add a surprisingly sweet touch to your Halloween decorations! This fun craft is a great choice for anyone who enjoys handmade projects and wants to create something cute, creative, and personal. Making a bunny from polymer clay gives you the freedom to choose its colors, expressions, and tiny details while enjoying a simple and relaxing crafting activity.
The creative idea and helpful tutorial are presented by the Flying Mio channel. You can follow their video for guidance and add your own creative style.
Adorable DIY Halloween Bunny With Polymer Clay |Tutorial
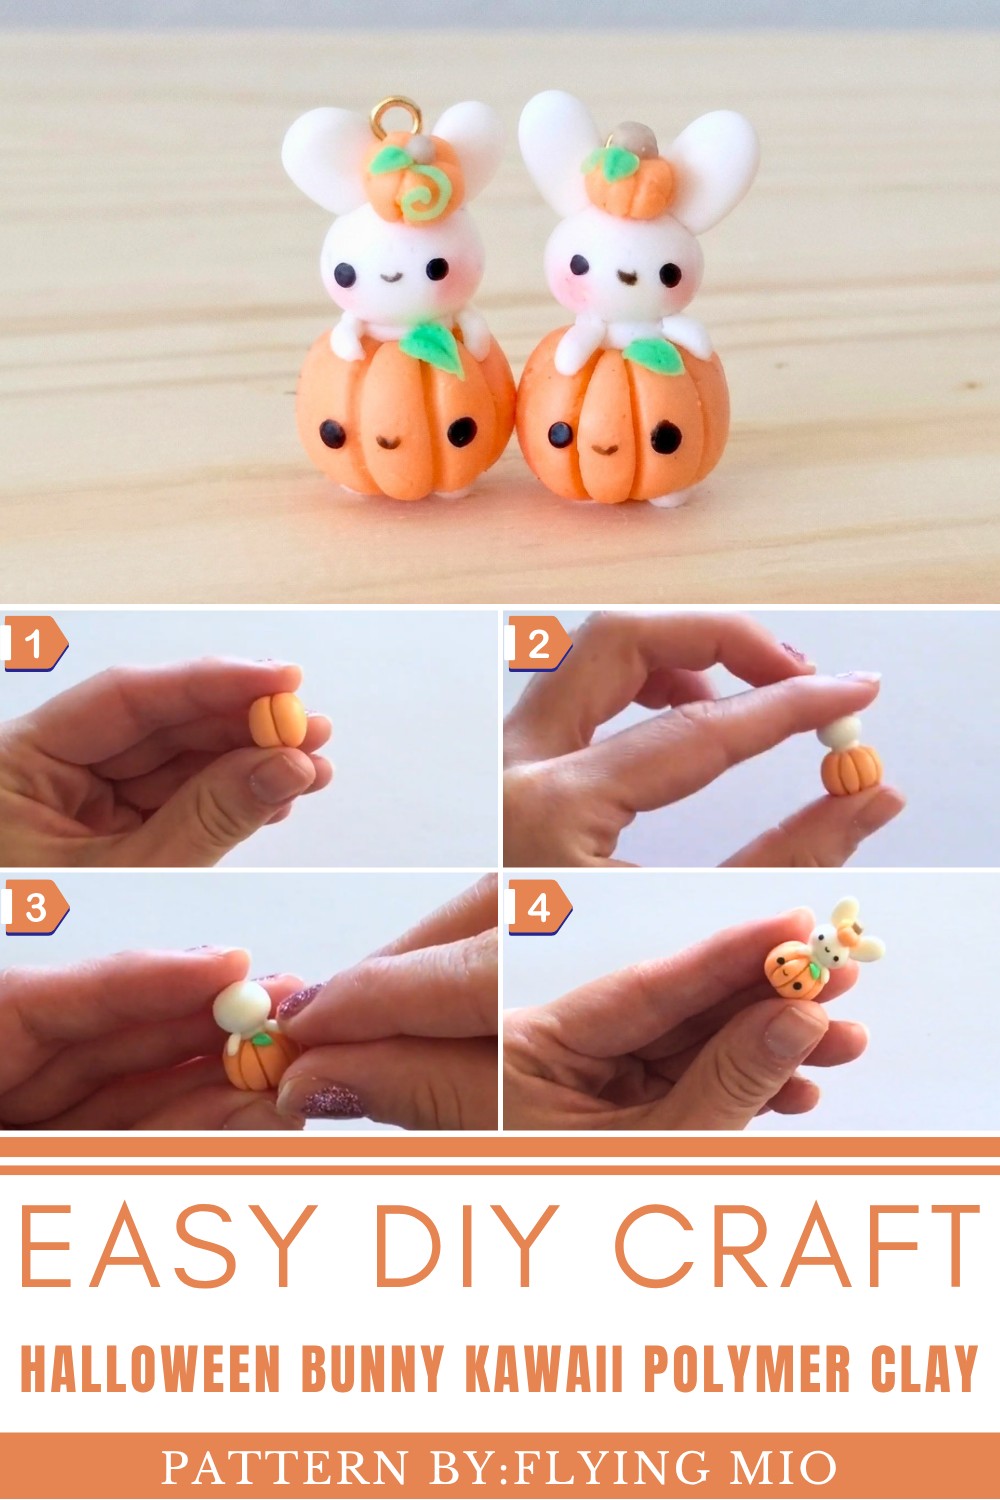
The DIY Halloween Bunny With Polymer Clay can be styled in many playful ways. Use traditional orange and black shades for a spooky look, add a miniature witch hat, place a tiny pumpkin in its paws, or choose pastel colors for a softer Halloween theme. You can also experiment with different ears, outfits, facial expressions, and accessories to give your bunny its own personality. One small bunny, endless creative possibilities!
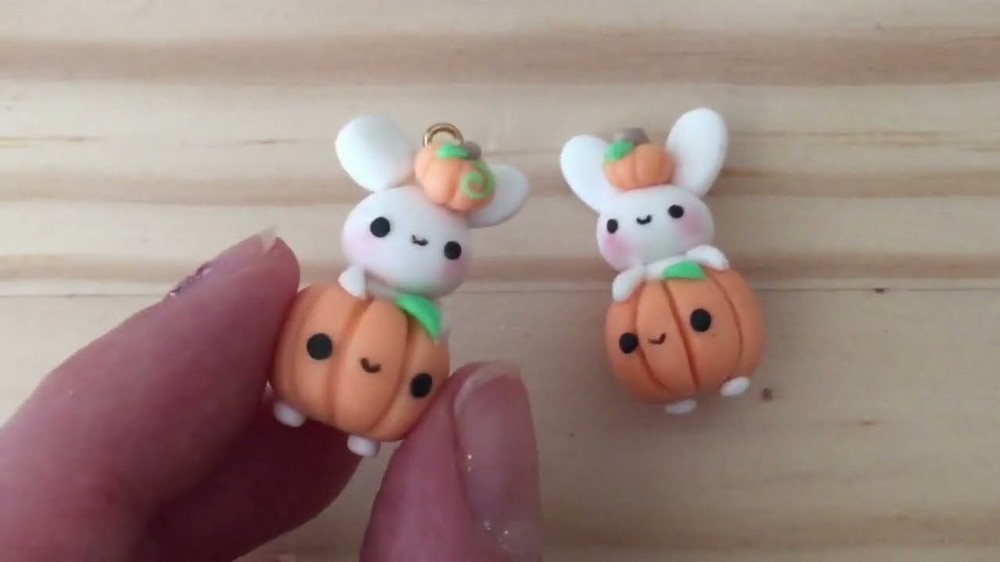
After making it, you can use the bunny as a desk ornament, shelf decoration, party-table accent, or part of a seasonal display. It can also make a thoughtful handmade gift or a charming Halloween keepsake. Working with polymer clay can encourage creativity, improve patience and attention to detail, and turn a little free time into an enjoyable craft session.
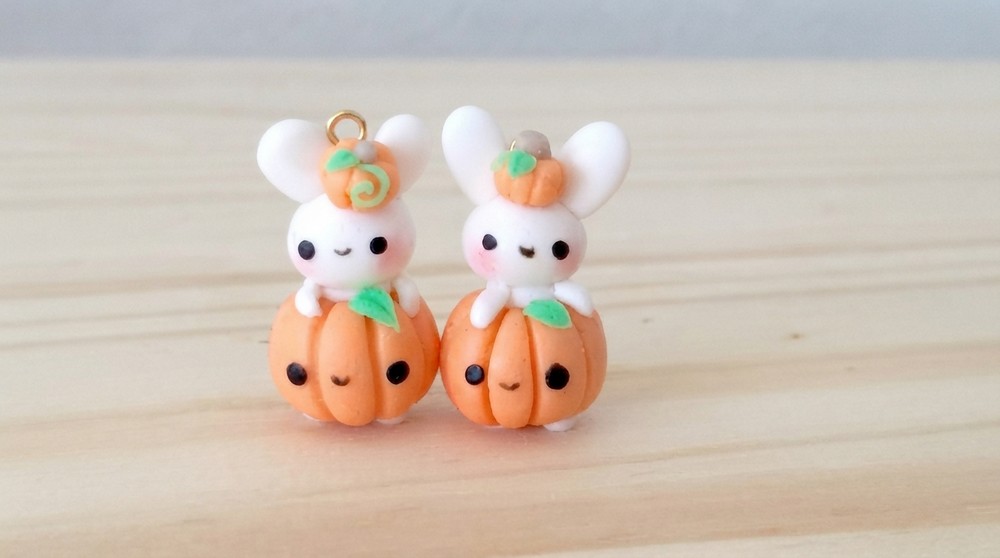
DIY: Bunny Sitting in a Pumpkin Charm
Let’s create a charming bunny nestled inside a pumpkin using polymer clay! This project involves simple shaping and fun details that even beginners will enjoy. Follow these steps:
Phase 1: Make the Pumpkin
Materials Needed:
- Orange polymer clay (pumpkin body)
- Green polymer clay (leaf and vine)
- Brown polymer clay (stem)
- Blade tool or toothpick
Step-by-Step Instructions:
- Roll the Pumpkin Base:
- Take a piece of orange polymer clay and roll it into a smooth ball to form the pumpkin's base.
- Add Pumpkin Indentations:
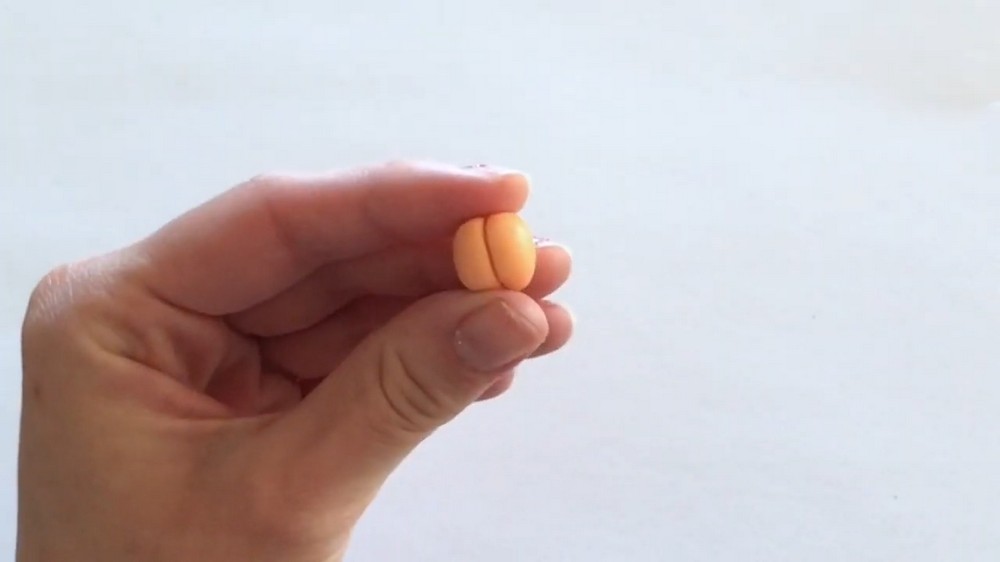
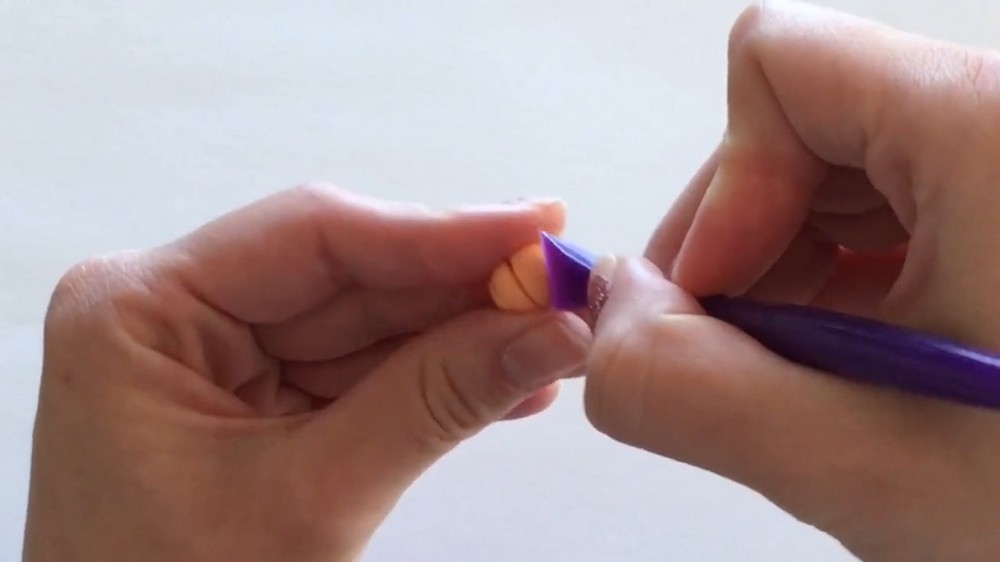
- Using a clay blade, toothpick, or similar tool, create vertical lines along the pumpkin. Start at the bottom and drag the tool up to the top center.
- Space the indents evenly around the pumpkin. Aim for 6–8 segments for a realistic look.
- Shape the Leaf:
- Take a tiny piece of green polymer clay and shape it into a teardrop for the leaf.
- Use your tool to press a line in the center of the leaf to create a vein.
- Make the Stem and Vine:
- Roll a small piece of brown polymer clay into a short cylinder for the stem. Flatten one end slightly.
- For the vine, roll a thin snake of green clay and curl it into a spiral or “squiggle.”
- Assemble the Details:
- Place the leaf, stem, and vine on the top of the pumpkin. Press them gently to secure them in place.
- Your pumpkin is ready!
Phase 2: Make the Bunny
Materials Needed:
- White polymer clay (bunny body, head, arms, feet, and ears)
- Pink chalk pastel or pink polymer clay (for blush)
- Black polymer clay (for the face)
Step-by-Step Instructions:
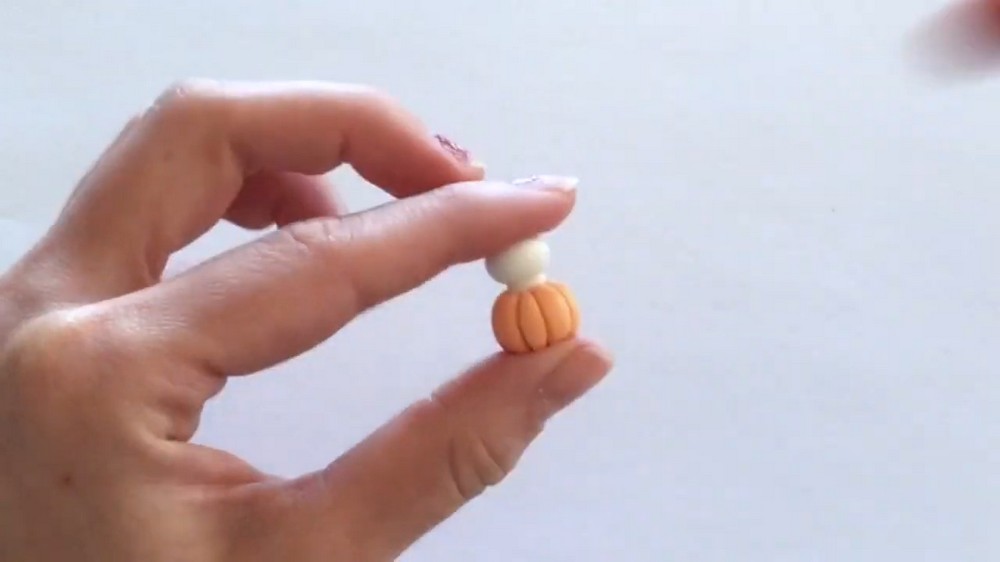
- Make the Bunny’s Body:
- Roll a tiny piece of white polymer clay into a short oval shape (about 2 mm thick) for the bunny’s body.
- Press the body gently onto the top of the pumpkin.
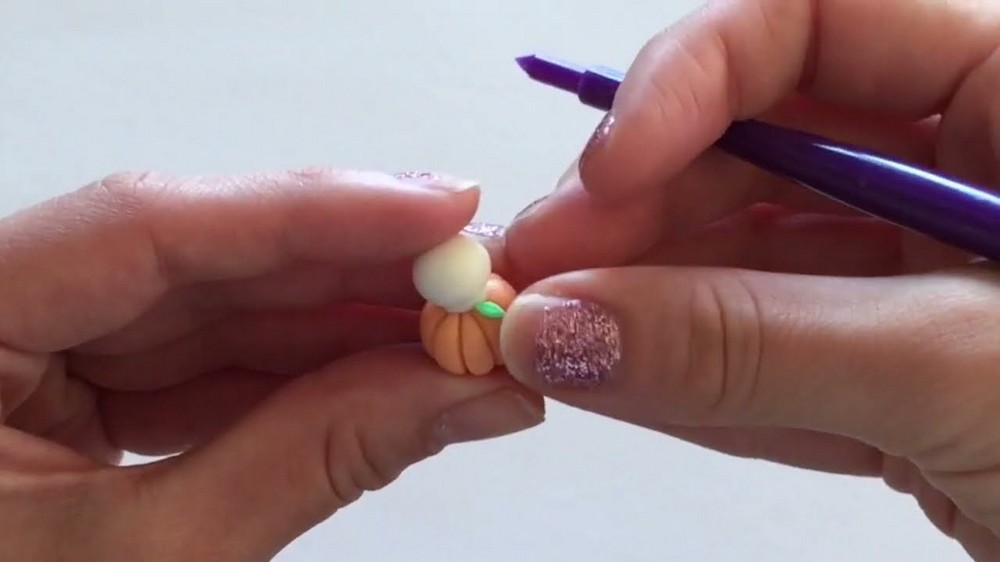
- Add the Head:
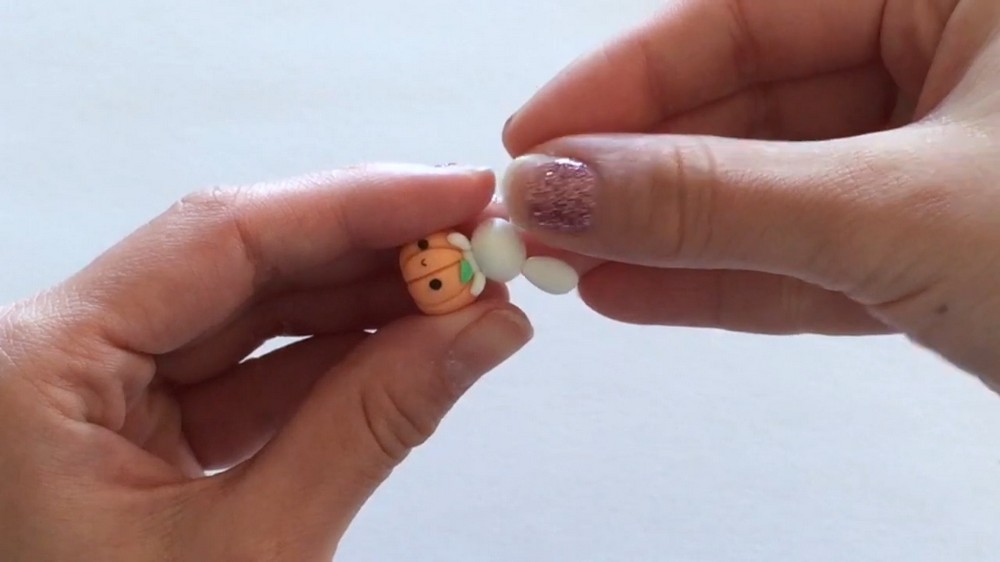
- Roll a small white ball for the bunny’s head and place it on top of the body. Press gently to secure.
- Make the Ears:
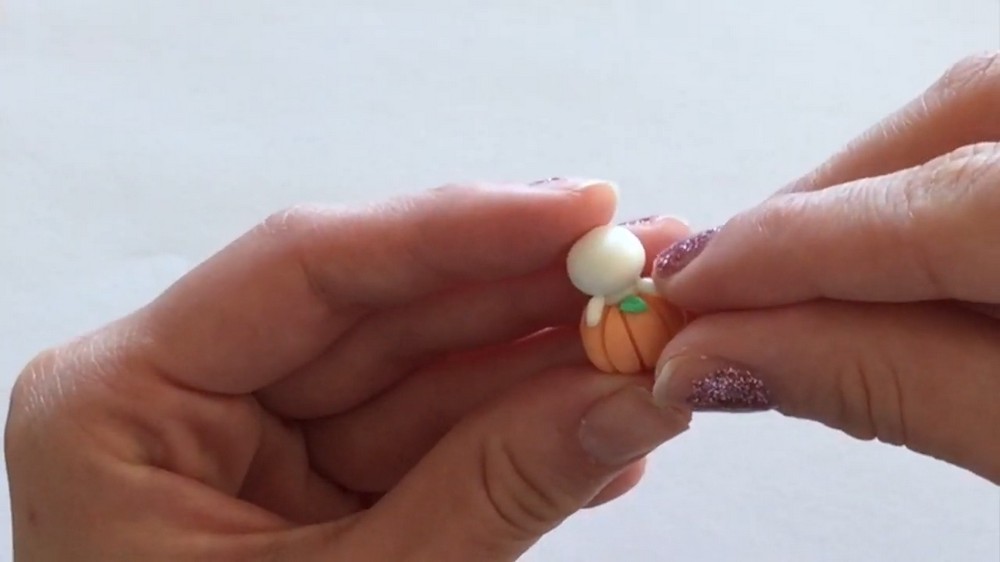
- Roll two small ovals of white clay and flatten them slightly. Attach them to the top of the head for the bunny’s large ears.
- Shape the Arms and Feet:
- Roll two thin white snakes for the arms, about the size of toothpicks. Attach them to the sides of the body, making it look like the bunny is hugging the pumpkin.
- Create two small white feet and press them onto the bottom of the pumpkin, peeking out.
- Add the Face (Optional for Pumpkin):
- Use black polymer clay to roll tiny dots for the eyes and a slightly longer piece for the mouth.
- If you'd like, give your pumpkin a cute face as well!
- Blush the Bunny’s Cheeks:
- Take a pink chalk pastel and brush a small amount onto the bunny’s cheeks using a cotton swab or small brush. You can also use a tiny dot of pink polymer clay for this!
Phase 3: Decorate the Bunny with a Mini Pumpkin
Materials Needed:
- Orange polymer clay
- Green polymer clay
- Brown polymer clay
Step-by-Step Instructions:
- Roll a Tiny Pumpkin:
- Follow the same technique as the larger pumpkin: roll a small orange ball, add indents, and create a tiny green leaf, vine, and brown stem.
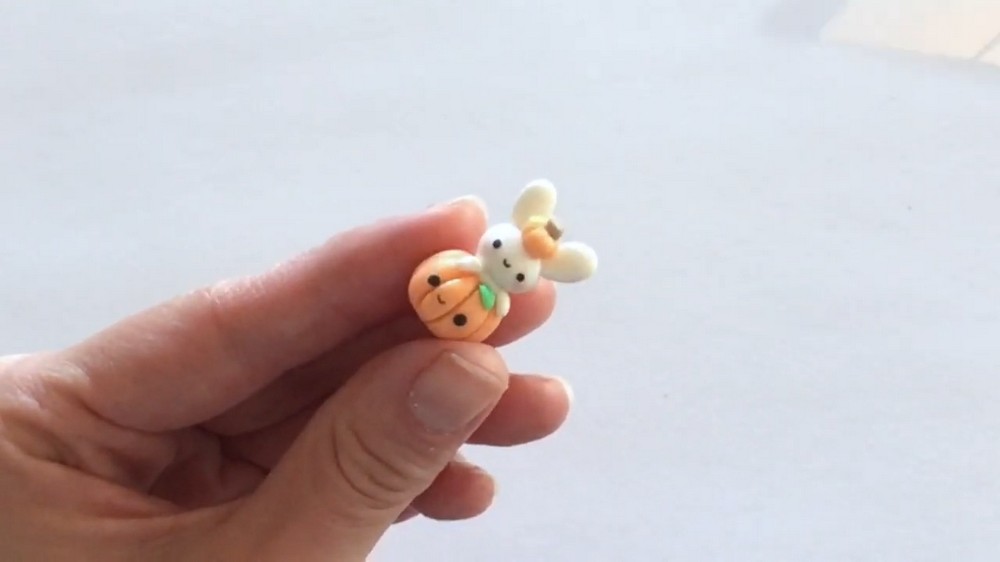
- Place the Mini Pumpkin on Bunny’s Head:
- Position the mini pumpkin on the bunny’s head. You can place it right in the center or slightly tilted to one side for a playful look. Use a touch of pressure to secure it.
Phase 4: Add Final Details
Materials Needed:
- Clay blade or toothpick
- Optional: Eye pin (to make a charm)
Step-by-Step Instructions:
- Add Extra Details:
- For more detail, roll out a mini green leaf or add a small extra vine to decorate the pumpkin further.
- Attach an Eye Pin (Optional):
- If you’re making this into a charm, insert an eye pin into the bunny’s head or through the pumpkin. The eye pin will stay in place after baking.
Phase 5: Bake the Charm
Materials Needed:
- Oven
- Baking tray
Step-by-Step Instructions:
- Preheat Your Oven:
- Set your oven to 250°F (120°C) or follow the instructions on your polymer clay package.
- Bake the Charm:
- Place your completed bunny-in-a-pumpkin charm on a non-stick baking surface (such as parchment paper or a ceramic tile).
- Bake for 20 minutes, or according to your polymer clay’s specifications.
- Let It Cool:
- After baking, let the charm cool completely before handling.
Final Step: Enjoy Your Adorable Bunny in a Pumpkin Charm!
Now you have an adorable bunny charm that’s perfect for Halloween, gifts, or just decorating your workspace. Add a jump ring or keyring to make it into a keychain, necklace, or even a zipper pull!
Tips for Beginners:
- Work on a clean surface to avoid dust sticking to your clay.
- Keep your clay warm and pliable by kneading it with your fingers before shaping.
- Take breaks if working with small details feels tricky—patience always helps!
- Customize your bunny and pumpkin however you like—change facial expressions, ear positions, or even the bunny’s color.