Create fun and creative treats at home with DIY Hello Kitty & Burger idea, perfect for parties, kids, and anyone who loves cute food crafts.
For visual inspiration and step-by-step guidance, full credit goes to the Flying Mio YouTube channel for the original video.
Who wouldn’t love seeing an adorable Hello Kitty hugging a delicious burger? This cute and creative idea is perfect for anyone who enjoys playful food designs and wants to make an ordinary meal look extra special. You can create it for a themed party, a child’s lunch, a special treat, a cute food photo, or simply as a fun kitchen project. Its purpose is to combine creativity and food presentation in a way that makes people smile.
Cut DIY Hello Kitty & Burger Ideas to Inspire You
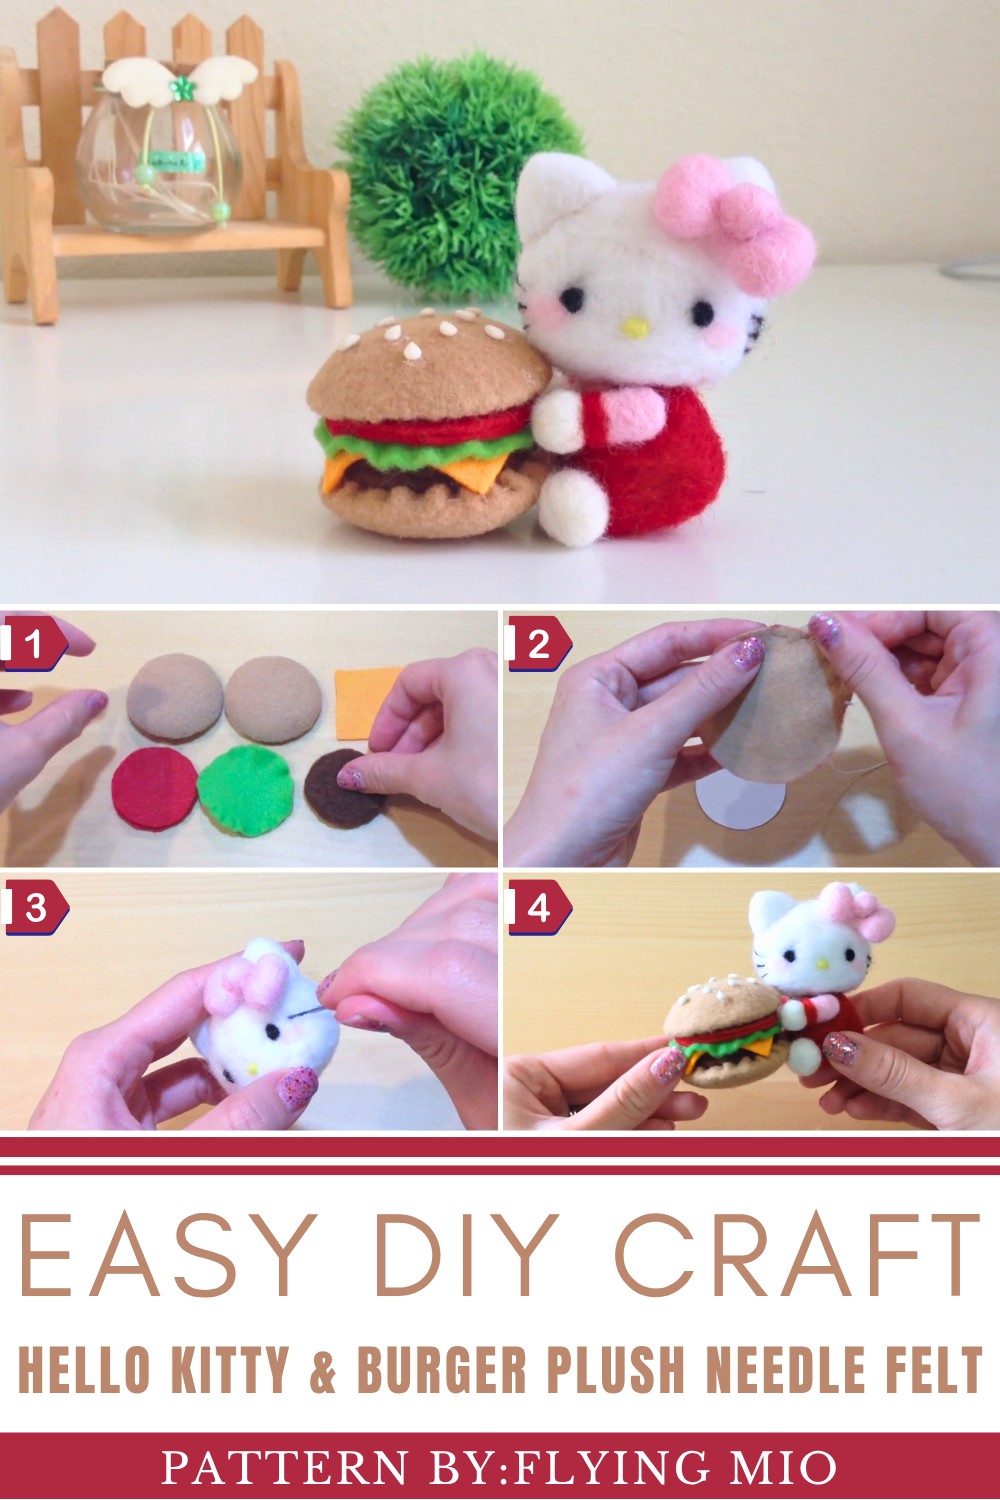
The charming design features Hello Kitty lovingly hugging the burger, giving the whole creation a sweet and playful appearance. You can style it with classic Hello Kitty colors such as pink, white, red, and black, or add your own favorite shades for a fresh look. Matching plates, wrappers, snacks, or table decorations can make the theme even more attractive.
The best part is that you can keep the design simple or add extra details to make it your own. It can be a fun activity for kids, a creative weekend project, or a cute centerpiece for a party table. It can also make mealtime more exciting and encourage children to enjoy creative food presentation.
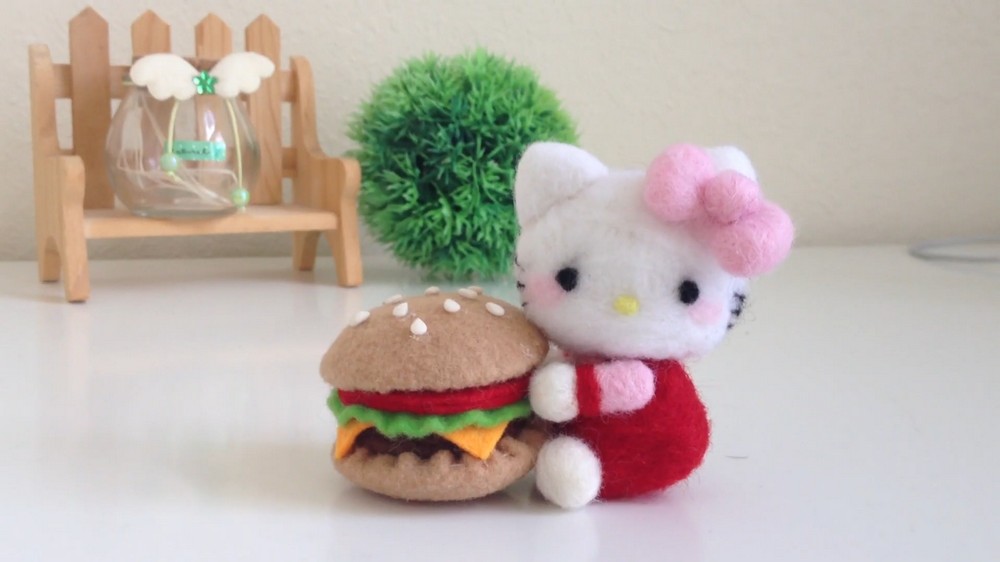
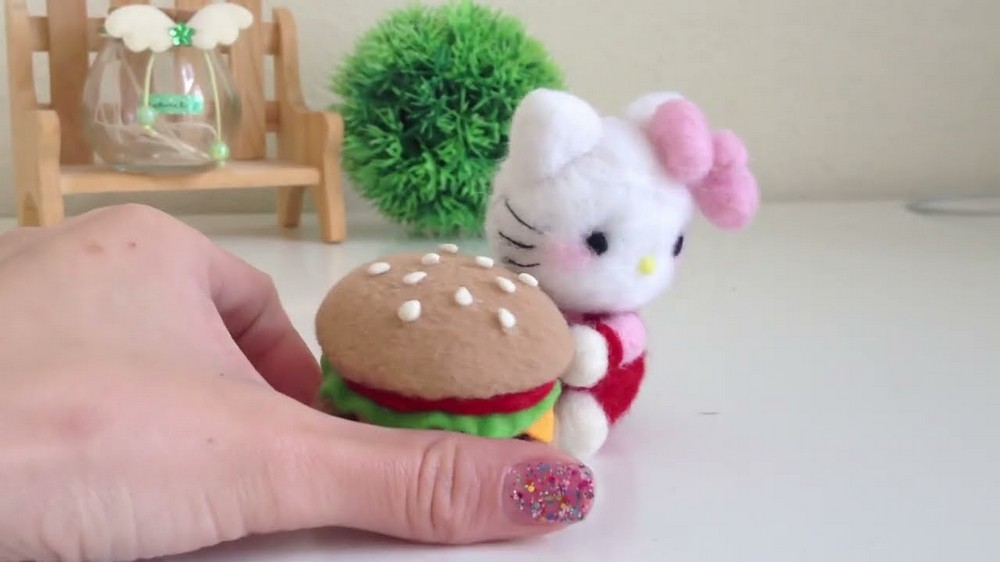
DIY: Hello Kitty Hugging a Hamburger Craft
This craft combines sewing and needle felting techniques. We’ll make a hamburger and create a tiny Hello Kitty character to hold it. Follow these steps one at a time!
Phase 1: Create the Hamburger Buns
Materials Needed:
- Light brown felt (for the buns)
- Cardboard or index card
- Pencil
- Scissors
- Needle and thread
- Cotton stuffing (top bun)
Step-by-Step Instructions:
- Prepare the Cardboard Circles:
- Find a circular object around 2 inches in diameter (like a lid) and trace two circles onto a piece of thick cardboard or index card.
- Cut out the circles; these will be the base of your buns.
- Create a Felt Pattern:
- Trace larger circles onto light brown felt that are approximately ½ inch wider than the cardboard circles. Cut out two felt circles for the top and bottom buns.
- Sew the Felt:
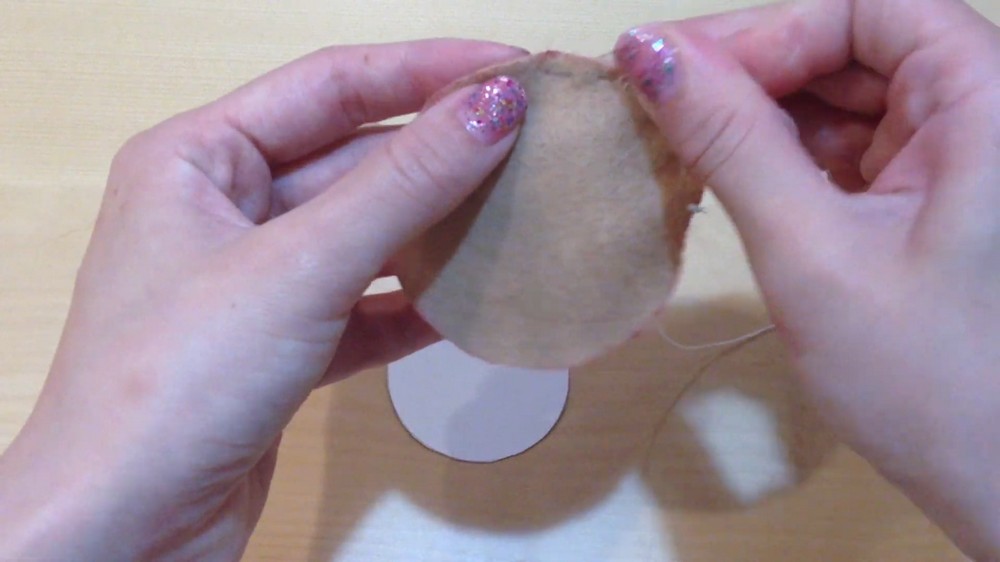
- Using a needle and thread, sew around the perimeter of each felt circle with a basic running stitch. Leave enough space at the edge so you can pull the thread later.
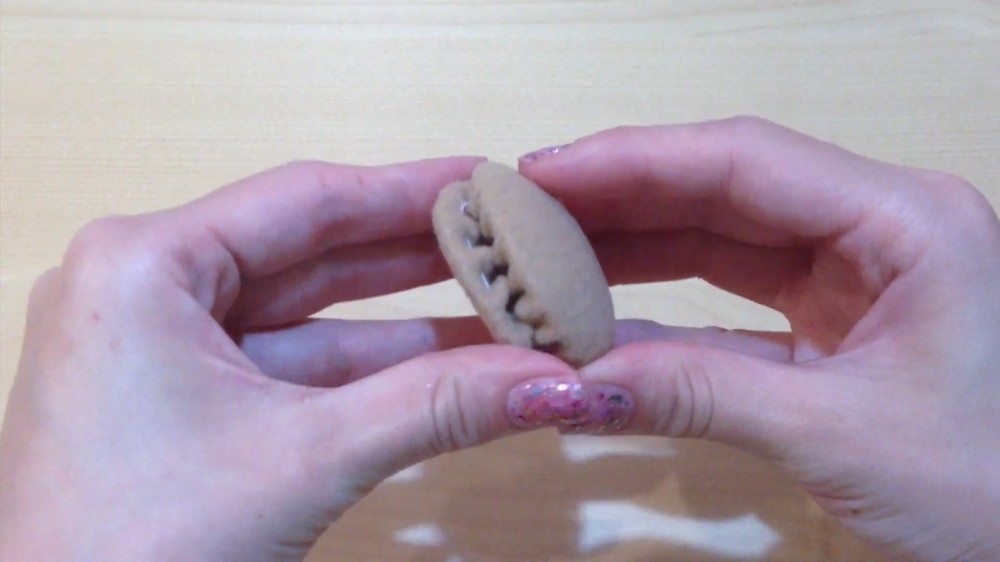
- For the bottom bun, place a cardboard circle in the center of the felt, pull the thread tight to wrap the felt around the cardboard, and knot the thread securely.
- Stuff the Top Bun:
- Place a small amount of cotton stuffing on one felt circle and then layer the cardboard circle on top.
- Pull the thread carefully to tighten the felt around the cardboard and the stuffing, creating a domed, fluffy top bun. Knot the thread securely to hold it all together.
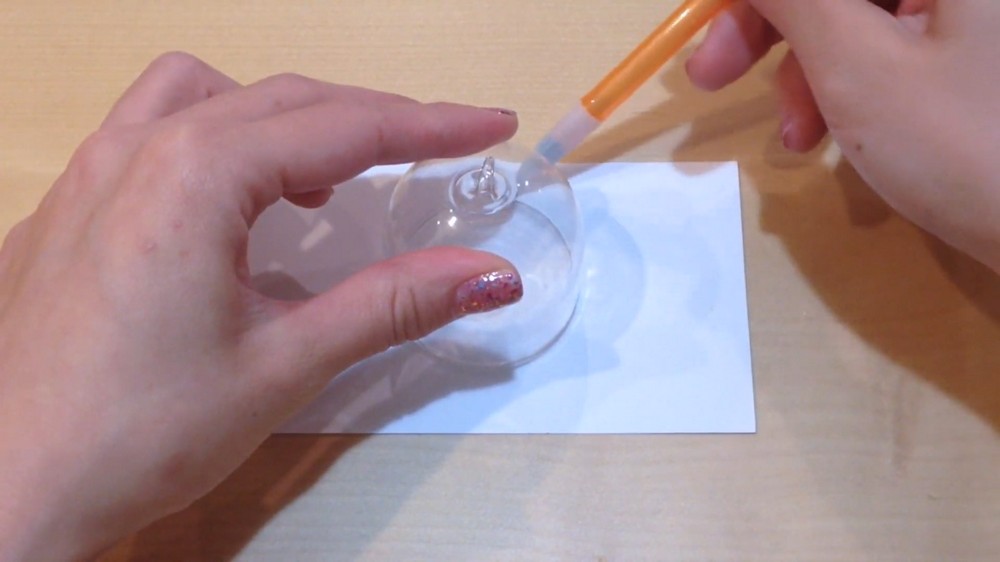
Phase 2: Make the Hamburger Ingredients
Materials Needed:
- Green felt (for lettuce)
- Red felt (for tomato slices)
- Yellow felt (for cheese)
- Needle and thread (optional)
- Brown wool (for burger patty)
- Felting needle
- Sponge or foam board
Step-by-Step Instructions:
- Create Lettuce:
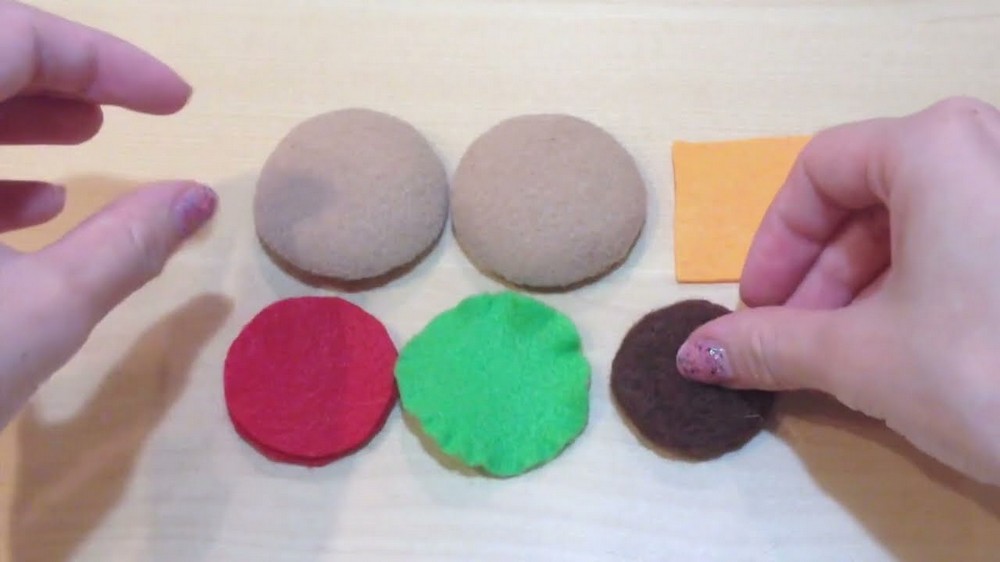
- Cut a green felt circle in the same size as your hamburger bun. Stretch the edges of the felt by gently pulling them apart with your fingers to create a ruffled effect.
- Make Cheese and Tomato:
- Cut the yellow felt into a square (to resemble melted cheese).
- Cut the red felt into a circle (to simulate a slice of tomato).
- Needle Felt the Burger Patty:
- Take brown wool (about the size of your bun) and needle felt it into a flat, round shape. Use the felting needle to press the wool down repeatedly into the sponge or foam board until it holds its shape.
- Continue poking until the patty looks smooth and firm.
Phase 3: Assemble the Hamburger
Materials Needed:
- Hot glue gun and glue sticks
Step-by-Step Instructions:
- Layer the Ingredients:
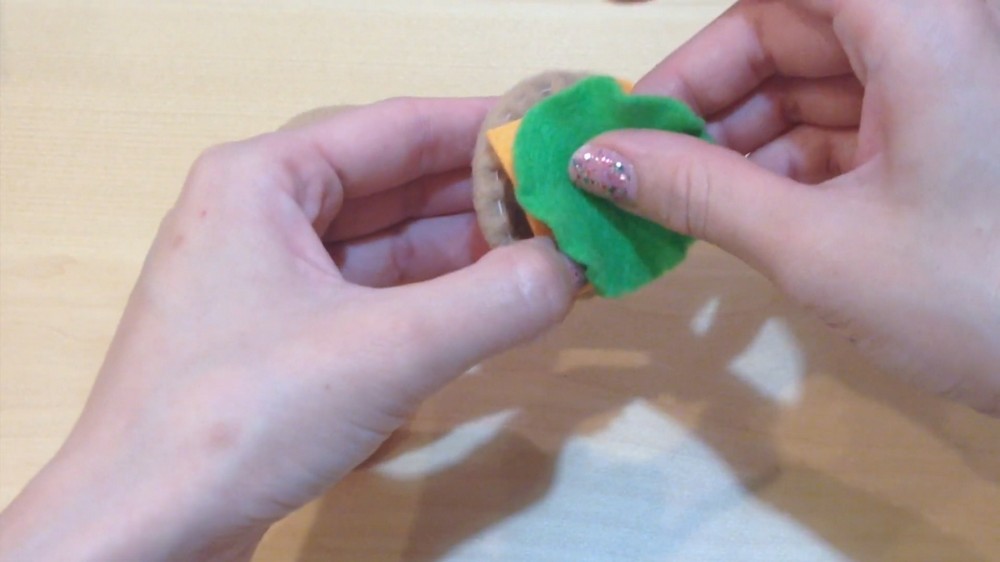
- Start stacking: Place the burger patty on the bottom bun, then add the cheese so it looks like it’s melting over the edge.
- Next, add the lettuce and tomato slices. Finish by placing the top bun on top.
- Secure the Hamburger:
- Use a hot glue gun to glue each layer to keep the hamburger intact. Let the glue dry completely.
- Add Sesame Seeds (Optional):
- Roll tiny teardrop shapes out of polymer clay (white or beige color) to look like sesame seeds.
- Bake the clay shapes in the oven according to package instructions (typically 250°F for 15–20 minutes).
- Hot glue the sesame seeds onto the top bun.
Phase 4: Make Hello Kitty’s Head
Materials Needed:
- White wool (for her head)
- Pink wool (for blush)
- Yellow wool (for her nose)
- Black wool (for eyes and whiskers)
- Red wool (for her bow)
- Felting needle
Step-by-Step Instructions:
- Shape Hello Kitty's Head:
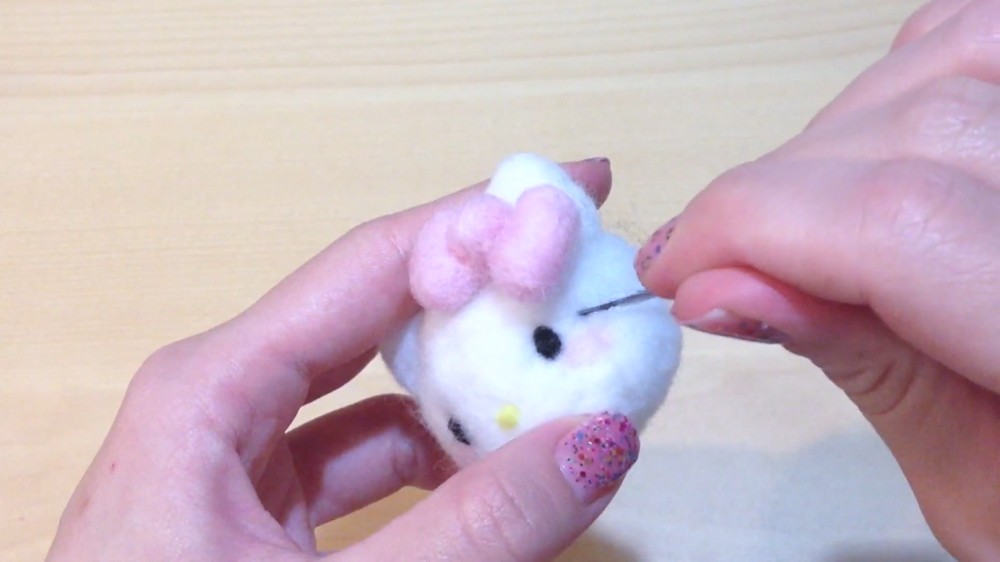
- Roll the white wool into an oval ball and use the felting needle to shape it. Poke repeatedly until the wool becomes firm and smooth.
- Make the Ears:
- Felt two small white triangles for Hello Kitty’s ears and attach them to the top of her head by poking them into place with the felting needle.
- Create a Bow:
- Felt two red triangles and a small red circle. Place the triangles side by side, and needle felt the red circle in the center to create Hello Kitty’s signature bow. Attach the bow to her head.
- Add Facial Features:
- Needle felt a small yellow ball for her nose in the middle of her face.
- Roll black wool into tiny balls and felt them onto her face for her eyes.
- Roll thin strands of black wool to form whiskers. Carefully attach them with the felting needle.
- Add Blush:
- Felt small patches of pink wool beneath her eyes for her rosy cheeks.
Phase 5: Make Hello Kitty’s Body
Materials Needed:
- Red wool (for overalls)
- Pink wool (for her shirt)
- White wool (for hands)
Step-by-Step Instructions:
- Felt the Body:
- Felt a triangle shape using the red wool to create her overalls. Make sure the body is slightly smaller than her head.
- Make Hands and Feet:
- Felt two small white balls for Hello Kitty’s feet and attach them to the bottom of the triangle body.
- Create two small cylinders using pink and white wool to form her arms and hands. Attach these to her body.
- Add Details:
- Felt pink accents onto the top of her neckline to create a visible shirt under the overalls.
- Add small straps or details in red using wool for the overalls.
Phase 6: Assemble Hello Kitty Hugging Hamburger
Materials Needed:
- Hot glue gun and glue sticks
Step-by-Step Instructions:
- Attach Hello Kitty’s Head to Her Body:
- Securely attach her head to the top of her body using a hot glue gun.
- Position the Hamburger:
- Place the hamburger in Hello Kitty’s arms and adjust her pose to make it look like she’s hugging it. Use hot glue to secure Hello Kitty’s arms to the sides of the hamburger.
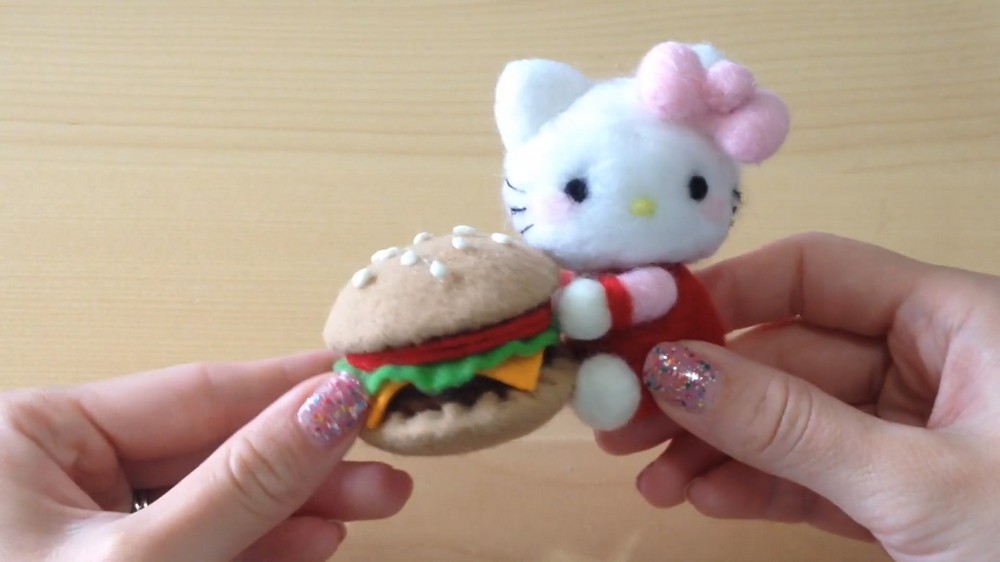
Final Step: Enjoy Your Adorable Craft!
Take a moment to admire your work! You now have your own Hello Kitty Hugging Hamburger creation, perfect as a gift or decoration.
Tips for Beginners:
- Work slowly and carefully, especially with the needle felting part, as the needle is sharp.
- If felting feels hard, experiment with shaping small test pieces of wool until you get comfortable.
- Don’t be afraid to customize! Add accessories like bacon, mustard, or even different outfits for Hello Kitty.