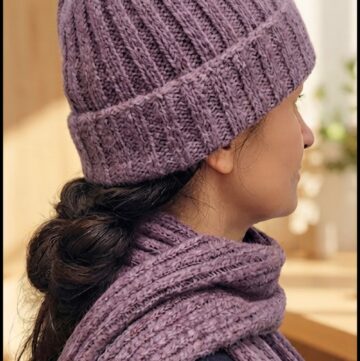
Keep warm and chic with this free crochet turtleneck hood pattern, designed for creating a versatile and comfy addition to your cold-weather wardrobe.
Thanks to Lady\_Anika - Szydełkowe Światło for sharing such a helpful and warm design. This cozy turtleneck hood is perfect for staying comfortable during cold weather. It combines the warmth of a scarf with the convenience of a hood, making it a practical and stylish accessory for winter.
Step by Step Pattern - Free Crochet Turtleneck Hood Tutorial
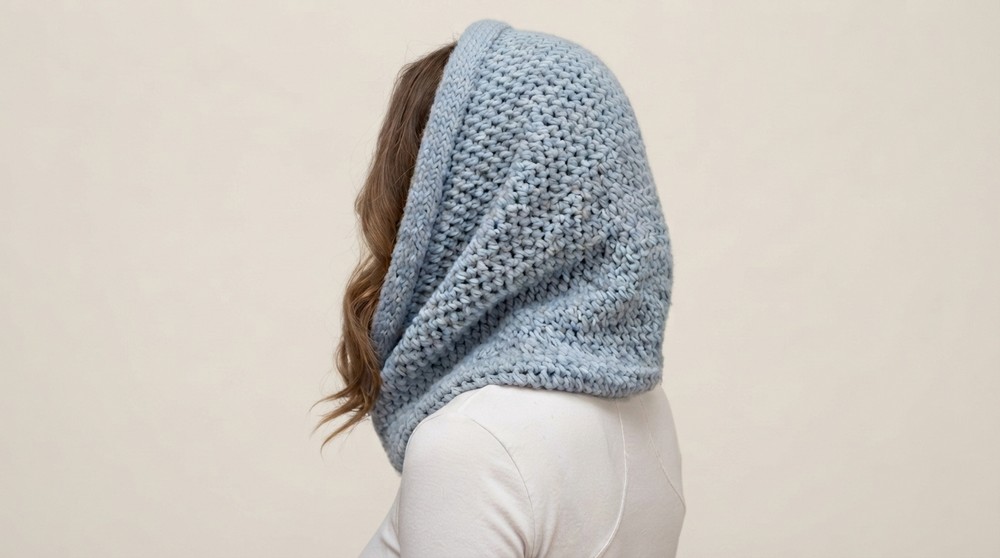
Made from soft alpaca and merino wool yarn, this scarf offers a gentle and fluffy texture that feels wonderful against the skin. Its thick and double-layered fabric keeps out the chill while still feeling light to wear. The shape is long and rounded, allowing it to fit snugly around the neck or be pulled up over the head when extra warmth is needed. This versatility means it works well for walks, daily errands, or any outdoor activity when the weather turns cold.
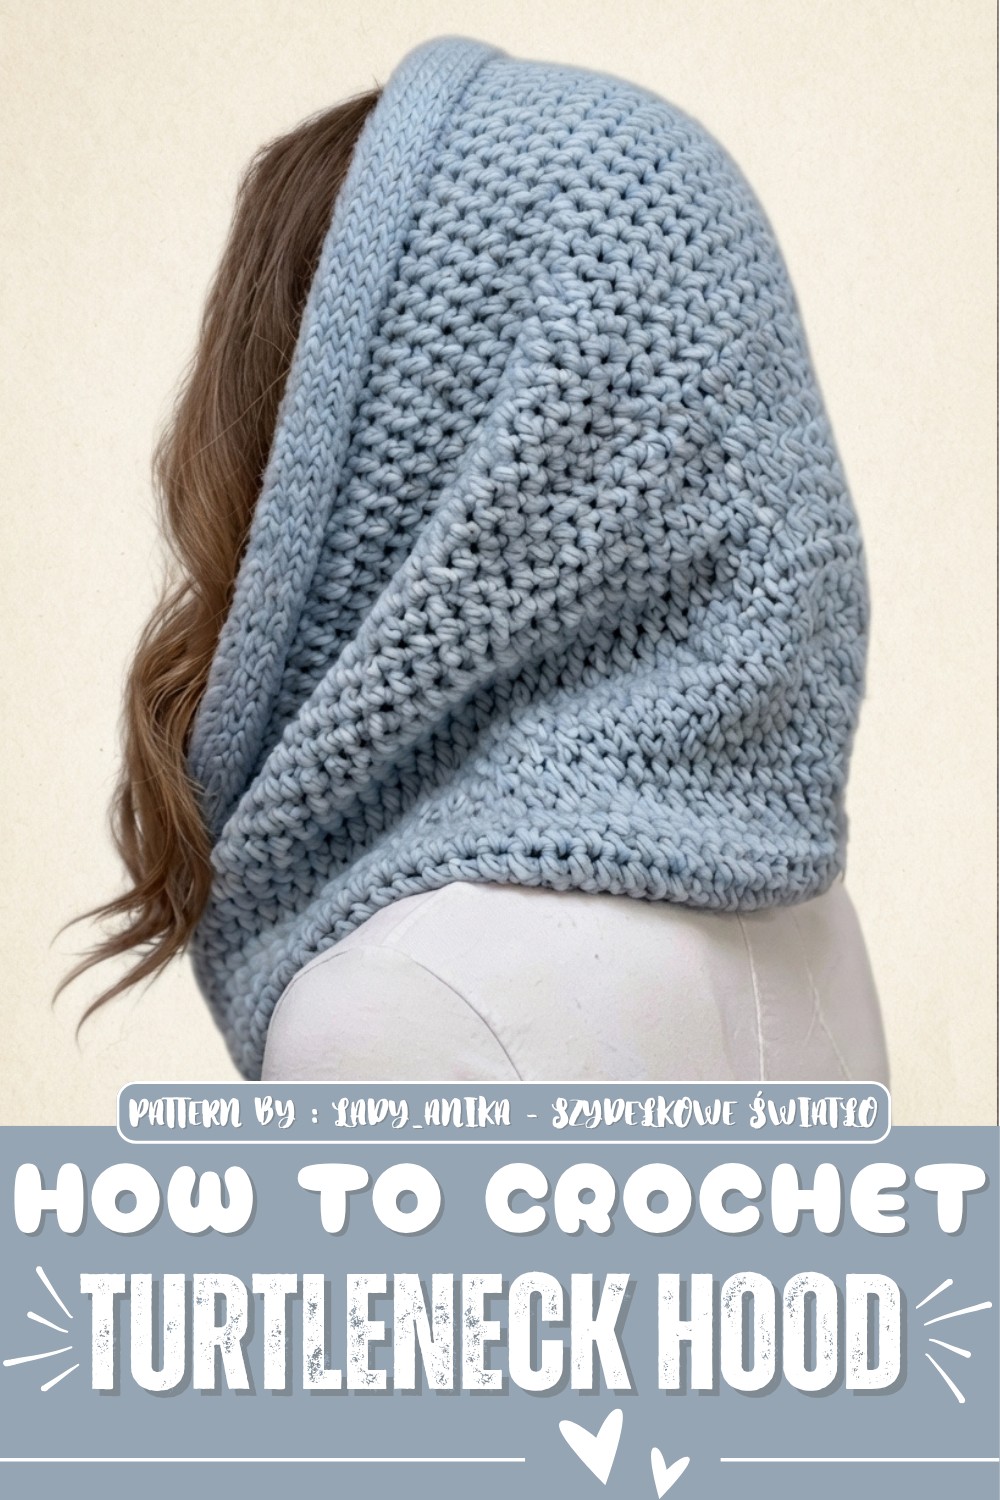
One of the most attractive features of this design is its simple stitch pattern, making it easy to work on even for those new to crocheting. The neat texture holds its shape nicely, even after washing, ensuring it stays looking good and functional for a long time. You can also choose to make it single or double-layered, depending on how much warmth you want.
Clear instructions and thoughtful details make this turtleneck hood a wonderful project. It’s a lovely accessory that adds both style and comfort to your winter wardrobe.
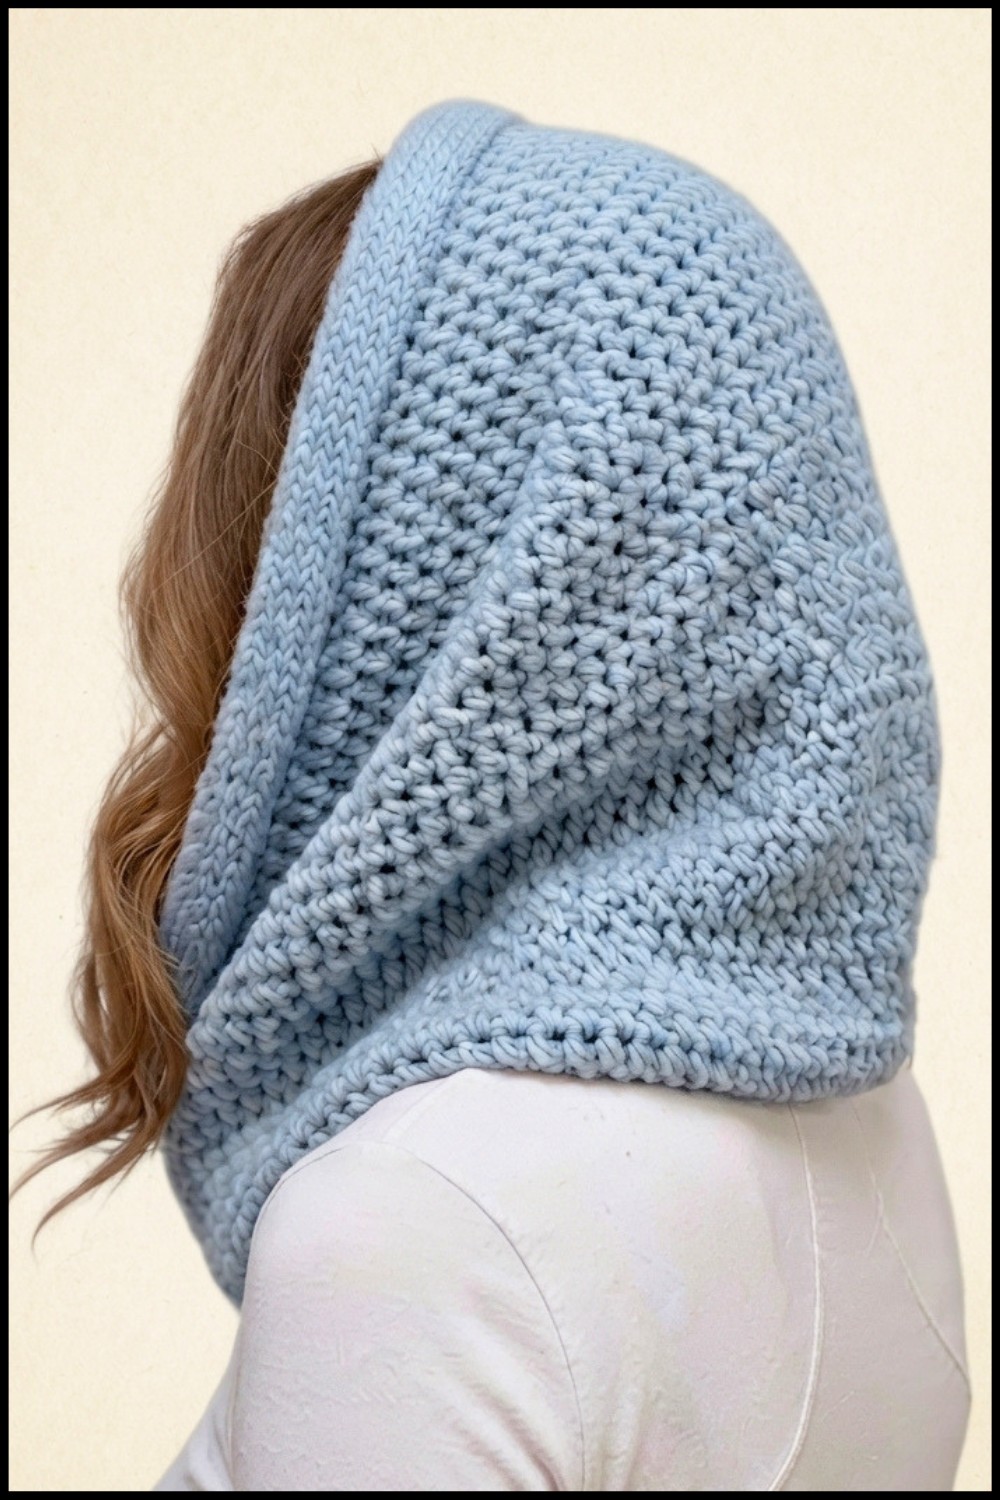
Double-sided Collar/Scarf ("Chimney") Crochet Pattern
A plush, stretchy, and ultra-cozy collar or cowl that can also be worn as a head covering—the perfect project for those who dislike hats yet crave winter warmth. Featuring gentle texture with simple assembly, this versatile “chimney” can be made either single or double-layered for extra comfort. Its clever join and finishing make both edges soft, rounded, and attractive, while the stitch pattern remains elastic enough to slip over the head. Suitable for beginners aiming to expand their skills or intermediate crocheters seeking relaxing, meditative work.
Skill Level & Terminology
Skill Level: Beginner to Advanced Beginner
The construction is simple and repetitive, with just two basic stitches and a focus on tension and neat joins.
Terminology: Pattern uses US crochet terms.
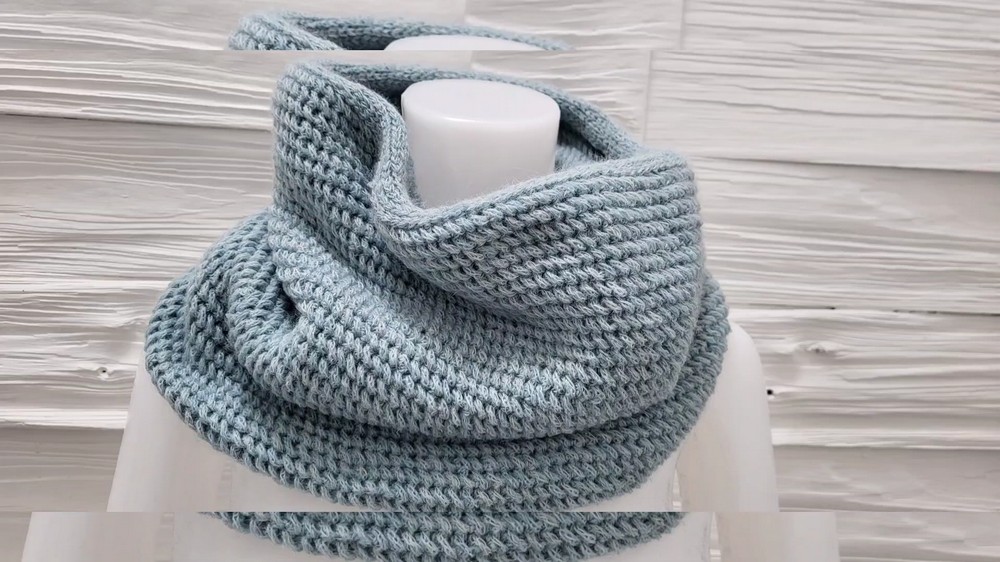
Materials & Tools
- Yarn: Drops Sky (or similar, soft, lightweight yarn with some elasticity—ideally, an alpaca/merino/polyamide mix).
Double-layered version (shown): Approx. 4 skeins (50g/190m each).
Single-layered version: Approx. 2 skeins. - Crochet Hooks: 6 mm (main body), 5 mm (optional for tighter finishing edge).
- Notions: Scissors, tapestry needle, stitch markers (2–3 recommended), optional ribbon or string (if you’d like a drawstring closure).
- Extras: Tape measure or ruler (for gauge).
Gauge
Accurate gauge ensures your collar fits as intended—especially for the width.
Gauge Swatch (Main Pattern, after gentle blocking):
- With 6 mm hook and yarn, ch 16.
- Work the Diagonal Elongated Stitch (see Special Stitches) across all 16 chains, continuing for 8 rows.
- Gently wash and lay flat to dry as you would your finished scarf.
- Finished swatch should measure approximately 10 cm (4 inches) wide x 8 cm (3.15 inches) tall.
- If your swatch is too tight or loose, change hook size accordingly.
Abbreviations List
- ch: chain
- sc: single crochet
- sl st: slip stitch
- dc: double crochet
- yo: yarn over
- st(s): stitch(es)
- rep: repeat
- BL: back loop only
Special Stitch Instructions
Diagonal Elongated Stitch (also called "one over one loop stitch" in this pattern):
- Yo, insert hook into next stitch (or chain), yo and pull up a loop (3 loops on hook).
- Yo and pull through one loop on hook (leaving 3 loops—one is elongated).
- The single elongated loop you just created will become the “special loop” for your next stitch.
- Yo, and pull through all three loops left on your hook to complete the stitch.
- For every new stitch, always insert the hook into the “special loop” made previously.
Joining Seams with sc and yo:
For a seamless edge, use sc through both fabric edges, with an optional yo for looser joins.
Back Loop Only (BL) Single Crochet:
For the finishing rounds, insert hook under the back loop of each stitch only.
Finished Size
- Width (Flat, Unstitched): ~37 cm (14.5 in) for 120 initial chains, after blocking.
- Circumference (Sewn): 74 cm (29 in) around, doubly thick if doing the double version; 37 cm for single.
- Height: Adjust according to taste—sample shown is ~35 cm before folding; ~17 cm tall when finished double-layered.
- Adjustments: Add/subtract multiples of 2 chains for width changes. Add or subtract rows/rounds for more or less slouch.
The Pattern
Foundation & Set-Up
- Using 6 mm hook, loosely ch 120 for a double/single width (or any even number to achieve desired width; 16 for practice swatch).
- Add 1 extra ch for turning; do not count this as a pattern stitch.
- Optional: Place a marker in your starting chain’s first and/or last stitch for orientation.
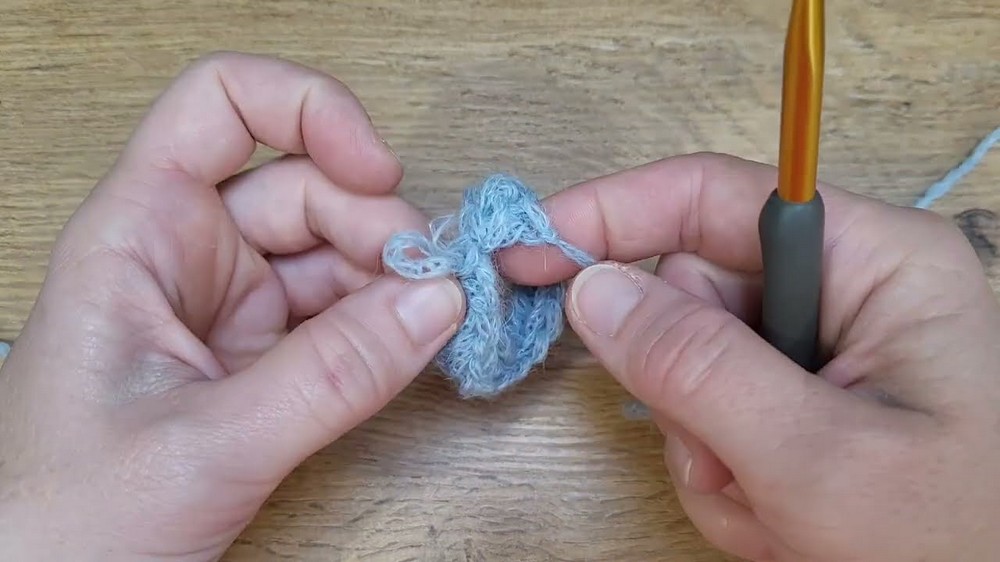
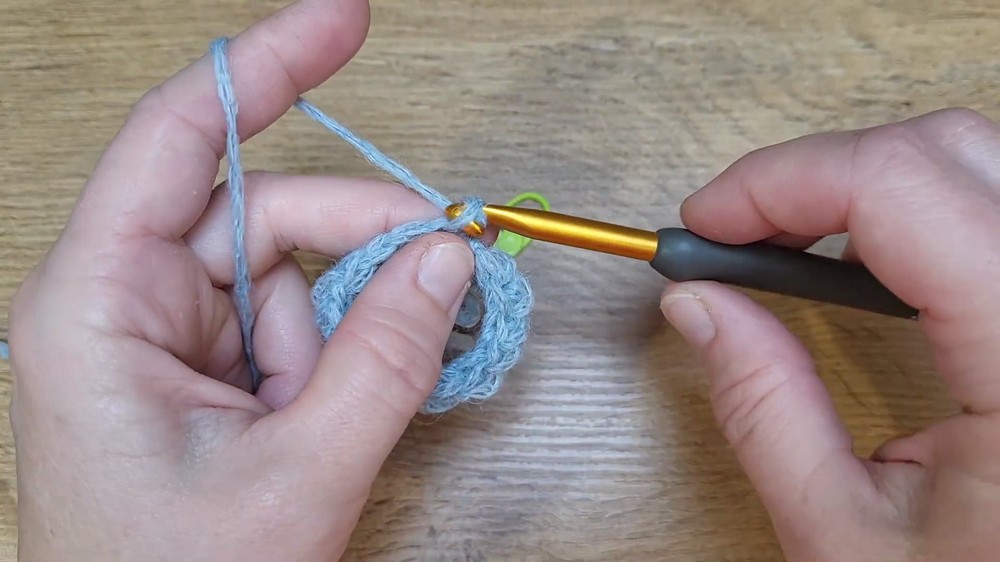
Row 1: First Pattern Row (worked back and forth)
- Turn, and insert hook into the 2nd ch from the hook.
- Begin Diagonal Elongated Stitch:
- Yo, insert into the back bump (recommended for neat edge), yo, pull up loop.
- Yo, pull through one loop (special elongated loop).
- Yo, pull through all three loops to complete first stitch.
- Rep the above for every ch to the end, always remembering to use the new elongated loop for your next stitch.
- Confirm your stitch count matches your foundation chain.
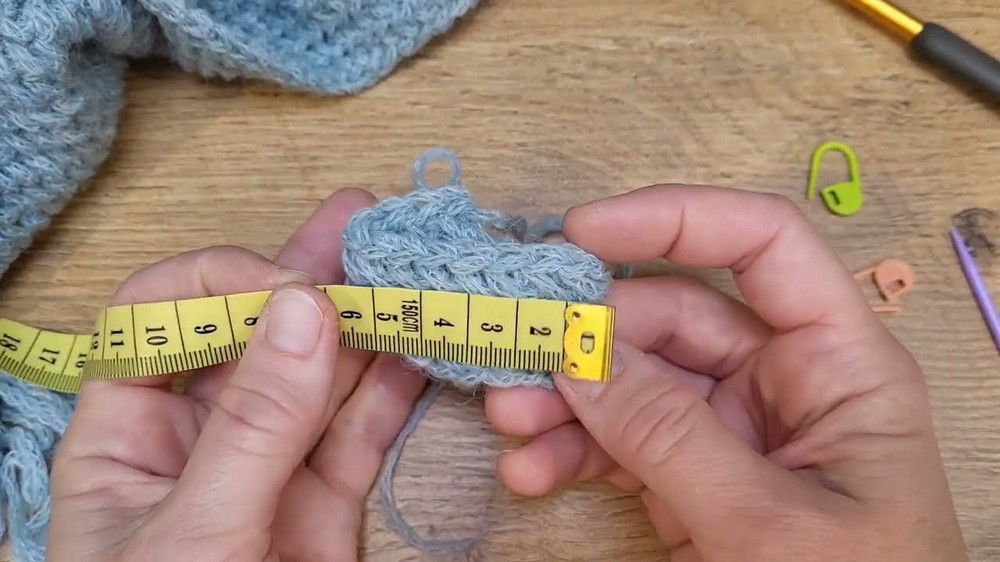
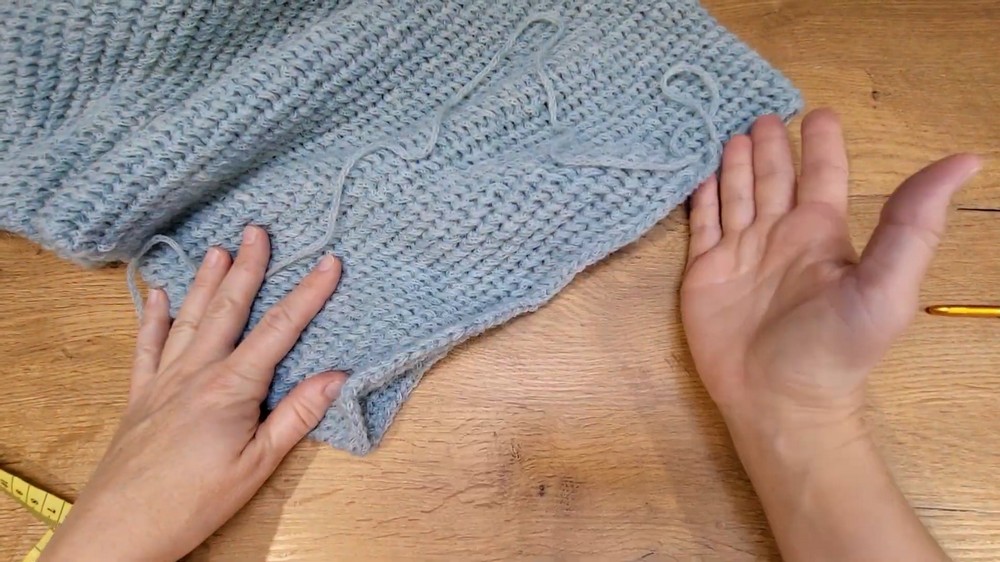
Joining for Working in the Round
- Without twisting the fabric, bring the two short edges together (right side facing out, wrong side in).
- Use sl st or sc through both edges; insert hook into the first loop of starting side and last loop of finished row simultaneously, pull through both, then work sc or sl st to join.
- Now, you have a ring/tube; work will now proceed in a spiral.
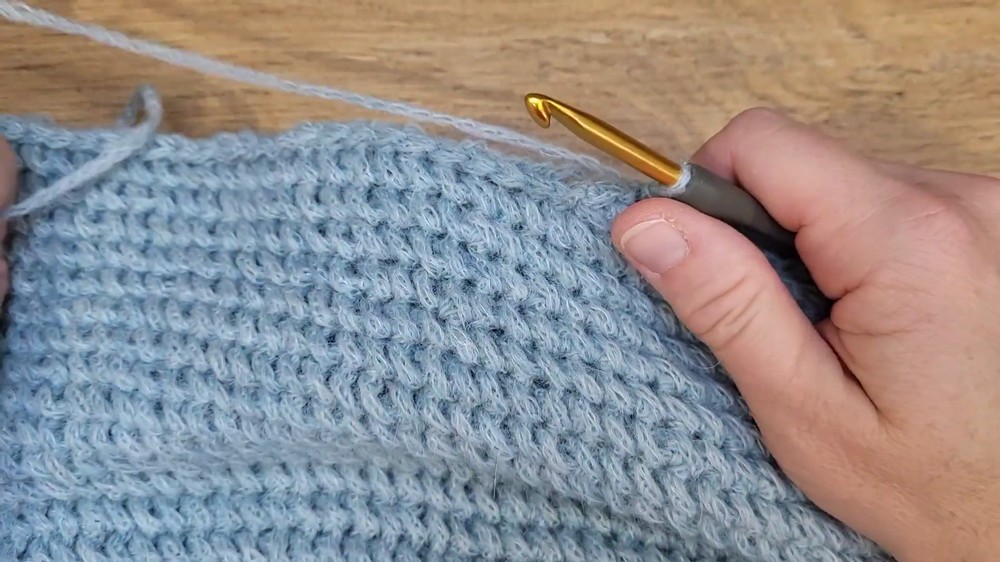
Main Body: Work in Continuous Rounds
- Place a marker at the start of the round if desired.
- From now on, continue Diagonal Elongated Stitch in the round:
- For each stitch, yo, insert hook into previous row's “special loop,” yo, pull through one, then yo, pull through all three.
- Continue without joining the end of each round (“spiral” work). Move marker upward as you go.
- Maintain stitch count and tension, being careful not to skip or add stitches.
- Work until the tube is about 70 cm (28 in) long for double version; about half this for single.
- If following pattern exactly, stop when only 20g yarn remains for the optional decreasing/finishing rounds.
(Optional for Double Layer) Fold & Seam
- Lay the piece flat, fold so the cast-on and working ends line up inside the tube.
- For an invisible seam:
- Hold the two edges together.
- With 6 mm (or 5 mm for snugger finish), use sc with yo through both layers, working stitch-for-stitch.
- Sew all the way around. End, weave in yarn.
- Seam will be inside, invisible from the outside.
Finishing Edge (Optional: For Drawstring, Taper, or Stability)
- Switch to 5 mm hook (for tighter top edge or drawstring tunnel; use 6 mm to keep full stretch).
- Work 2–5 rounds of sc in BL or Diagonal Elongated Stitches in BL for a subtle, narrowed rim:
- Insert hook only into the back loop of each st from the previous round.
- For a tunnel: leave a 2 cm (1 in) slit, thread with string or ribbon, and close.
- Fasten off, weave in all ends.
Assembly & Finishing
- Check all seams for security; if needed, use the tapestry needle to reinforce.
- Weave in all loose yarn ends invisibly.
- If desired, gently block your scarf/collar by soaking, rolling in a towel, and laying flat to dry. This will maximize fluff and shape retention.
- For extra wind-proofing, thread a string or wide ribbon through the top tunnel as a drawstring; knot or bow for closure.
- Turn your cowl inside out to hide seam, if needed.
Final Notes
Whether worn as a gently draped cowl, plush doubled collar, or elegant head cover, this simple project’s softness and bounce will add warmth and comfort to any outfit. The pattern’s stretch means it easily returns to its shape after being pulled on and off. Swap weights, fibers, or hook sizes for different effects, and personalize the finishing edge or add a drawstring for additional practical style. A few relaxing hours with your chosen yarn, and you’ll have a cozy, hand-crocheted accessory ready for brisk mornings and chilly evenings.