Turn your dining space with this Free Crochet Tablerunner Pattern and enjoy creating an elegant, textured design perfect for special occasions or everyday decor.
When the holiday season approaches, many of us look for special ways to brighten up our homes. A beautiful table centerpiece can truly turn the atmosphere. Inspired by this idea, a unique project on the channel Lady_Anika - Szydełkowe Światło offers a charming handmade table runner that brings elegance and warmth to any dining space. The creator shares a thoughtful tutorial showing how to crochet this piece using macrame string, resulting in a thick but stable fabric that lies flat on the table.
Free Crochet Tablerunner Pattern to Refresh Your Decor
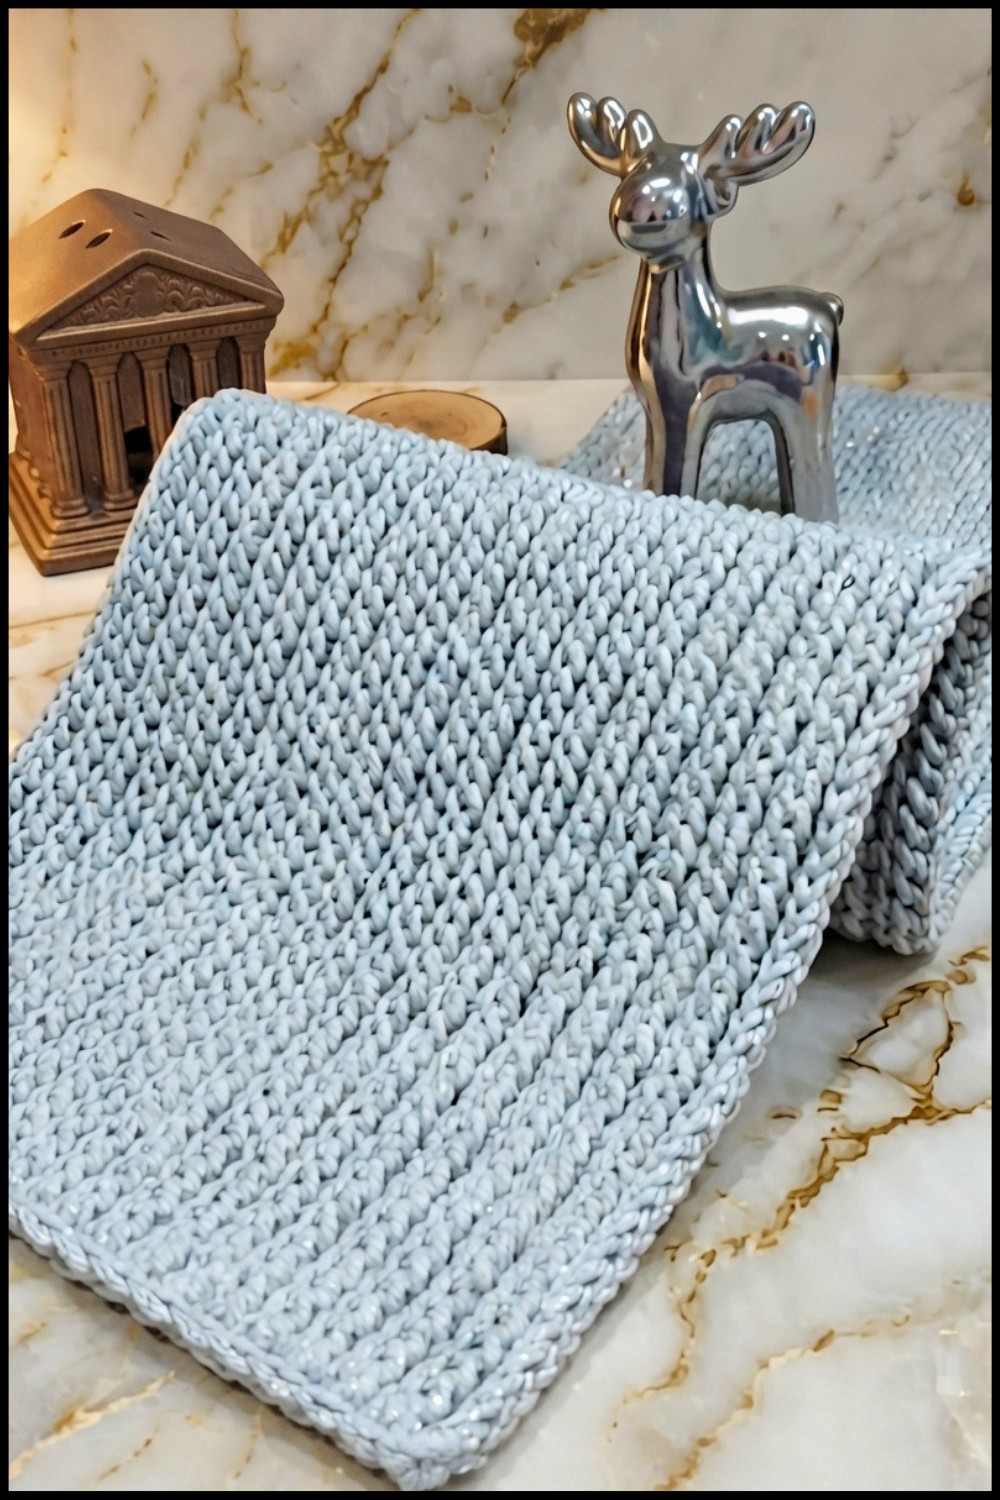
This table runner stands out for its lovely wave-like texture, formed by crocheting stitches worked consistently into the front or middle loops. This careful stitch placement creates gentle, double rows of waves that add depth and visual intrigue without stretching out or curling. Despite its thickness, the runner remains flexible enough to use both as an everyday decoration or a festive highlight during Christmas or other celebrations.
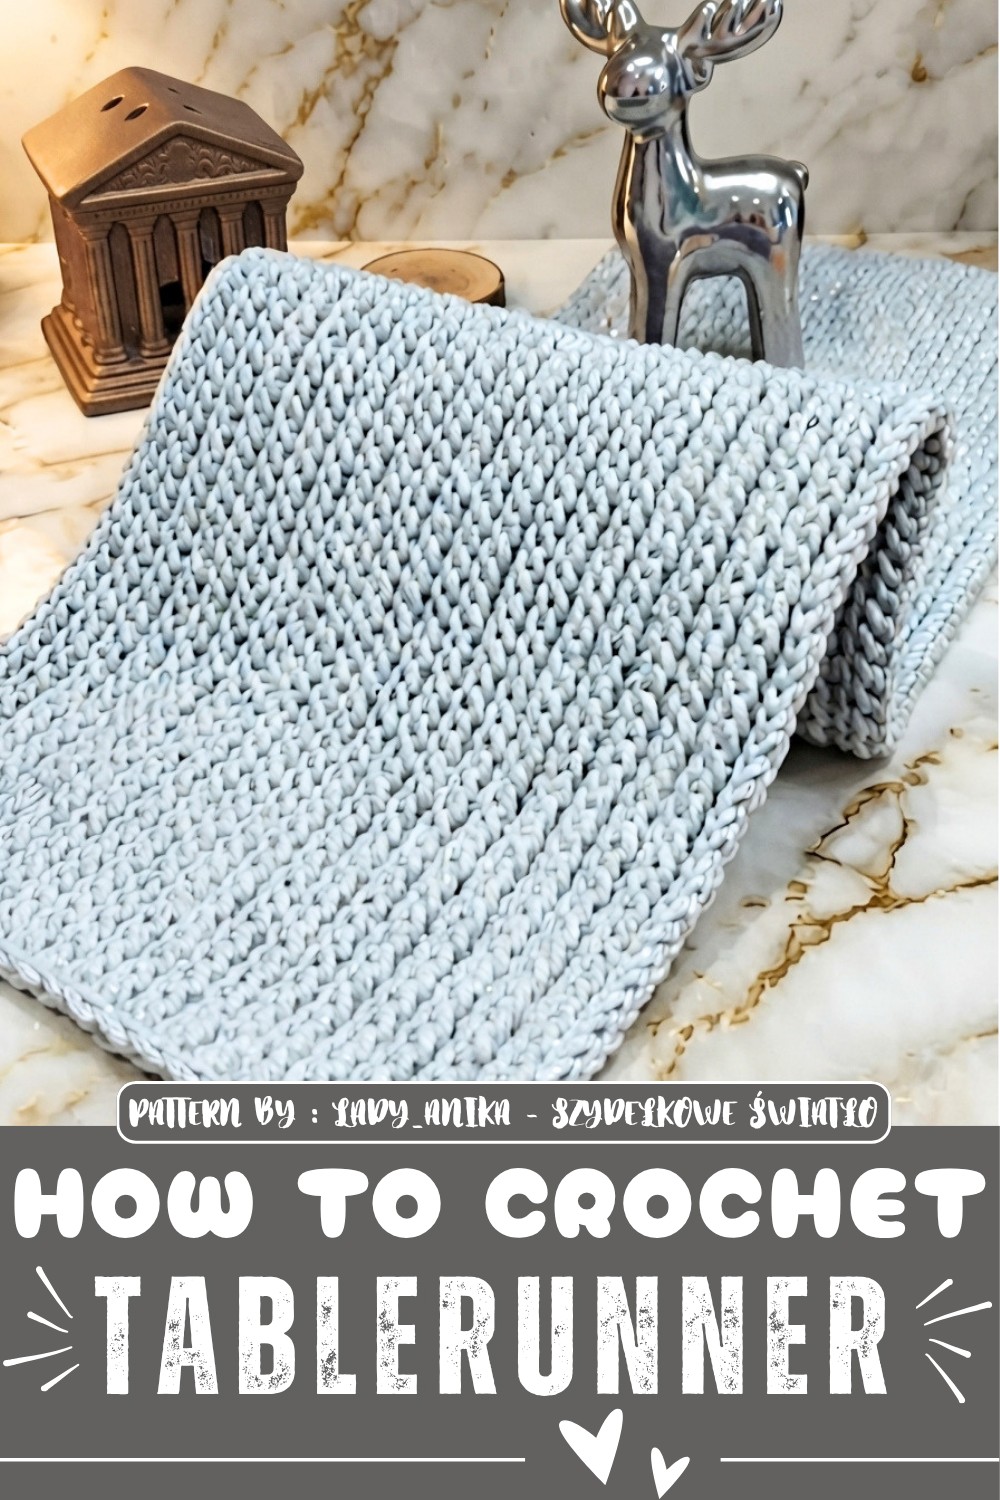
The dimensions are adjustable, so you can make it any size, from a smaller placemat to a long centerpiece, simply by repeating the same pattern rows. The edges are finished neatly with a single crochet border that stabilizes and polishes the look. Plus, the design is double-sided, meaning either face can be used on top, giving even more versatility.
Perfect for adding a cozy, handmade touch to your home, this piece combines practical durability with understated beauty, making it a delightful project for crocheters of all levels.
Wavy Macrame Crochet Table Runner Pattern
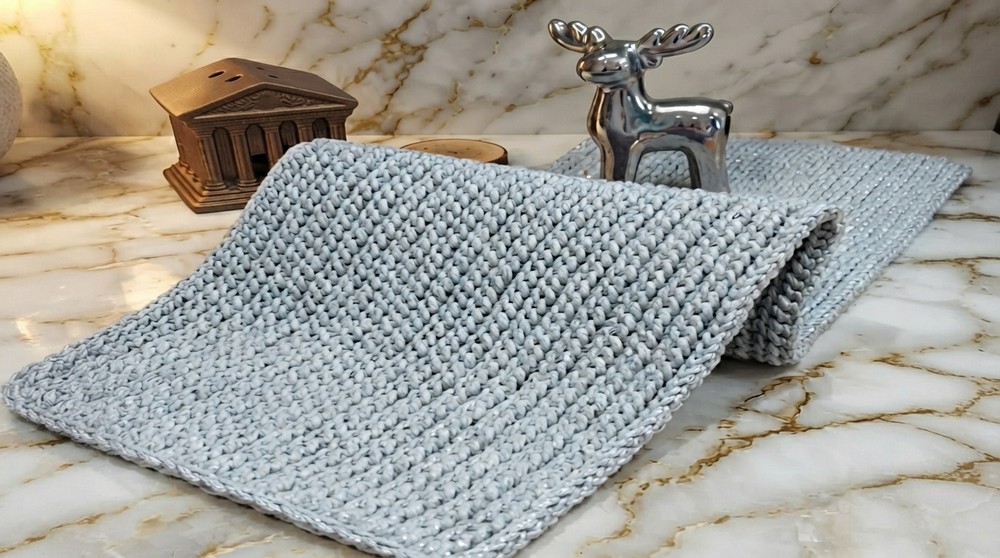
This table runner, made with shiny or plain macrame cord, brings a stylish and elegant wave texture to any table setting. The pattern is both modern and classic, suitable for festive occasions or daily use. The structure is flat, slightly thick, and stable, making it an excellent base for tableware or decorations. The resulting fabric is also attractive double-sided, so the runner can be used on either side according to your preference.
Skill Level
Beginners with some experience in basic crochet stitches will be comfortable with this pattern. Intermediate makers looking for a relaxing but decorative project will also enjoy the technique.
Materials
- Macrame cord (e.g., La Druciarnia, 2 mm thick, 200 m/250 g per skein)
- Optional: Shiny macrame cord for festive effect, or standard macrame for everyday use
- Crochet hook, size 4.5 mm (use between 4 and 6 mm depending on your desired fabric tightness)
- Scissors
- Yarn or tapestry needle for weaving in ends
- Measuring tape
Special Stitches
- Single Crochet with Yarn Over: Also called a modified extended single crochet; gives increased height and structure.
- Working into Middle/Front Loop: Produces the wave pattern distinctive to this project.
- Chain (CH): Used for the initial foundation and turning chain.
- Slip Stitch (SL ST): For joining at the edge.
Stitch Abbreviations
- CH: Chain
- SC: Single Crochet
- y/o: Yarn Over
- SL ST: Slip Stitch
- st(s): Stitch(es)
Useful Tips
- Always crochet loosely; keeping tension even ensures it is not stiff or hard to work into subsequent rows.
- The pattern is fully reversible.
- Adjust width or length to your table: simply increase or decrease the number of starting chains, or the number of rows.
- When extending the length, always maintain your pattern. Consider making a small swatch to check dimensions and gauge.
- When starting a new skein, weave in ends for a knot-free, seamless look.
- For joining new yarn, crochet the ends into a few stitches for invisibility and stability.
- Use a smaller hook to help pick up tight stitches, especially at the edge.
- The sample width is about 30 cm, length about 90 cm, but is entirely customizable.
Pattern Instructions
Foundation
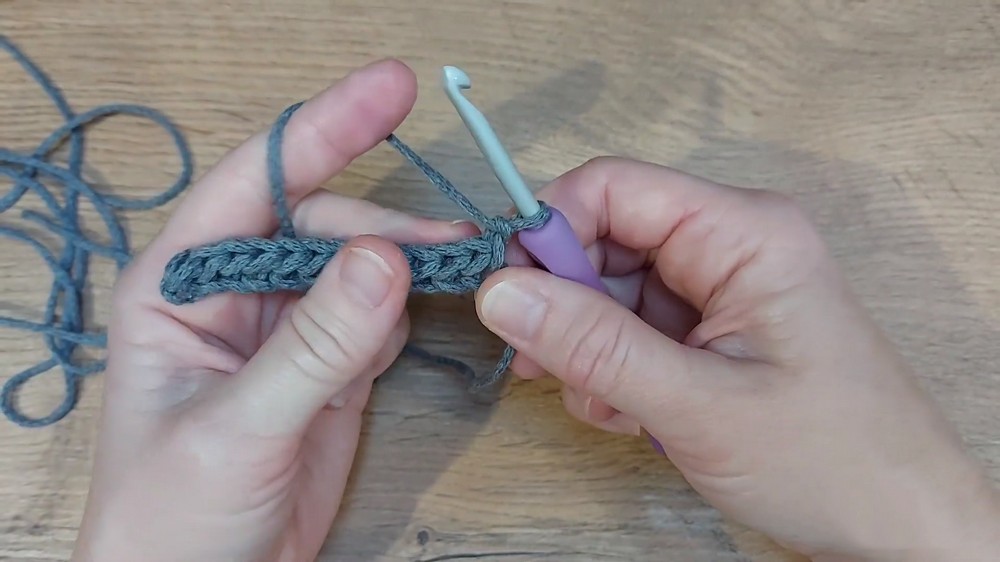
- Make a slip knot and CH the desired width of the runner (for placemats, 12–16 st suggested; for larger runners, about 30–40+ st can work well).
- Add 1 extra chain as the turning chain (edge chain); this chain does not count in the row pattern.
First Row
- Turn. Yarn over, insert your hook into the second chain from the hook (not the turning chain), and work into the middle back loop of the chain for a neat bottom edge.
- Pull up a loop (three loops on hook), pull through two loops (standard single crochet with one y/o).
- Repeat: Yarn over, insert into next chain (again, the middle/back loop), yarn over and pull up a loop, yarn over and pull through two loops.
- Continue across to the last chain. This creates your setup row and an even edge.
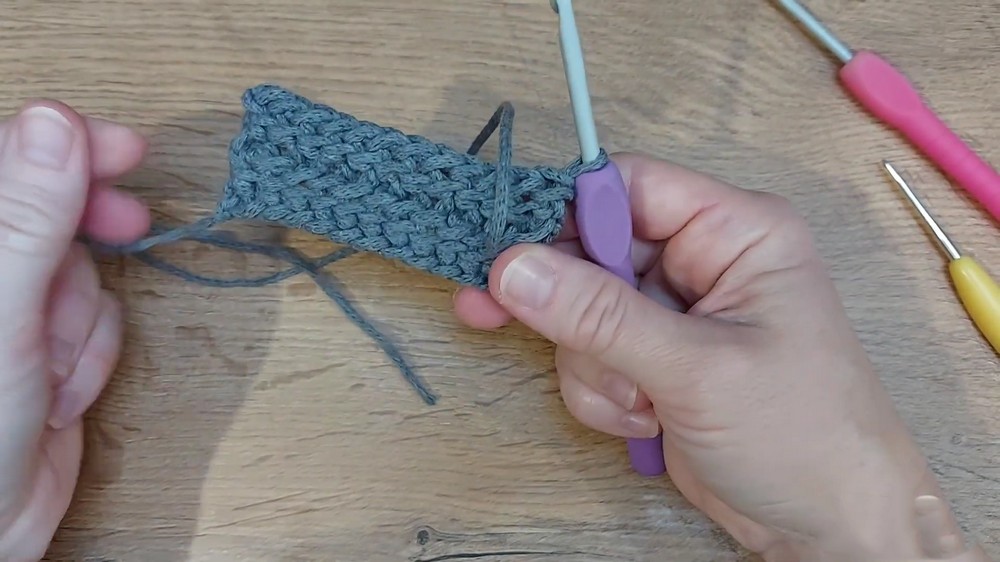
Subsequent Rows (Wave Pattern)
- CH 1 at the end of each row to turn. Always turn your work in the same direction.
- Yarn over, and insert hook only into the front/middle loop of each stitch—not both loops as in standard crochet. This is the crucial step for the signature wave.
- Pull up a loop, yarn over and pull through two loops.
- Do this across the entire row.
- At the end of each row, always pick up the full last stitch to preserve the neat edge (use both loops).
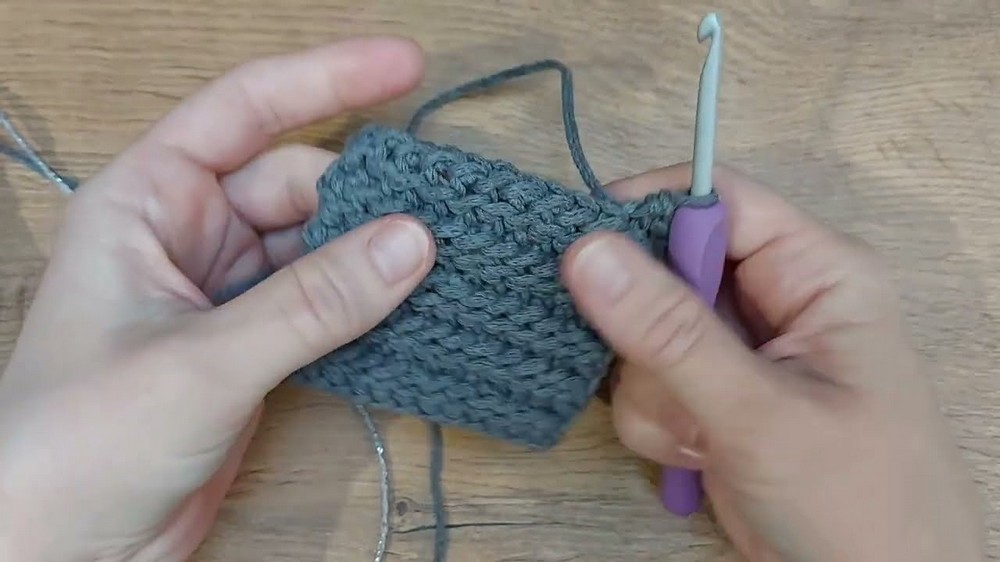
- As you continue, you’ll see a gentle wave pattern emerge. Both sides are equally attractive.
- Repeat this row to the desired length for your table runner or placemats.
- When you need to join a new skein, overlap ends and crochet them into several stitches for a neat, knot-free finish.
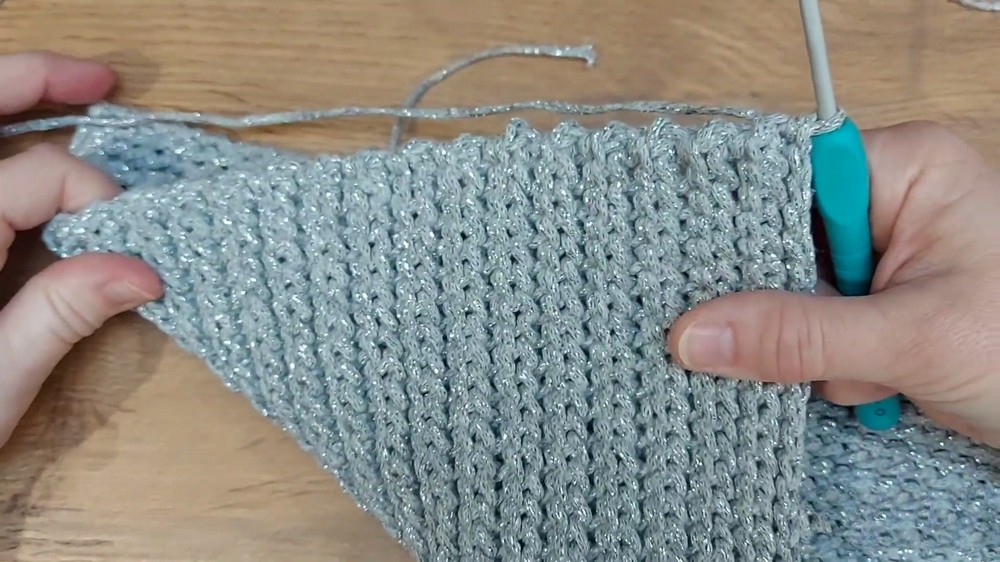
Finishing the Edges
- Once the runner has reached your preferred size, you can opt to leave the edge as is or add a single crochet border.
- To add a border, attach your yarn to any corner. Work loosely to avoid puckering.
- On the long sides, insert your hook into a visible "edge stitch" or just under two loops at the end of each row.
- At the corners, add an extra SC for rounding.
- On the foundation and last row sides, work SC into each stitch.
- Optionally, use a slightly smaller hook for the border to help control edge flare.
- Work around the entire runner and join to the starting stitch with a SL ST for a seamless finish.
- Weave in yarn tails by working them into the stitches of your runner in a zigzag pattern, then carefully trim any remaining excess.
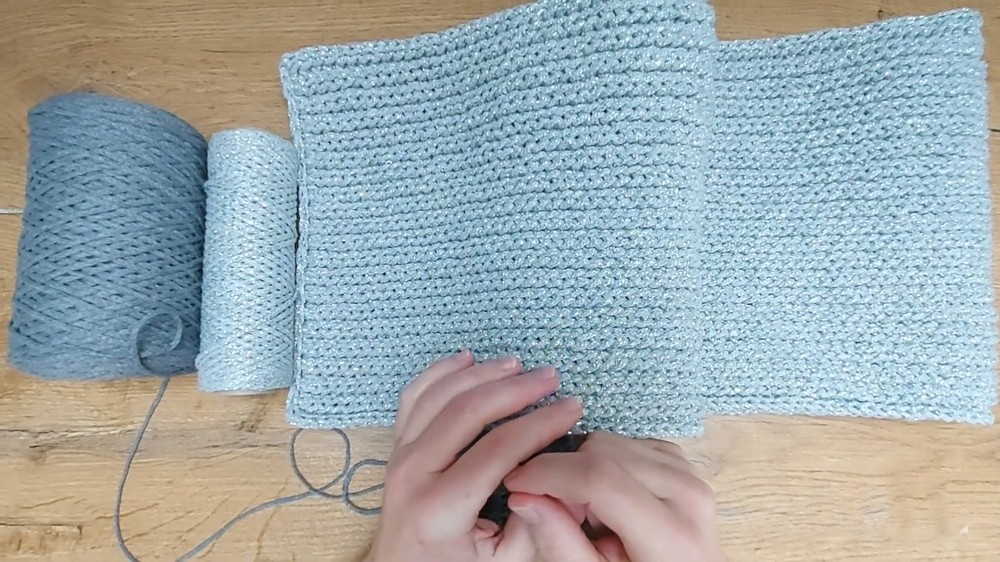
Assembly and Sizing
Your table runner should lay flat and show its distinctive, gentle waves and neat edges. Example dimensions from the sample: approximately 30 cm wide by 90 cm long. With two (or less) full skeins of 2 mm macrame cord, you can achieve a standard table runner size. For placemats or smaller pieces, simply use fewer starting chains and rows.
Use a tape measure to verify measurements as you go, and adjust by adding chains for width, or rows for length. The pattern is fully customizable in both directions.
If desired, experiment with festive cord blends—such as metallic threads for a special occasion—or choose neutral tones for year-round use. The pattern is stable, not overly stretchy, and sits flat under objects or dishes.
Ending Words
This wave-textured crochet table runner features a sturdy, elegant, and truly double-sided structure. The easy-to-memorize pattern and customizable size offer flexibility for any table or season—from holiday sparkle to everyday charm. Whether crafted as a single runner or an array of placemats, the final piece will be both practical and visually striking, delivering versatility and style for every occasion.