Bring festive cheer to your home with this Free Crochet Christmas Snowman Pattern that is simple to follow and fun to include in your holiday decor.
The holiday season invites cozy and charming decorations that warm the heart, and the Free crochet Christmas Snowman Pattern perfectly captures this festive spirit. Presented by the creative minds at Lady_Anika - Szydełkowe Światło, this delightful project offers an easy-to-make snowman that brings both whimsy and warmth to any holiday setting. This crochet item is a small toy or ornament designed to add a handcrafted touch to Christmas celebrations.
Easy Free Crochet Christmas Snowman Pattern for Beginners
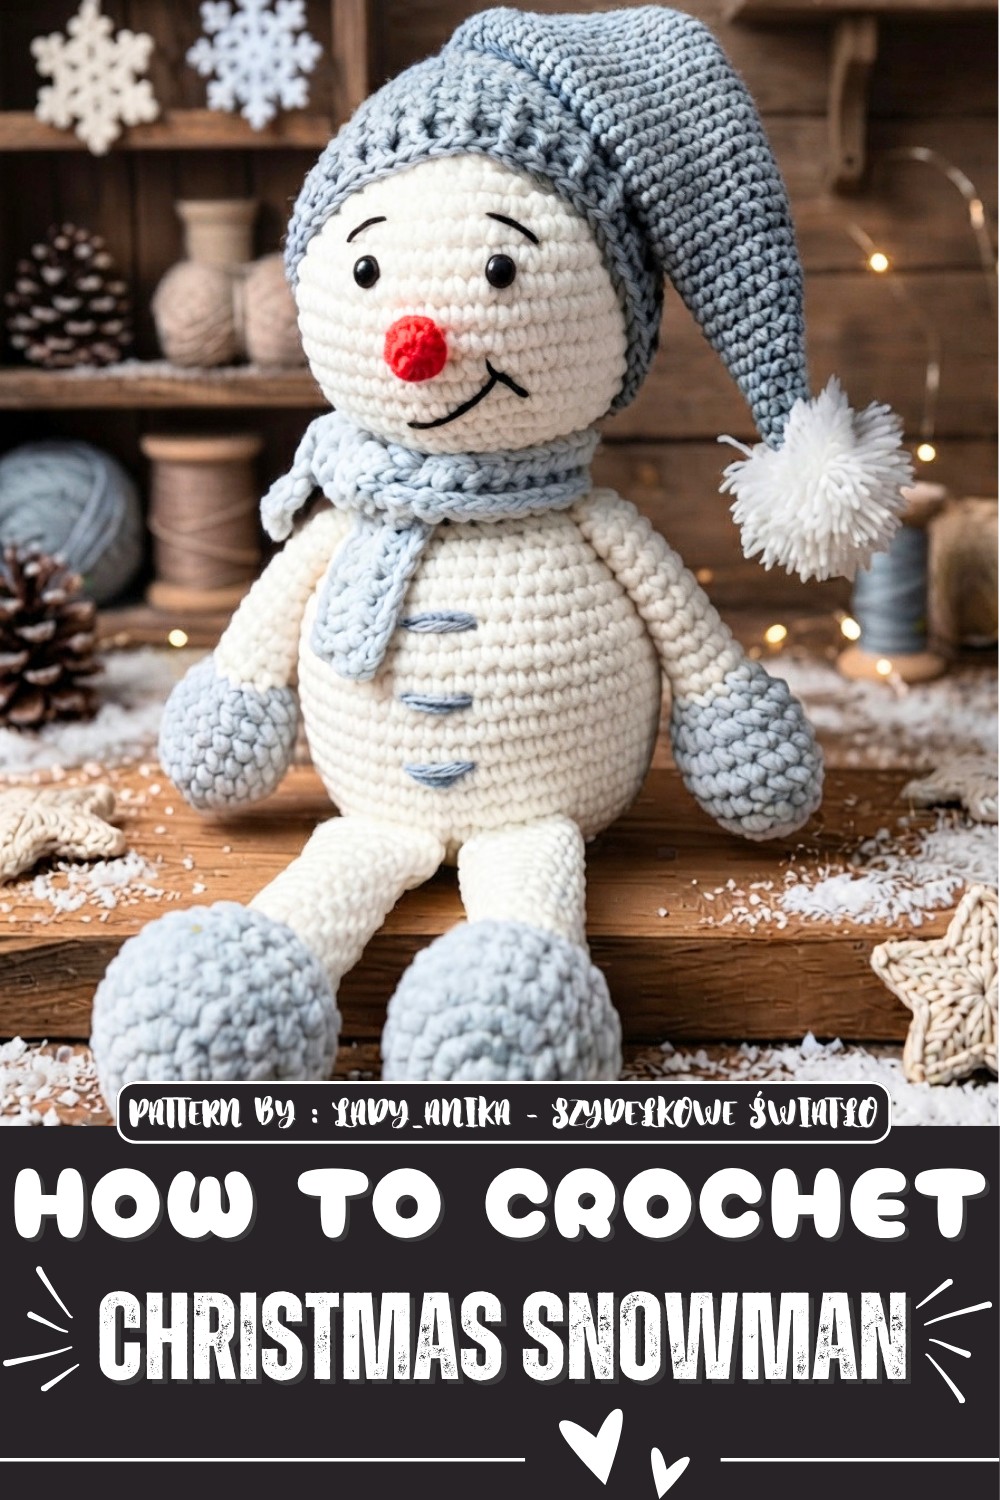
Ideal for gifting, the snowman makes a thoughtful present for friends and family, showing care through a personal homemade gift. Beyond its charm as a gift, it serves as a lovely decoration to brighten up mantelpieces, shelves, or holiday tables, enhancing the festive mood in any room.
Visually, the snowman features a plump, rounded shape that resembles the classic winter figure. Its soft texture is created with neat crochet stitches, giving it a smooth yet cozy feel. The pattern includes charming details like a little hat and scarf, adding character and style. These standout features not only make the snowman instantly recognizable but also highlight the handmade quality, making it feel extra special.
This project offers the joy of creating something both functional and decorative without demanding complex skills. Crocheted with simple stitches yet high on appeal, the snowman is a delightful way to bring seasonal cheer through crochet art.
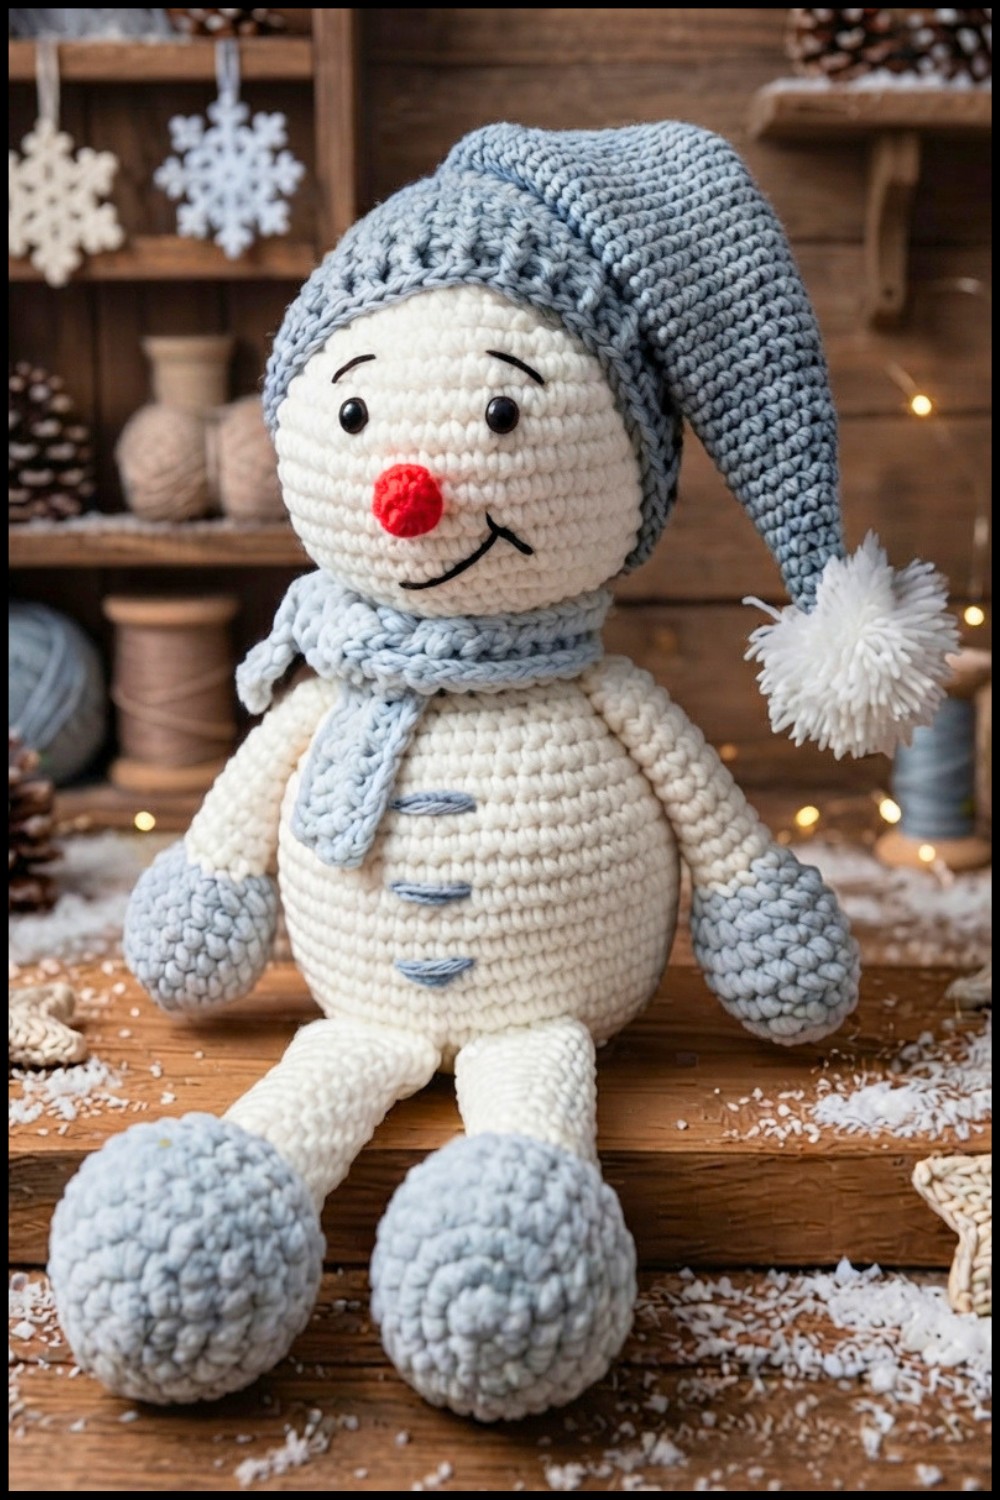
Crochet Velvet Snowman Pattern
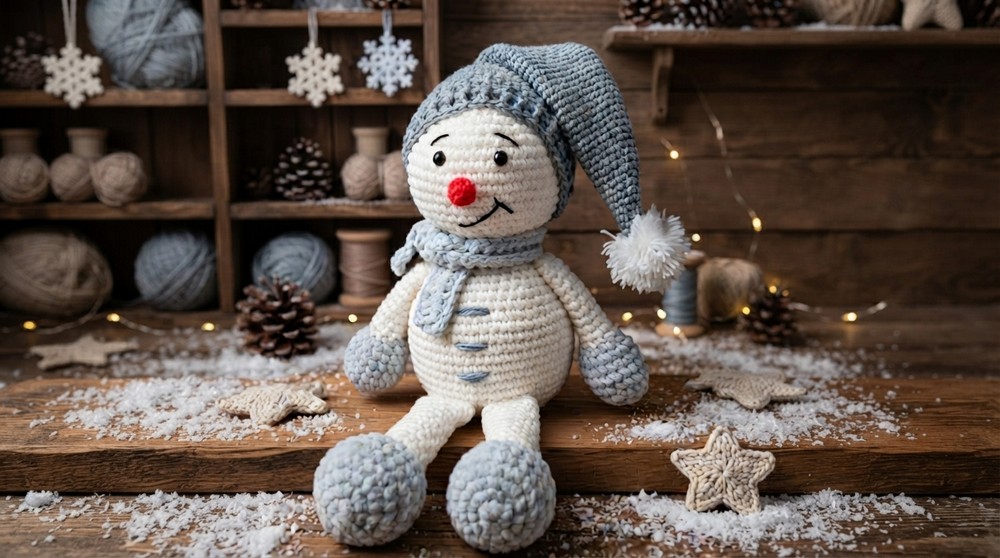
A soft, cuddly velvet snowman makes a delightful holiday décor or cozy winter gift. This amigurumi-style design features a plush round base, simple limbs, a cheerful face with safety eyes, embroidered details, and a classic winter hat with a pom-pom. Each section is worked separately and assembled for a charming, structured finish. The pattern’s plush yarn and simple construction make it fun and achievable for a wide range of skill levels.
Skill Level
Beginner to Intermediate. This pattern balances basic amigurumi techniques (magic ring, increases, decreases, working in the round) with some simple assembly and surface embroidery. Familiarity with shaping and joining pieces will be helpful.
Materials
- Yarn:
Velvet-style yarn for the snowman’s body (approx. 1.5 skeins using a 3.5 mm hook)
Contrasting color yarn for the hat (approx. 50 g)
A small length of black yarn for facial embroidery - Crochet Hook:
3 mm or 3.5 mm - Stuffing:
Polyester fiberfill - Safety Eyes:
Approx. 1 cm diameter - Pom-pom:
For nose or hat (can be store-bought or homemade) - Buttons:
For decoration on snowman’s torso - Stitch Markers (optional)
- Scissors
- Yarn/tapestry needle:
For embroidery and assembly
Special Stitches
- Magic Ring (MR): An adjustable loop for starting amigurumi in the round, closes tightly to avoid holes.
- Single Crochet (SC): Insert hook, yarn over and pull up loop, yarn over and pull through both loops.
- Increase (INC): Work two SC in the same stitch.
- Decrease (DEC): Work two SC together (invisible decrease preferred for amigurumi).
- Front/Back Post Double Crochet (FPDC/BPDC): Used to create ribbing on hat edge.
Stitch Abbreviations
- MR: Magic Ring
- SC: Single Crochet
- INC: Increase
- DEC: Decrease
- FPDC: Front Post Double Crochet
- BPDC: Back Post Double Crochet
- SL ST: Slip Stitch
- st(s): Stitch(es)
- rnd(s): Round(s)
Useful Tips
- Use stitch markers to track rounds and ensure symmetrical shaping.
- Keep tension relaxed with velvet yarn; avoid over-tightening.
- Place safety eyes and buttons securely, especially if gifting to children.
- Stuff firmly for structure but avoid overfilling to prevent distorting shape.
- Change colors cleanly for defined snowman sections (legs/arms to body).
- When joining limbs to the body, double-check placement for balanced results.
Pattern Instructions
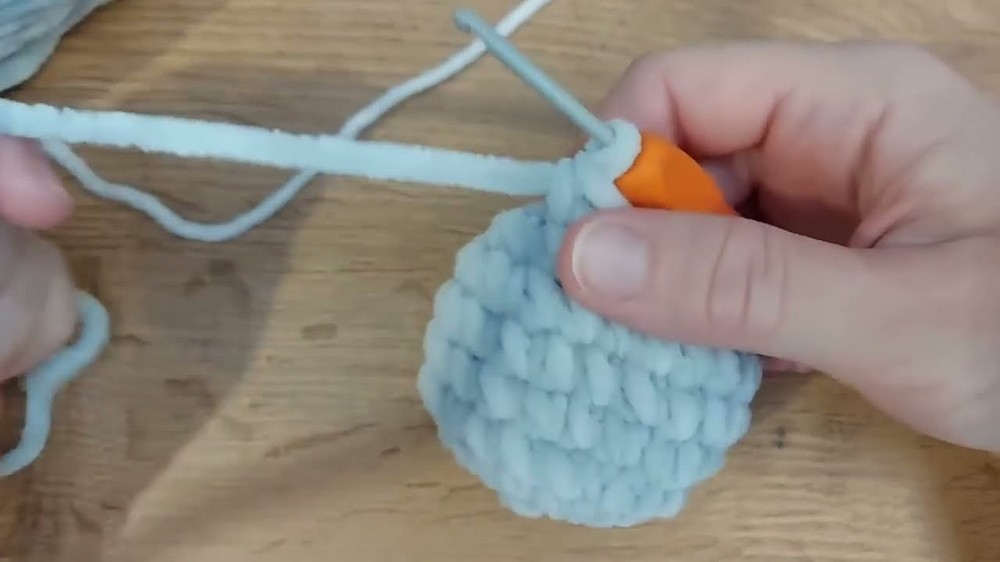
Feet/Base
- Begin with contrasting yarn.
- Round 1: MR, work 6 SC into ring.
- Round 2: INC in each st around (12 SC).
- Round 3: (1 SC, INC) around (18 SC).
- Round 4: (2 SC, INC) around (24 SC).
- Rounds 5–7: SC in each st around (24 SC).
- Round 8: (2 SC, DEC) around (18 SC).
- Round 9: (1 SC, DEC) around (12 SC).
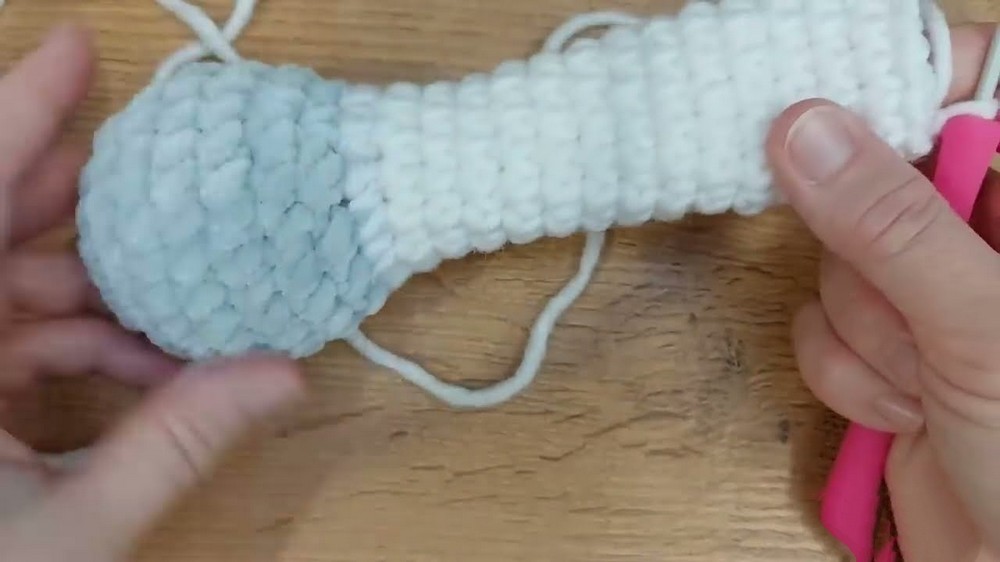
- Change to white yarn for snowman’s feet.
- Rounds 10–24: SC in each st around (12 SC per round, 15 rounds).
- Finish stuffing lightly, flatten, and fold in half.
- Join edges with SL ST to close and create a ‘foot’ shape.
- Make two identical feet.
Arms
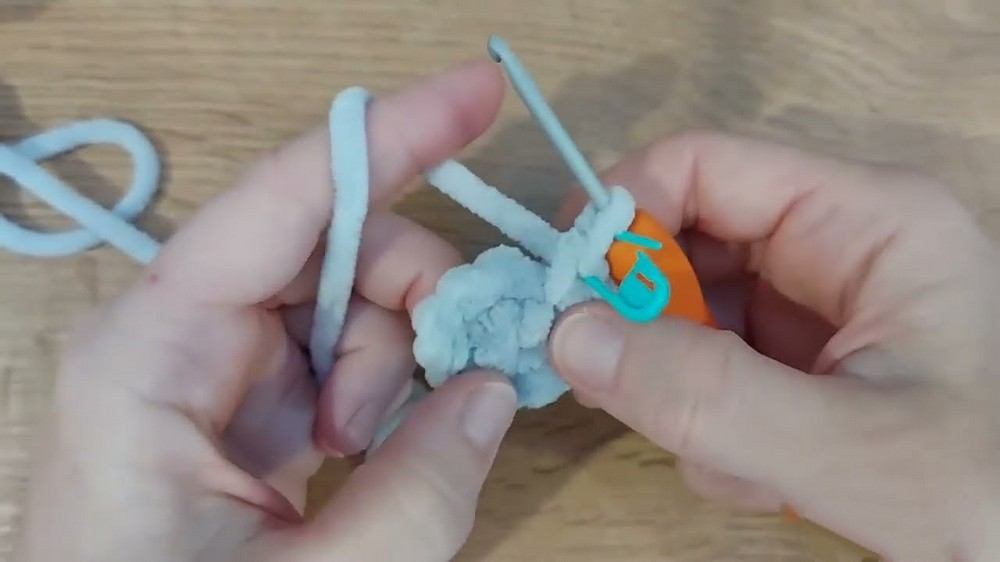
- Begin with contrasting yarn.
- Round 1: MR, work 5 SC into ring.
- Round 2: INC in each st around (10 SC).
- Round 3: (1 SC, INC) around (20 SC).
- Rounds 4–6: SC in each st around (20 SC).
- Round 7: (1 SC, DEC) around (10 SC).
- Change to white yarn for arms.
- Rounds 8–17: SC in each st around (10 SC per round, 10 rounds).
- Stuff lightly.
- Finish, flatten and fold if desired for shape.
Body
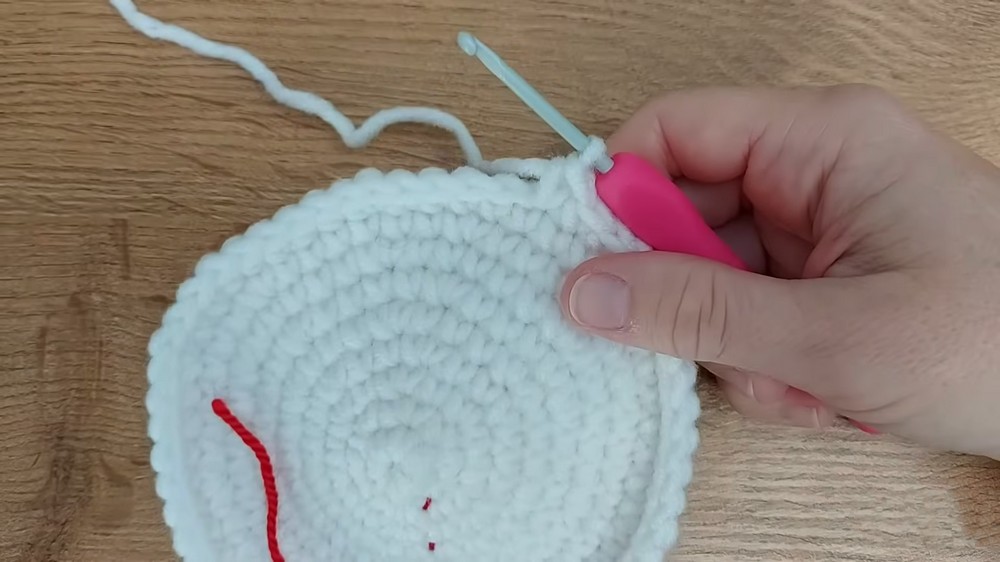
- Begin with white yarn.
- Round 1: MR, work 6 SC into ring.
- Round 2: INC in each st around (12 SC).
- Round 3: (1 SC, INC) around (18 SC).
- Round 4: (2 SC, INC) around (24 SC).
- Round 5: (3 SC, INC) around (30 SC).
- Round 6: (4 SC, INC) around (36 SC).
- Round 7: (5 SC, INC) around (42 SC).
- Round 8: (6 SC, INC) around (48 SC).
- Round 9: (7 SC, INC) around (54 SC).
- Round 10–17: SC in each st around (54 SC) for 8 rounds.
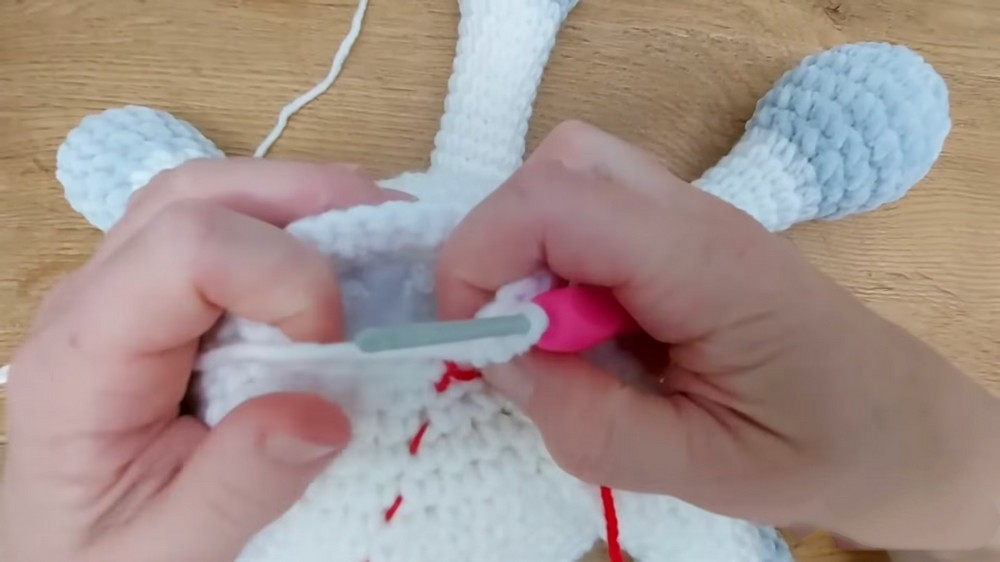
- At 30:16, attach legs: Position feet/base evenly at bottom of body and SL ST or sew securely in place.
- Round 18: (7 SC, DEC) around (48 SC).
- Round 19: (6 SC, DEC) around (42 SC).
- Round 20: (5 SC, DEC) around (36 SC).
- Round 21: (4 SC, DEC) around (30 SC).
- Stuff firmly, shaping as you go.
Head
- Continuing from body, begin to increase up for the head (or start separately and sew).
- Round 1: (6 SC, INC) around (repeat pattern to increase evenly).
- Rounds 2–8: SC in each st around (work even for 7 rounds).
- Decrease:
- Begin shaping: (6 SC, DEC) around, then decrease evenly as needed.
- At 45:06, insert safety eyes securely and finish stuffing.
- Finish reducing and close head, fasten off.
Hat
- Begin with hat color.
- Round 1: MR, work 4 SC into ring.
- Round 2: INC in each st around (8 SC).
- Round 3: (1 SC, INC) around (12 SC).
- Continue increasing: (next round, 2 SC, INC), etc., until reaching 60 SC total (use (number SC, INC) as needed).
- Rounds 6–14 (approx.): SC in each st around (60 SC) for height.
- Ribbing Edge:
- Switch to FPDC and BPDC alternately around for ribbed finish at hat brim; work for 2–4 rounds as desired.
- Pom-pom: Attach on top for finishing touch.
Finishing Touches
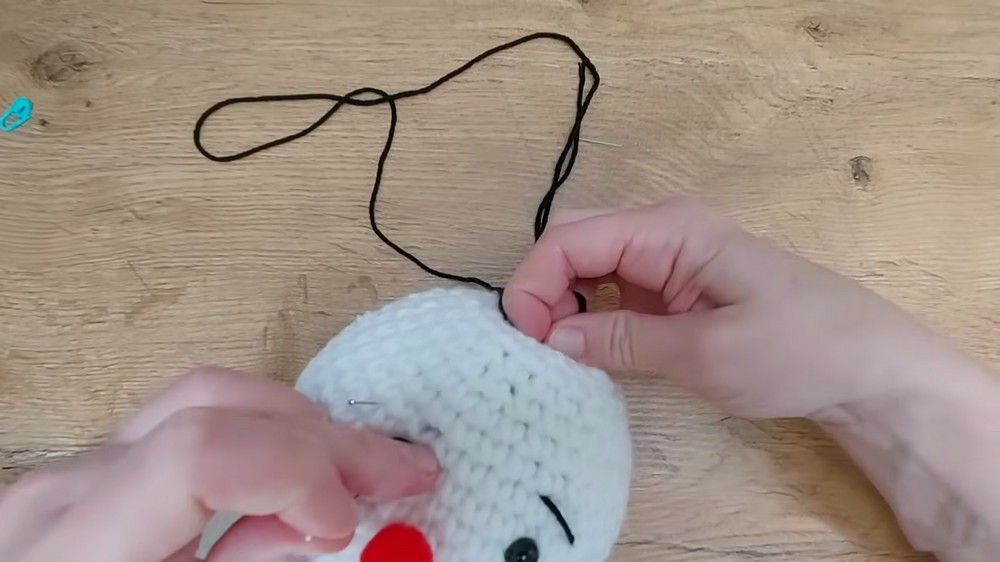
- Embroidery (1:07:44):
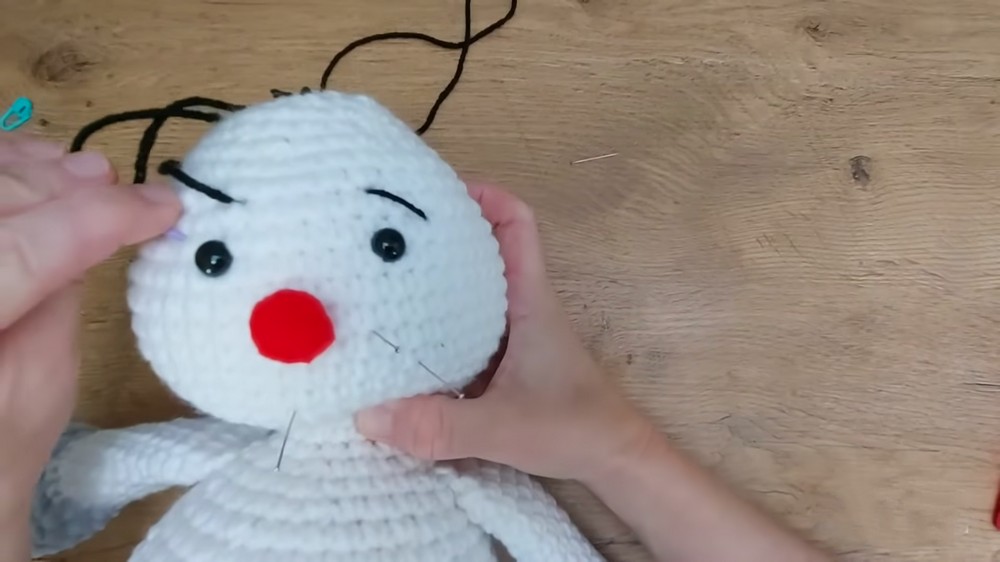
- Using black yarn and a tapestry needle, embroider eyebrows and mouth on head.
- Button Details (1:07:44):
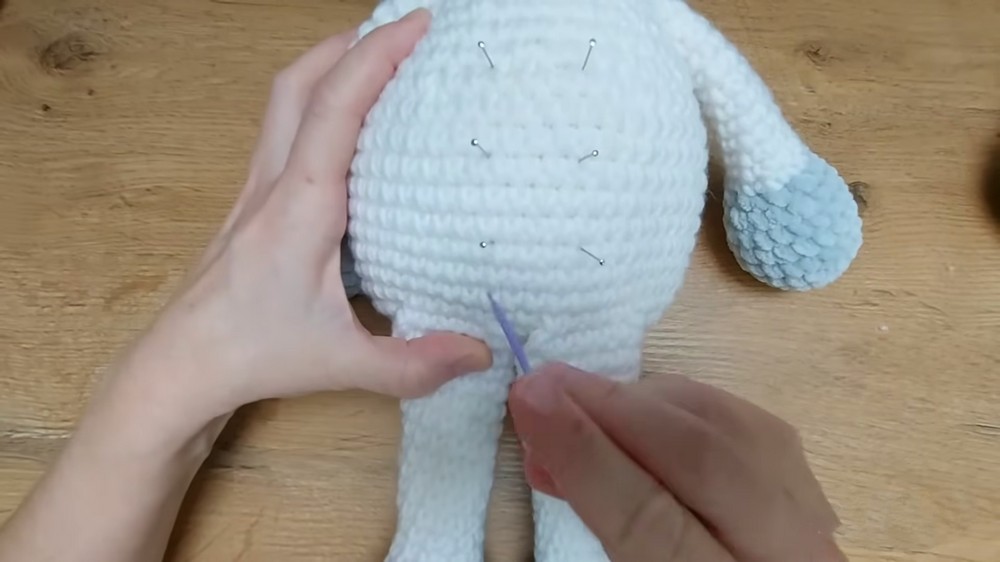
- Sew buttons onto torso of snowman for “coat” effect (placement as desired).
- Pom-pom (for nose or hat):
- Sew or glue pom-pom securely in place.
- Assembly:
- Attach arms to upper sides of body with SL ST, sewing, or hot-glue if required.
- Attach hat snugly to head with yarn or sewing.
- Final touches: Check seams for security, hide all ends, and adjust stuffing as needed.
Assembly and Sizing
The assembled snowman stands at approximately 20–28 cm tall (varies with yarn, stuffing, and tension). All parts are securely attached for display or gentle play. The proportions are adaptable—making a larger or smaller snowman is possible with yarn or hook adjustment. The plush velvet yarn and firm stuffing produce a soft yet stable figure.
Ending Words
This velvet snowman pattern delivers cozy seasonal charm and a smooth finish with approachable amigurumi skills. With sturdy feet, welcoming arms, and classic embroidered details, it radiates winter warmth and personality. Make adjustments to size, color, or facial features to personalize your creation, and enjoy a playful, soft snowman to brighten winter days or delight all ages.