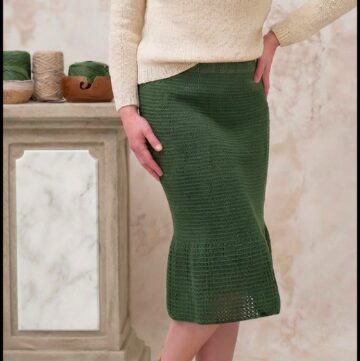
Boost your fashion choices with this free crochet jacket pattern that's perfect for adding a soft, cozy and stylish touch to any outfit.
A cozy jacket is something everyone needs when the weather turns chilly. Making your own jacket can be a fun and rewarding experience. The Free Crochet Jacket Pattern is a simple way to create a warm and stylish jacket all by yourself. This pattern is perfect for beginners or anyone who enjoys crocheting comfy clothes.
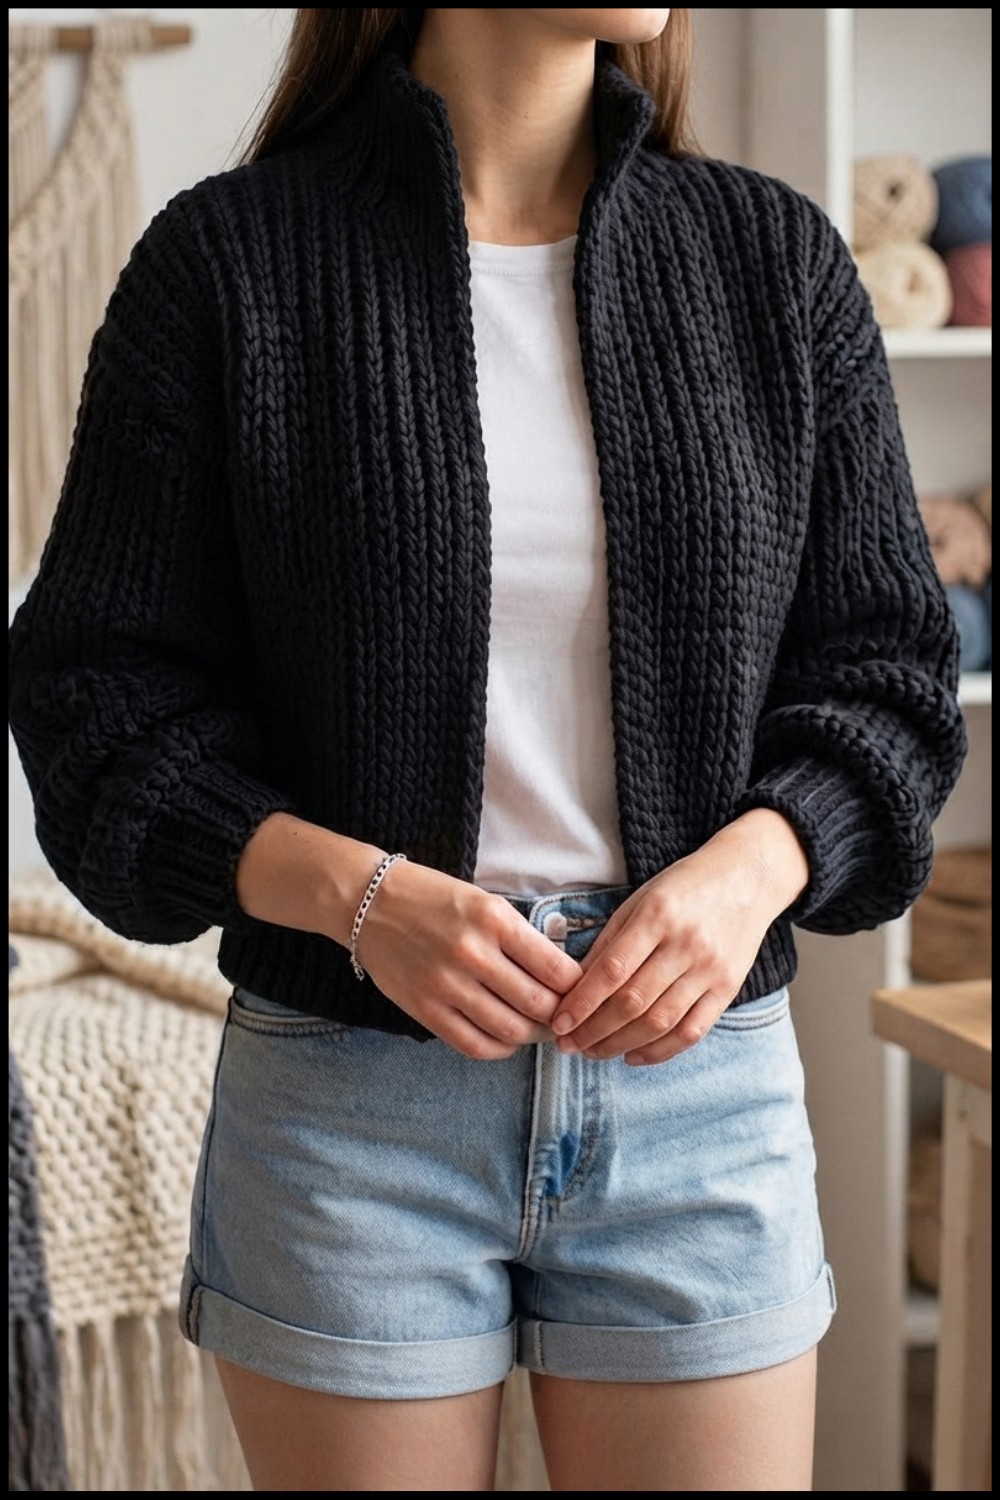
The jacket made from this pattern feels soft and gentle on your skin. It uses thick yarn that keeps you warm during cool days. The texture is smooth and looks beautiful, showing off neat crochet stitches. The jacket has a nice shape, fitting comfortably without being too tight or too loose. It comes with full-length sleeves and a simple collar that adds a touch of style. The overall look is casual but pretty, so you can wear it at school, out with friends, or just around the house. This handmade jacket truly feels special because of its unique design and lovely colors you can choose.
Free Crochet Pattern: Jacket for Cooler Days
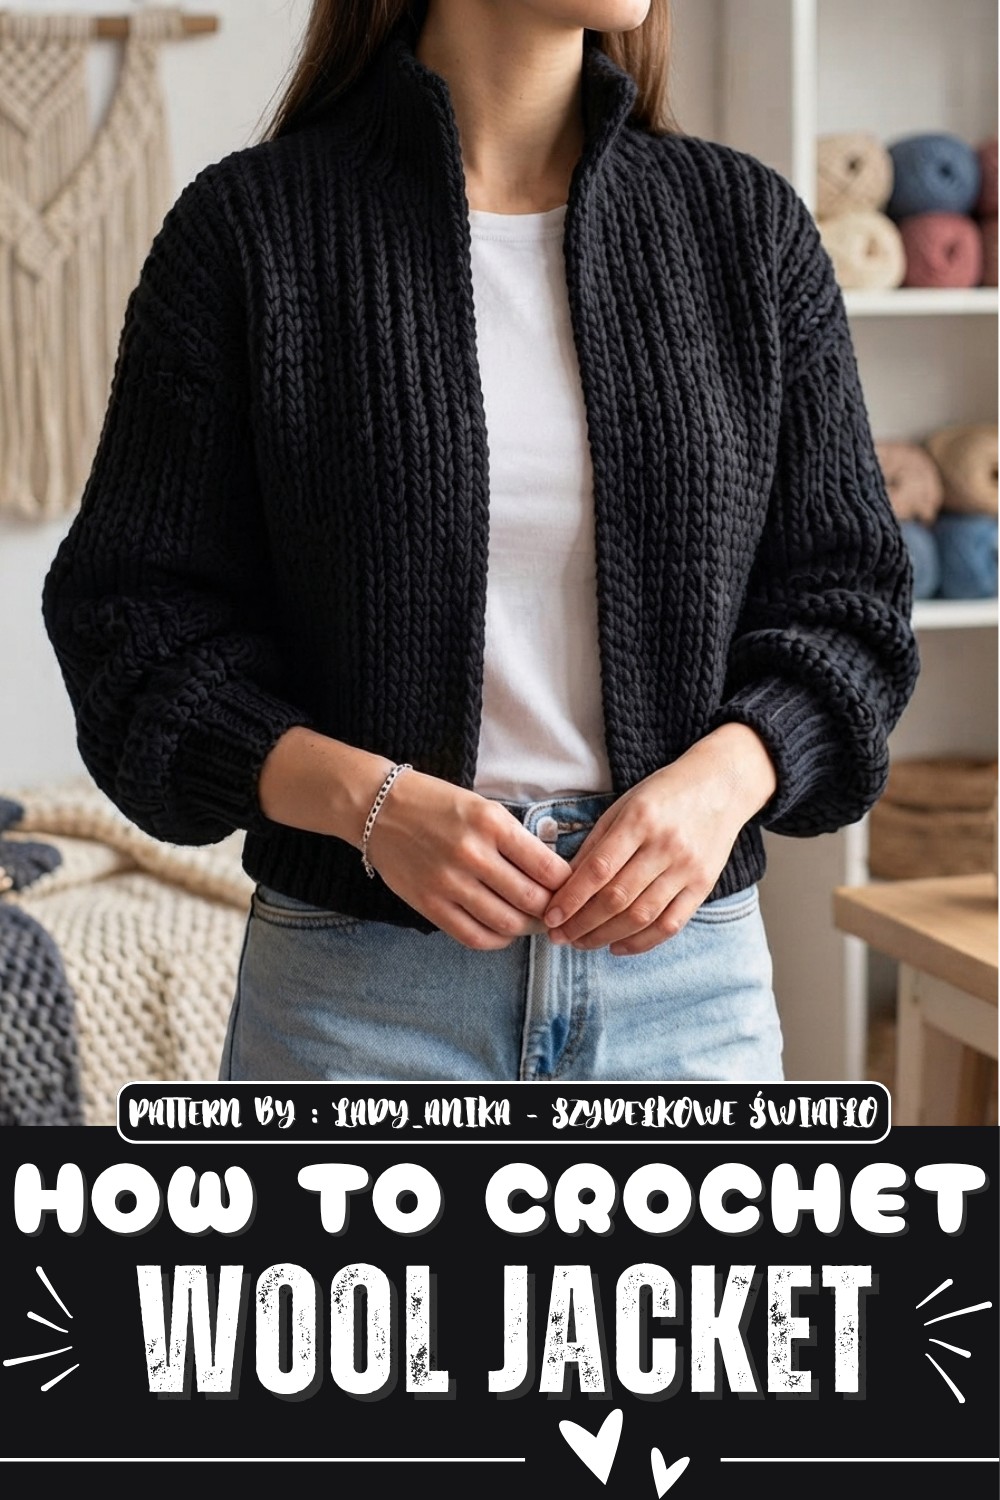
If you want to make this jacket, the Free Crochet Jacket Pattern makes it easy and clear to follow. You don’t have to worry about getting lost because the instructions are simple. Also, the YouTube channel Lady_Anika - Szydełkowe Światło offers helpful videos that show every step of crocheting this jacket. Watching these videos can make the project easier and more fun, even if you are just starting.
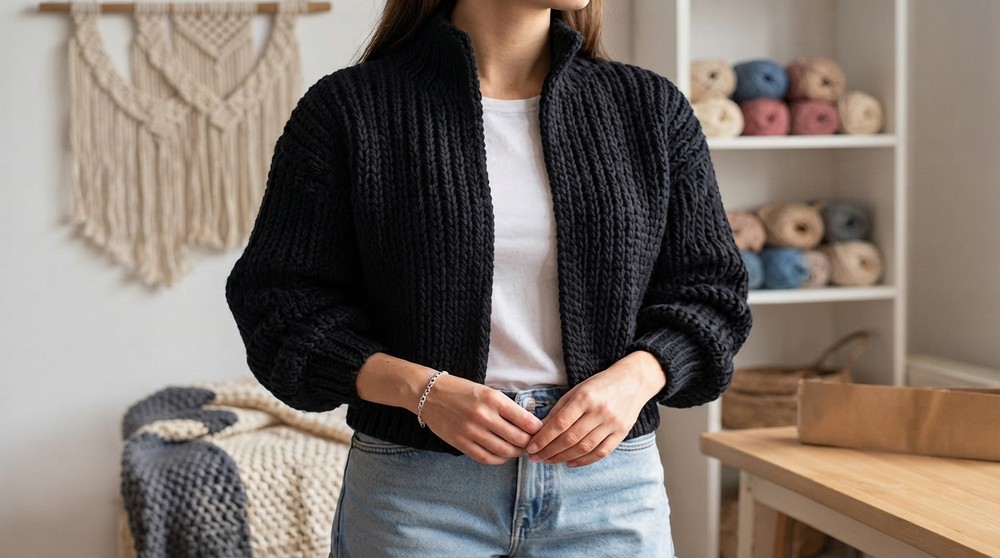
This crochet jacket is not just a warm piece of clothing — it makes a wonderful gift too. Because it’s handmade with love and care, anyone who gets it will feel special. It also looks nice enough to add to your personal collection of clothes or wear to add a cozy, stylish layer to your outfit. The Free Crochet Jacket Pattern is a great project for making something both beautiful and useful.
Thick Woolen Crochet Jacket Pattern
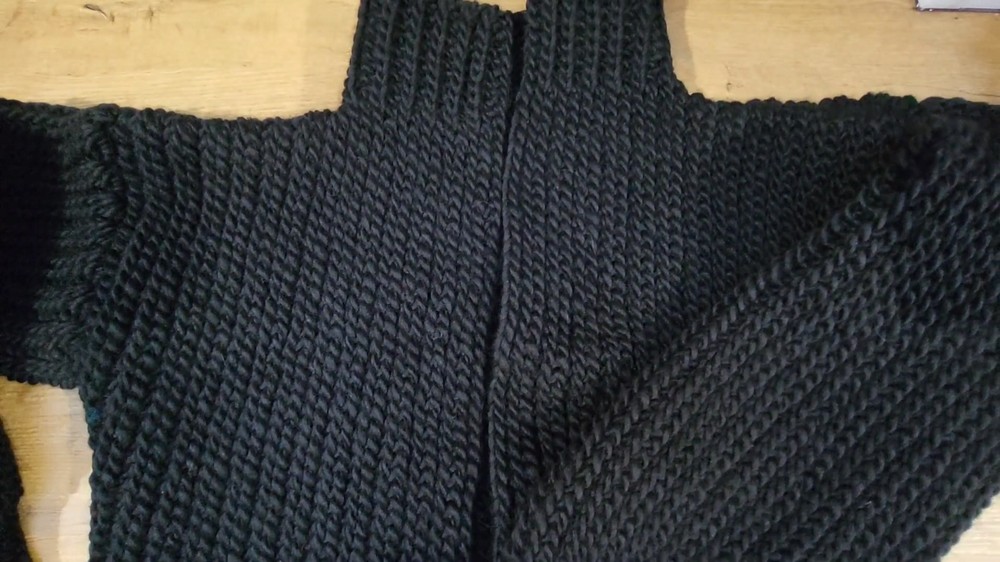
This detailed tutorial guides you to create a thick, stiff, and warm woolen jacket with a knitted-like appearance, featuring ribbed panels, cuffs, and a collar. Constructed panel by panel using a bulky yarn with an 8mm crochet hook, the jacket is beginner-friendly and can be completed quickly. Each panel includes ribbing to add texture and structure, making the jacket cozy and stylish.
Quick Overview of Pattern
- Construction: Made from four panels (back and two front panels) and two sleeves, each panel incorporates ribbing.
- Yarn and Hook: Uses thick Drops SNOW yarn with 50m per 50g skein, worked with an 8mm crochet hook.
- Style Elements: Features wide sleeves with a drawstring cuff and a two-sided collar adjustable in length.
- Finishing: No buttonholes needed as buttons attach via simple loops of chain stitches.
- Customization: Collar length can be modified, and the garment can be extended or shortened according to preference.
Notes
- Thick bulky yarn used here works up quickly but requires close attention to gauge to fit properly.
- Crochet hook size can be adjusted (7mm or 9mm) based on tension and yarn behavior.
- The jacket’s ribbing is made by working into different loops of chains and stitches.
- Stitch counting is important, especially for ribbing and collar rows, to maintain symmetry.
- Sewing panels and attaching sleeves are done using crochet stitches for a consistent texture.
- This pattern avoids buttonholes by using chain loops as button fasteners, simplifying finishing.
Skill Level
Beginner to Intermediate
Skills needed:
- Basic crochet stitches including single crochet and half double crochet with yarn overs.
- Working with bulky yarn and large crochet hooks.
- Creating ribbed textures by working in specific loops of stitches.
- Seam sewing using crochet techniques.
Materials
- Drops SNOW bulky yarn (approx. 1 kg or about 20 skeins of 50g/50m each) in black or preferred color
- Crochet hooks: 8mm for main work, 7mm for finishing edges
- Stitch markers
- Yarn needle for weaving ends
- Scissors
- Buttons (or button alternatives if preferred)
Measurements / Sizing
- Jacket width and length are customizable.
- Example here targets a width of approx. 50 cm for the back panel and shoulder-sized front panels.
- Sleeve length is long with a drawstring cuff for adjustable fit.
- Collar width approx. 20 cm, adjustable by chain count during construction.
Gauge and Stitch Pattern
- Gauge depends on tension and the bulky yarn; one stitch with 8 mm hook measures approximately 1 cm in length.
- Pattern combines ribbed and smooth panels by alternating crochet into different chain loops.
- Ribbing formed by working into the bottom loop (under the V stitch) of chains and stitches; body panels use front loop only for texture.
Stitch Abbreviations
- ch = chain
- sc = single crochet
- hdc = half double crochet
- sl st = slip stitch
- st = stitch
- FP = front loop of stitch
- BL = bottom loop (under the V stitch) of stitch or chain
Special Stitches
- Ribbing Loop (Bottom loop): The loop below the V of a chain or stitch, targeted for ribbing when worked into. This provides a raised ridge resembling knitted rib.
- Front Loop Only (FP): Stitch is worked into only the front loop of the stitch for a subtle textured effect differing from ribbing loops.
- Yarn Over: Standard wrap of the yarn around the hook before inserting into stitches or loops.
The Crochet Pattern
Back Panel
- Foundation Chain:
- Chain 55 stitches for approximately 55 cm length (1 stitch = 1 cm).
- Add 1 edge chain stitch; this is not used in the pattern but stabilizes edges.
- Row 1 – Basic Single Crochet:
- Turn the chain, skip edge stitch, and work single crochet with yarn over into the middle loop of each chain for the entire row.
- Rows 2 to 15 cm Height – Ribbing and Main Pattern:
- Starting second row, begin ribbing:
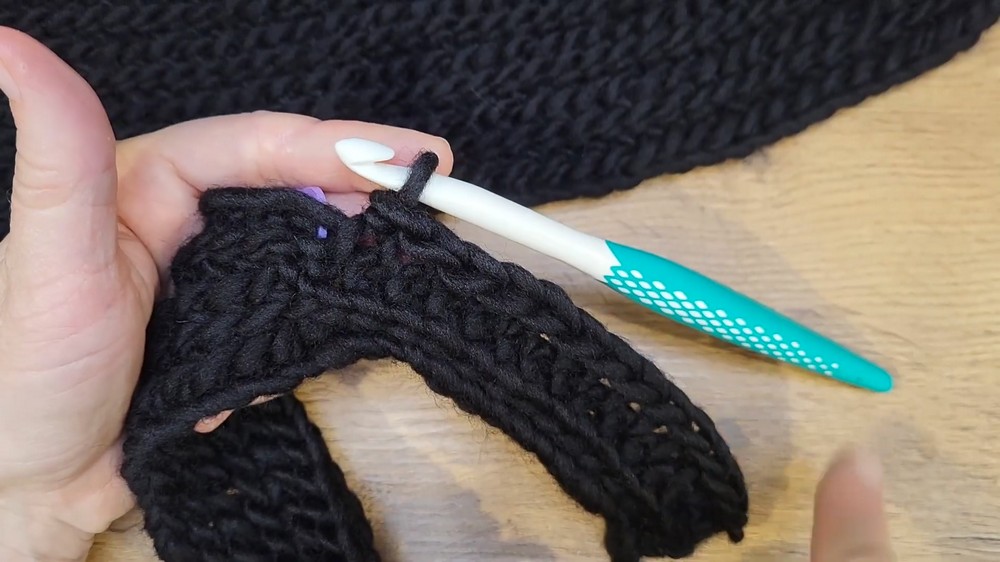
- For the first 10 stitches, work single crochet in the bottom loop (BL) or first loop under the stitch — this forms the ribbing section.
- For the next 45 stitches, work single crochet in the front loop (FP) only for the main panel texture.
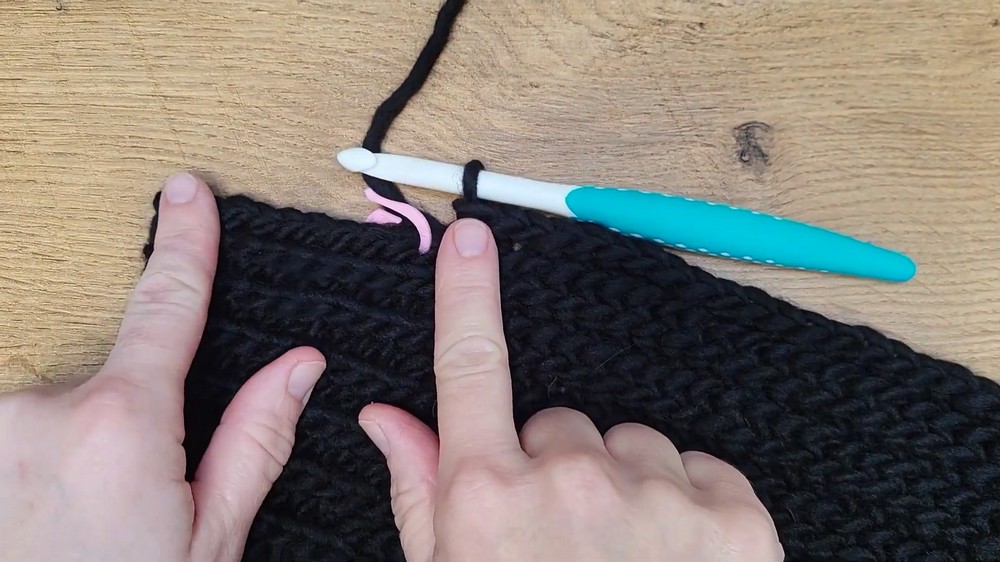
- Mark the 10th stitch of ribbing with stitch markers to maintain count.
- On each return row, maintain working into appropriate loops for ribbing and main pattern respectively, continuing until panel height reaches 15 cm.
- Starting second row, begin ribbing:
- Mark Shoulder Split and Collar Start:
- After 15 cm height, transition to collar forming portion.
- Use stitch markers to delineate ribbing, main panel, and collar areas.
Collar Construction
- Attach Chain:
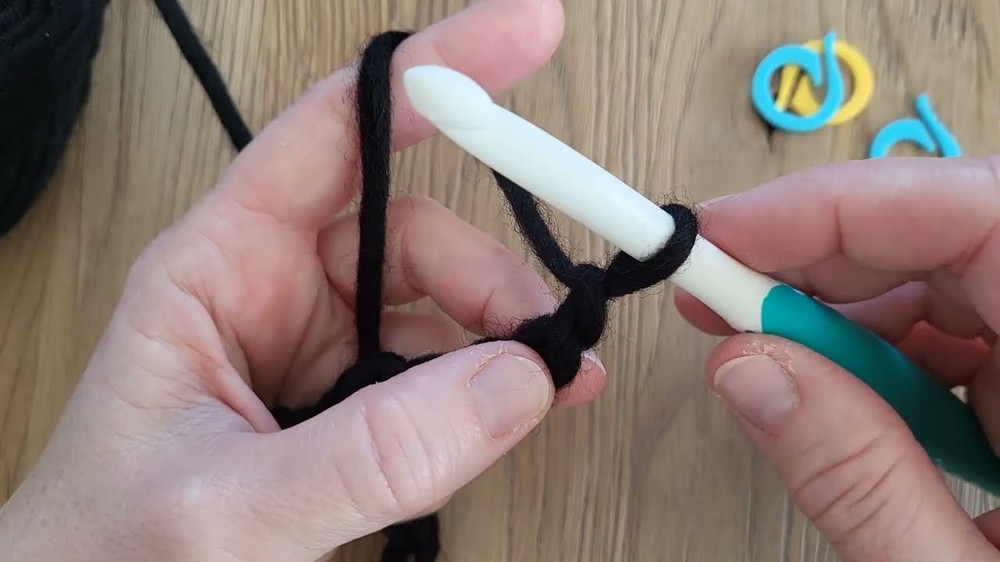
- Chain 10 stitches (or count appropriate to desired collar width). Add 1 edge stitch.
- Work single crochet with yarn over into the middle loop of the chain to form collar foundation.
- Working the Collar:
- Work single crochet similarly into loops to continue ribbing and main patterns on either side of the collar chain.
- Ensure an even number of chain stitches in collar for symmetry when folded.
- Continue collar rows until desired length is reached; collar can be rolled or worn flat.
Front Panels
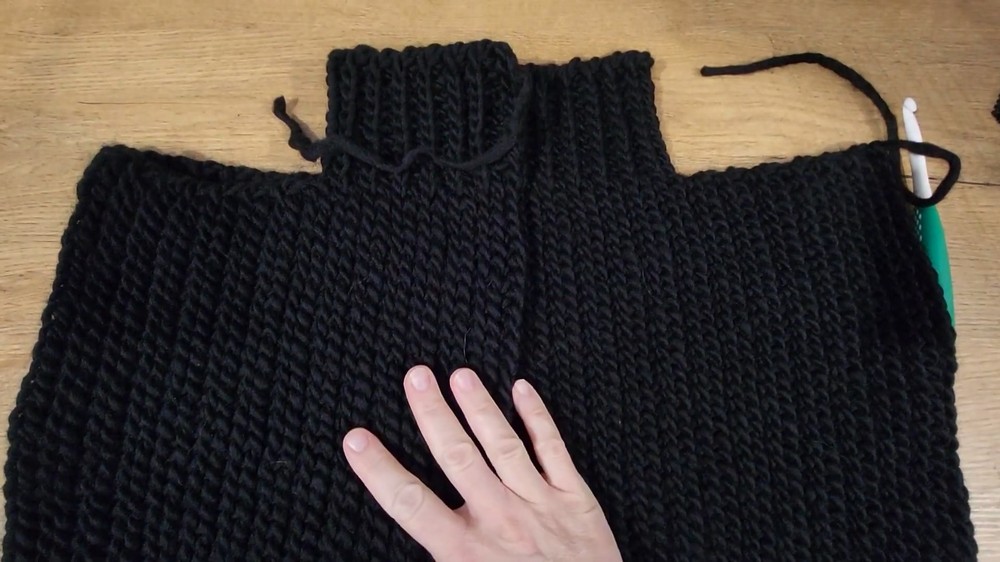
- Construct right front panel exactly like the back panel, same row count, same ribbing and main pattern directions.
- Construct left front panel starting the stitch and collar formation on the opposite edge respecting collar width (e.g., chain 65 stitches instead of 55+10).
- Work ribbing and main pattern similarly, maintaining stitch count using stitch markers for the rib and main panel divisions.
Edging
- Use a smaller 7mm hook to work a finishing edge of single crochets with yarn over around the panels and collar for neater edges.
- Work finishing rows evenly, ensuring the joining loops are consistent for a tidy finish.
Sleeves
- Foundation Chain:
- Chain 65 stitches: 15 for cuff ribbing and 50 for main sleeve body.
- Cuff Ribbing:
- Work single crochet with yarn over into the bottom loop (BL) for the cuff for 15 stitches.
- Main Sleeve:
- Work single crochet into the front loop (FP) for the remaining 50 stitches for the main textured pattern.
- Shaping Cuff Taper:
- To taper the sleeve cuff, skip ribbing rows intermittently to gather fabric and narrow the cuff.
- Alternate between working and skipping ribbing rows until the cuff circumference matches your fit.
- Continue Sleeve to Desired Length:
- Finish the sleeve body matching the length measured from the back panel shoulder seam.
- Repeat for Second Sleeve:
- Work the second sleeve exactly the same way ensuring matching stitch and row counts.
Assembly & Finished Size
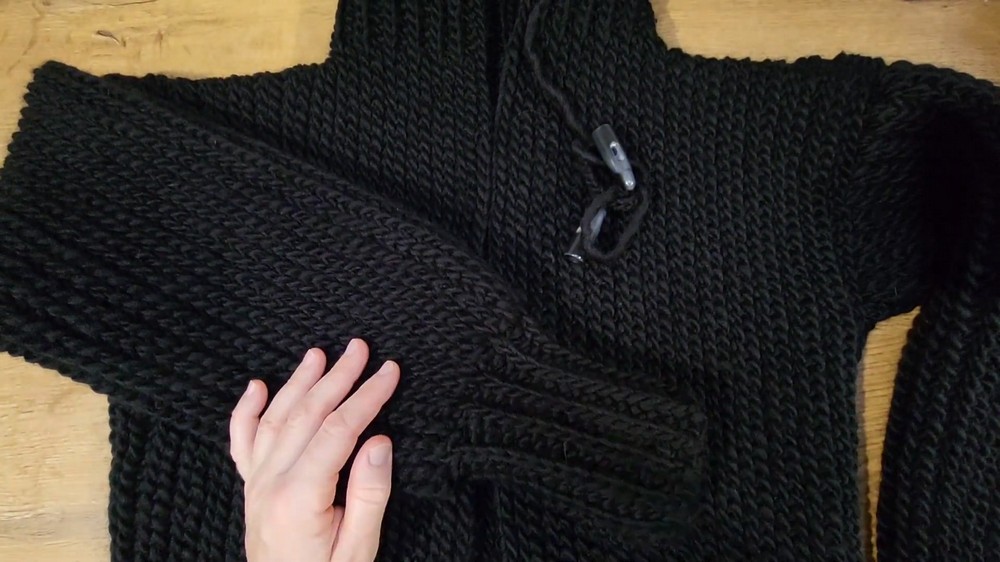
- After finishing back and front panels, sew shoulder seams using single crochet or preferred crochet seam techniques, matching stitch marks and maintaining pattern continuity.
- Attach sleeves to shoulder seams, carefully aligning stitches for a balanced fit.
- Sew side seams and sleeve seams evenly inside out to create comfortable and strong joins.
- Attach buttons by sewing or crocheting loops — no buttonholes needed due to chain loops acting as button fasteners. Buttons are sewn along one front edge with matching chains attached on the opposite edge spaced accordingly.
Conclusion
This thick woolen jacket pattern combines quick construction with durable ribbed texture and charming knitted-like details for a warm, stylish winter garment. The modular panel assembly and adjustable collar and sleeves allow practical customization to individual shape and taste. Working with thick Drops SNOW yarn and large hooks, you can complete this cozy jacket comfortably even within a few days. Try making a sample panel first to check your gauge and tension, then enjoy a gratifying crochet experience to create a garment ready for cold seasons. The pattern’s seamless integration of ribbing and main texture, alongside a no-hole button system, make finishing and assembly neat and accessible.