Cozy up during chilly days with this free crochet winter hat pattern that offers warmth and style perfect for cold weather comfort.
Staying warm during chilly days is extra cozy with a handmade hat. The Free Crochet Winter Hat Pattern helps you make a soft and stylish hat that fits snugly on your head. This hat has a simple round shape with a little stretch, so it feels comfy and looks neat.
Its style is classic yet charming, with a smooth texture that shows off the crochet stitches. You can make it in any color—bright or neutral—to match your winter coats or casual clothes. This hat works great for school, walks, or anytime you want to keep the cold out while looking cute.
Winter Hat with This Free Crochet Pattern
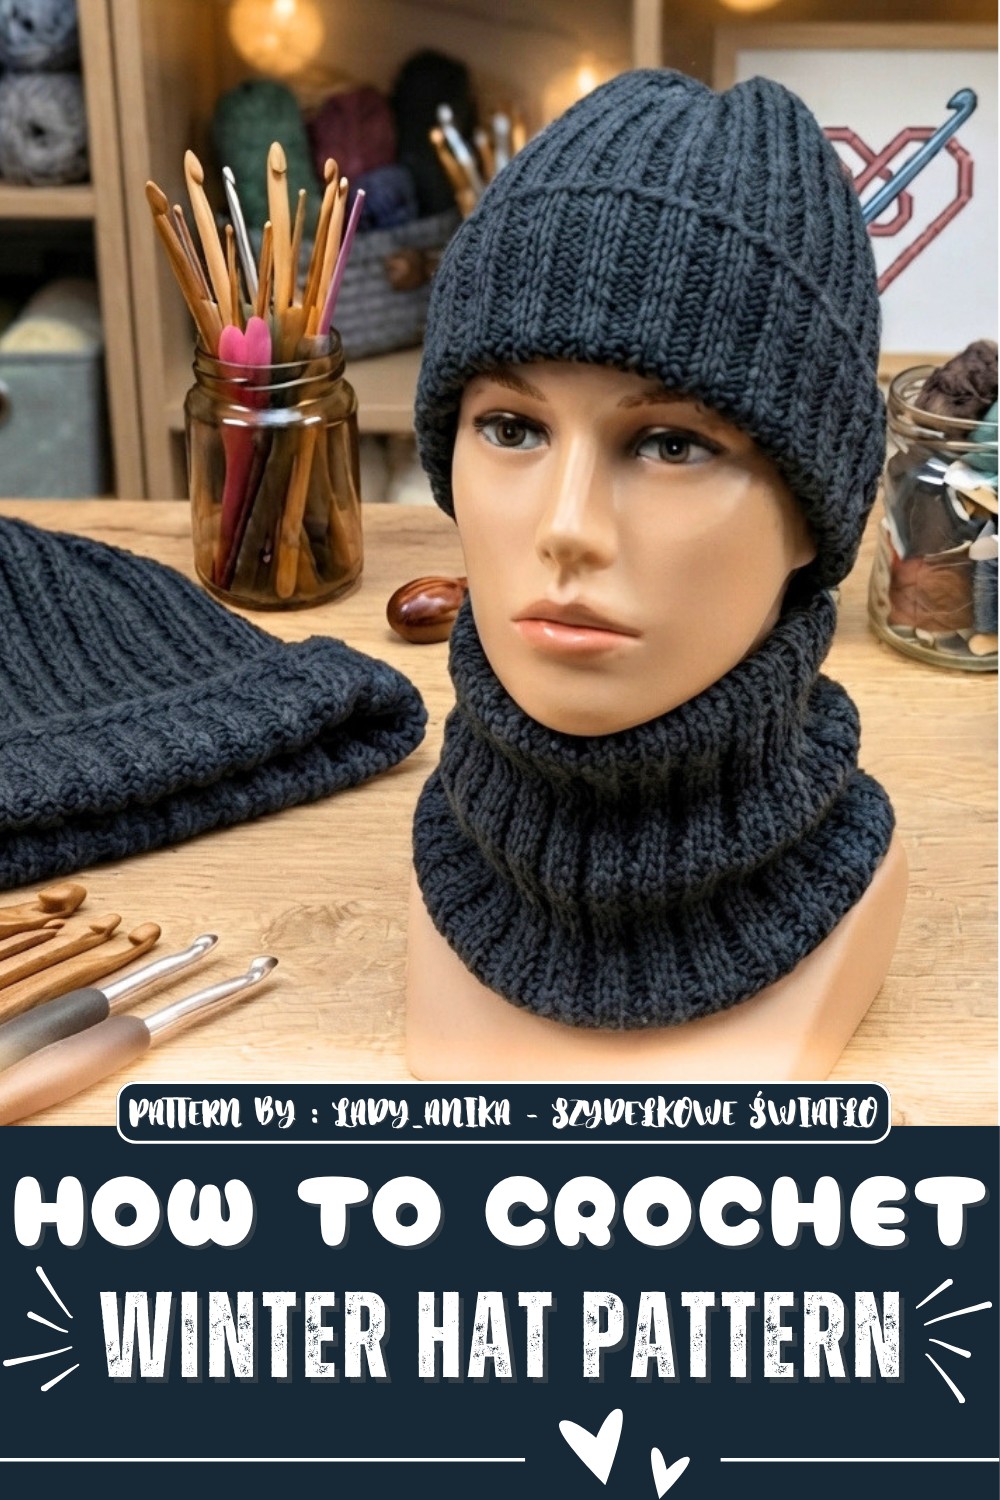
Created by a skilled crocheter who enjoys sharing easy projects, this pattern keeps things simple so beginners can follow along. Plus, if you prefer learning by watching, the YouTube channel Lady_Anika - Szydełkowe Światło offers a clear video tutorial that makes each step easy to understand.
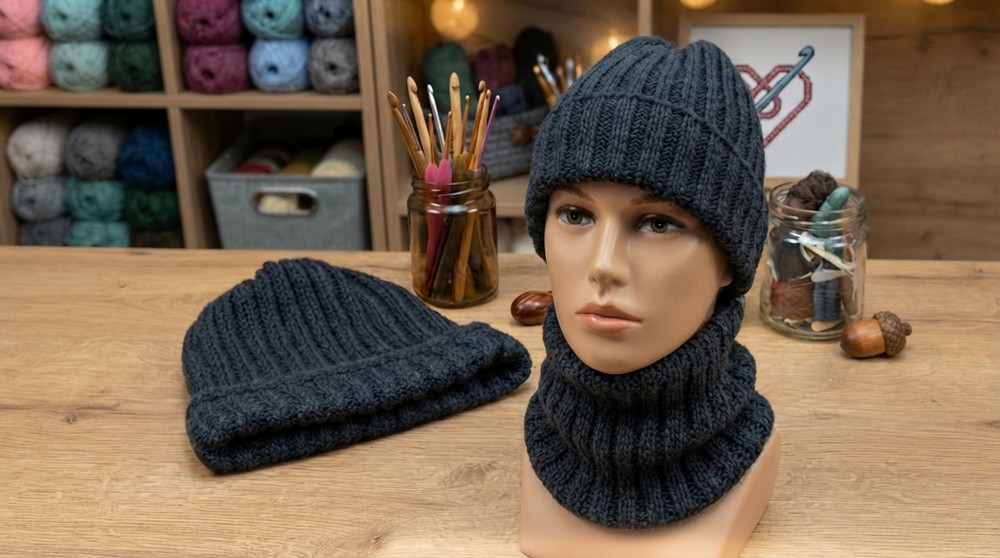
Many love this winter hat for its blend of warmth and style. It’s not too thick but cozy enough to protect from chilly winds. Wearing one you crocheted yourself brings a special feeling of pride and comfort. Whether for yourself or as a gift, this hat makes winter days brighter and warmer.
Crochet Hat and Collar Set Pattern
This cozy, stylish crochet set includes a hat and matching collar, designed with a textured stitch pattern resembling two rows of knit purl stitches. It’s perfect for beginners who want to achieve a knitted look using crochet. The hat and collar are made from rectangles worked flat, then sewn and shaped to fit comfortably.
Pattern Highlights
- Uses a simple four-row stitch sequence repeated to form the texture
- Hat and collar are worked flat in rows, turned after each row
- Texture created by alternating stitches worked in back loops and yarn-over loops
- Easy to customize size by adjusting chain count and number of rows
- Both pieces are rectangles sewn together to form tubes (hat and collar)
- Neat edges and invisible seams achieved by careful finishing
Notes for Beginners
- Mark your first and last stitches of each row to keep edges neat and consistent.
- Work loosely when inserting your hook into the yarn-over loops for smooth stitches.
- The hat does not stretch much, so check your size with a sample before making full length.
- Always turn your work after each row to maintain the pattern effect.
- Use single crochet with yarn over to get the right stitch height and texture.
- Work the last stitch of each row into the whole stitch (both loops) to prevent edge narrowing.
- Sew seams with right sides facing in, for an invisible finish.
Materials Needed
- Approx. 5 skeins of soft yarn such as Drops Merino Extra Fine or similar
- Crochet hook size 3 mm (or as suitable for your yarn)
- Stitch markers (optional)
- Yarn needle for sewing and weaving ends
- Scissors
Measurements / Sizing
| Item | Foundation Ch | Finished Width | Finished Height |
|---|---|---|---|
| Hat | 60 chains | About 67 cm | About 20 cm |
| Collar | 110 chains | About 48 cm | About 18 cm |
Note: Adjust chain numbers for custom sizing.
Stitch Abbreviations
- ch = chain
- sc = single crochet
- sl st = slip stitch
- yo = yarn over
- BL = back loop
- st = stitch
Special Techniques
- Single crochet with yarn over: Yarn over before inserting your hook, then complete a single crochet like usual.
- Back loop only (BL): Insert hook into the back loop of the stitch, leaving the front loop free.
- Working into yarn-over loop: Instead of a stitch loop, insert hook under loop created by the yarn over on the previous row.
- Edge stabilization: Work the last stitch of each row into both front and back loops to prevent the fabric edges from narrowing.
Crochet Pattern Instructions
Hat
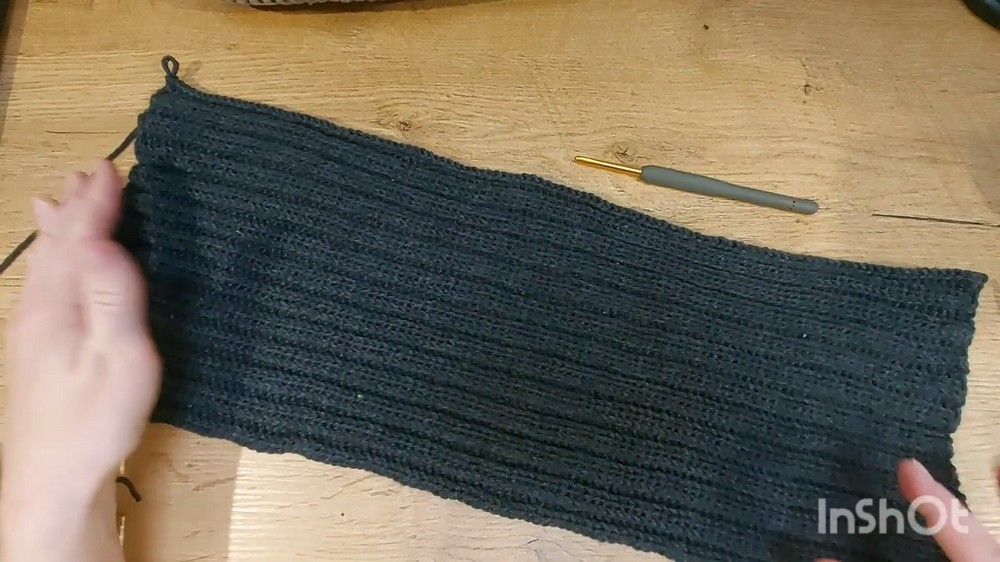
Work flat rectangular piece, then sew and shape.
Foundation Chain:
- Chain 60 stitches plus one extra chain for edge (not worked).
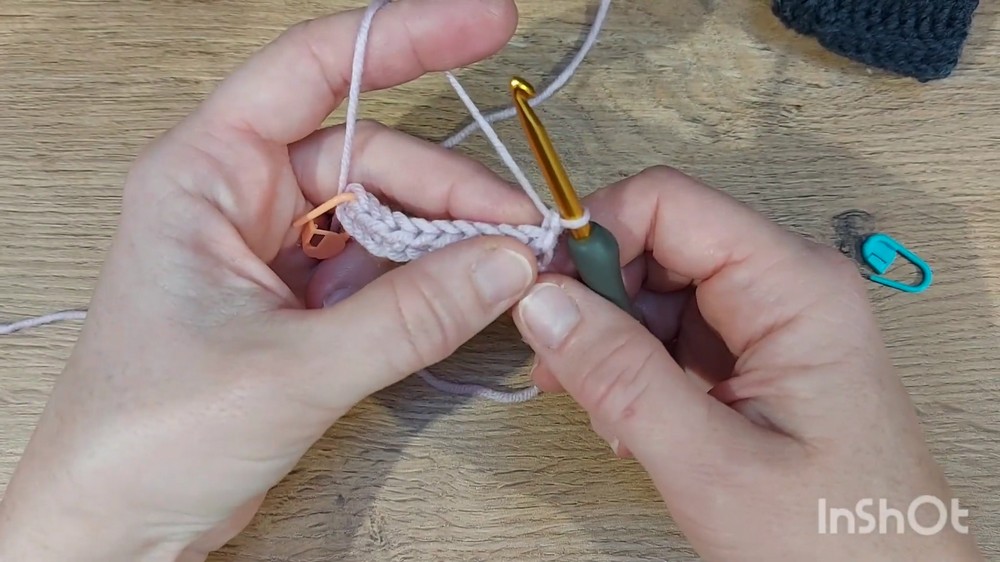
Row 1:
- Skip the first chain from hook (edge chain).
- Work single crochet with yarn over in middle back loop of the second chain from hook.
- Continue single crochet with yarn over in back loop only (BL) of every chain across to end.
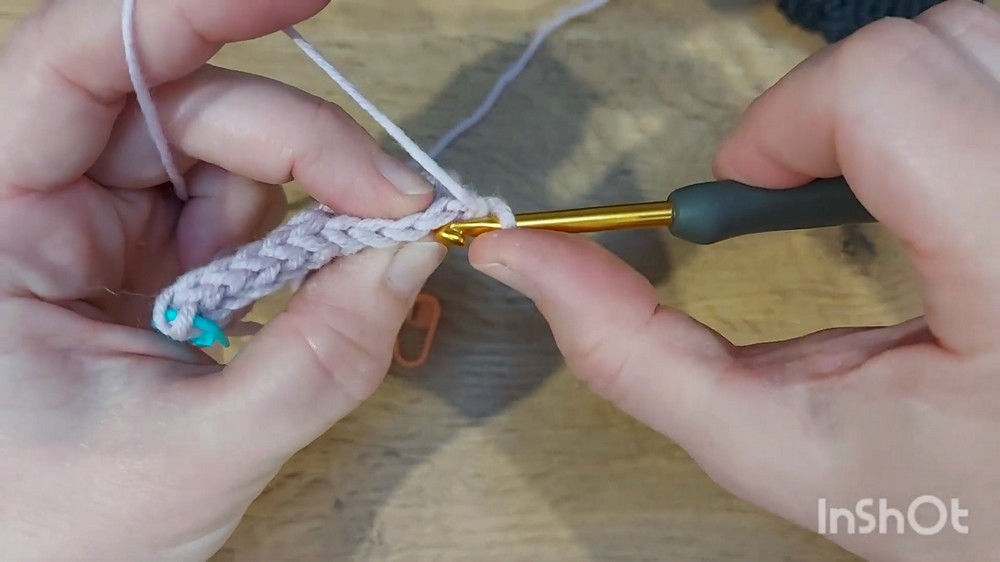
Row 2:
- Turn work, chain 1 (does not count as stitch).
- Work single crochet with yarn over in back loop only for every stitch across.
- For the last stitch, work into whole stitch (both loops) to stabilize edge.
Row 3:
- Turn work, chain 1.
- Work single crochet with yarn over into the yarn-over loops created in the previous row (not front or back loops).
- Continue to end of row, again working last stitch into whole stitch for edge.
Row 4:
- Repeat Row 3 exactly.
Repeat:
- Repeat the four-row sequence (Rows 1-4) until the piece measures approximately 20 cm or desired hat height.
- Remember to mark edges or stitch first and last stitches for consistency.
- Always work the last stitch of each row into both loops to keep edges neat.
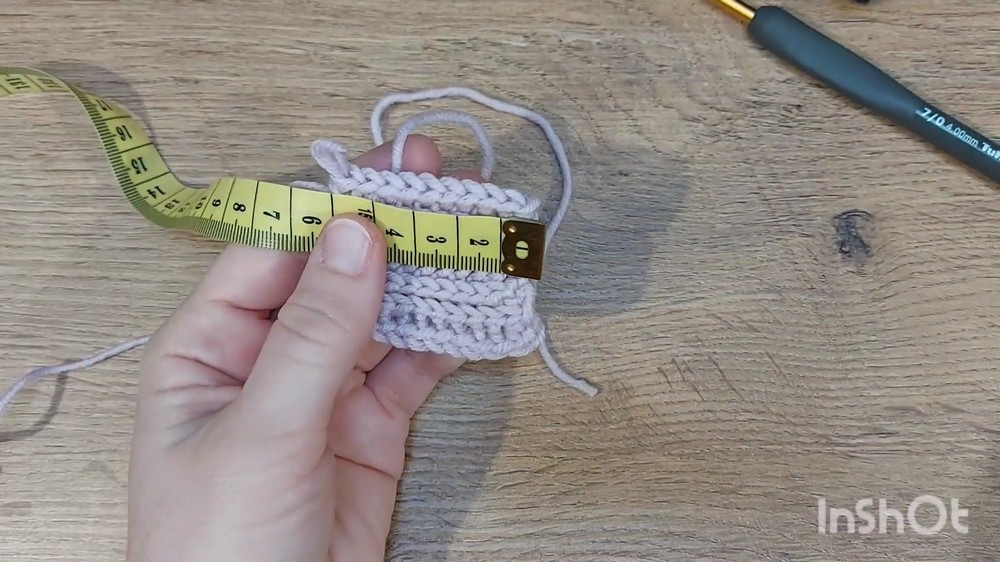
Finishing the Hat
- Fasten off and weave in all yarn ends.
- Fold the rectangle with the right sides facing inward.
- Align the short edges.
- Sew edges together using a single crochet seam:
- Insert hook through whole stitch on one edge, and through back loop only on the other edge.
- Join edges invisibly with single crochet stitches.
- Pull seam tight and weave in ends.
Shaping the Top of the Hat
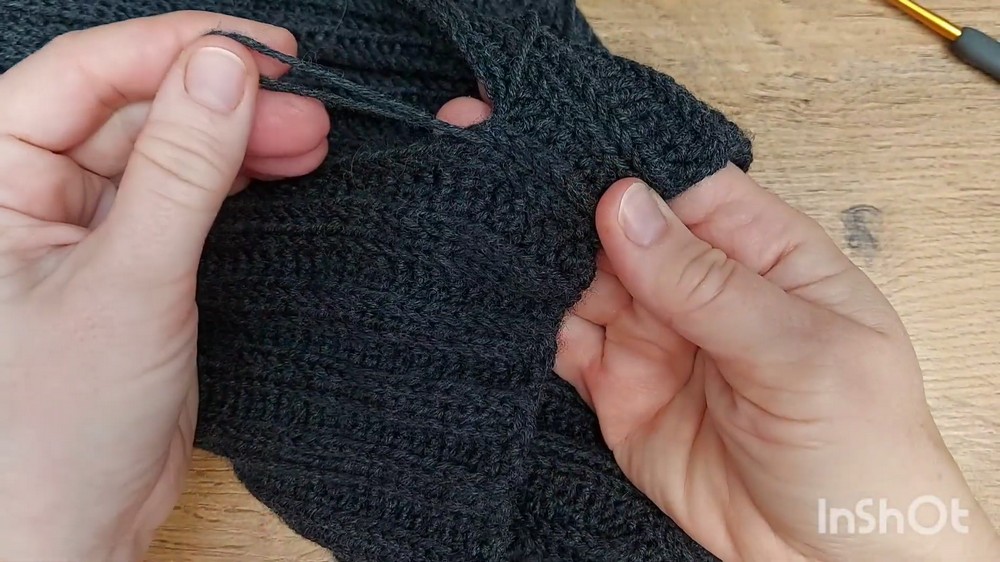
- Thread yarn through a large-eye needle.
- Insert needle around the open edge at the top of the hat.
- Weave around loosely to gather the top evenly.
- Pull yarn to close the top and secure tightly.
- Tie ends and tuck inside your hat.
Adding Ribbed Fold (Optional)
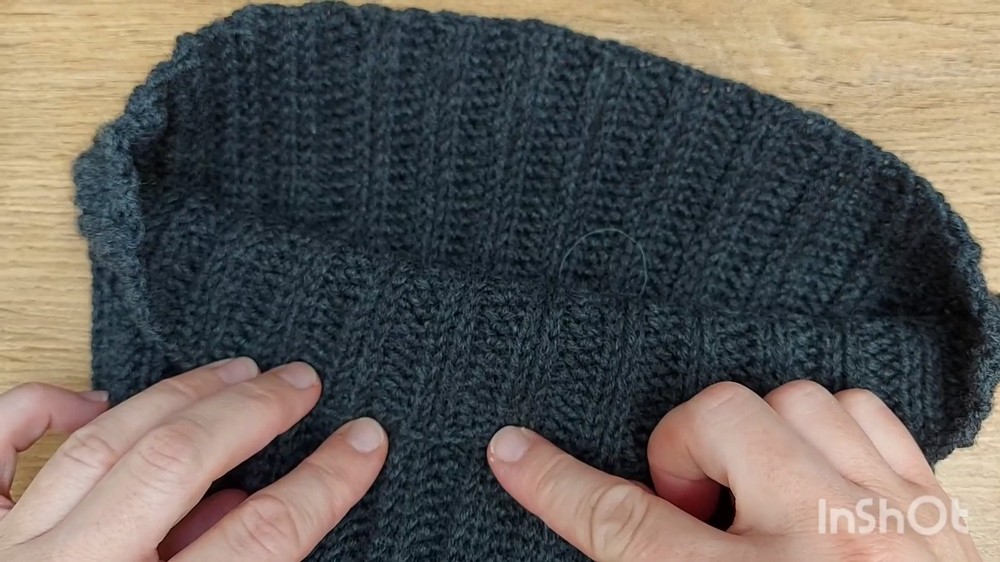
- Fold the bottom edge up to create a ribbed cuff or band.
- The folded fabric adds warmth and snug fit to your hat.
Collar
Worked as a rectangle and sewn into a tube.
Foundation Chain:
- Chain 110 stitches (or your desired collar length).
Repeat Stitch Pattern:
- Use the same four-row sequence as the hat (Rows 1-4 repeating):
- Rows 1 & 2: single crochet with yarn over in back loop only
- Rows 3 & 4: single crochet with yarn over in yarn-over loop
- Continue until collar height is about 18 cm (or desired width).
Finishing Collar:
- Fold work lengthwise with right sides facing in, aligning short edges.
- Sew short edges together with same single crochet seam method used for the hat.
- Turn collar right side out.
- Weave in ends carefully.
Optional Edging:
- Work a round of single crochet with yarn over around collar edges for a neat finish and extra stability.
- Join round with slip stitch.
Assembly & Finished Size
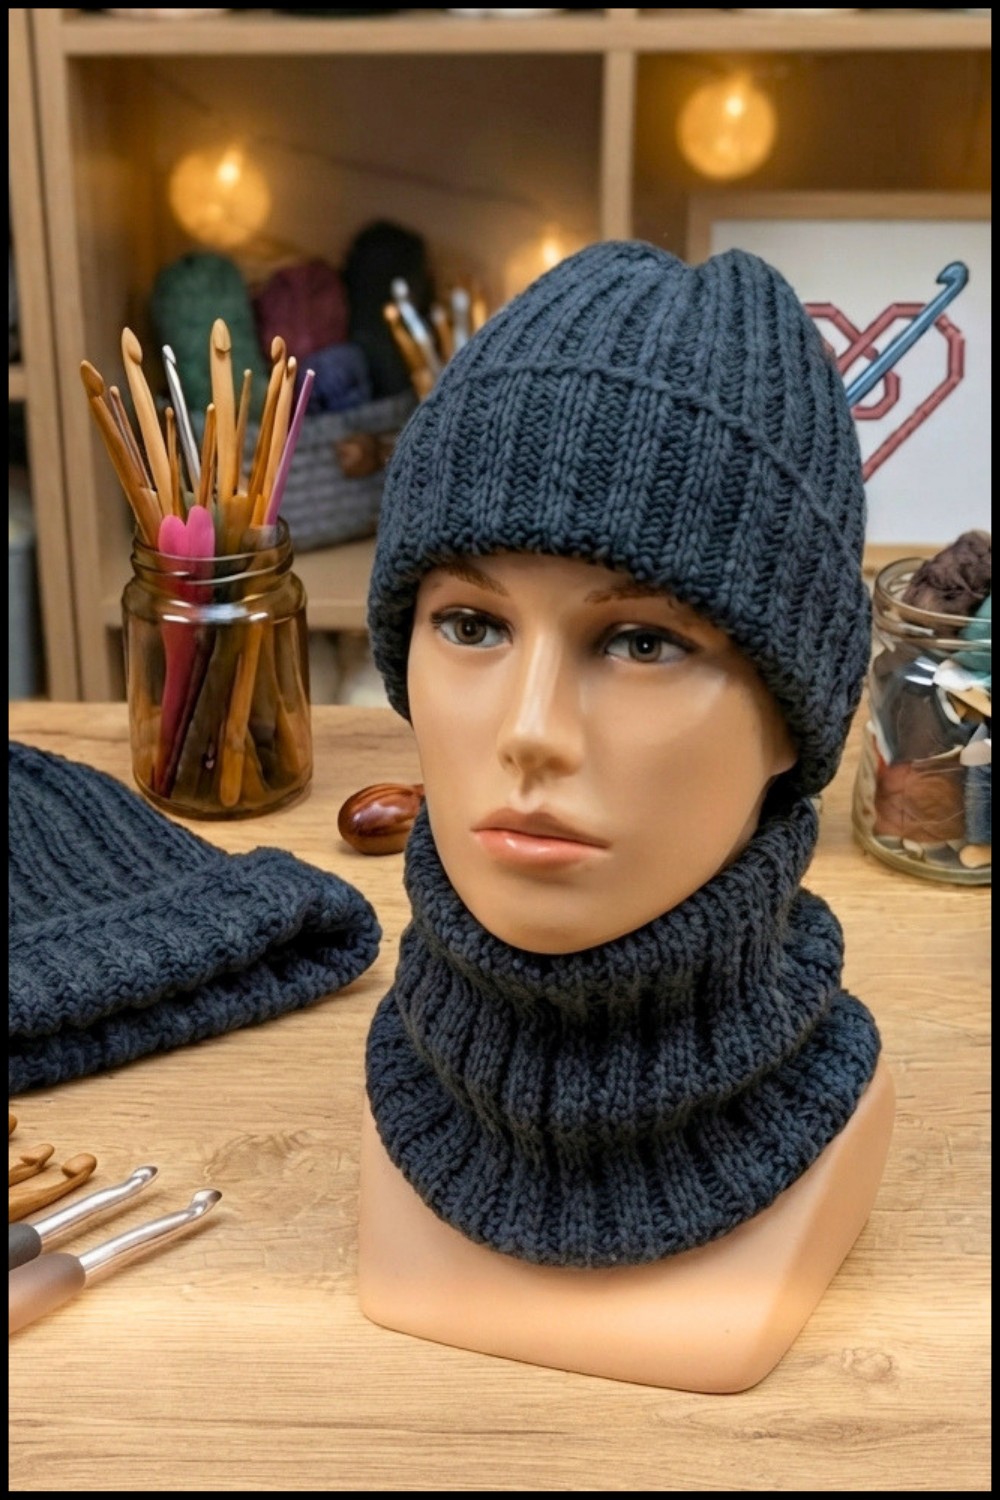
- The hat fits most adult heads with chain 60, measuring approximately 67 cm width and 20 cm height (before folding the ribbed edge).
- The collar measures approximately 48 cm long and 18 cm wide, fitting snugly around the neck.
- Both pieces feature neat, invisible seams and stabilized edges giving a professional, polished look.
- Adjust foundation chains for personalized sizing—wider/longer hat or collar as desired.
Conclusion
This hat and collar crochet set uses a simple, repeatable four-row stitch pattern to create a warm, ribbed texture that resembles knitted stitches. The set is beginner-friendly yet elegant and highly customizable for different sizes. By using single crochet with yarn overs worked into alternate loops, you achieve a unique look and lasting durability. Finishing with neat seams and stabilized edges makes the set look polished and professional.